009 - Custom black guard Telecaster - 2018 - WIP thread
Hi and welcome to the work in progress thread for guitar number 009. Open the dated collapsible frames to see previous posts.
Here is the wood for 009, black limba body, indian rosewood neck. there will be an ebony pickguard with a custom shape and a rosewood fingerboard, so all rosewood neck and all natural finish, mmh!
hum, first, let's say bye bye to the props workspace and hello to the guitar workspace, it's been a while!
better!
a bit of cleanup on the template, really not happy with what I received! lots of bumps... had to do the same on the head
trying for the first time to cut the body with the electric saw, it worked but I'm not sure she liked it... looking forward to have an actual bandsaw! this is also too hard on the router, too much wood left to rout but I didn't dare come closer to the line with that crude tool...
and this is why I need to have a clean workspace for guitars, wood dust and wood chips, everywhere!
oh, hello gorgeous! oh sexy new 30mm router bit thank you! perfect result, no burns, no tear offs, and 2/3 of the height done at once, amazing!
yep, I said it before, wood chips...
here is a quick mock up of what it will kind of look like, the rosewood neck is a good choice! (light spot on the lower back is just an area not sanded, the color will be nice and uniform when finished)
and the mandatory afterwork sexy shots on the table of course
I love wood defects, sapwood, knots, I always prefer to show them and play with them in the composition instead of always trying to hide them. I really loved that small knot in the middle of the sapwood. I just hope I'm not the only one that like it...
and the mandatory cat sneaking in the photos... Yes Patouche, you are beautiful too, yes...
the rosewood blank was 30mm deep (yep and I cut it in one pass with the amazing new bit! yay!) so I'll do a super deep headstock, it should look nice and dynamic and help for the string tension. don't want to put string trees on my guitars, really like to keep it simple and tidy...
colors are a nice match, no regrets!
really liking it so far!
Hey, second step for that body, routing all the body cavities, first the pickups
neck pocket
wire channel
and then some soundholes to lighten a bit the body and make it more resonant!
still liking it!
A little bit of progress on the head, routing, then carving by hand the head slope
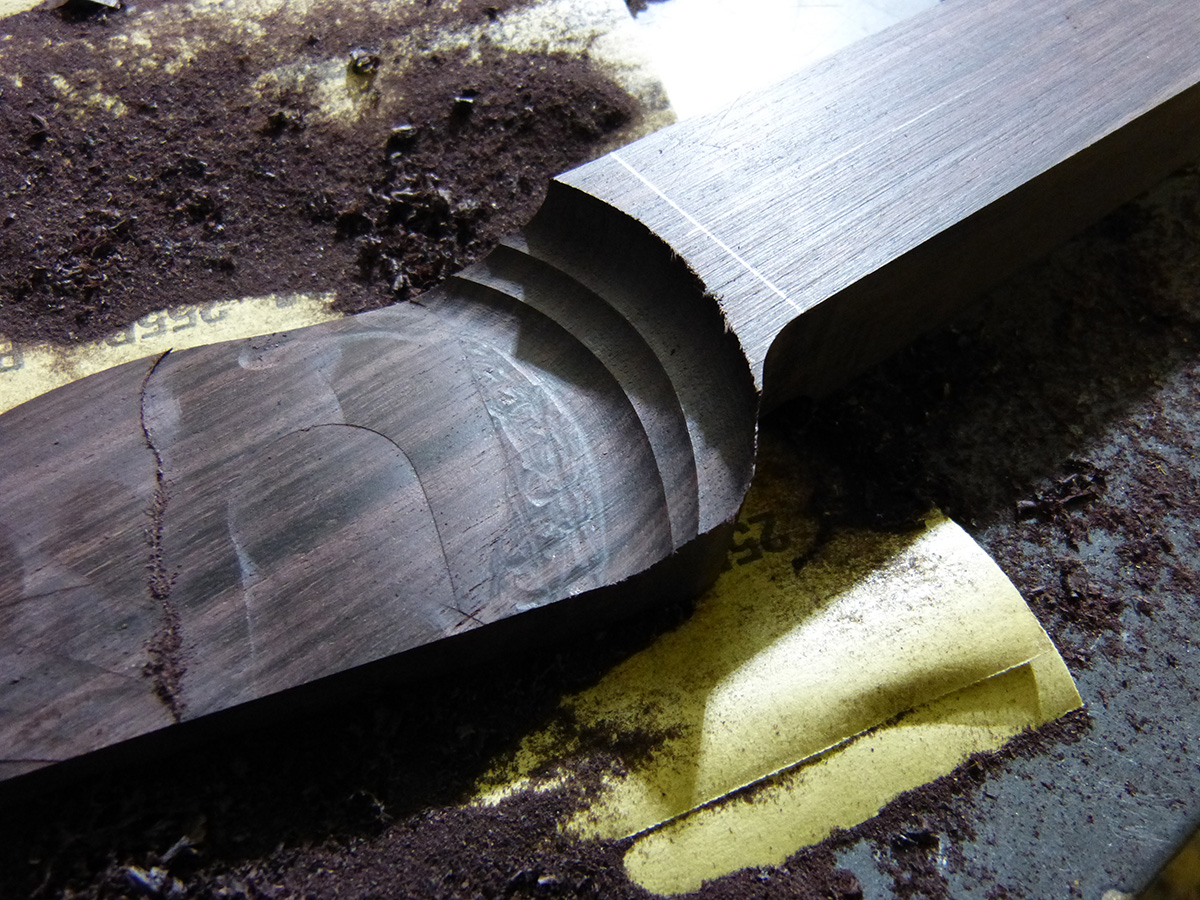
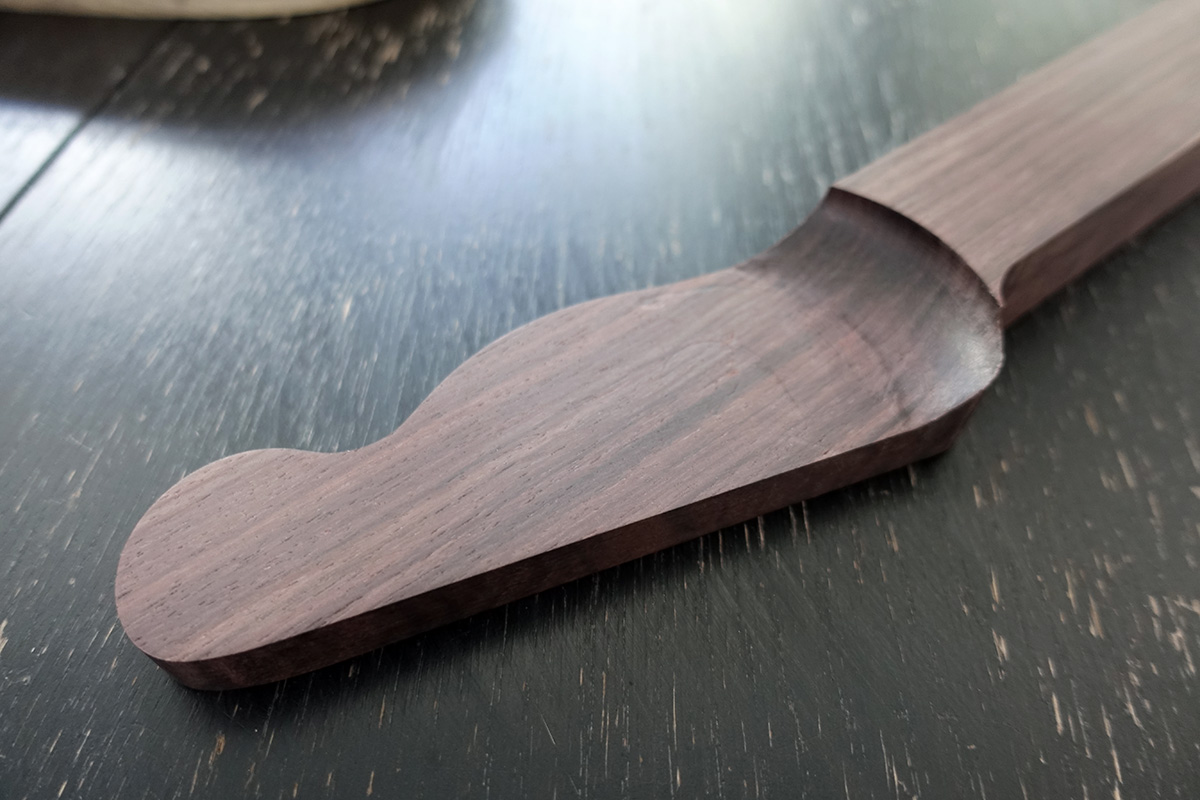
and a first rout for the shape of the back of the head
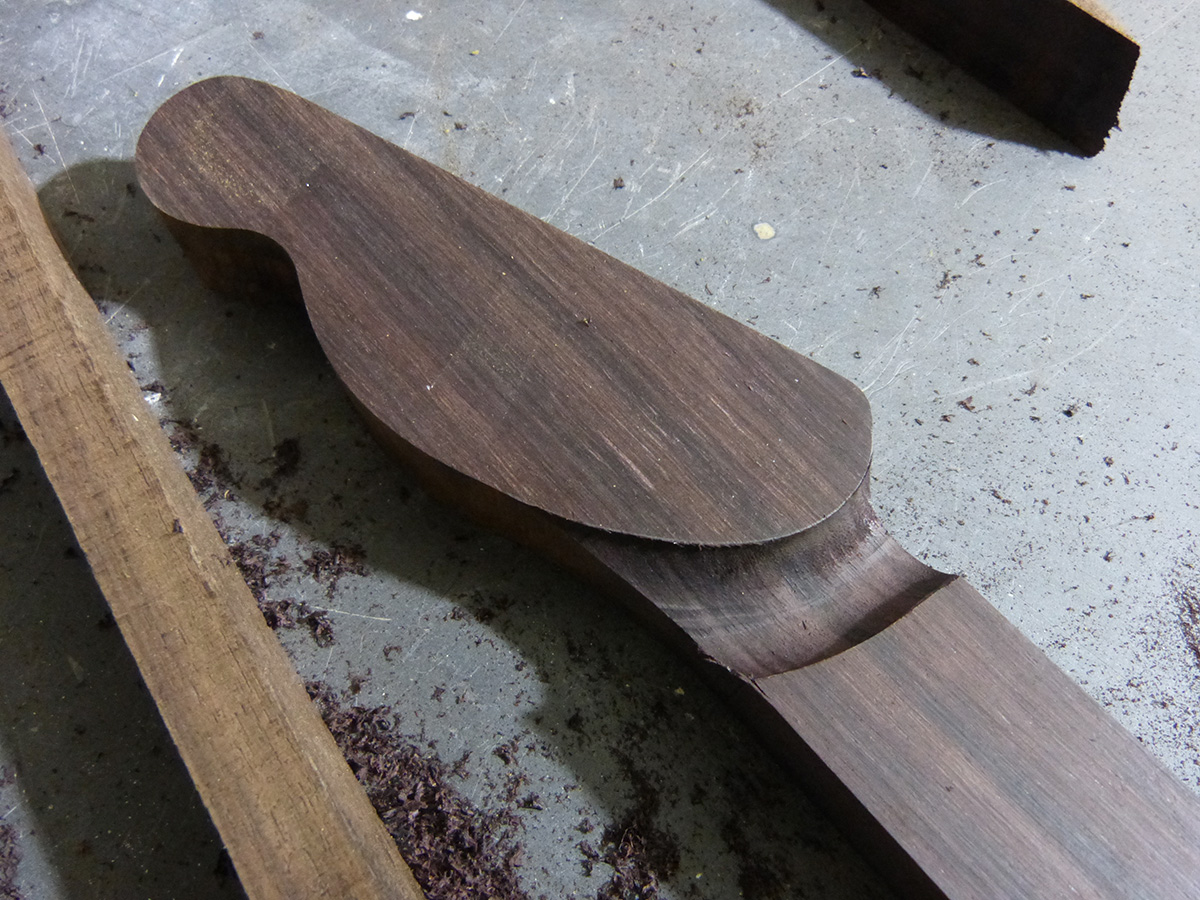
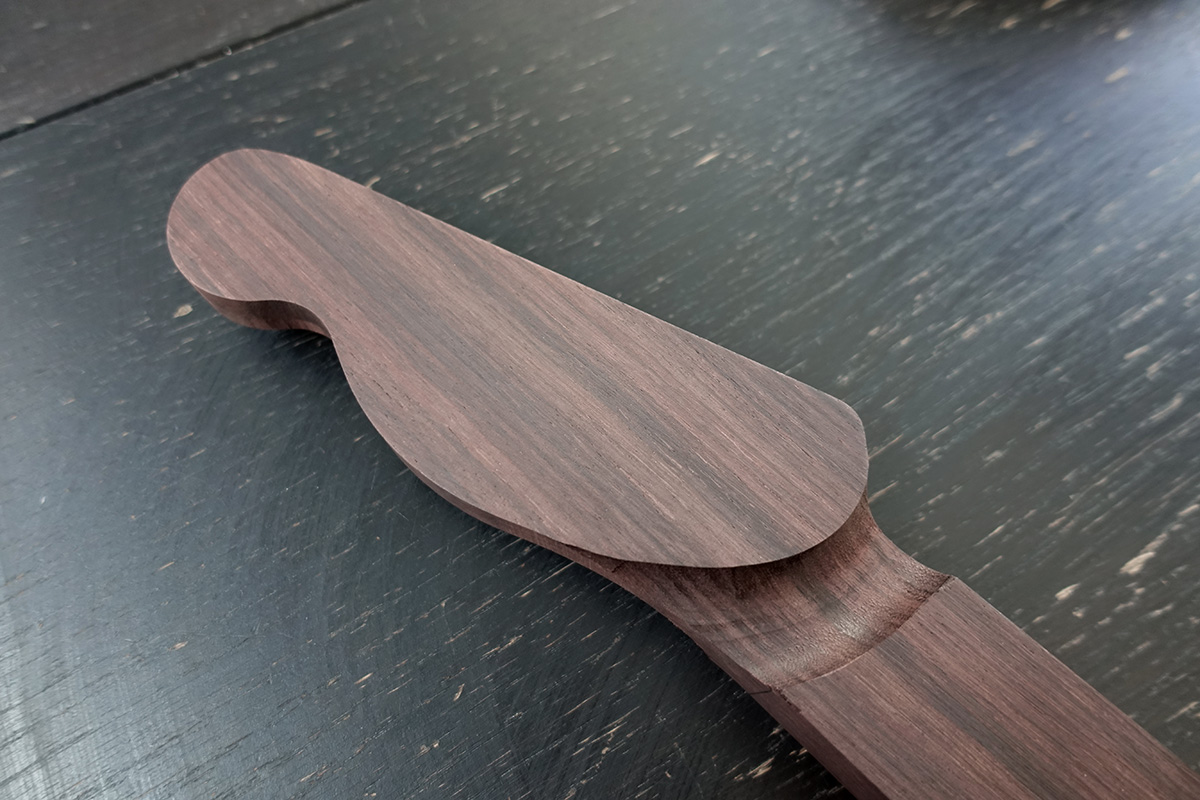
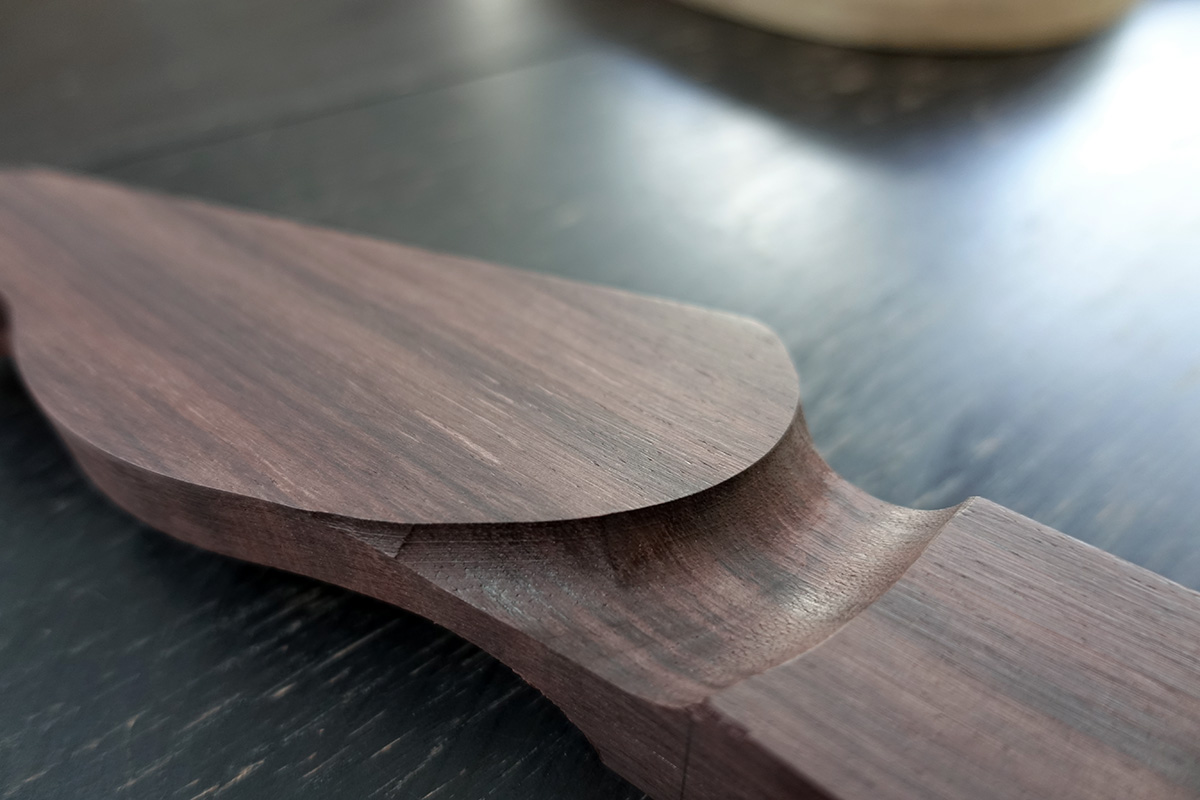
still very work in progress
back on the body, (actually, I decided I was going to start over the neck, it was bugging me)
seems like nothing, but before doing those two holes, I had to figure out the best placement for hours with the buttons, switch and back cavity... anyways, those are nice holes right?
routing the back cavity
still not finished, I need to buy a longer round bit, mine doesn't reach more than 30mm, I need 37...
now the tummy cut. I like to do it with cutting tools only, I finish with a rasp, but I think some people do it completely with a rasp
or maybe is it that I love to show off that amazing chisel, who knows...
nice!
yay! out of focus pic!
Hey there, so here it is, the litle twist on that classic telecaster is that I'm inlaying a rectangle of ebony between both pickups to act as a modern different looking pickguard
first, routing the channel for that ebony plate
cutting the ebony plate itself
ready for gluing
routing the plate flush to the body (sorry for the blury picture!)
and the result with a lot of close ups!
doing the custom aluminium neck plate
not many photos, but the plate was cut then inserted into the body, then the body was cut to the plate shape
keeping the protection for now, for... protection and for the surprise ;-)
The very DREADED step, the ferrules holes... done!
another small thing that's also a bit scary, routing a straight line with the dremel for the pickup selector, no mistake allowed!
and all the bridge holes
not a super interesting update but still moving forward!
hey, as I said before, I started over the neck as I wasn't completely satisfied with the previous one
I'm trying a channel bound fingerboard on that neck, I did a routing template for the channel
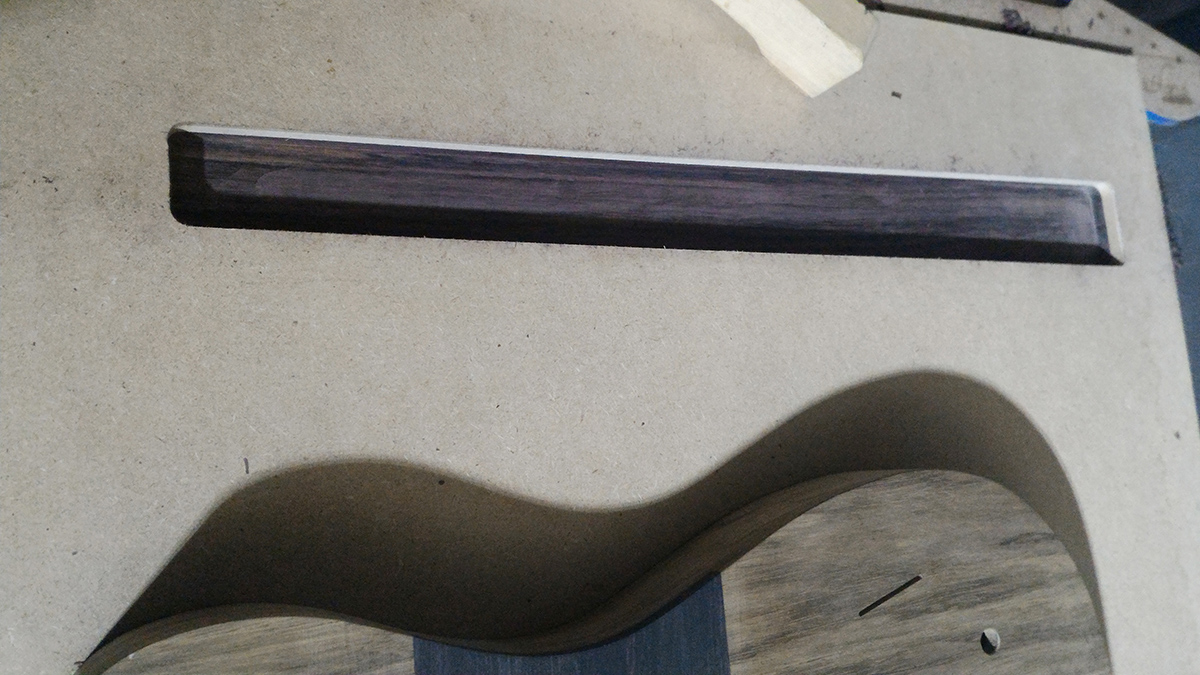
and the truss rod inserted
in the meantime, also worked on the curved bottom of the electronics cavity, nice!
this is it, I'm going on hollidays for a month, so there will be no update until September
For this guitar, I decided to do something a bit special concerning the fingerboard as it's indian rosewood on an indian rosewood neck.
To simulate a one piece neck, I decided to try my hand at a channel bound neck, which is a fingerboard inlayed into the neck, nothing is visible from the sides
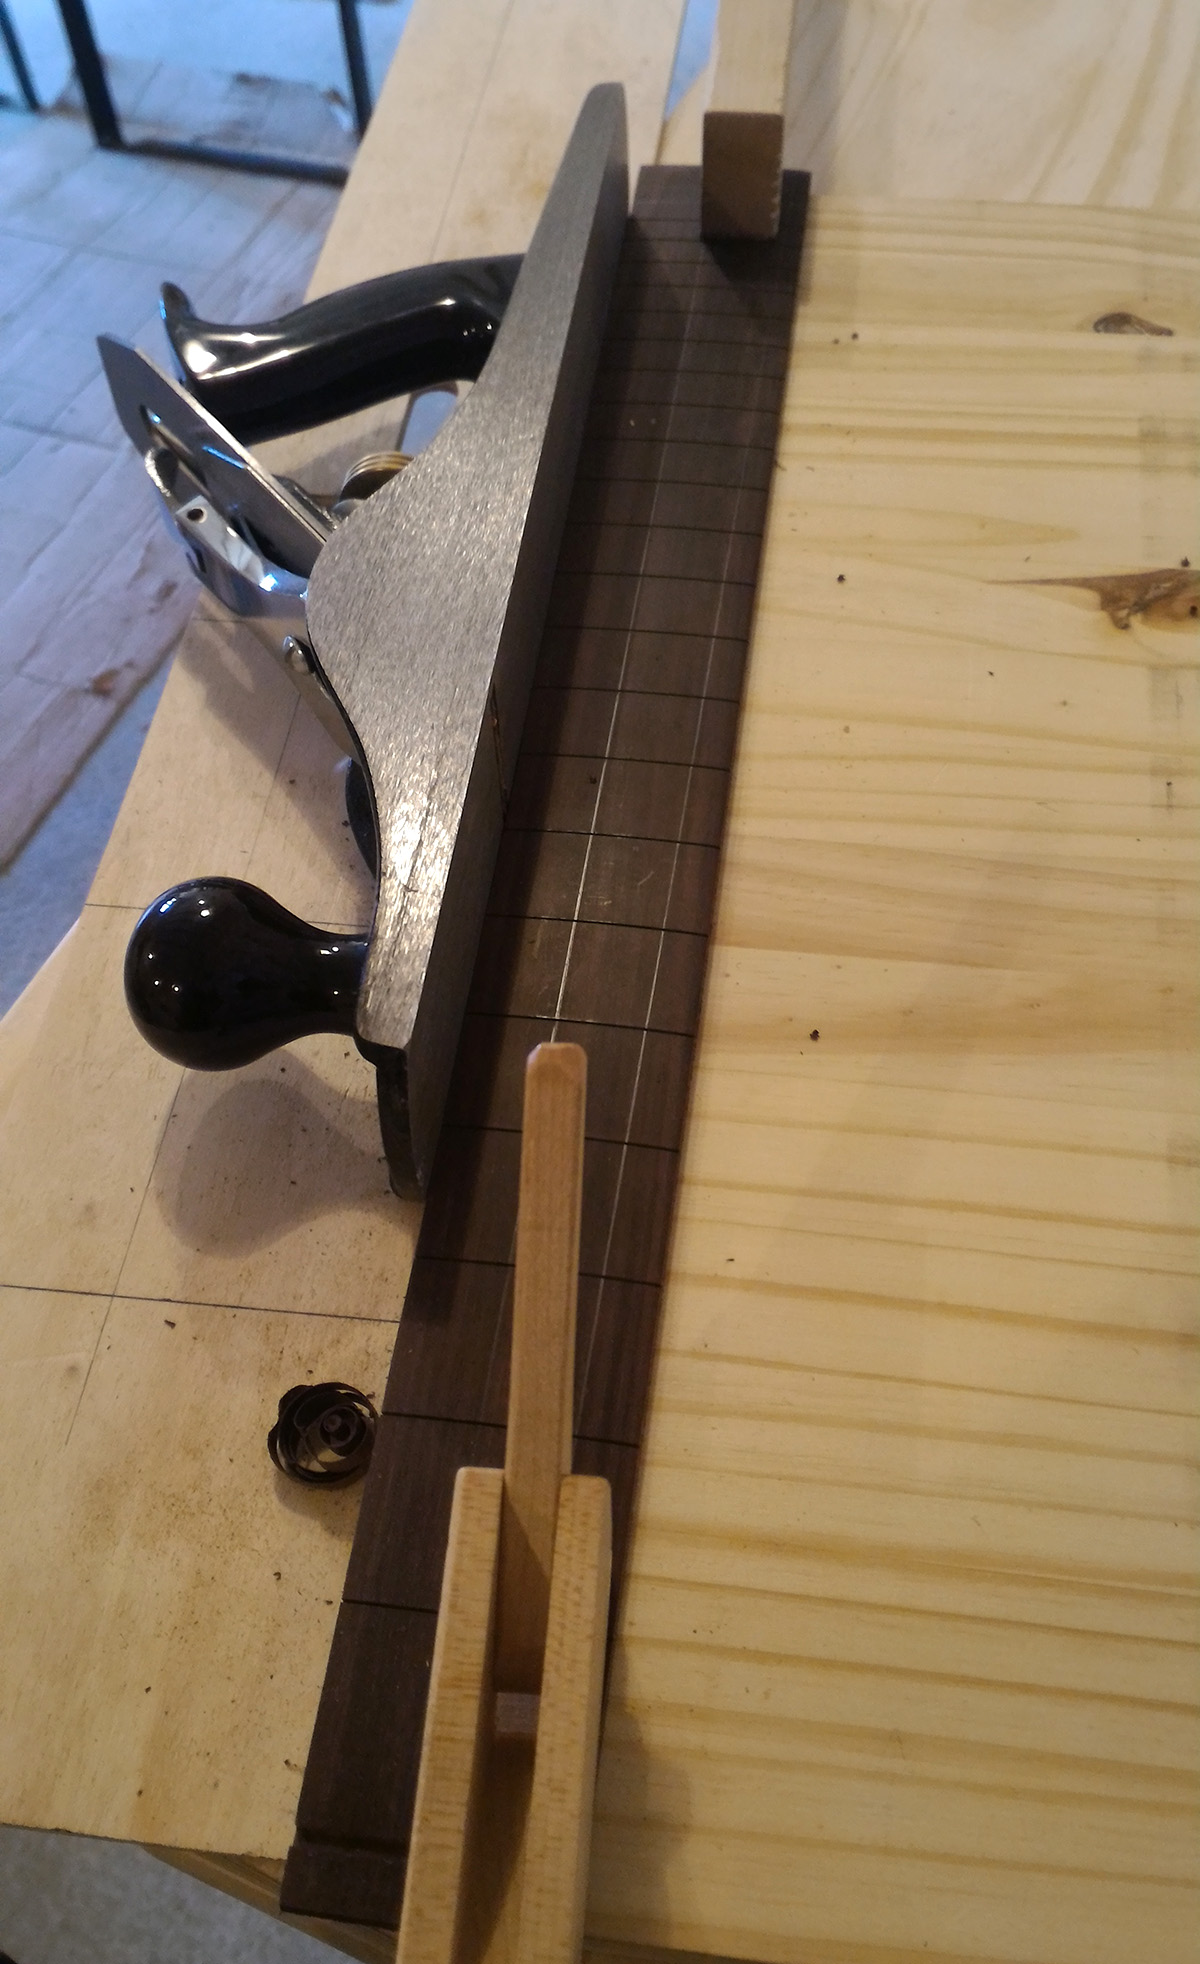
On the last update, I showed the channel in the neck, it was now time to cut the taper of the fingerboard and inlay it into the neck
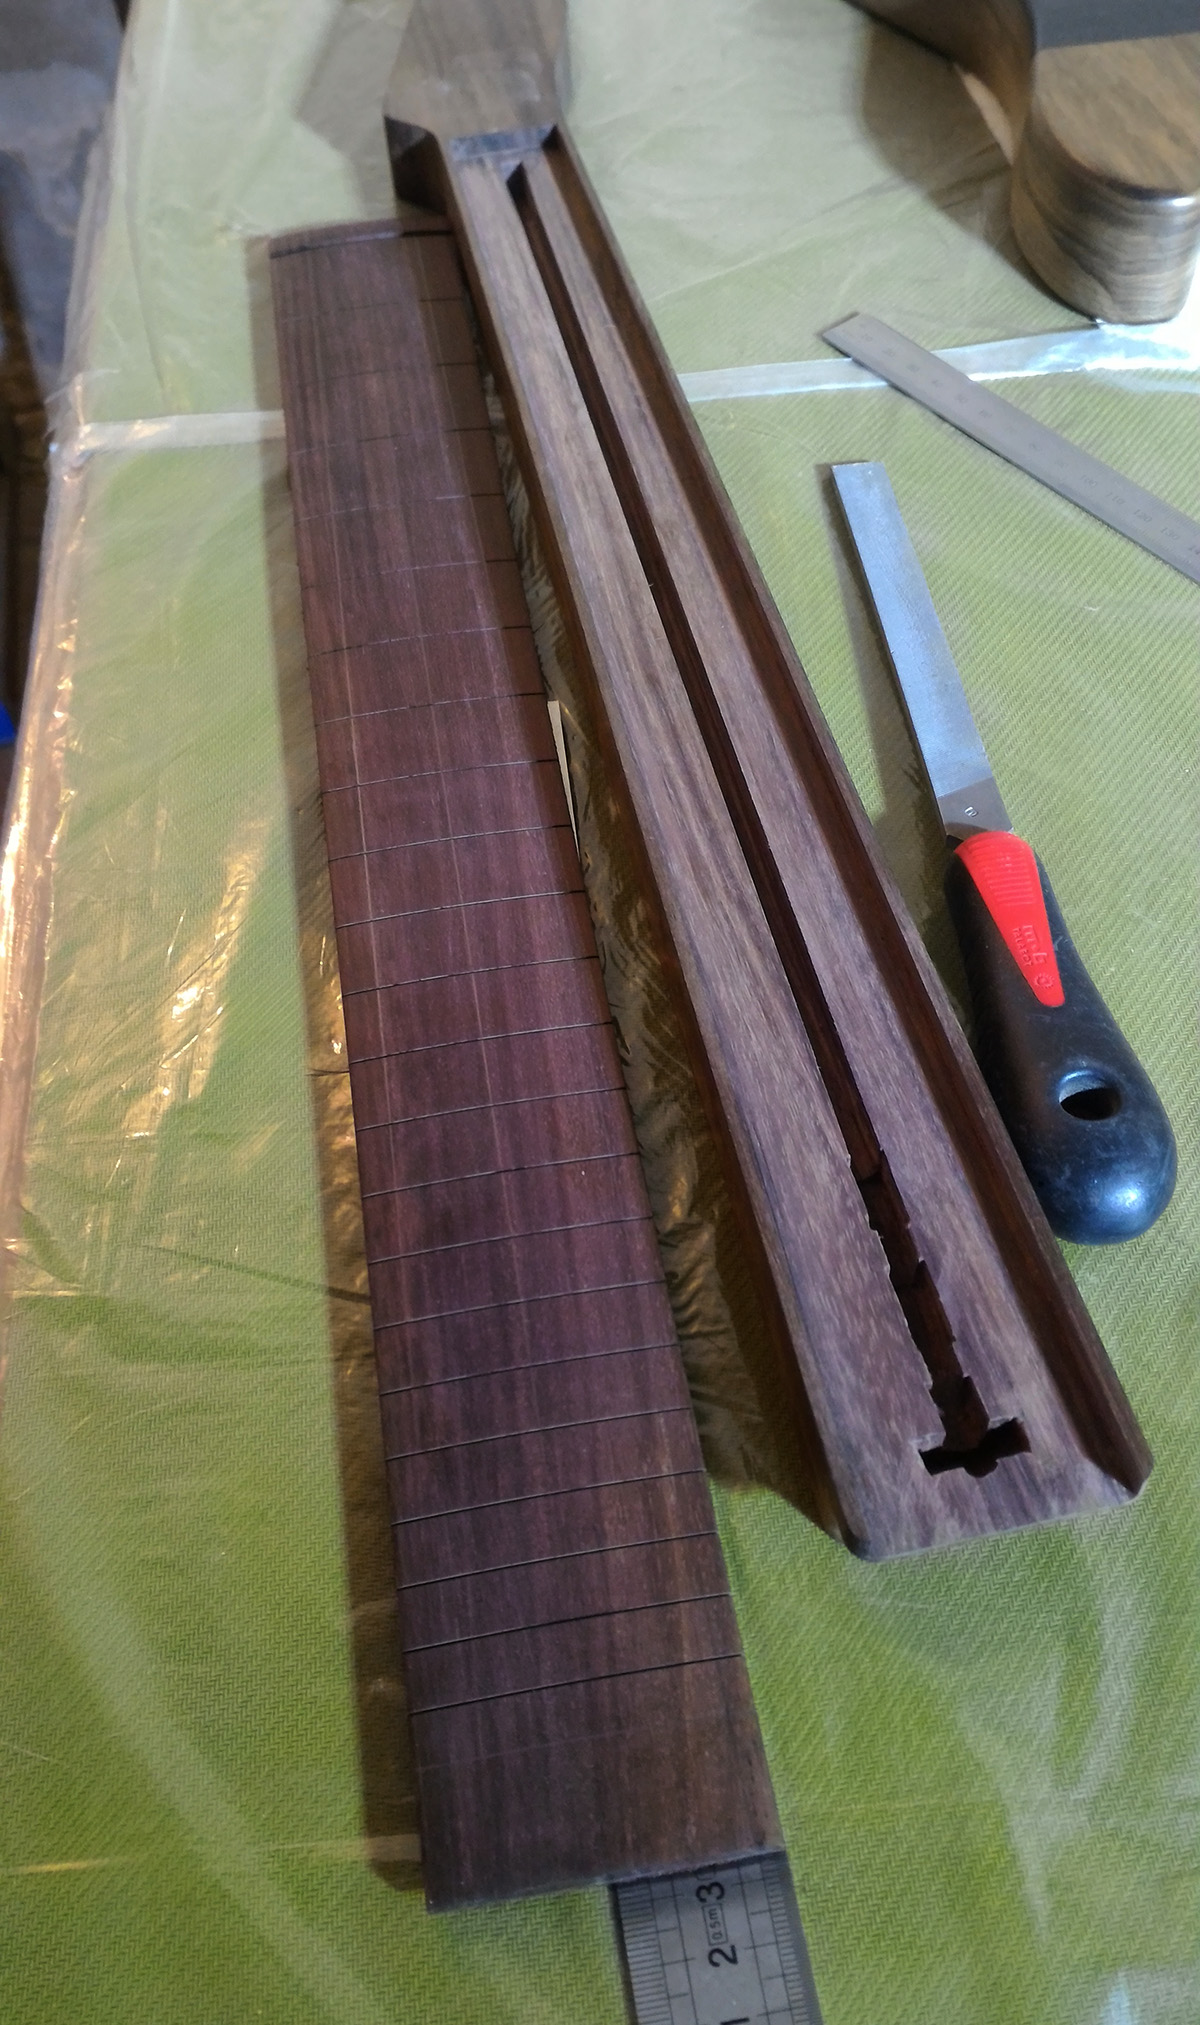
Cutting the taper with a No5 plane
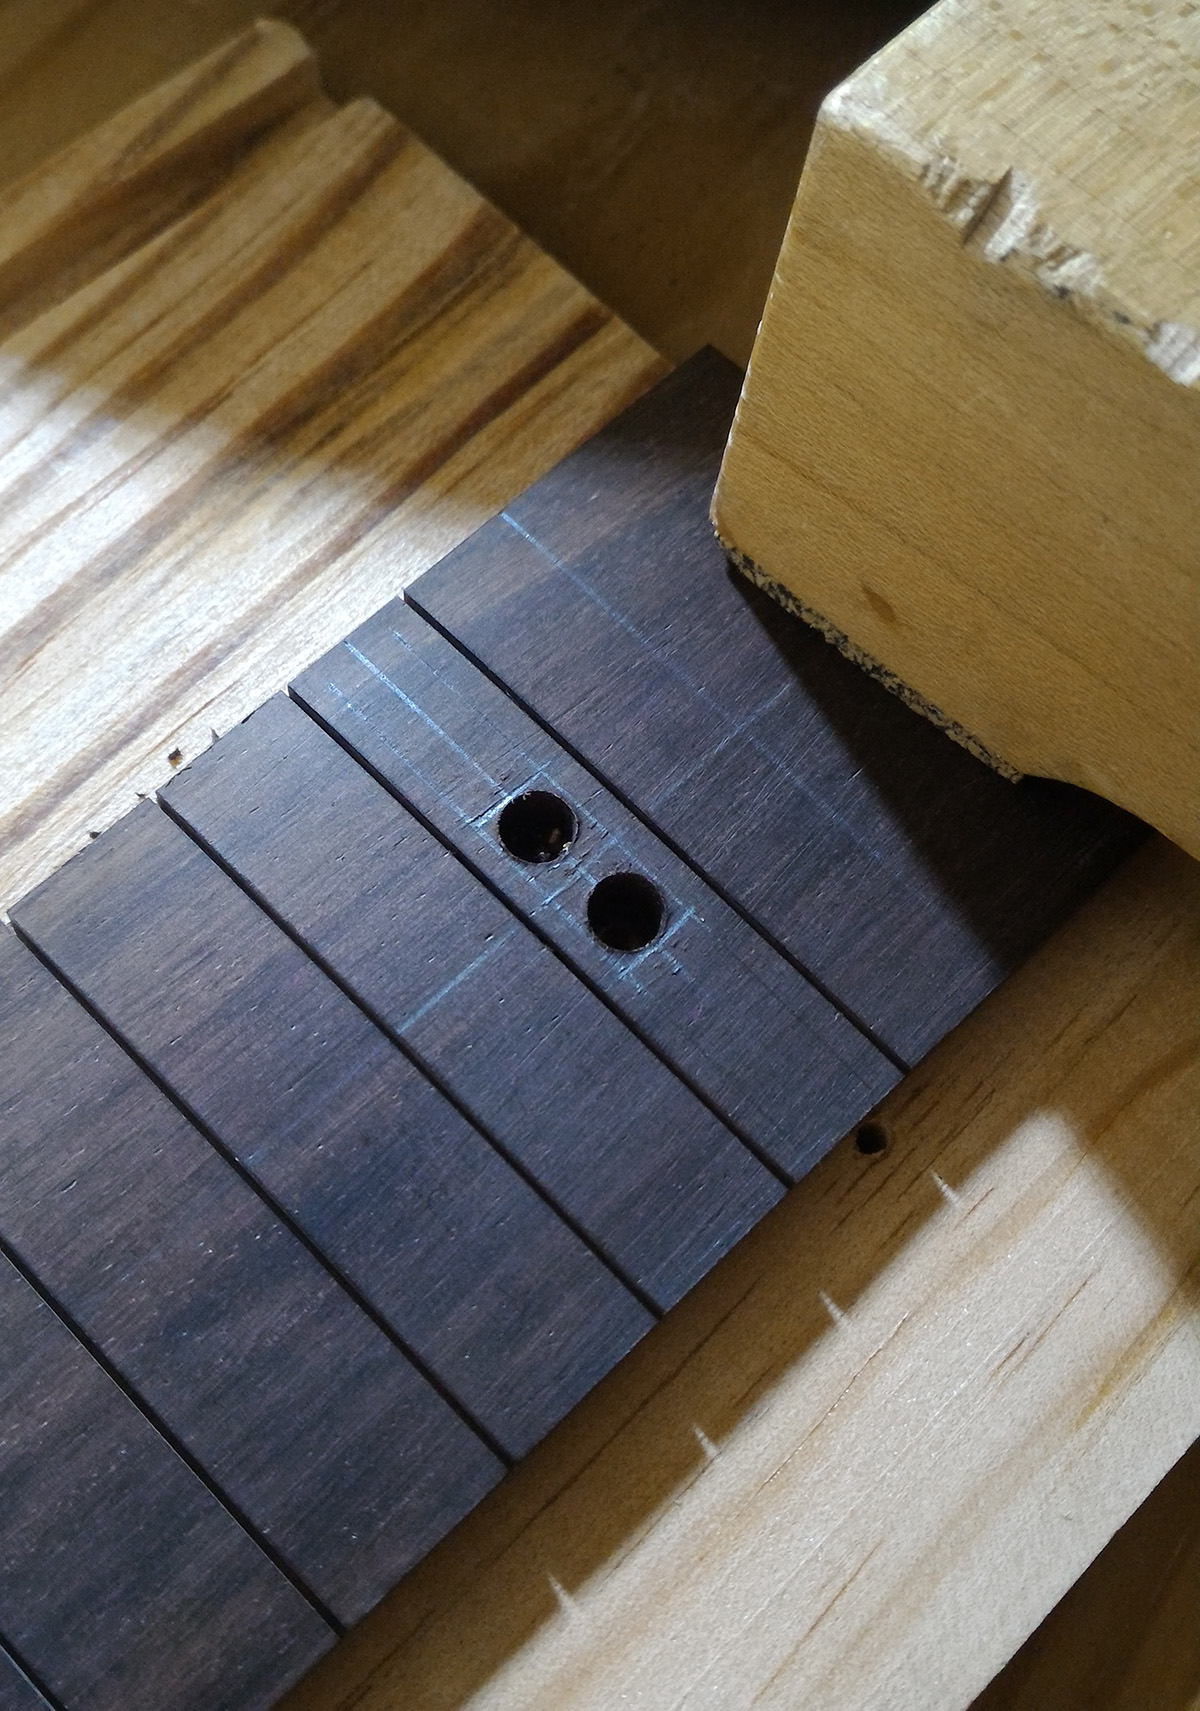
Doing the truss rod access hole at the end of the fingerboard
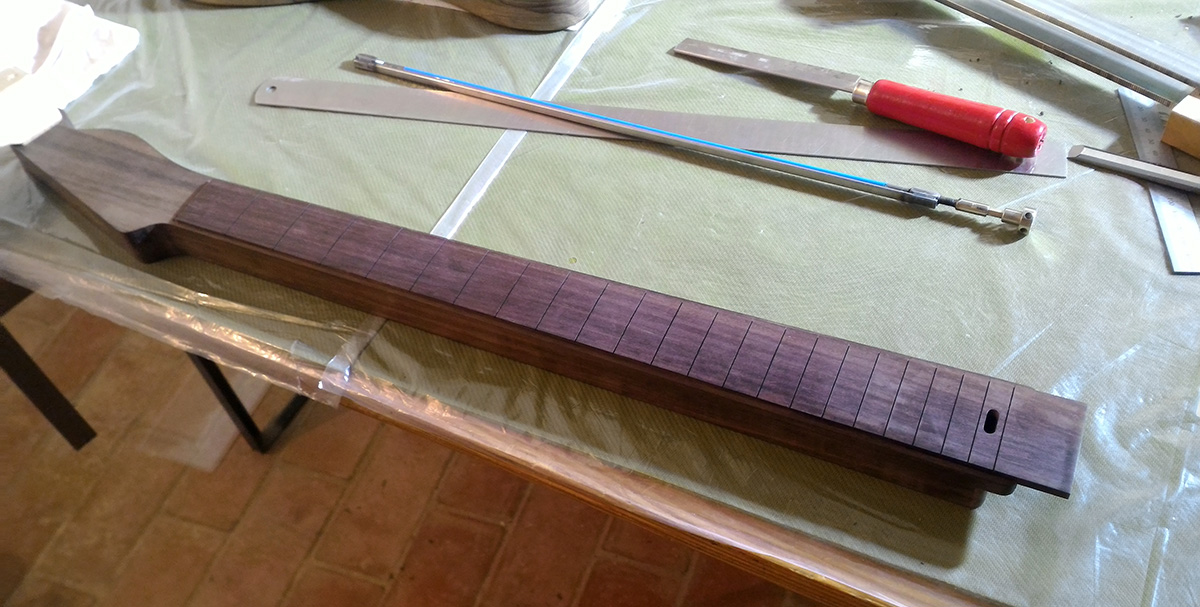
test fitting
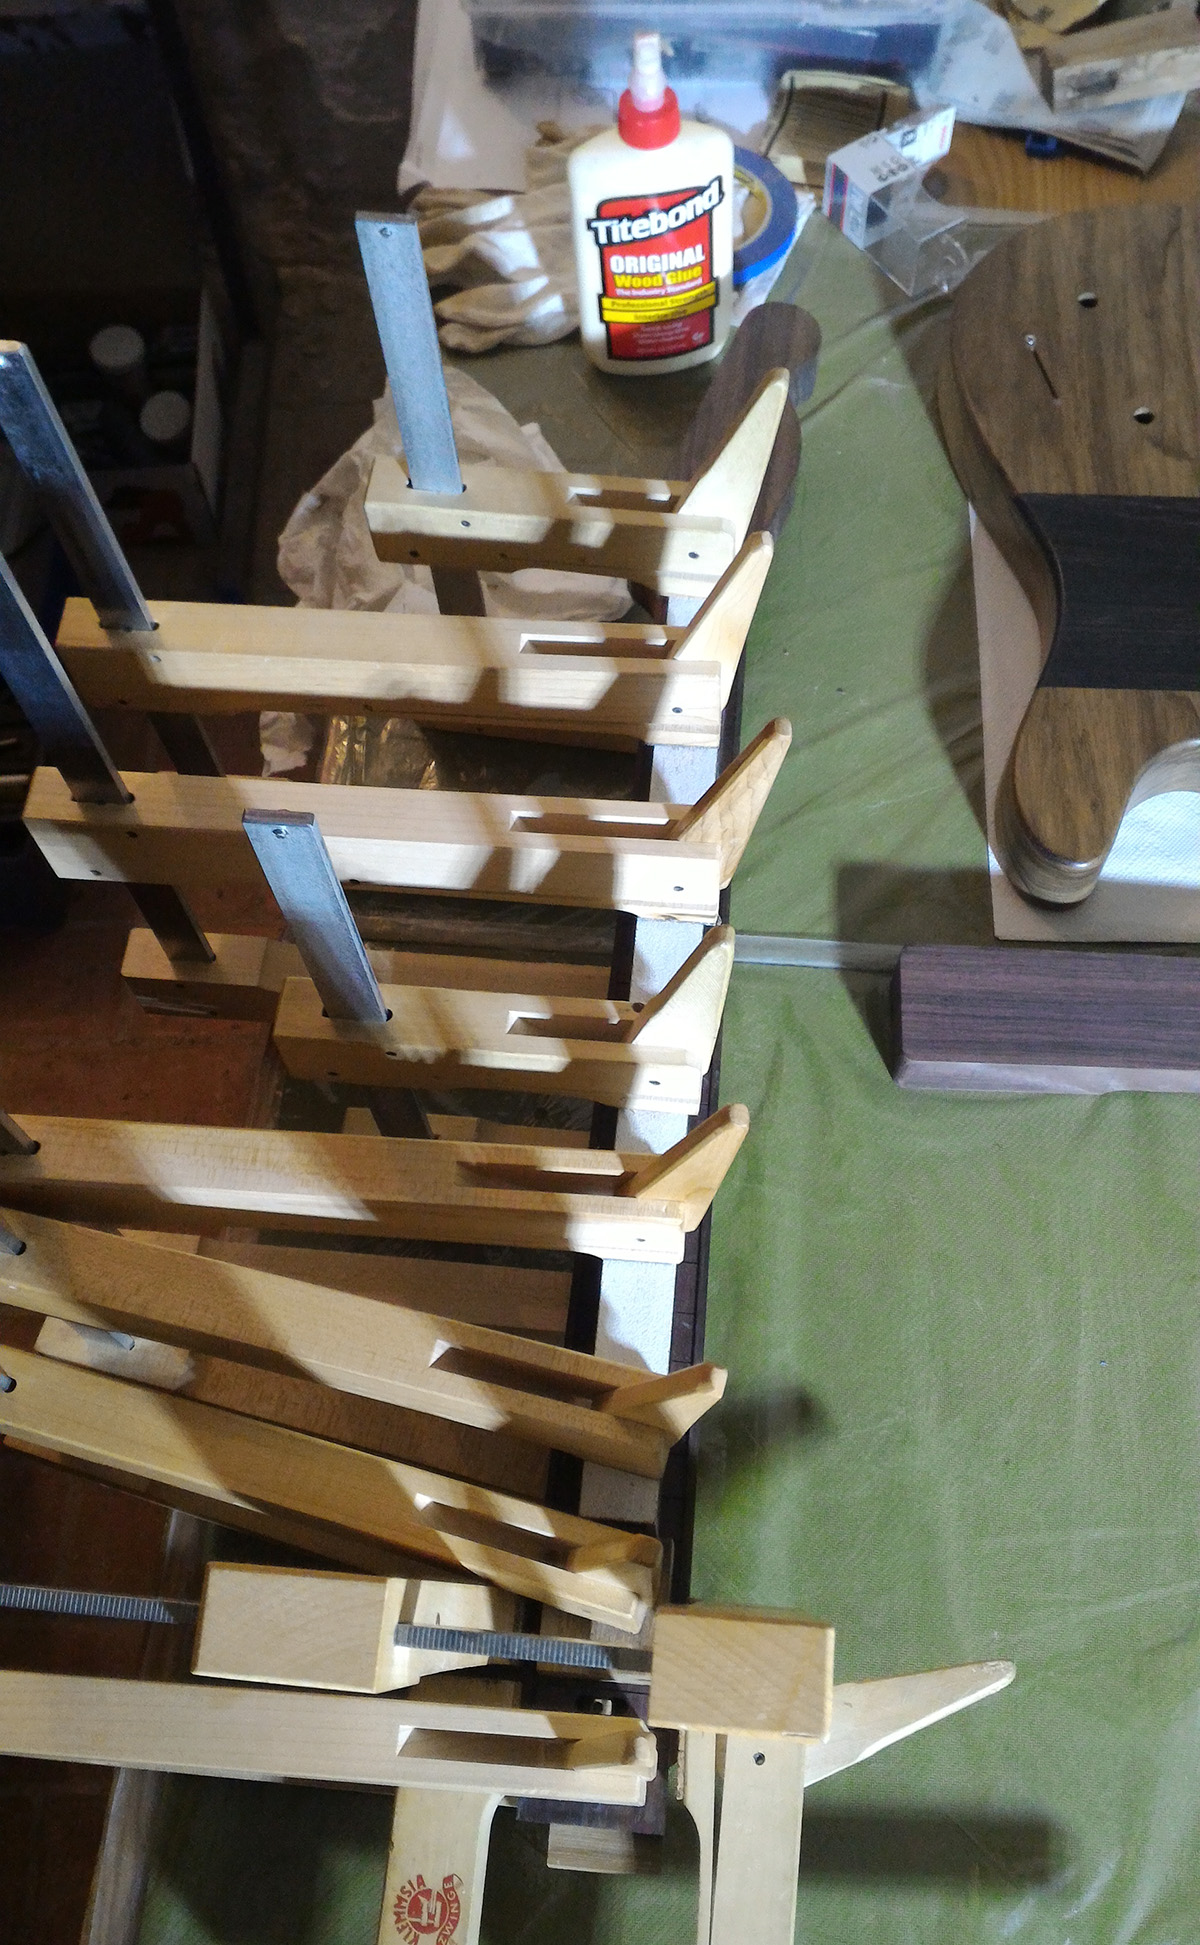
and gluing!
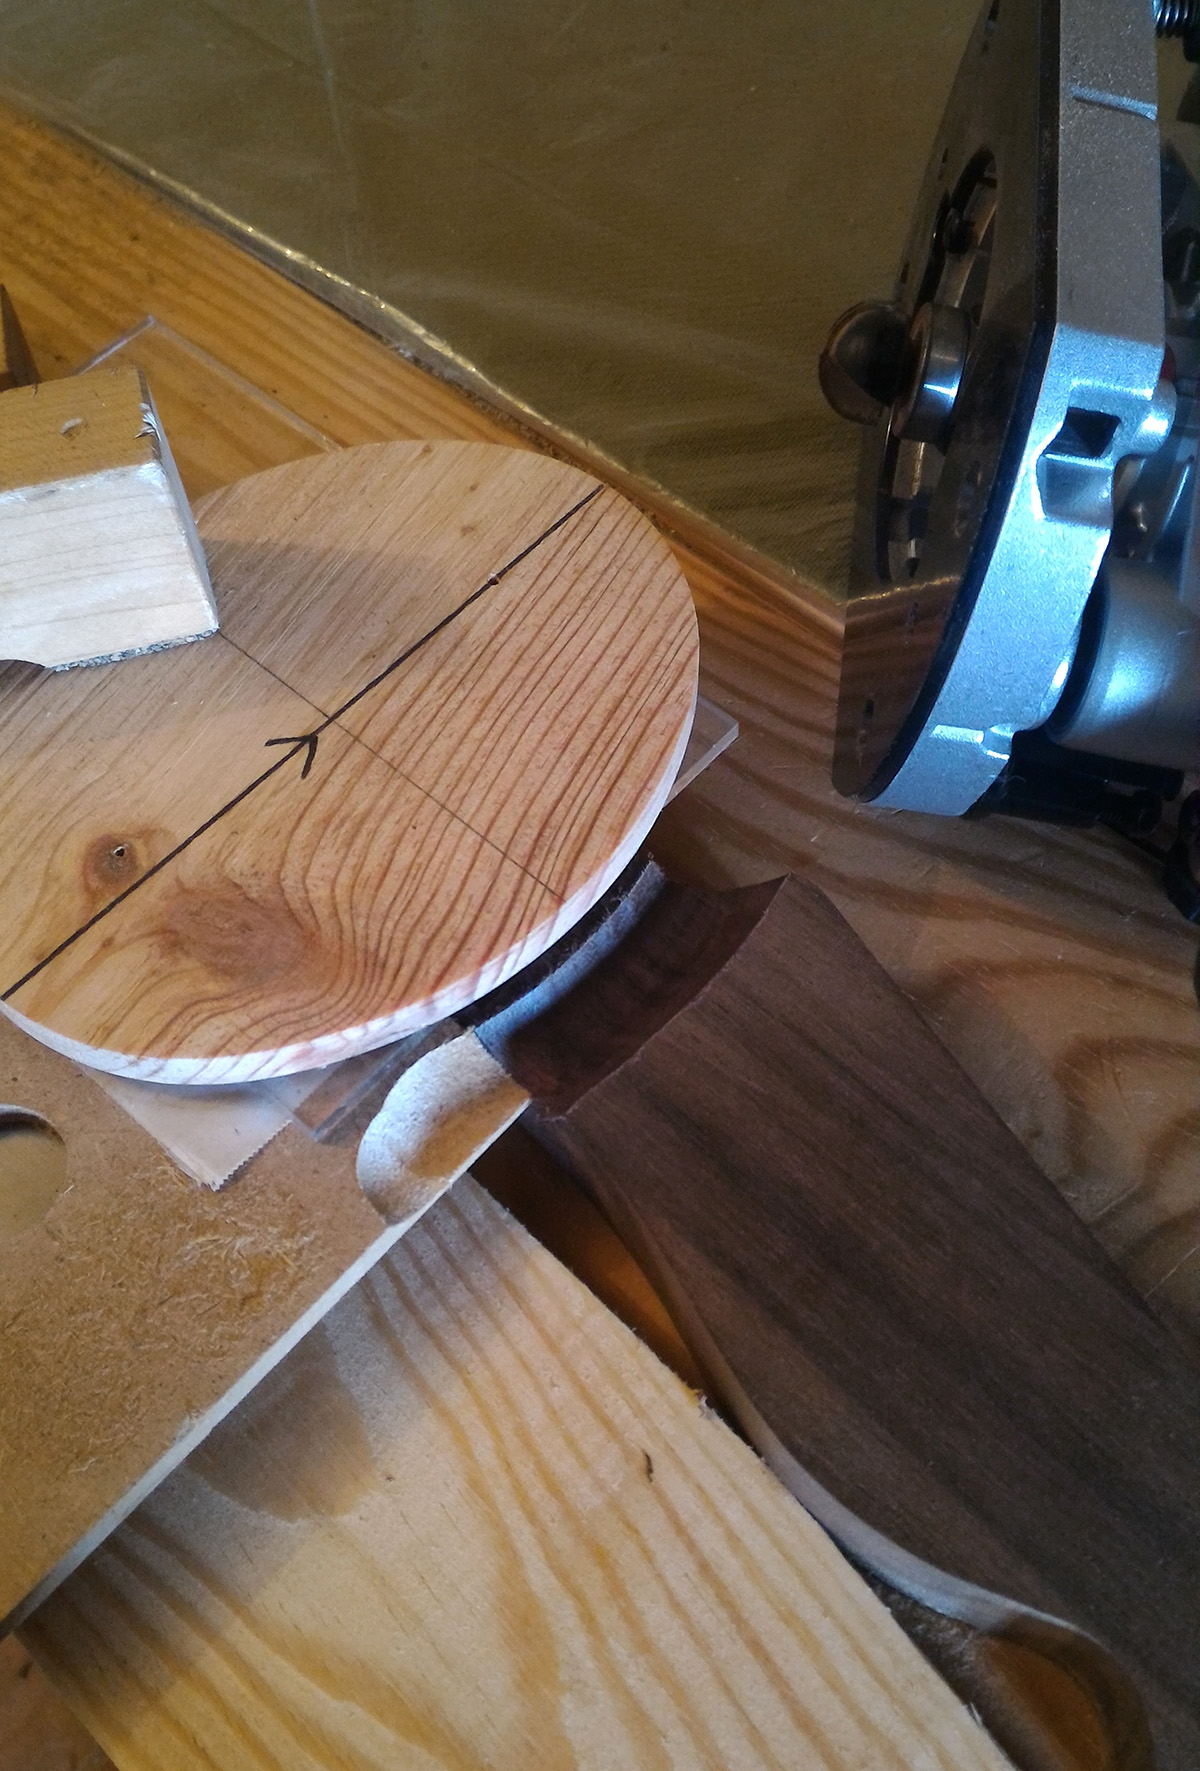
now, for the headstock, first routing a rough curve with the router
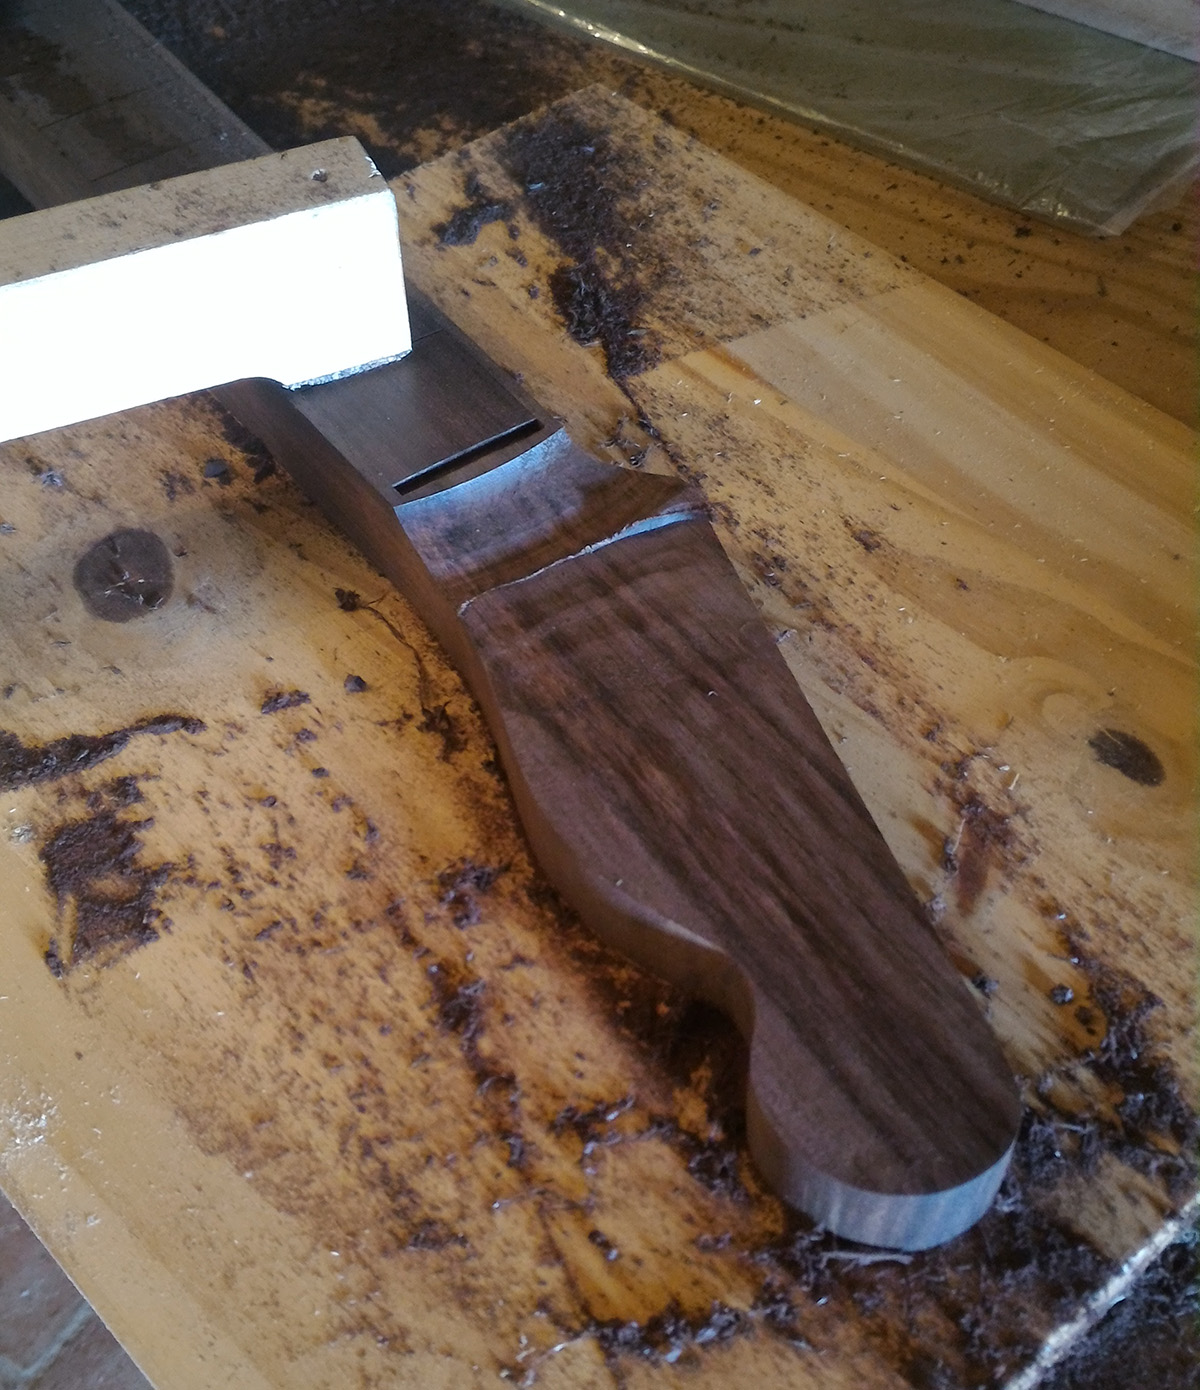
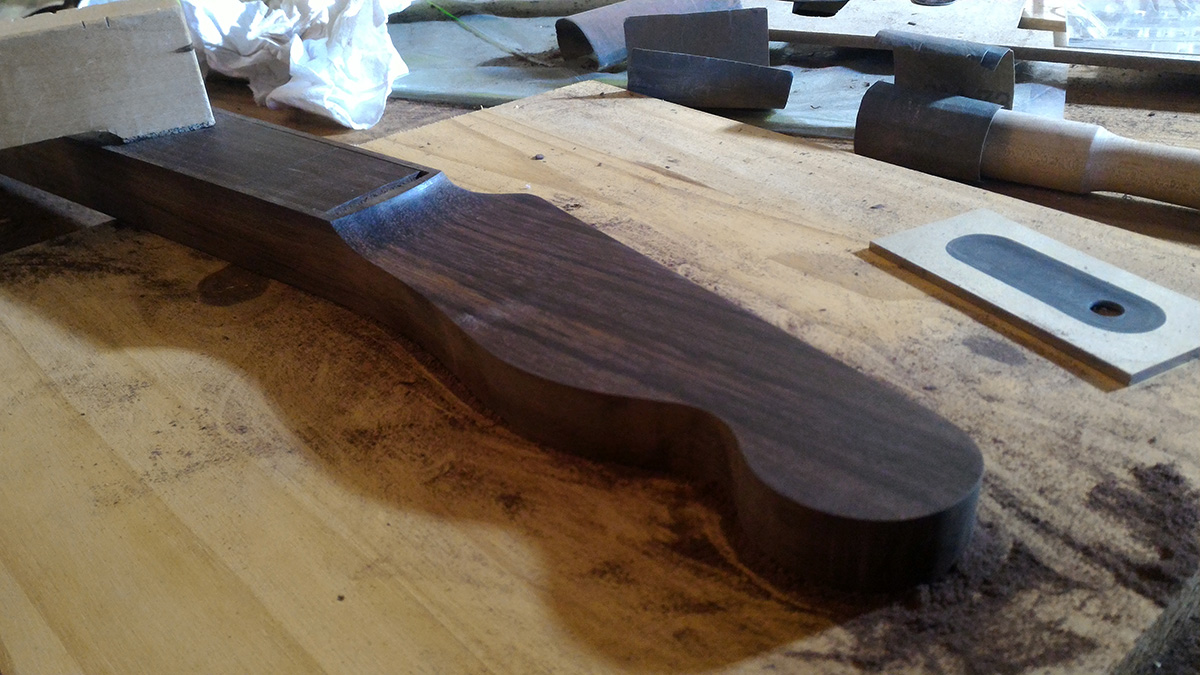
making the (almost) final shape with a rasp
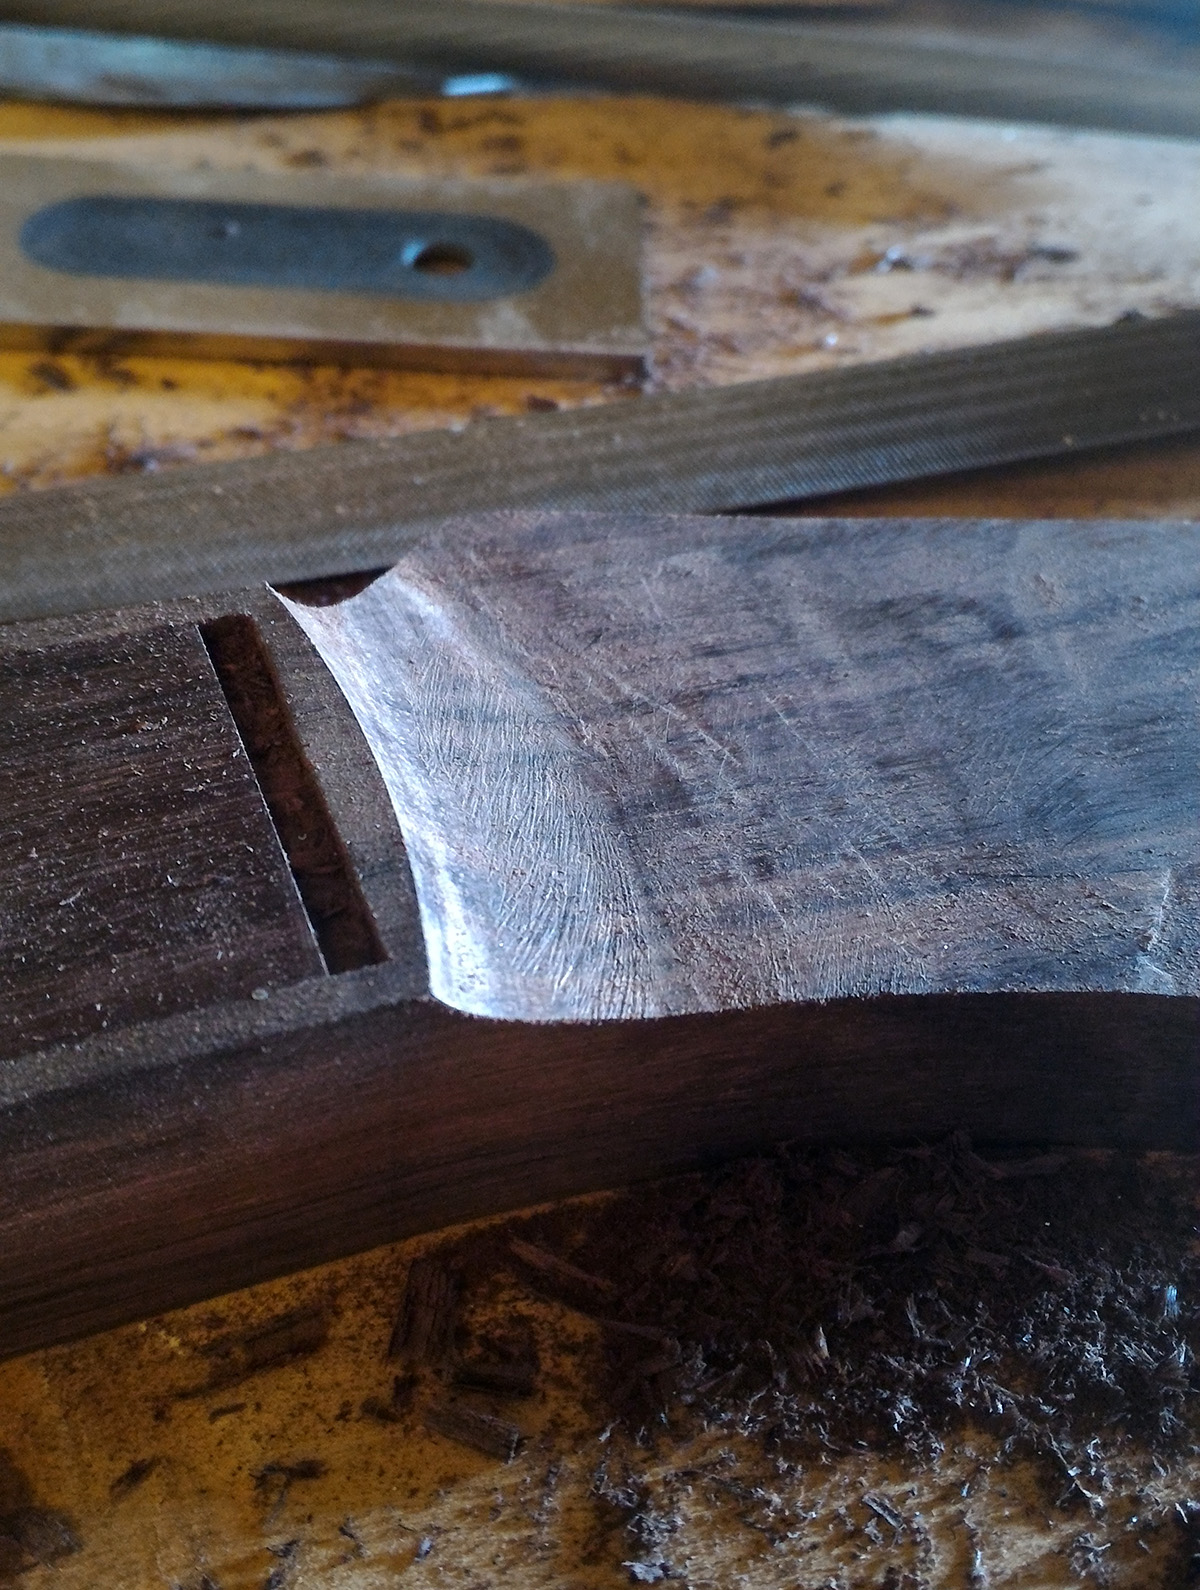
and then finishing with scrapers and sandpaper
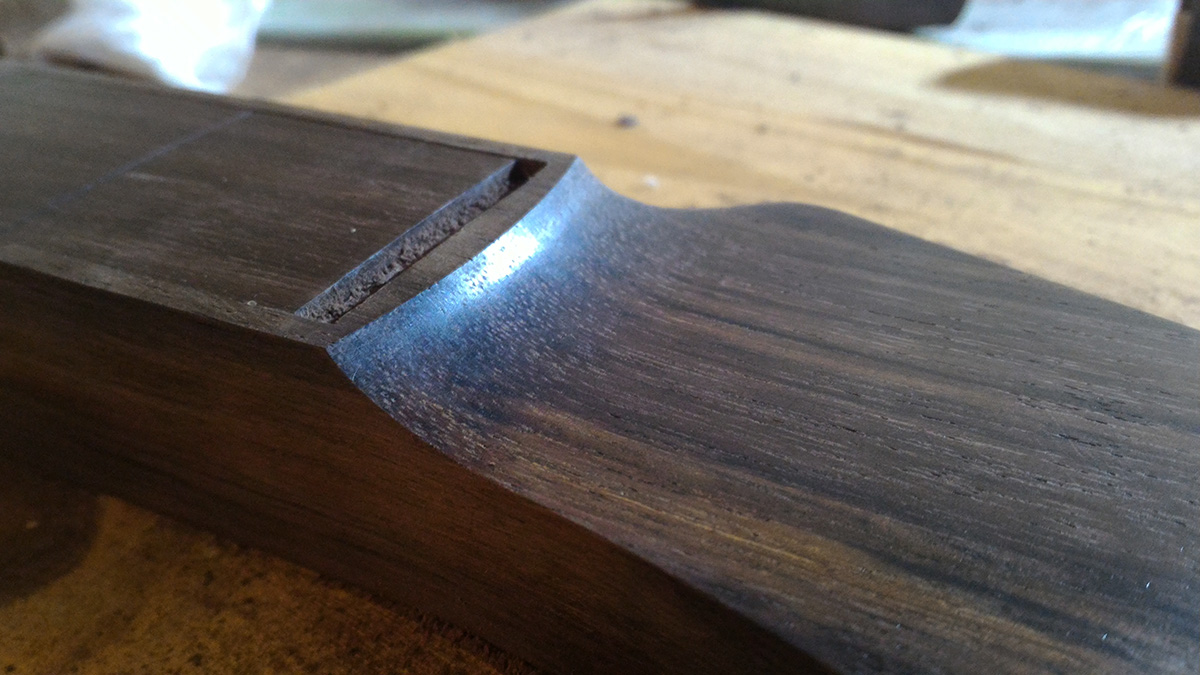
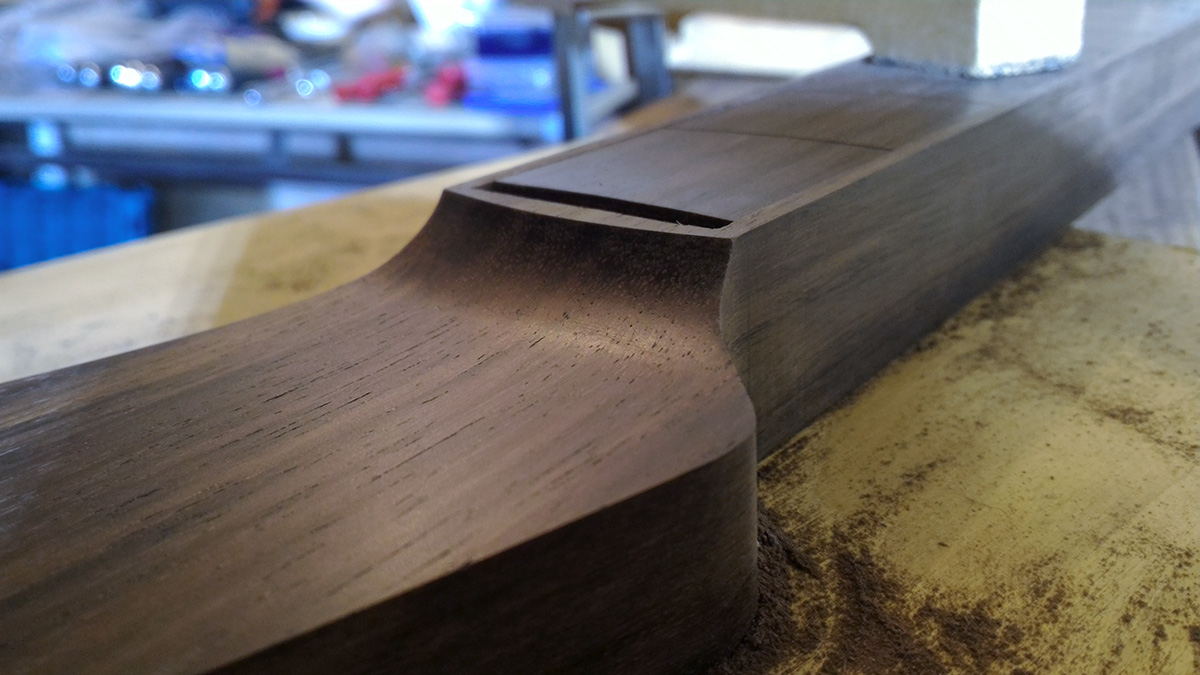
Then we need to cut the fingerboard flush to the end of the neck
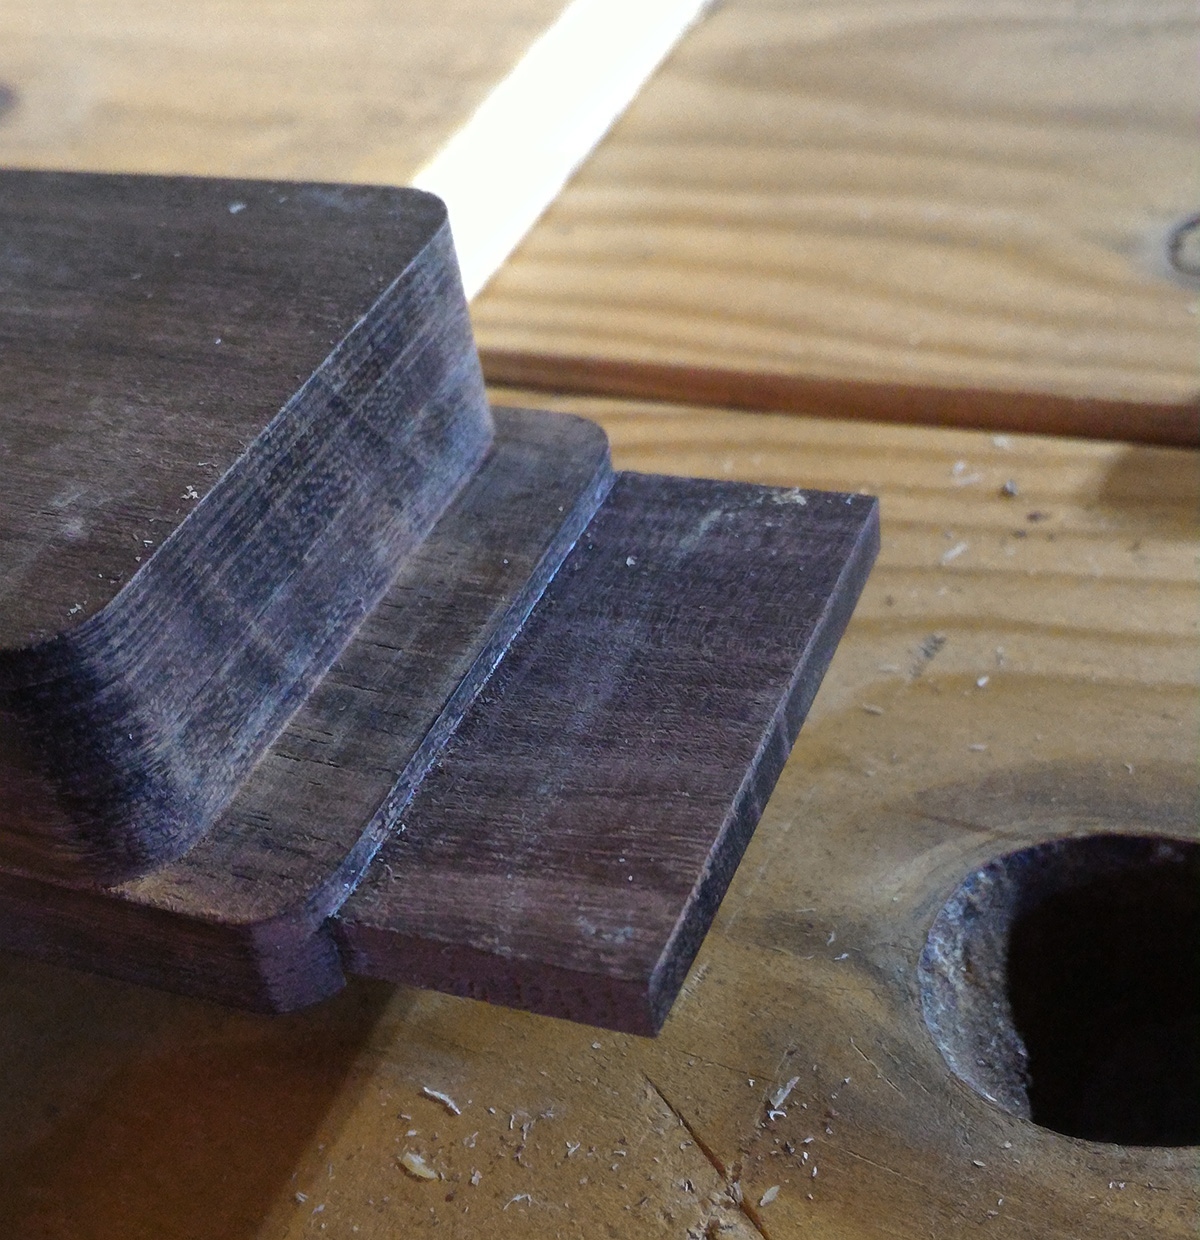
here we can see lighter spots where there is microns of difference between the two pieces of wood
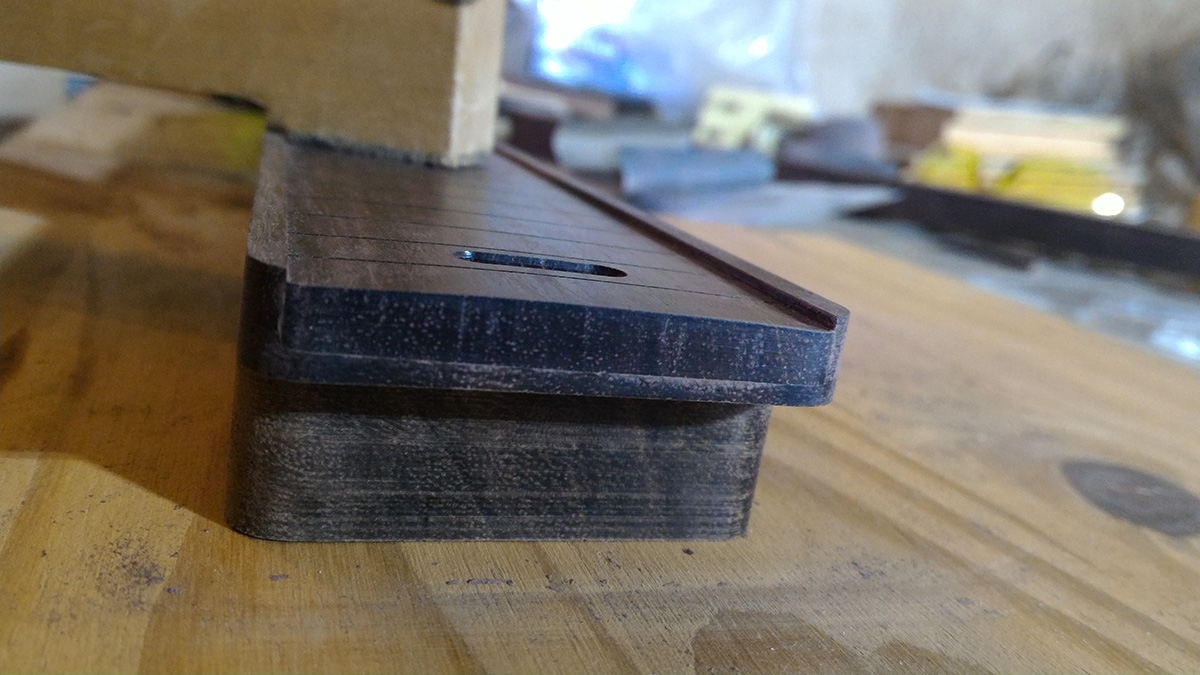
there, almost perfect, should be quite invisible after final sanding and wax
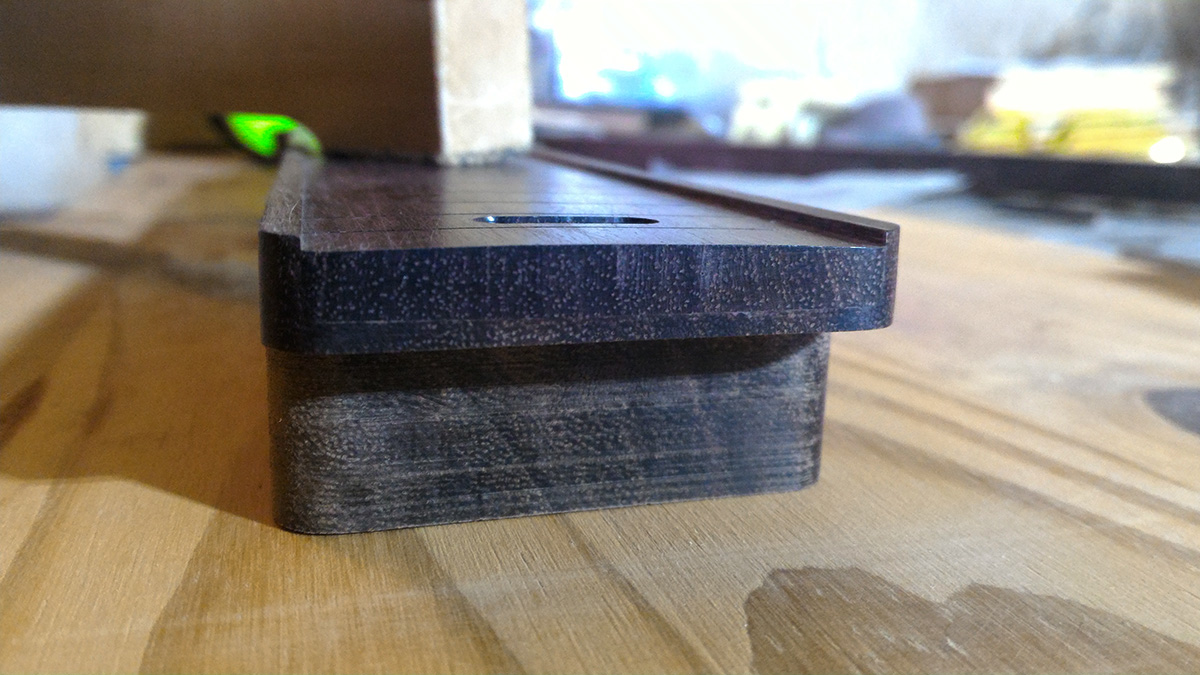
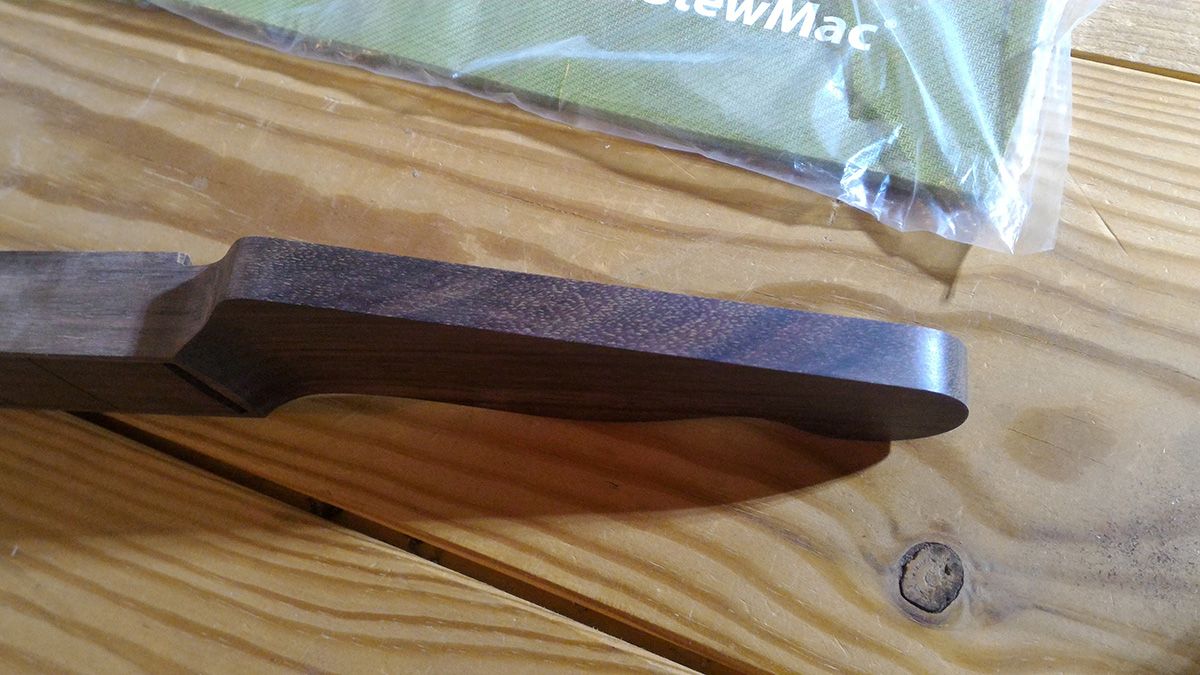
and a little side view of the head with its final thickness, that wood is going to look quite nice when finished!
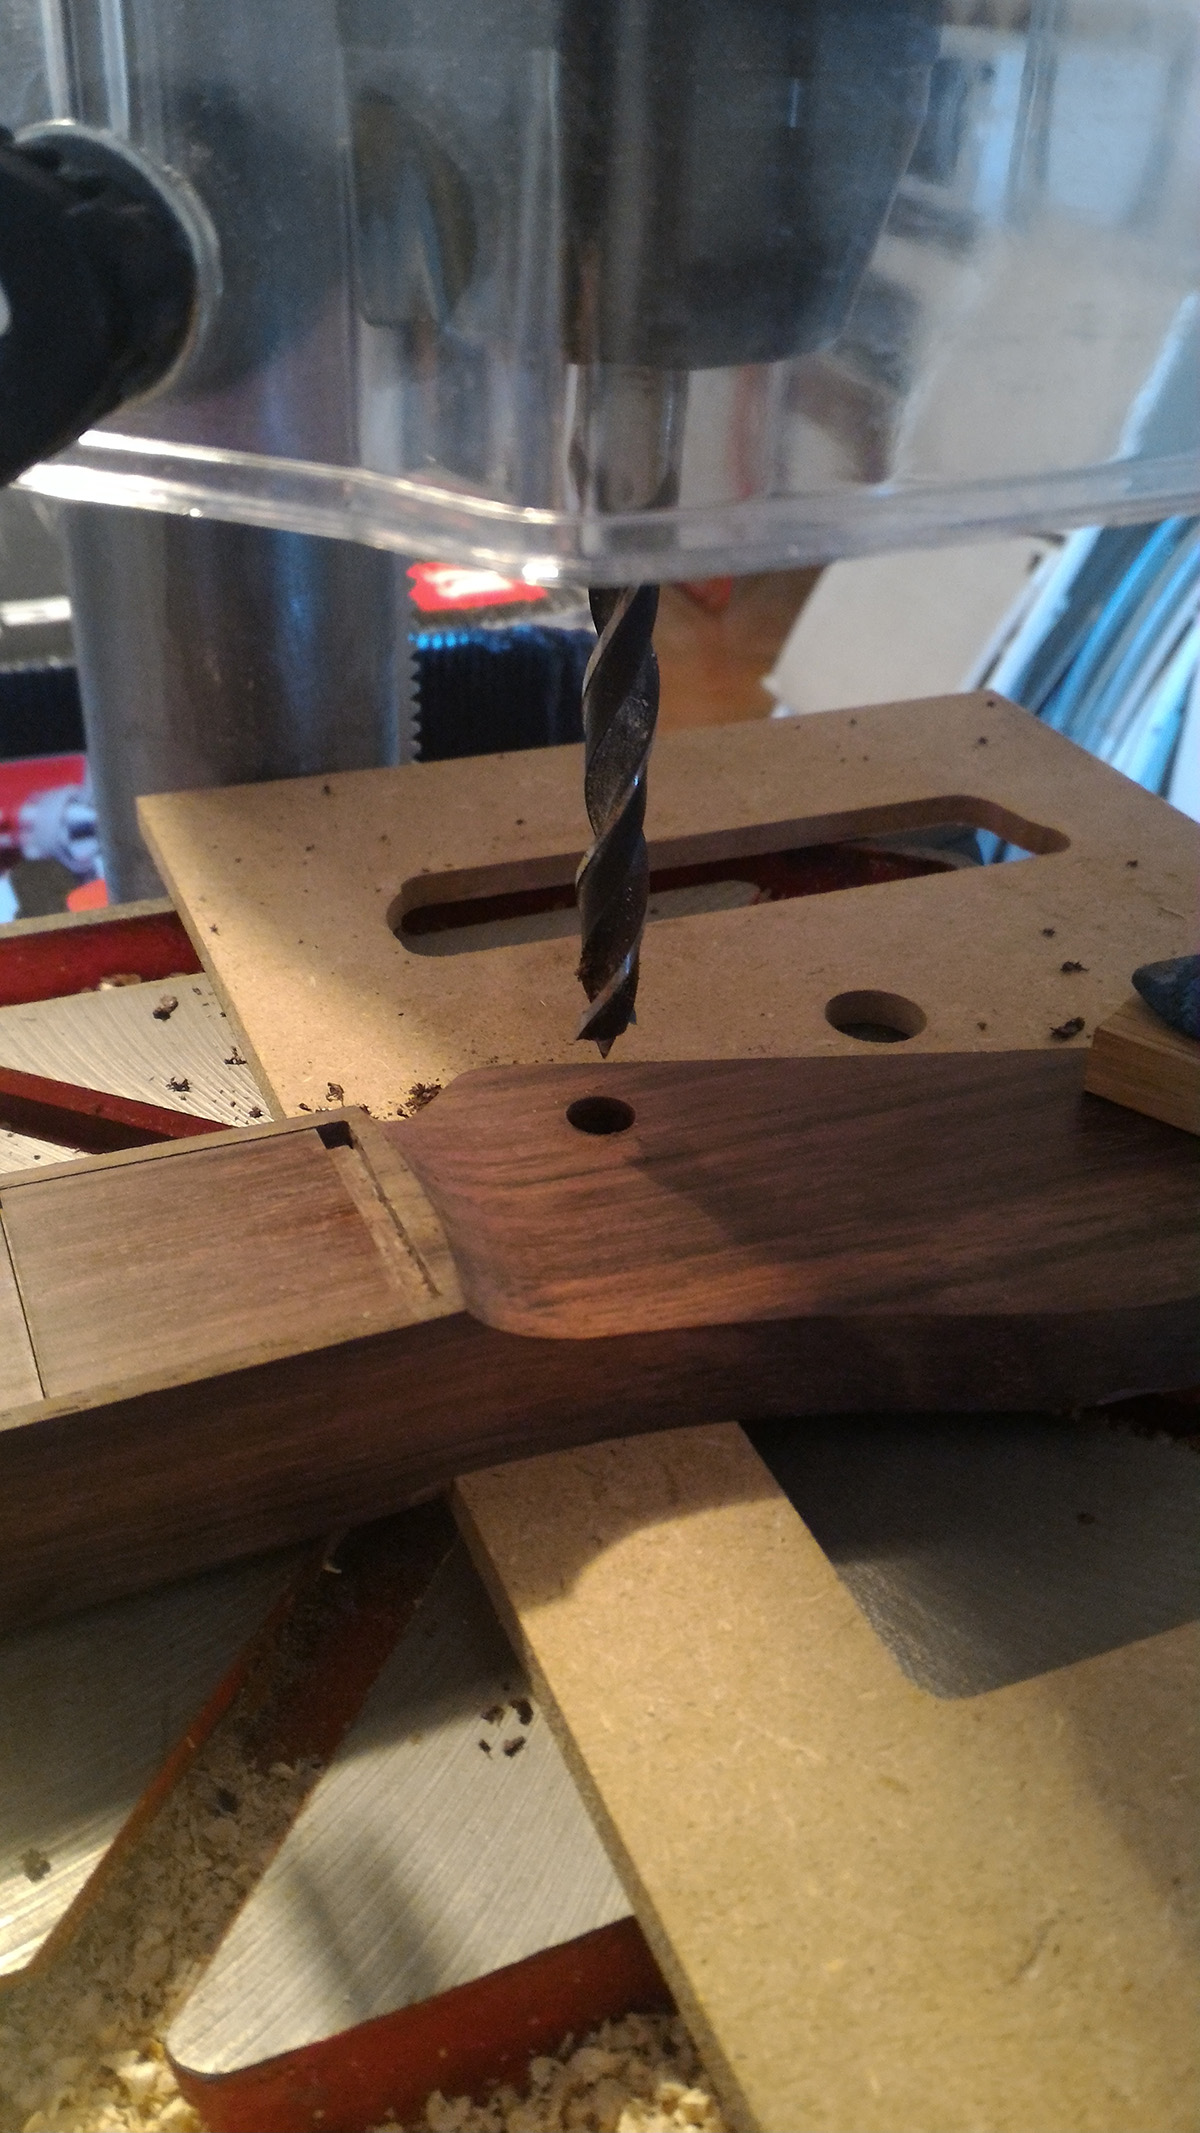
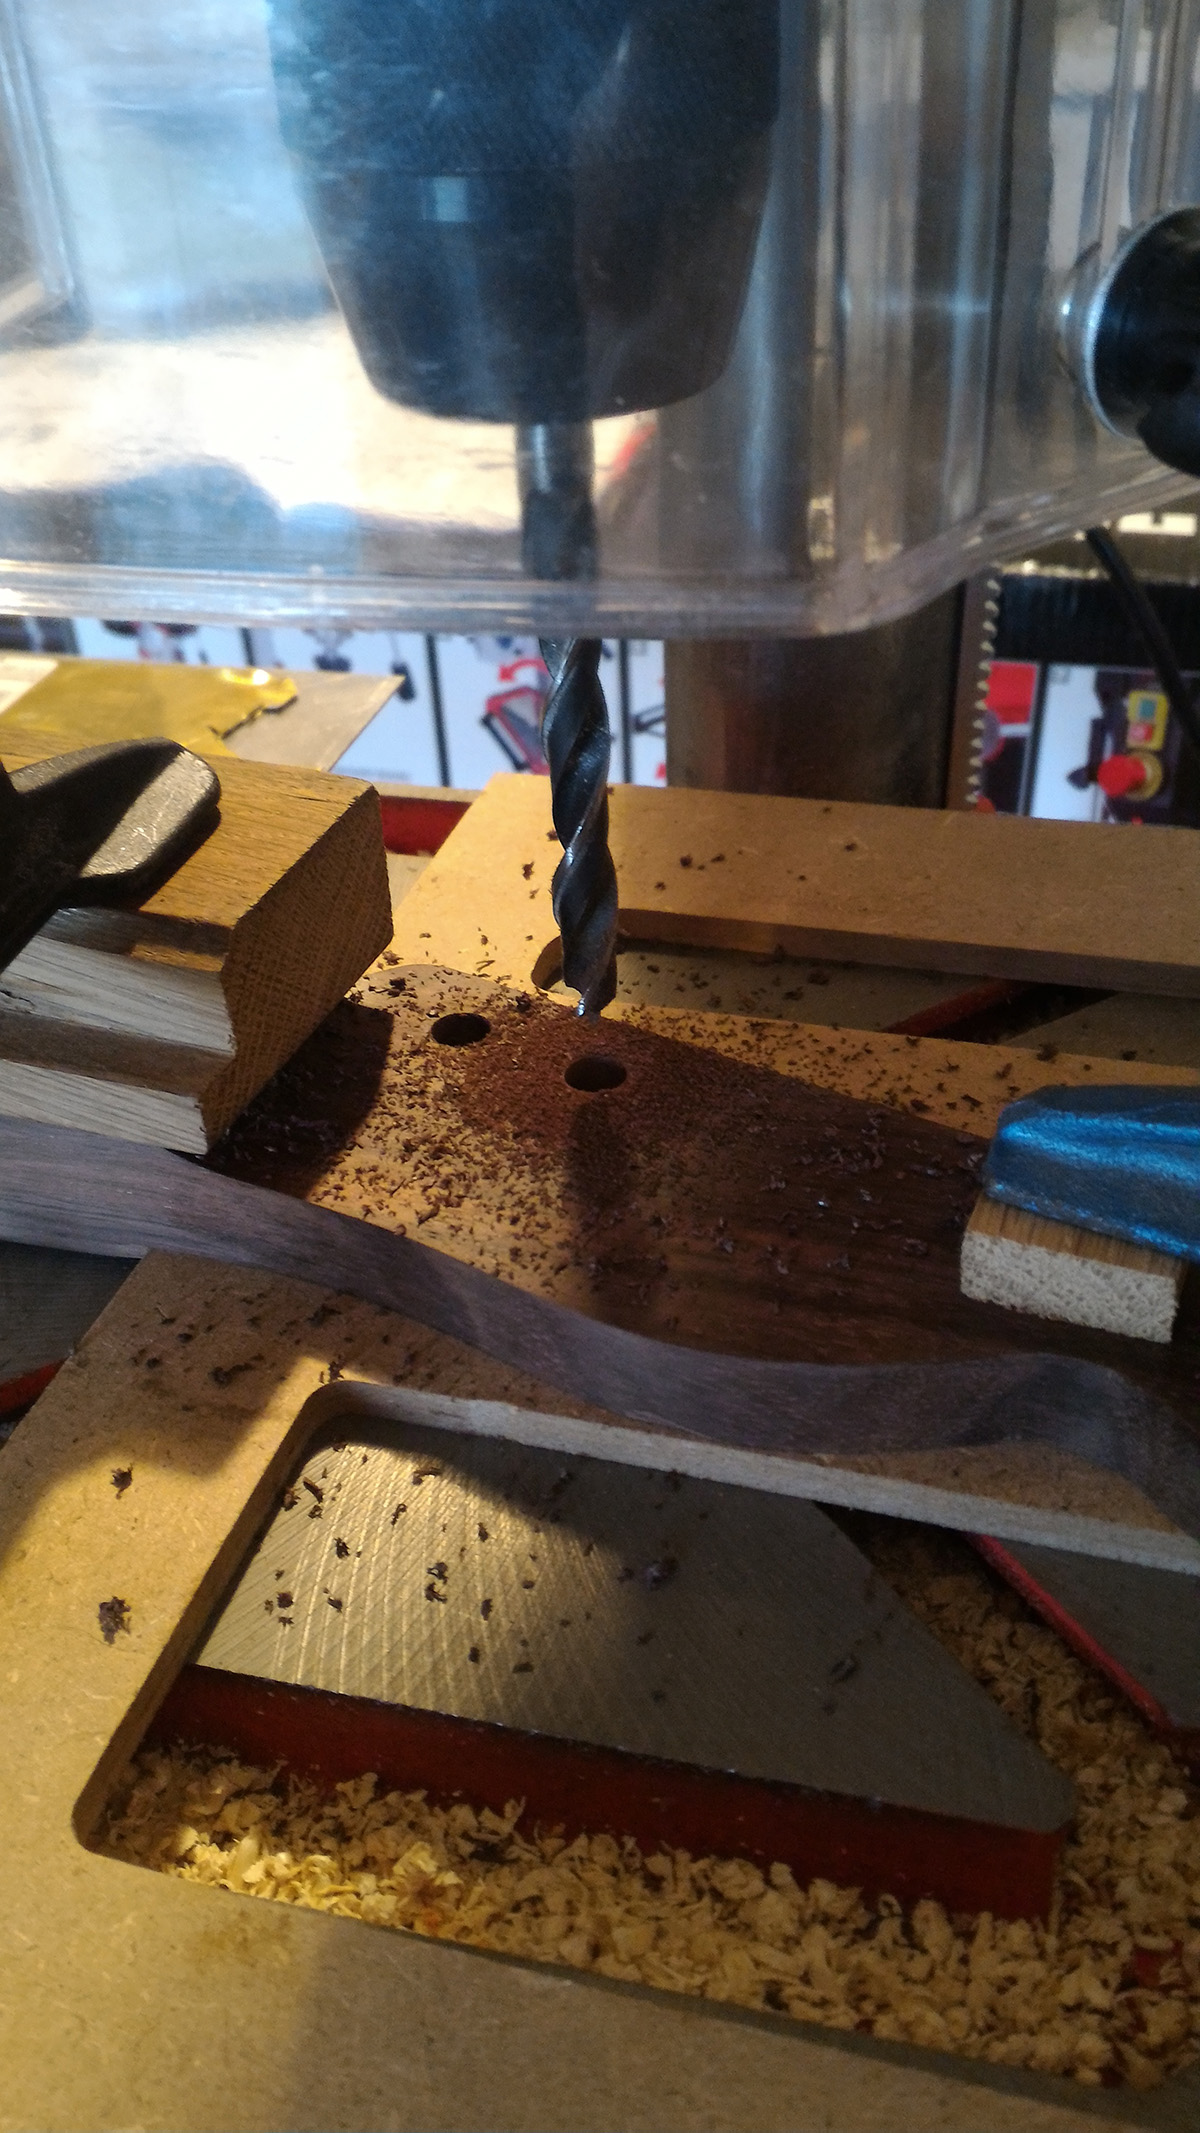
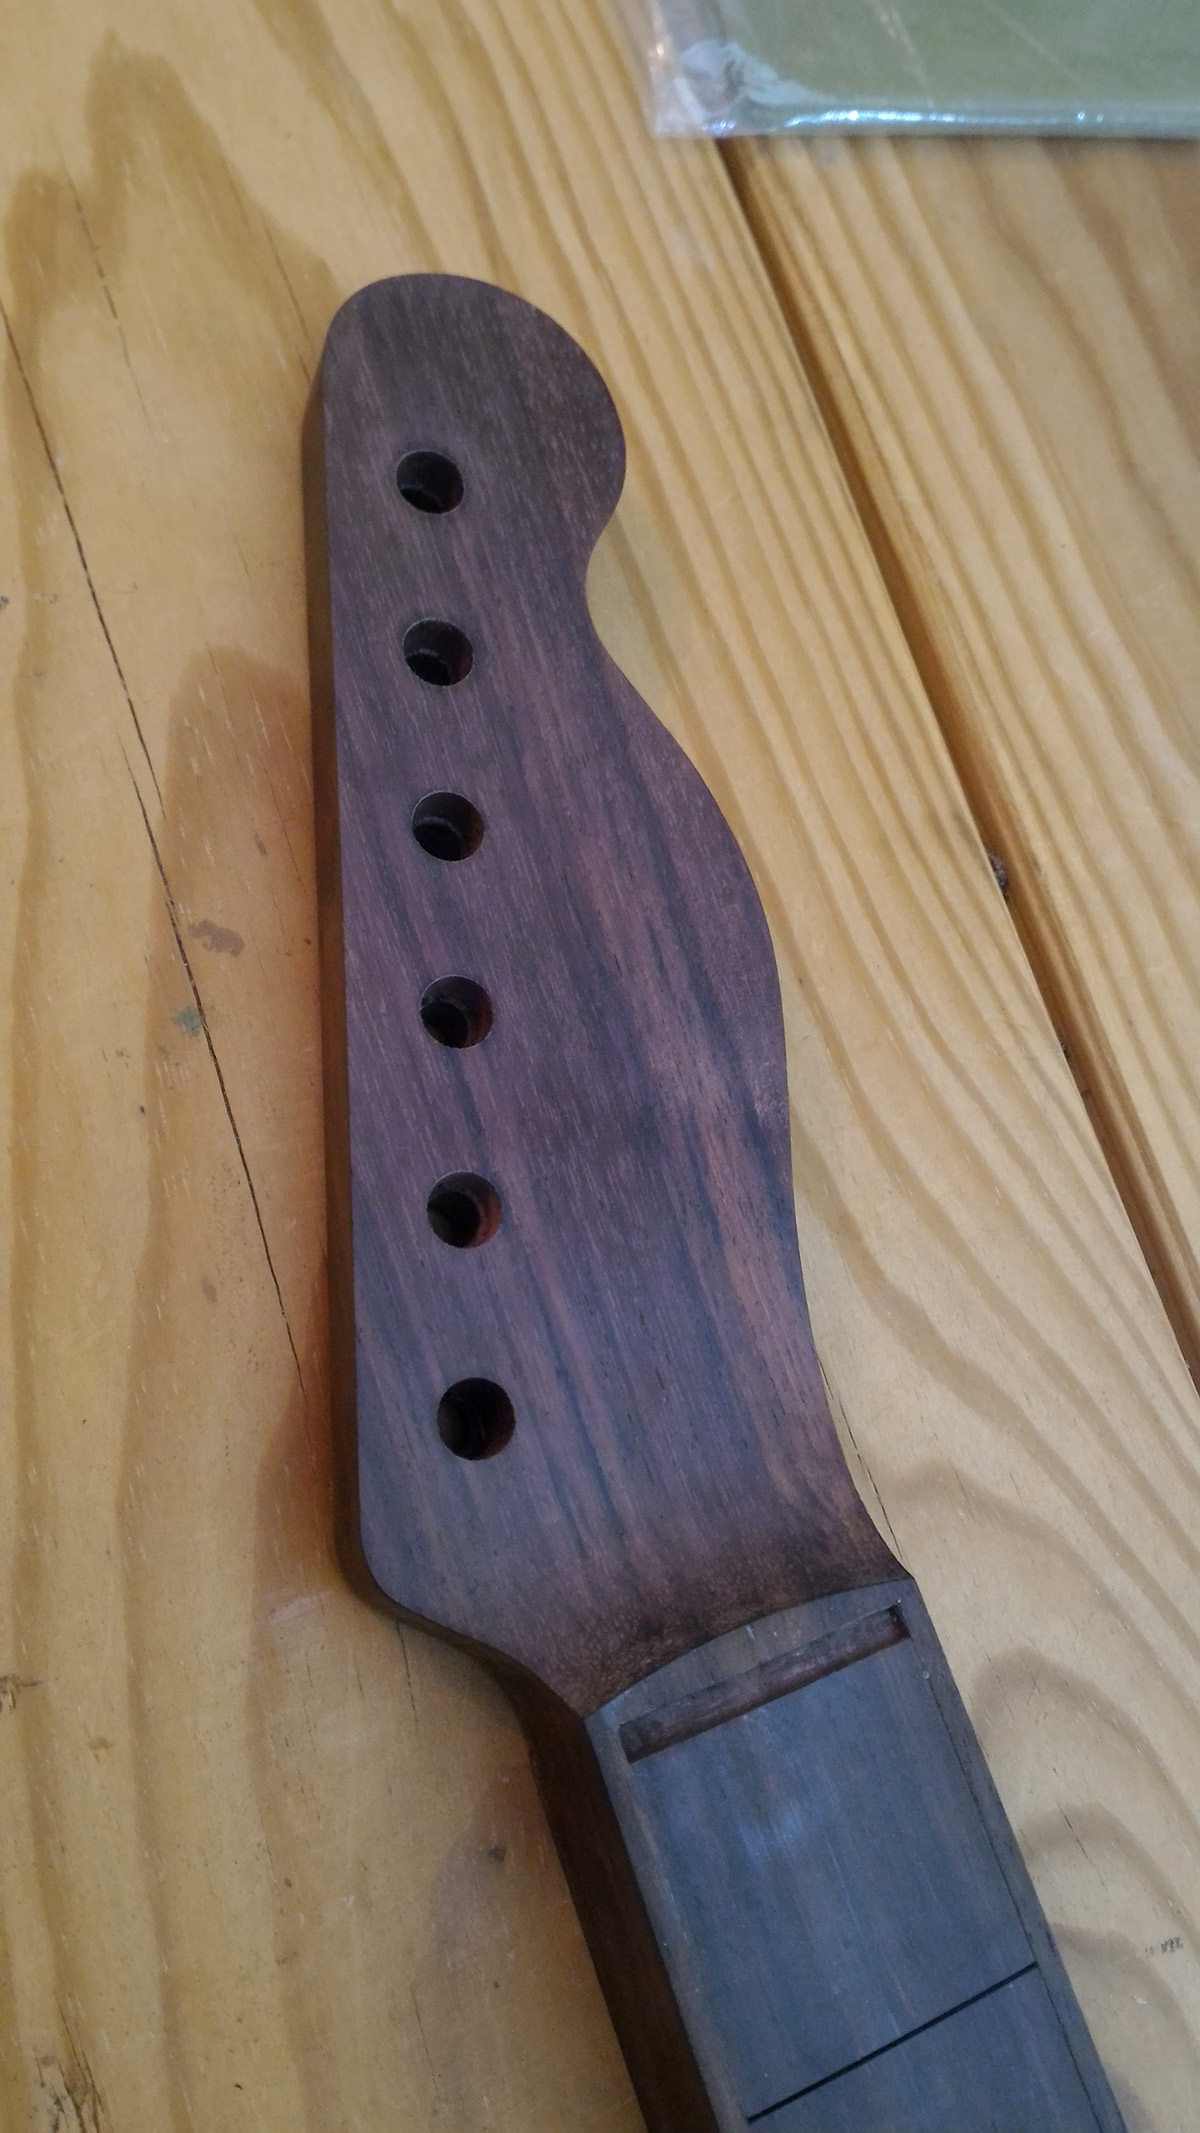
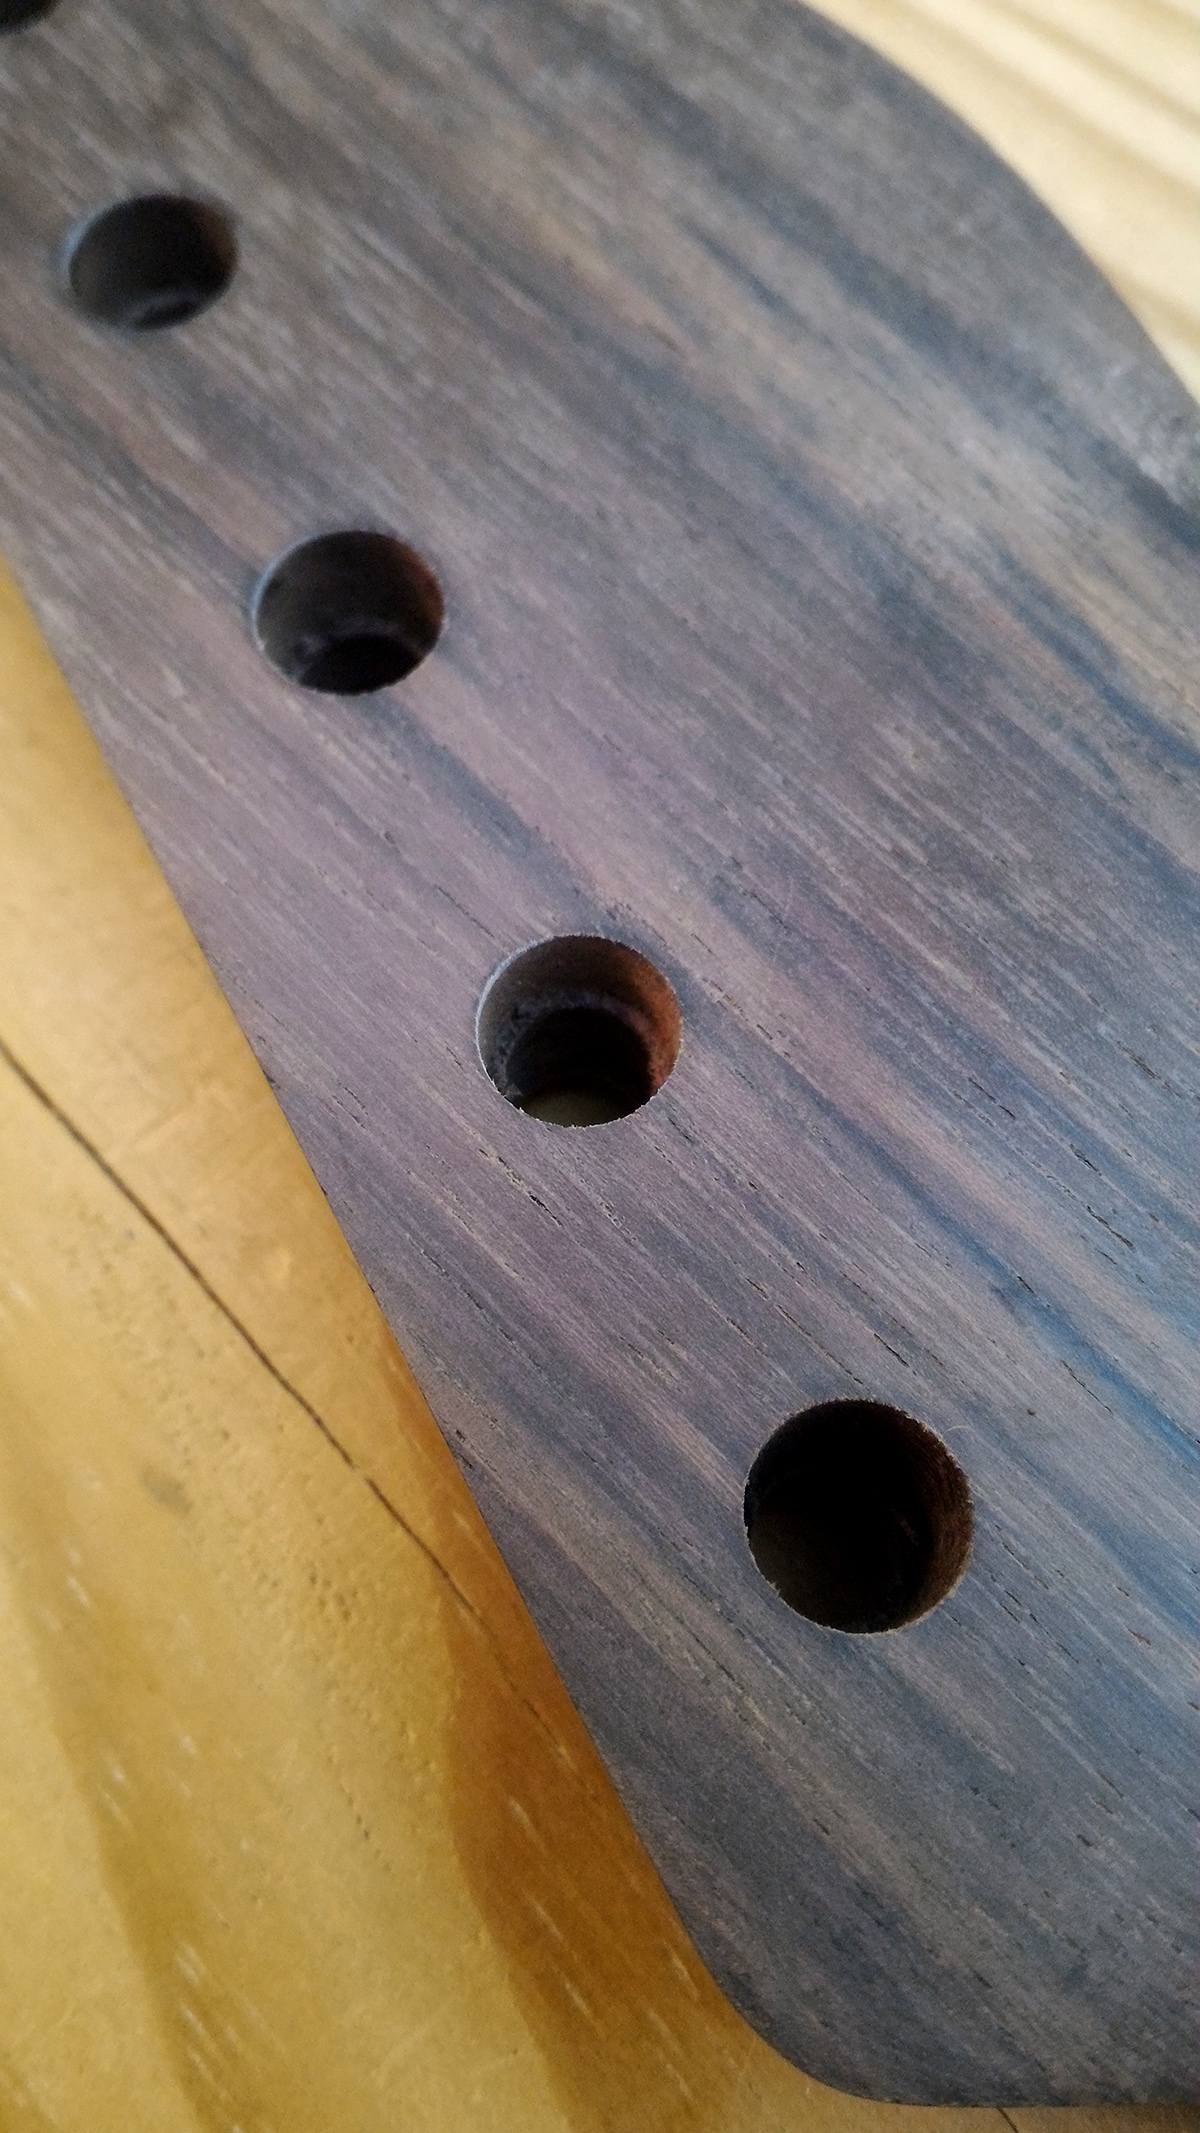
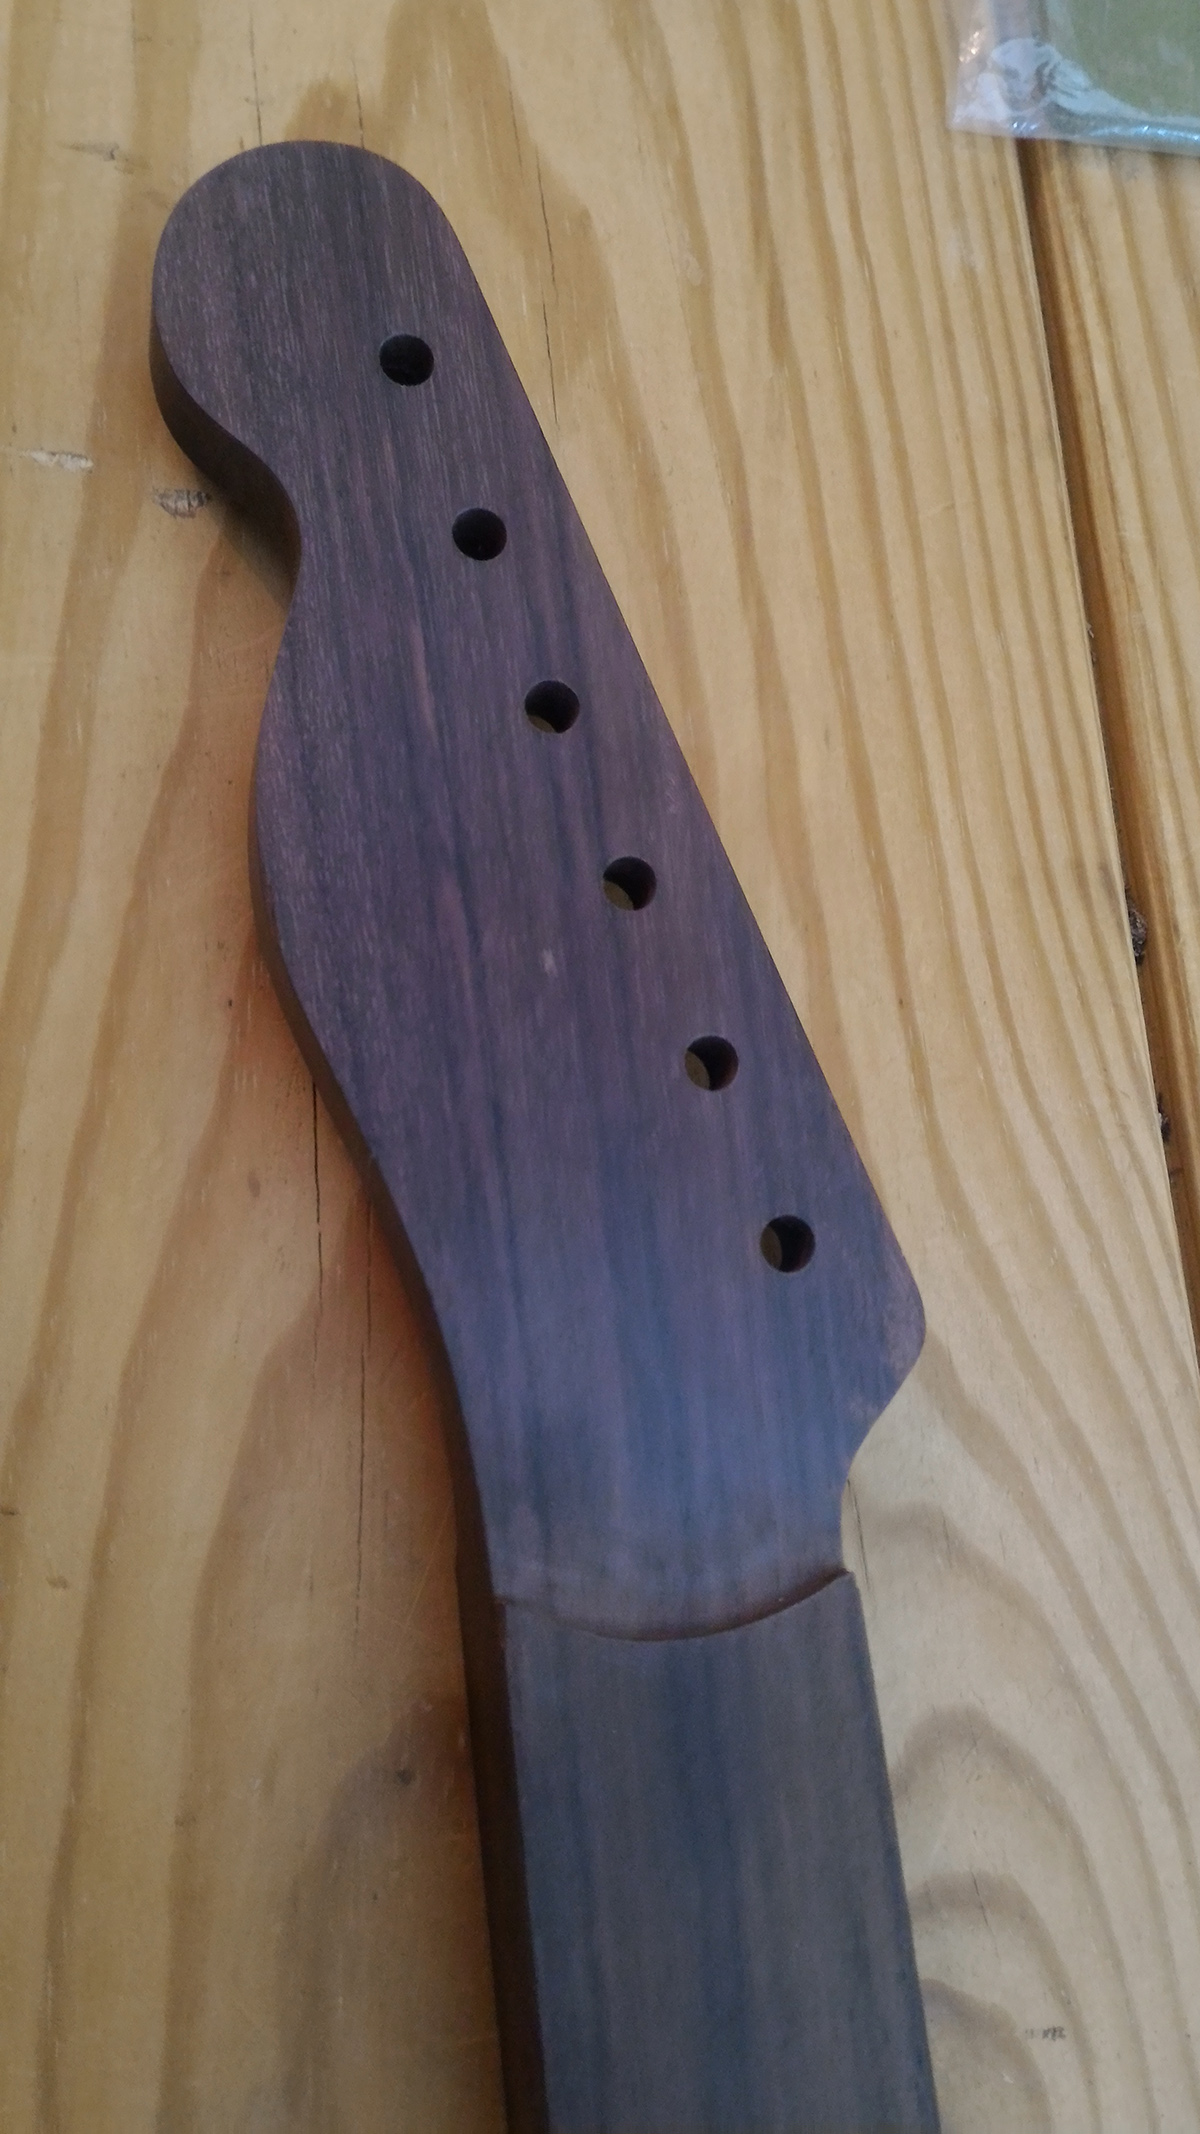
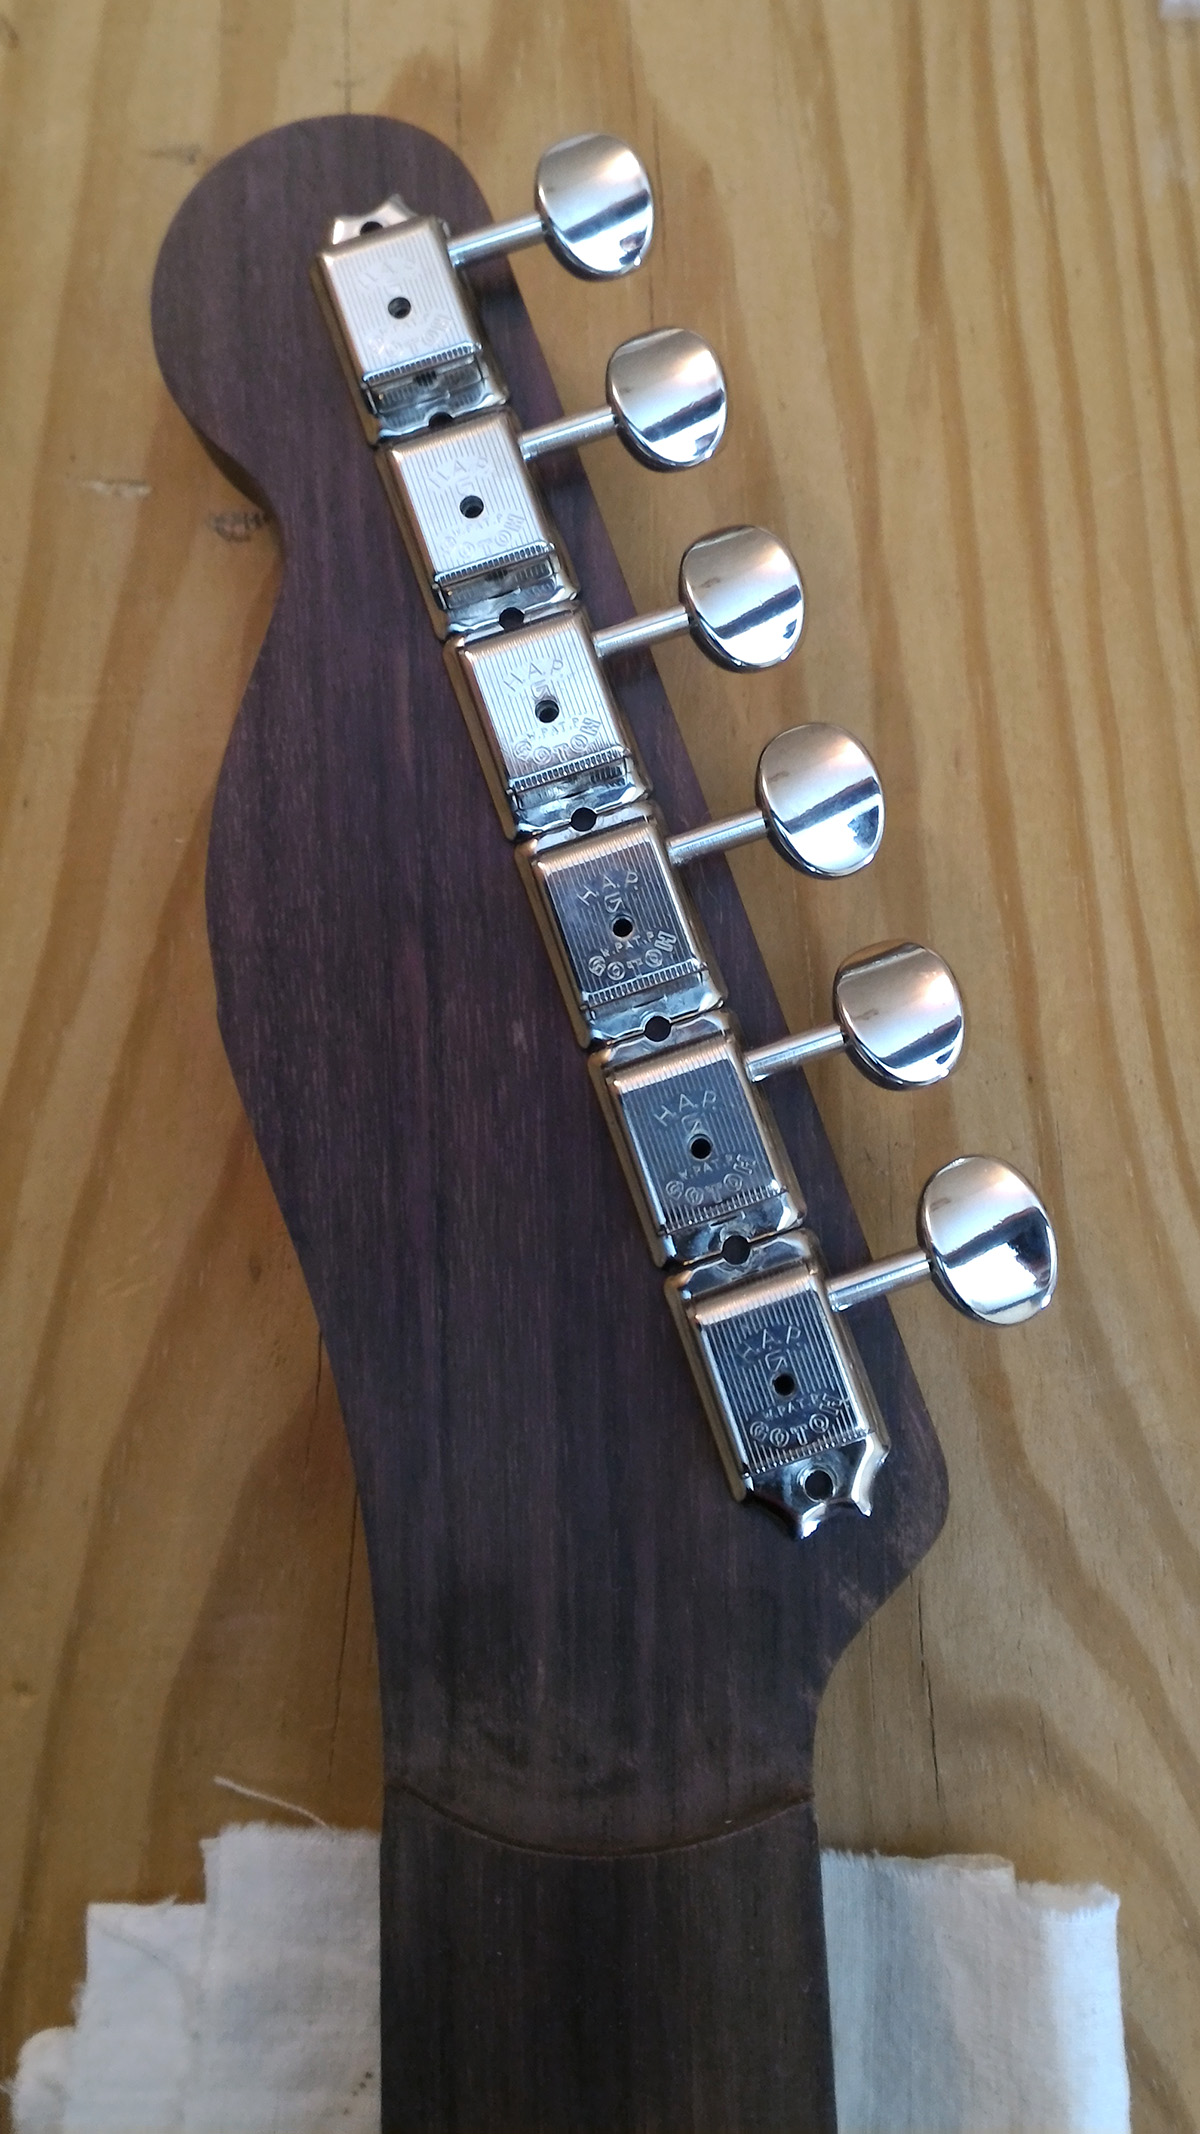
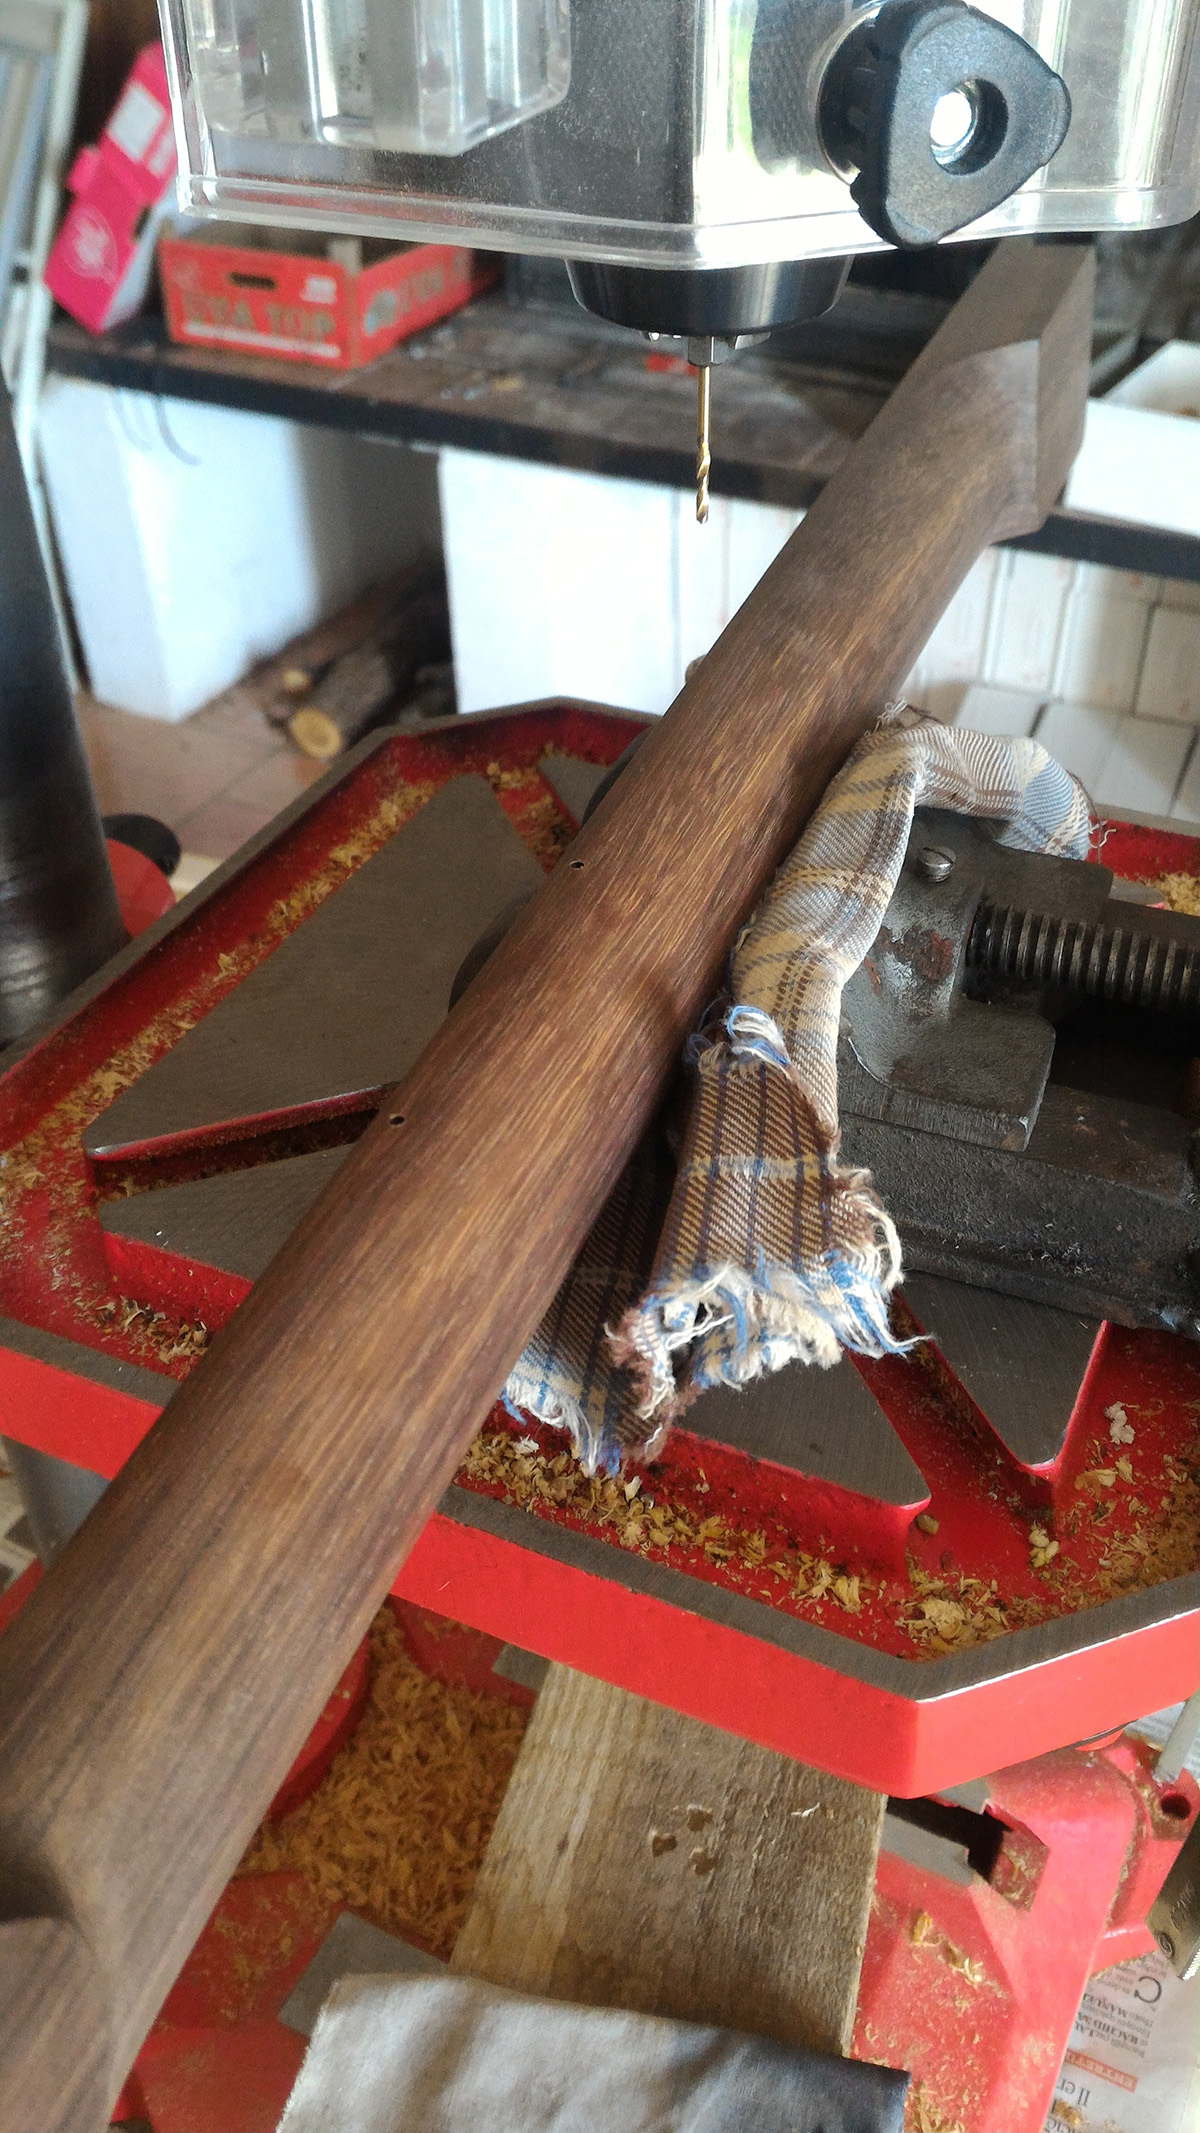
I finally have a column drill and took advantage of that for the tuning machine holes
routing the rough volute of the head, yes I used the guitar horn as a template for that
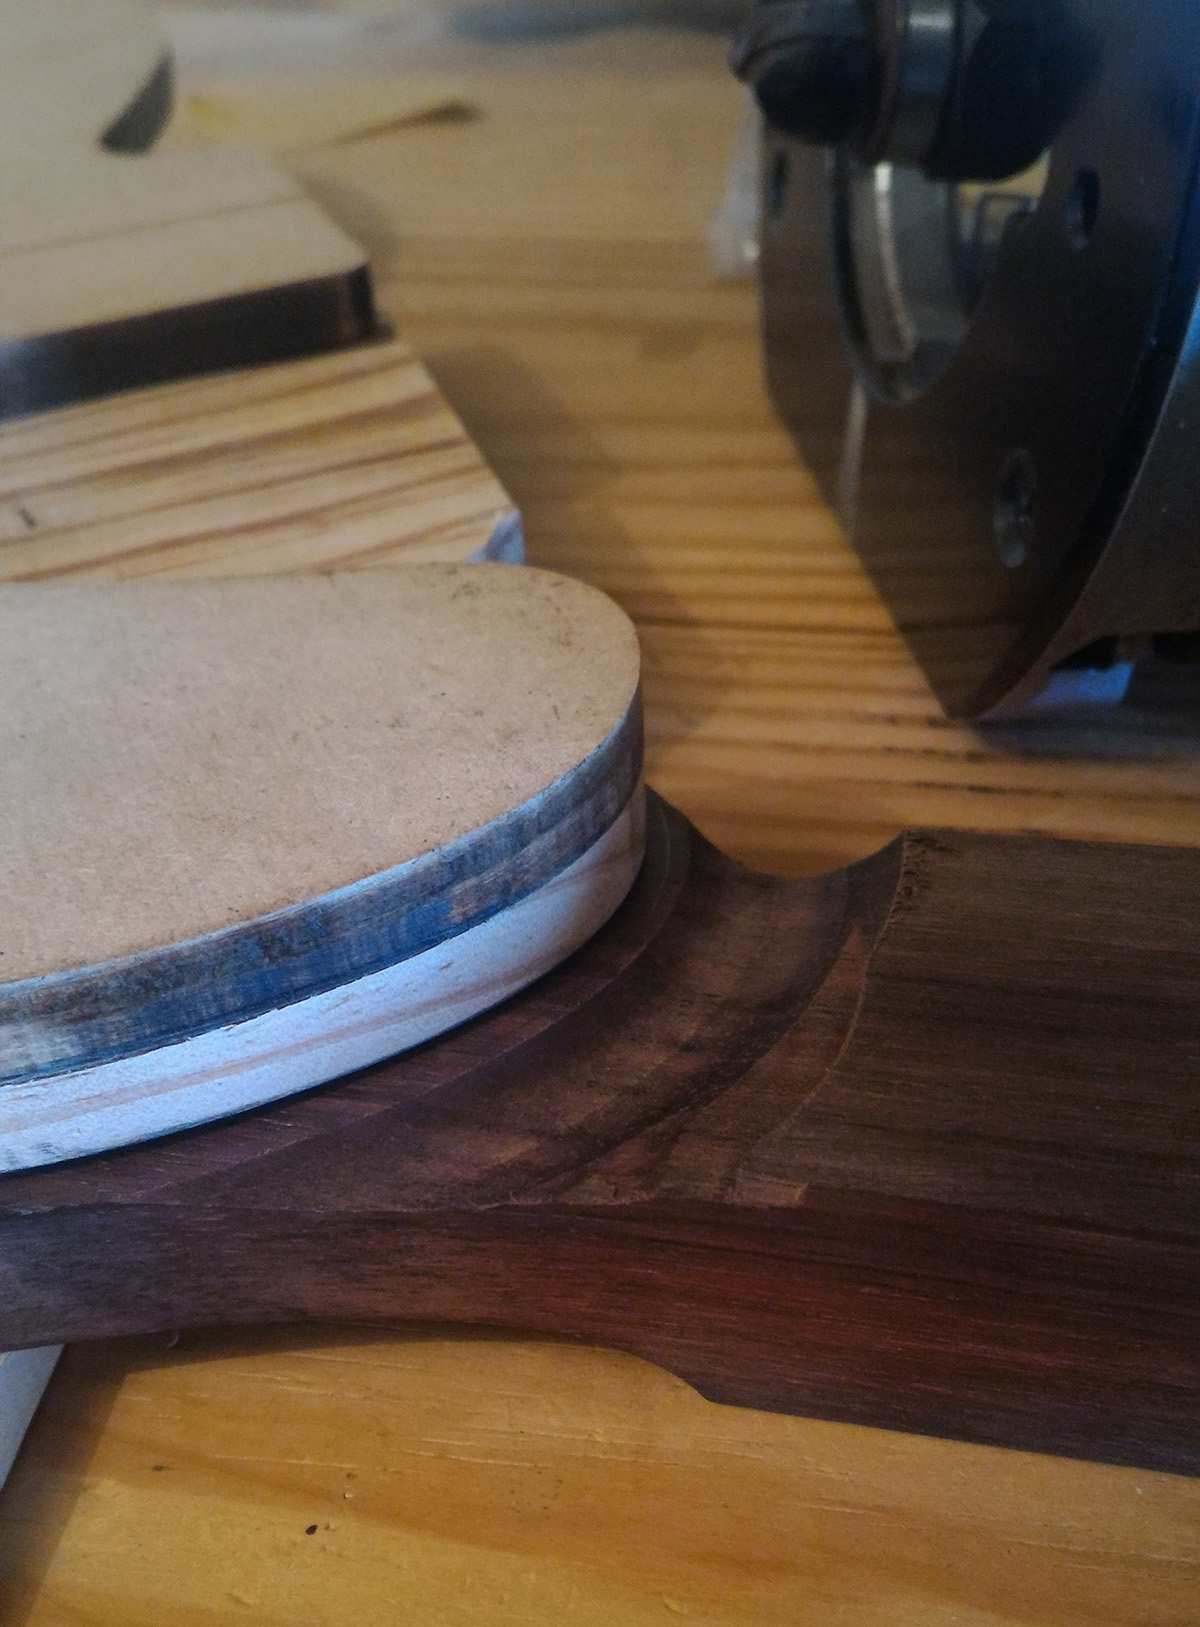
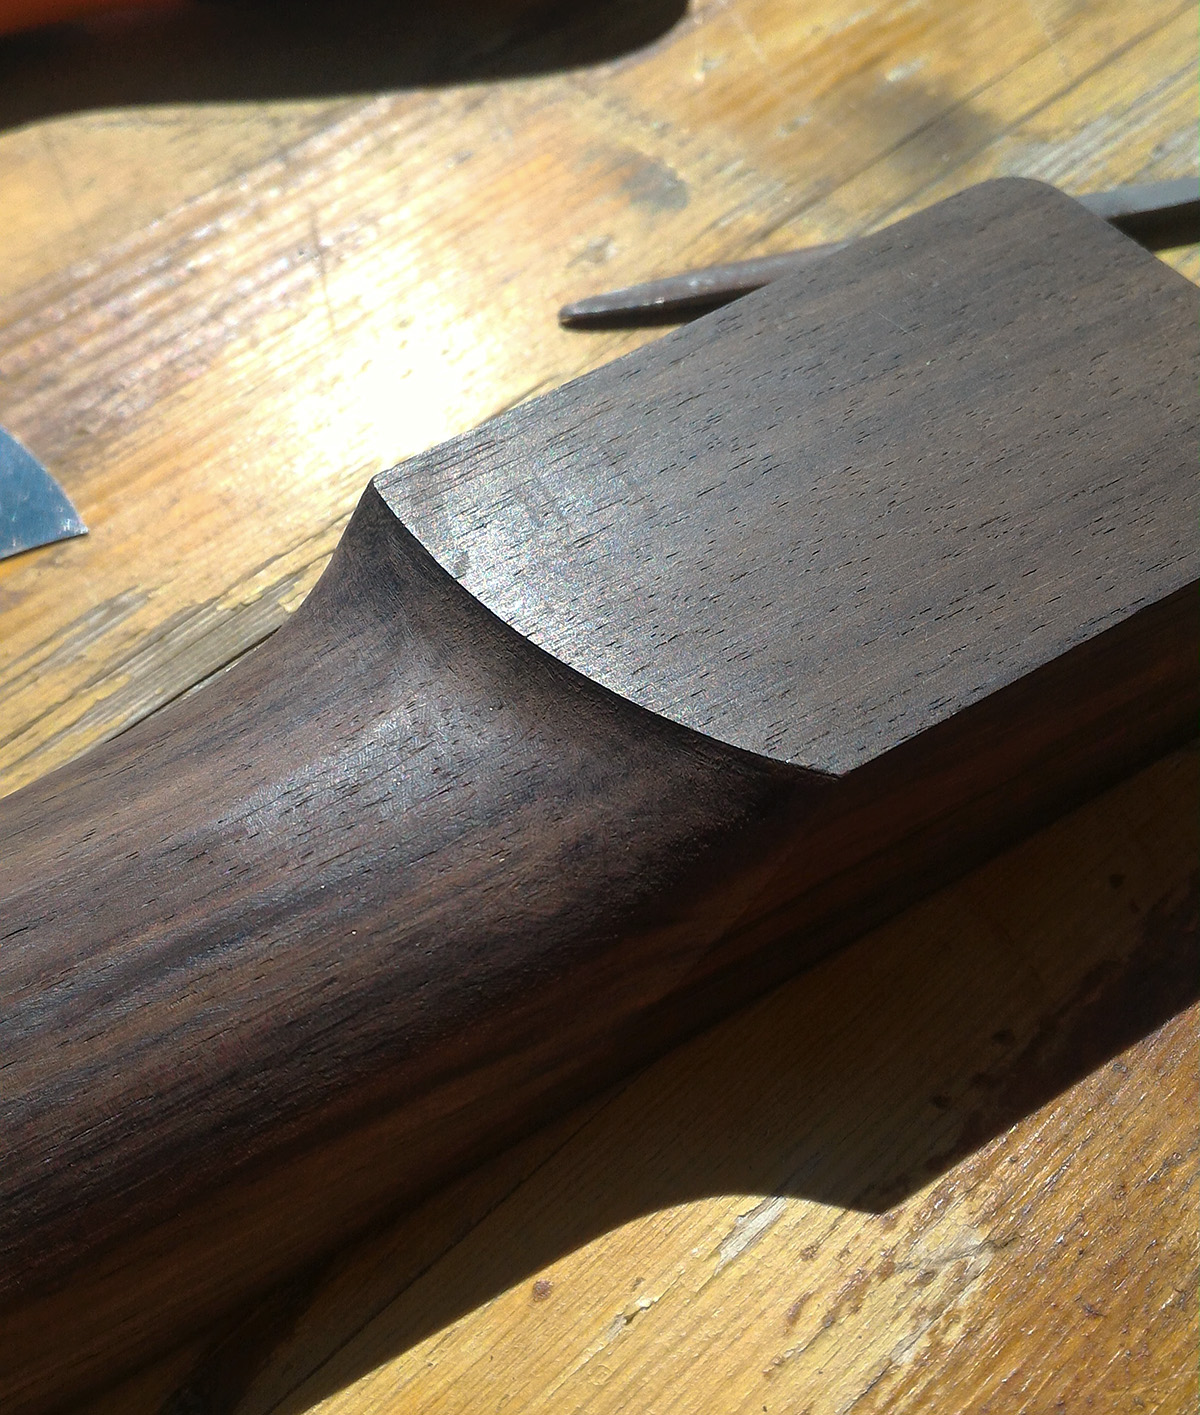
the heel volute, not I didn't use the guitar itself as a template for that!
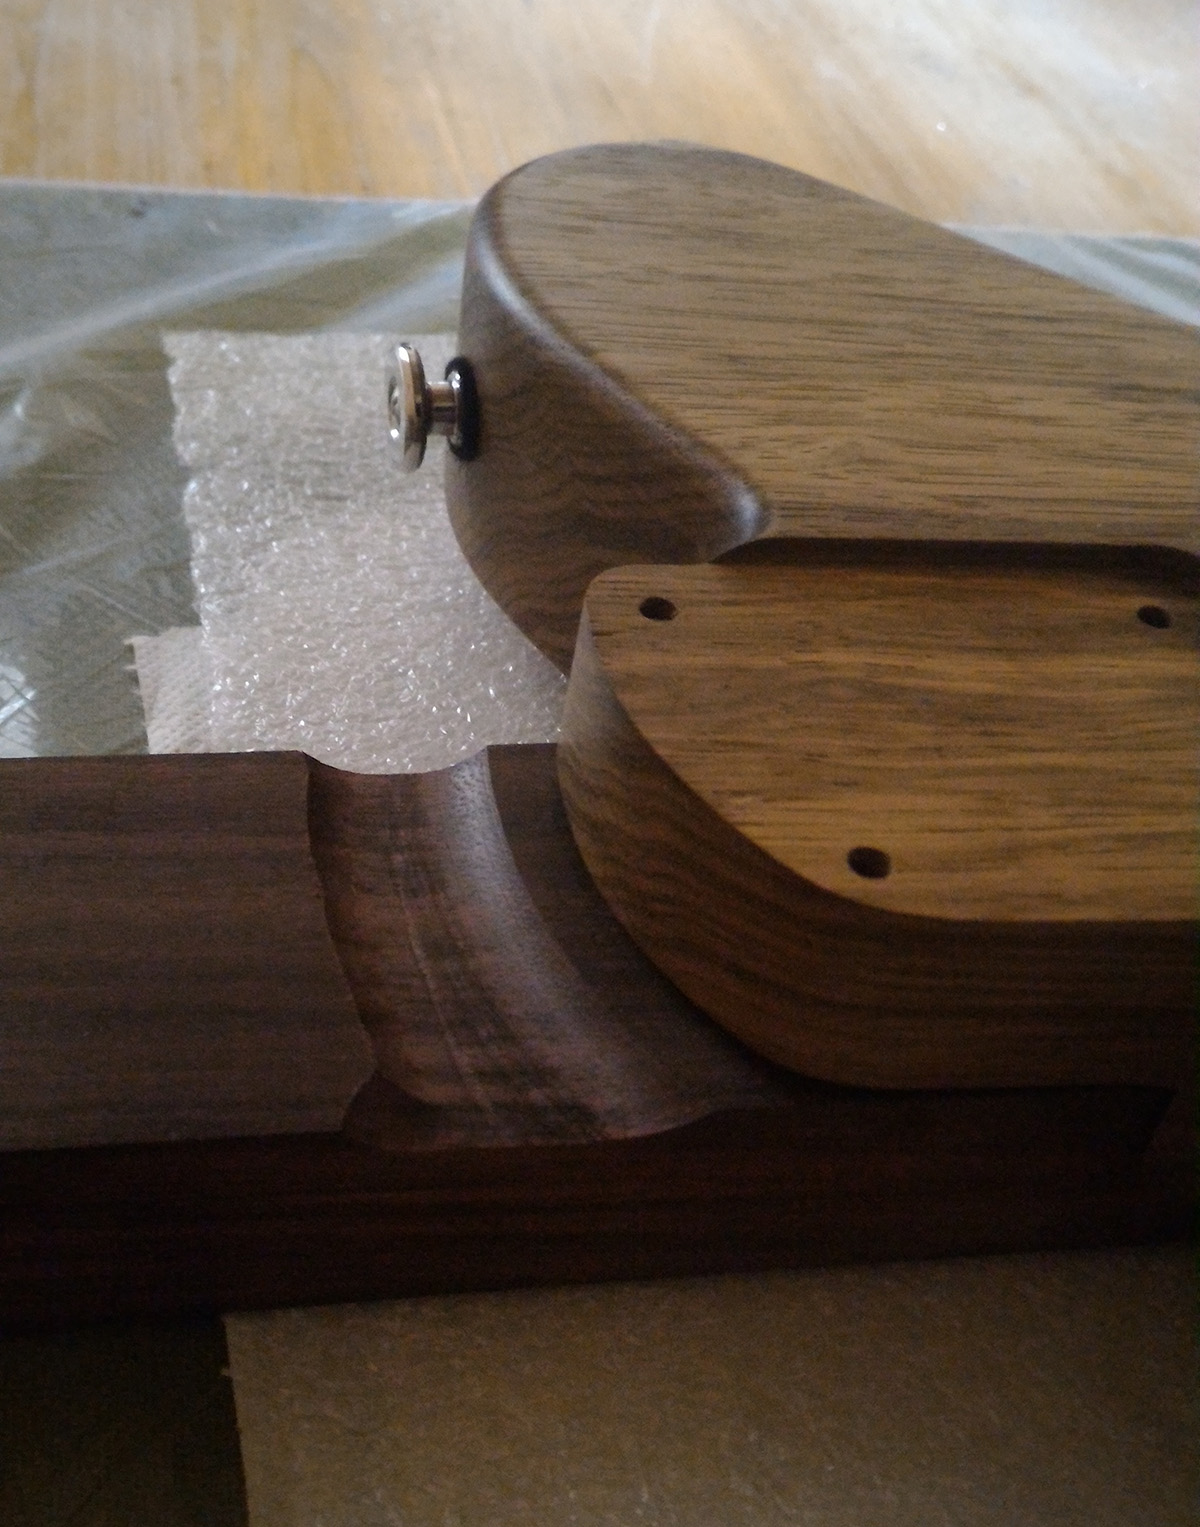
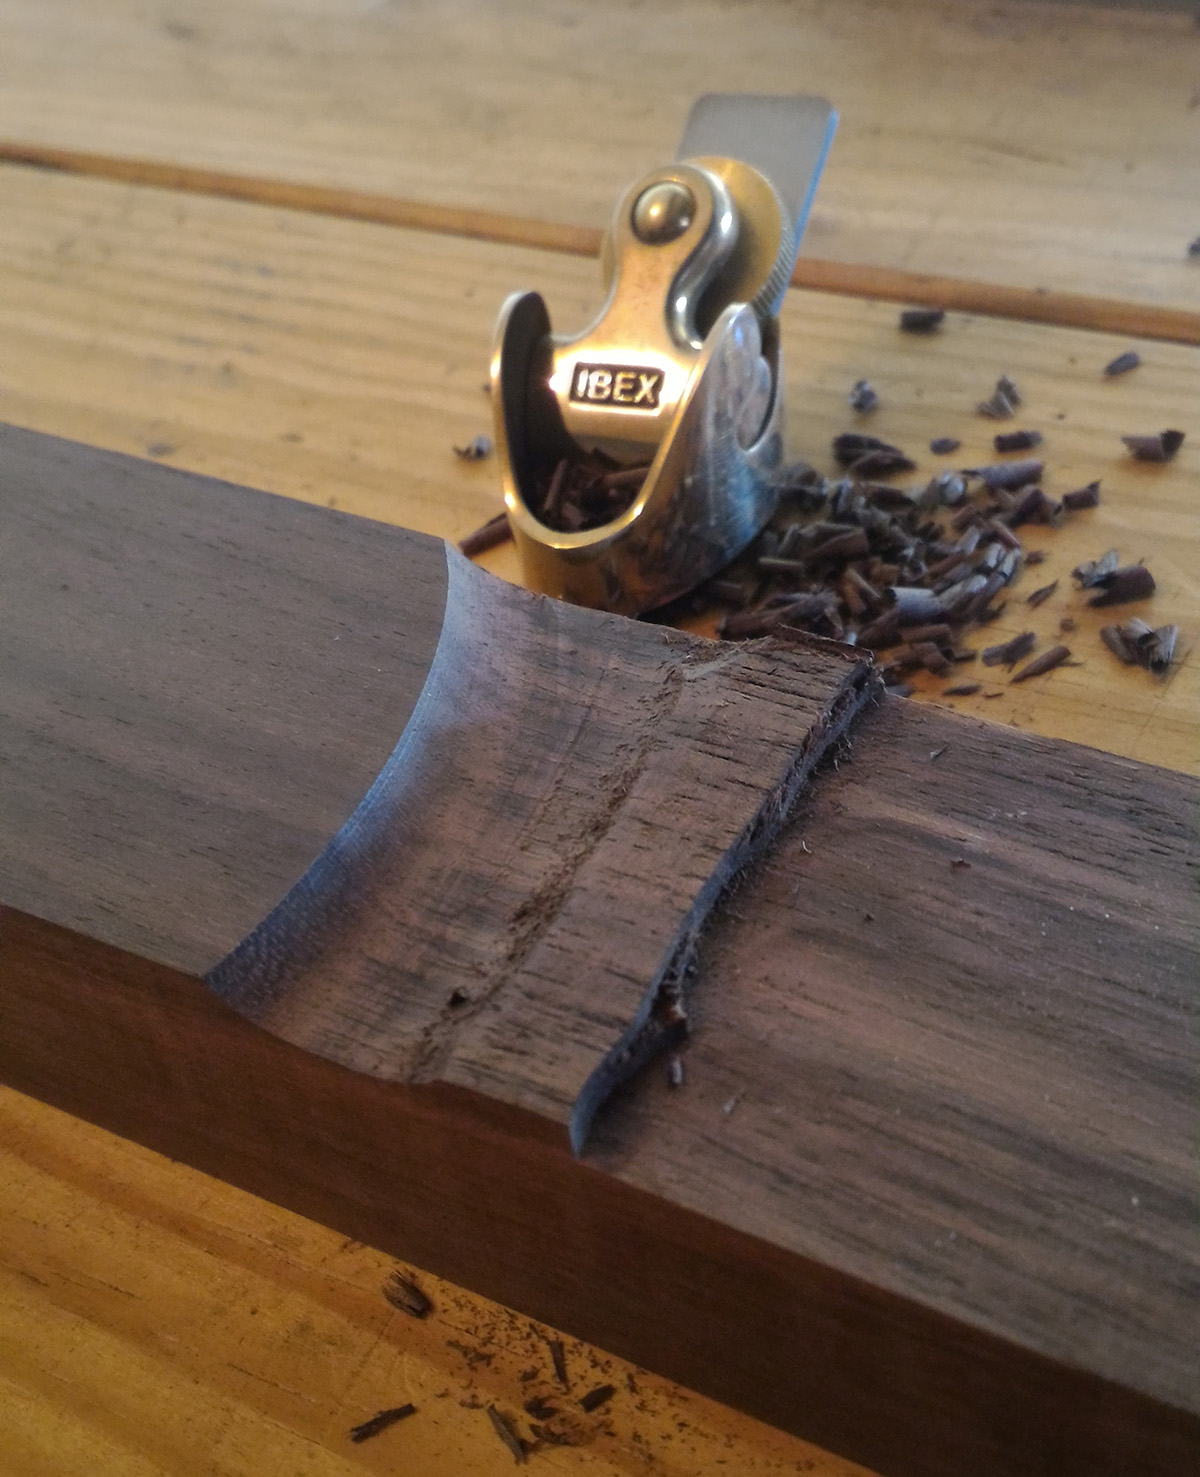
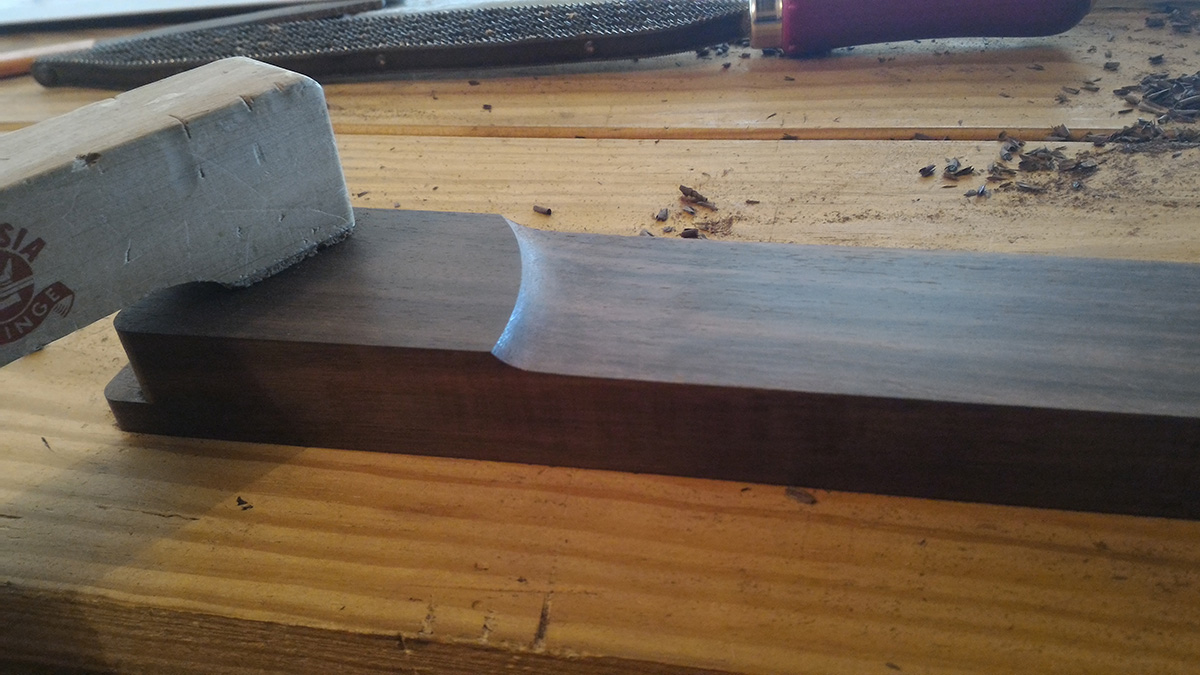
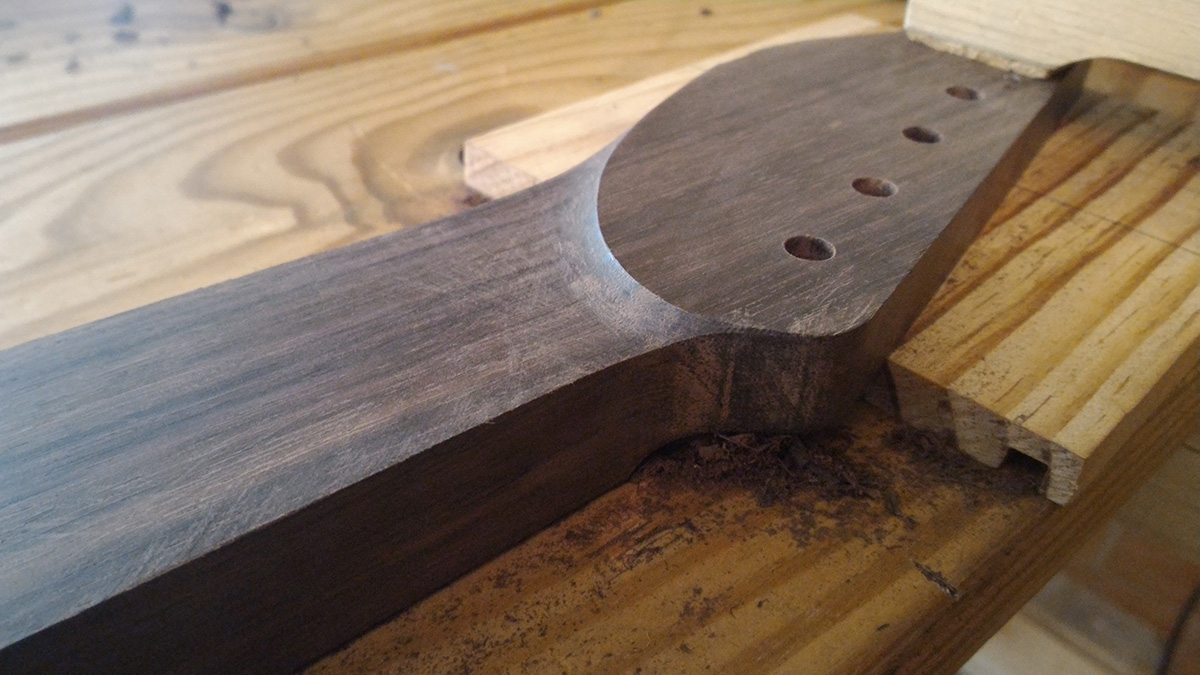
using the router to get a rough but regular D shape for the back of the neck
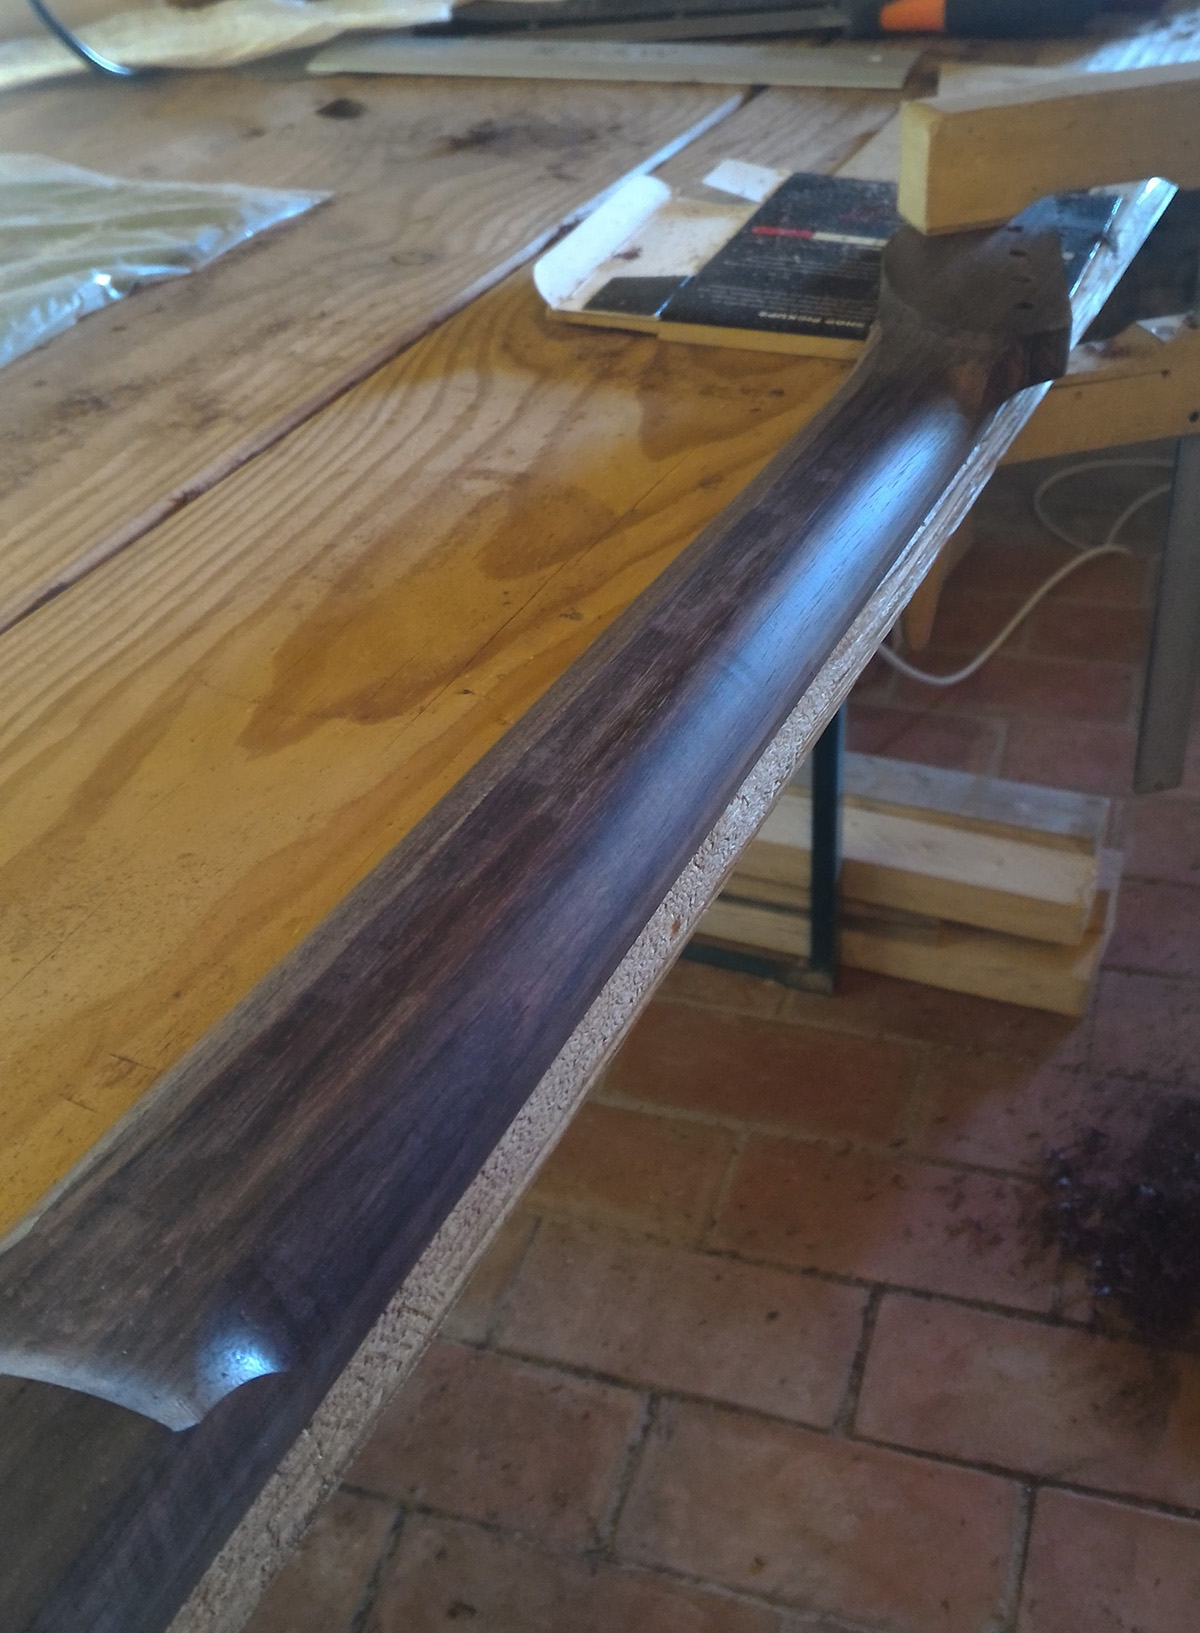
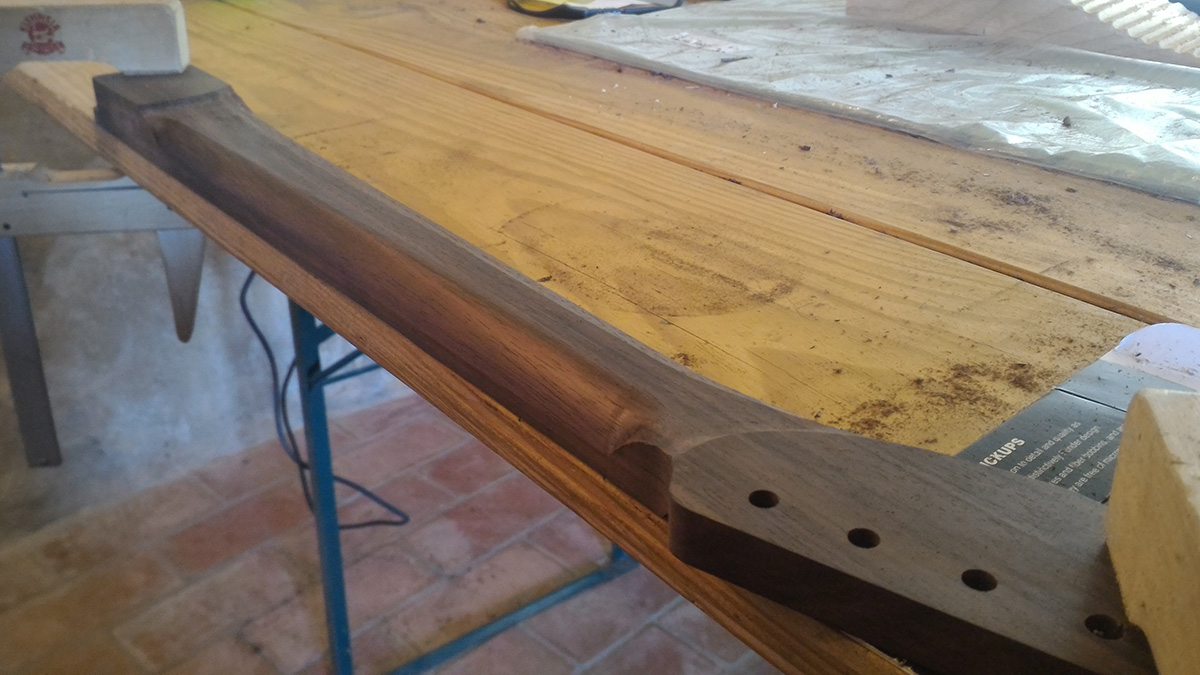
and all the rest is hand carved with knife, rasps and scapers
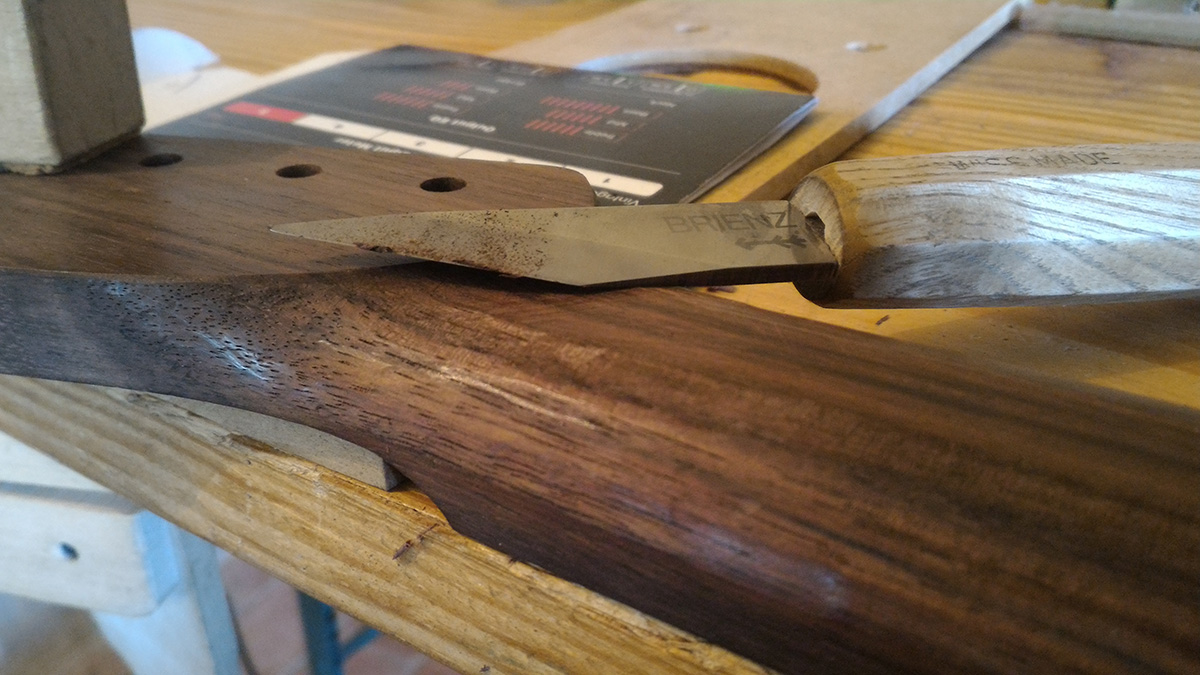
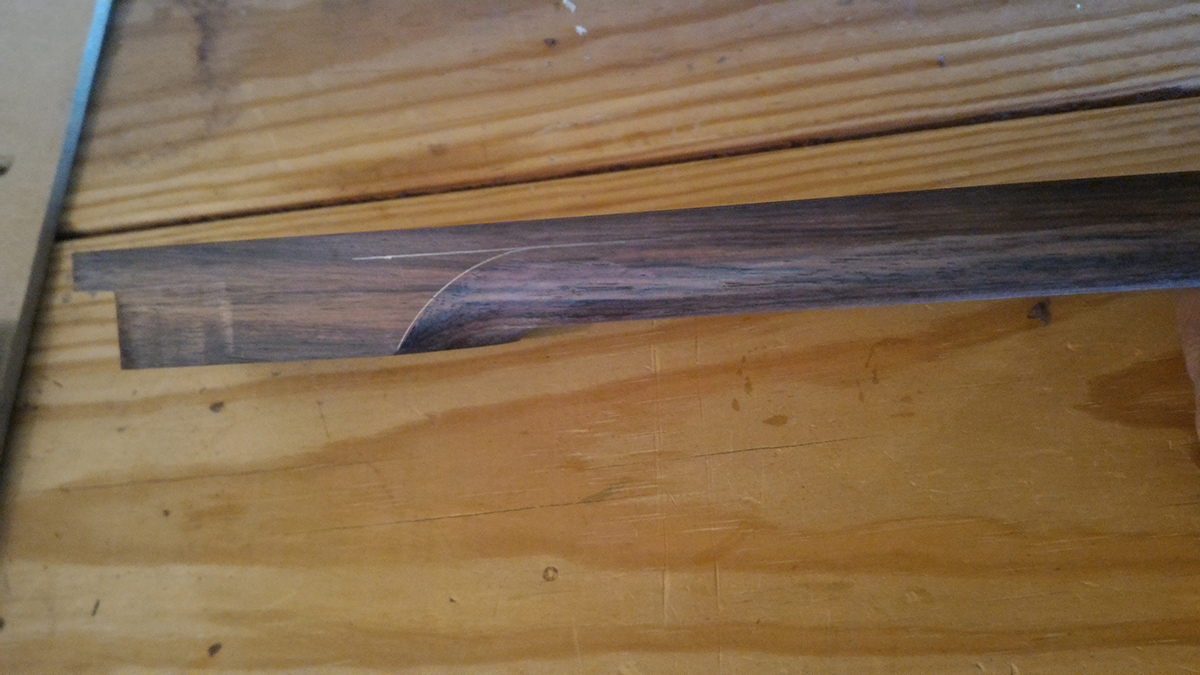
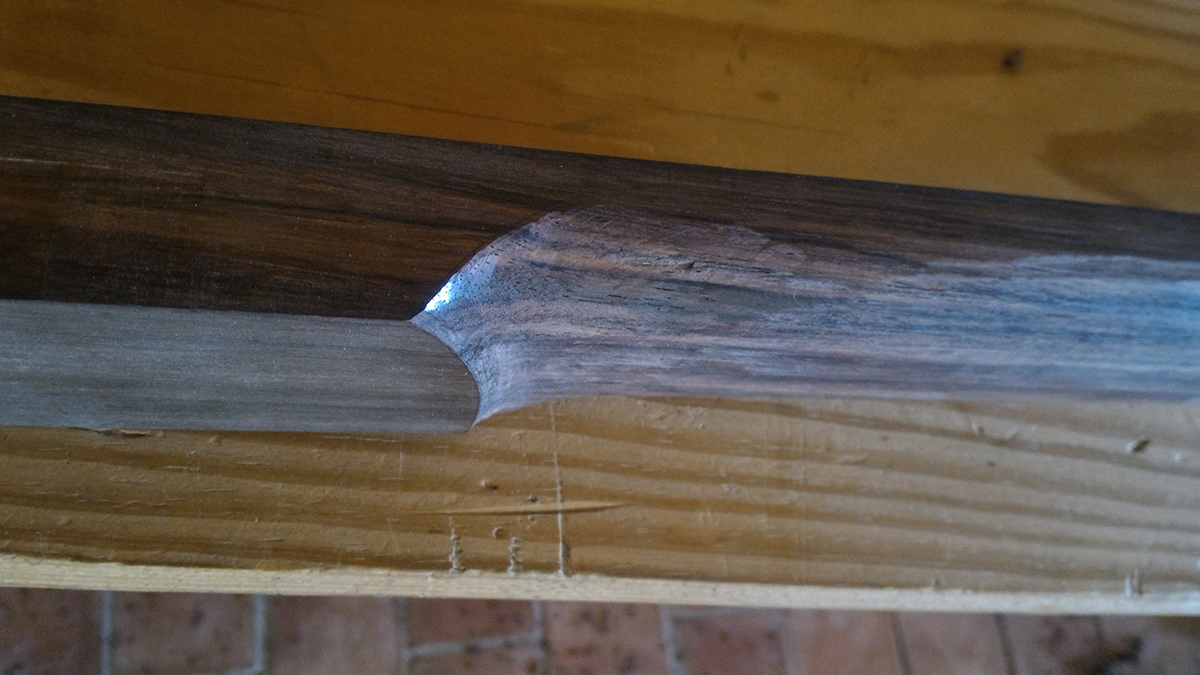
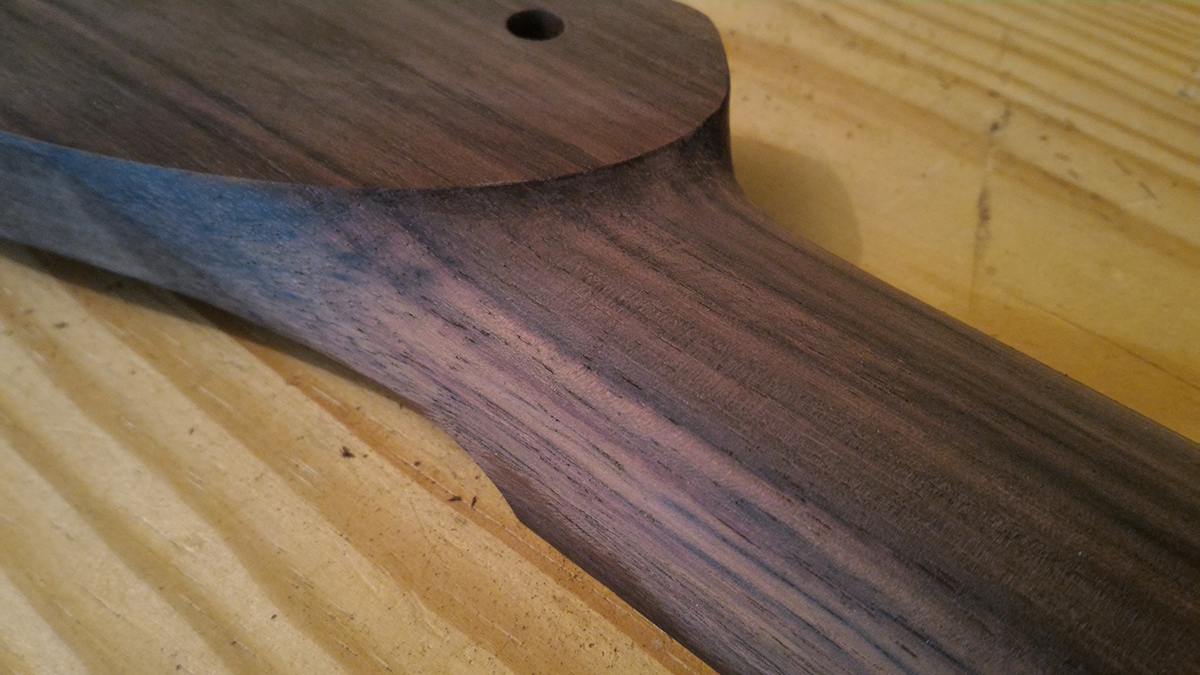
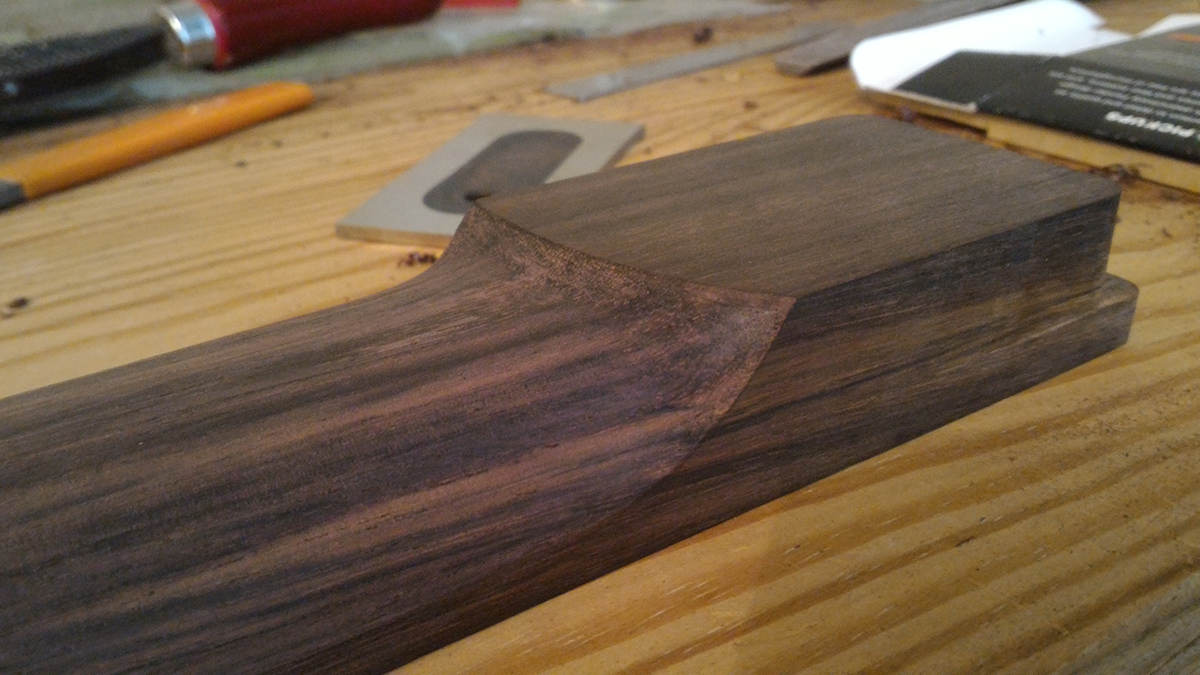
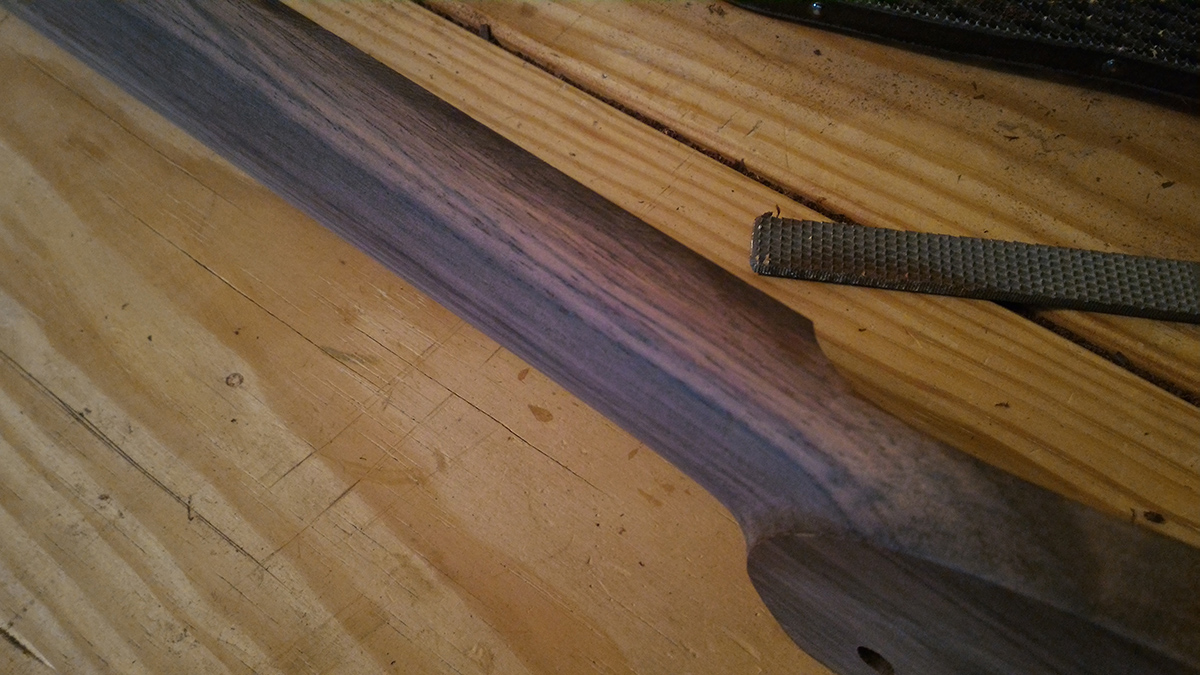
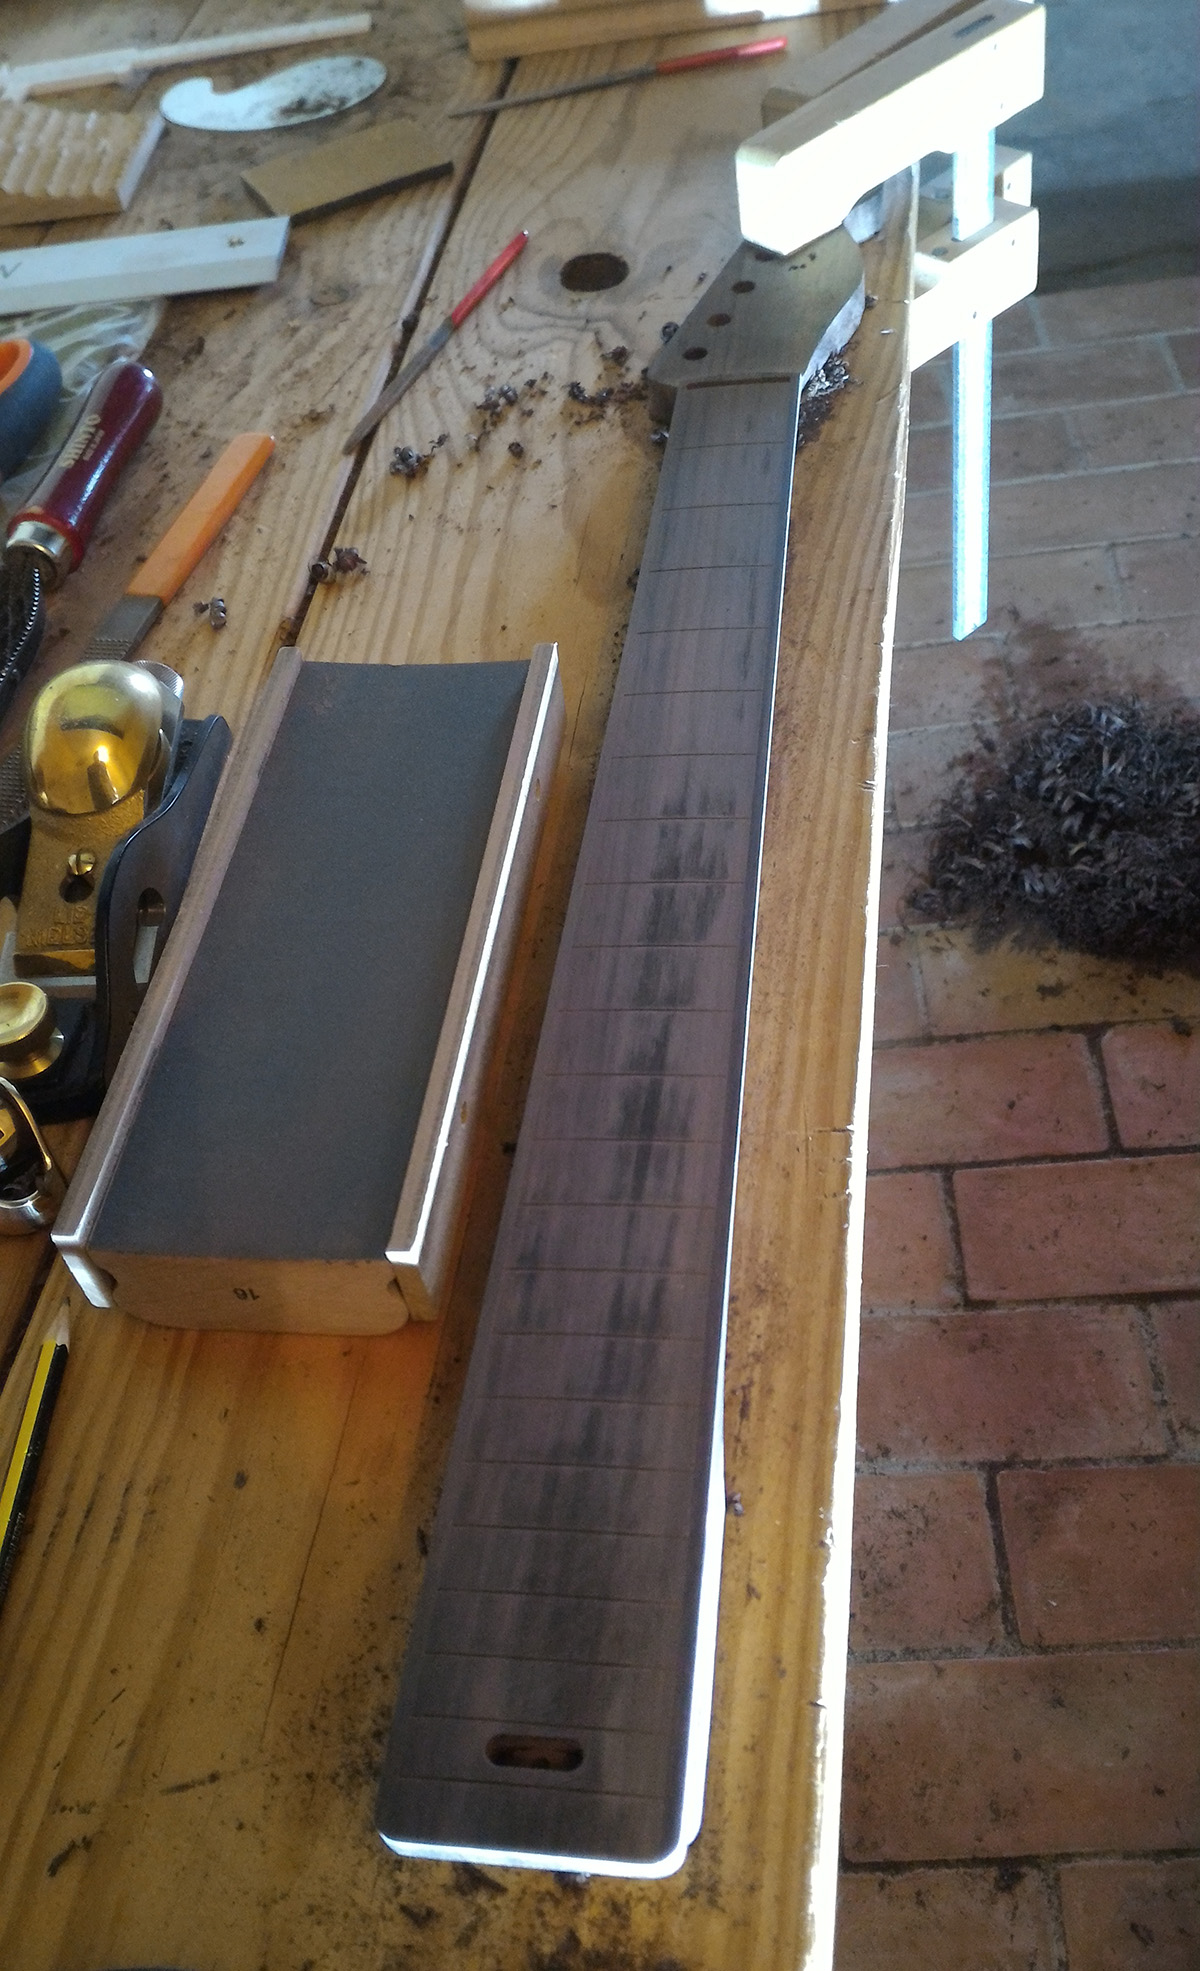
and sanding the fingerboard radius with a sanding block
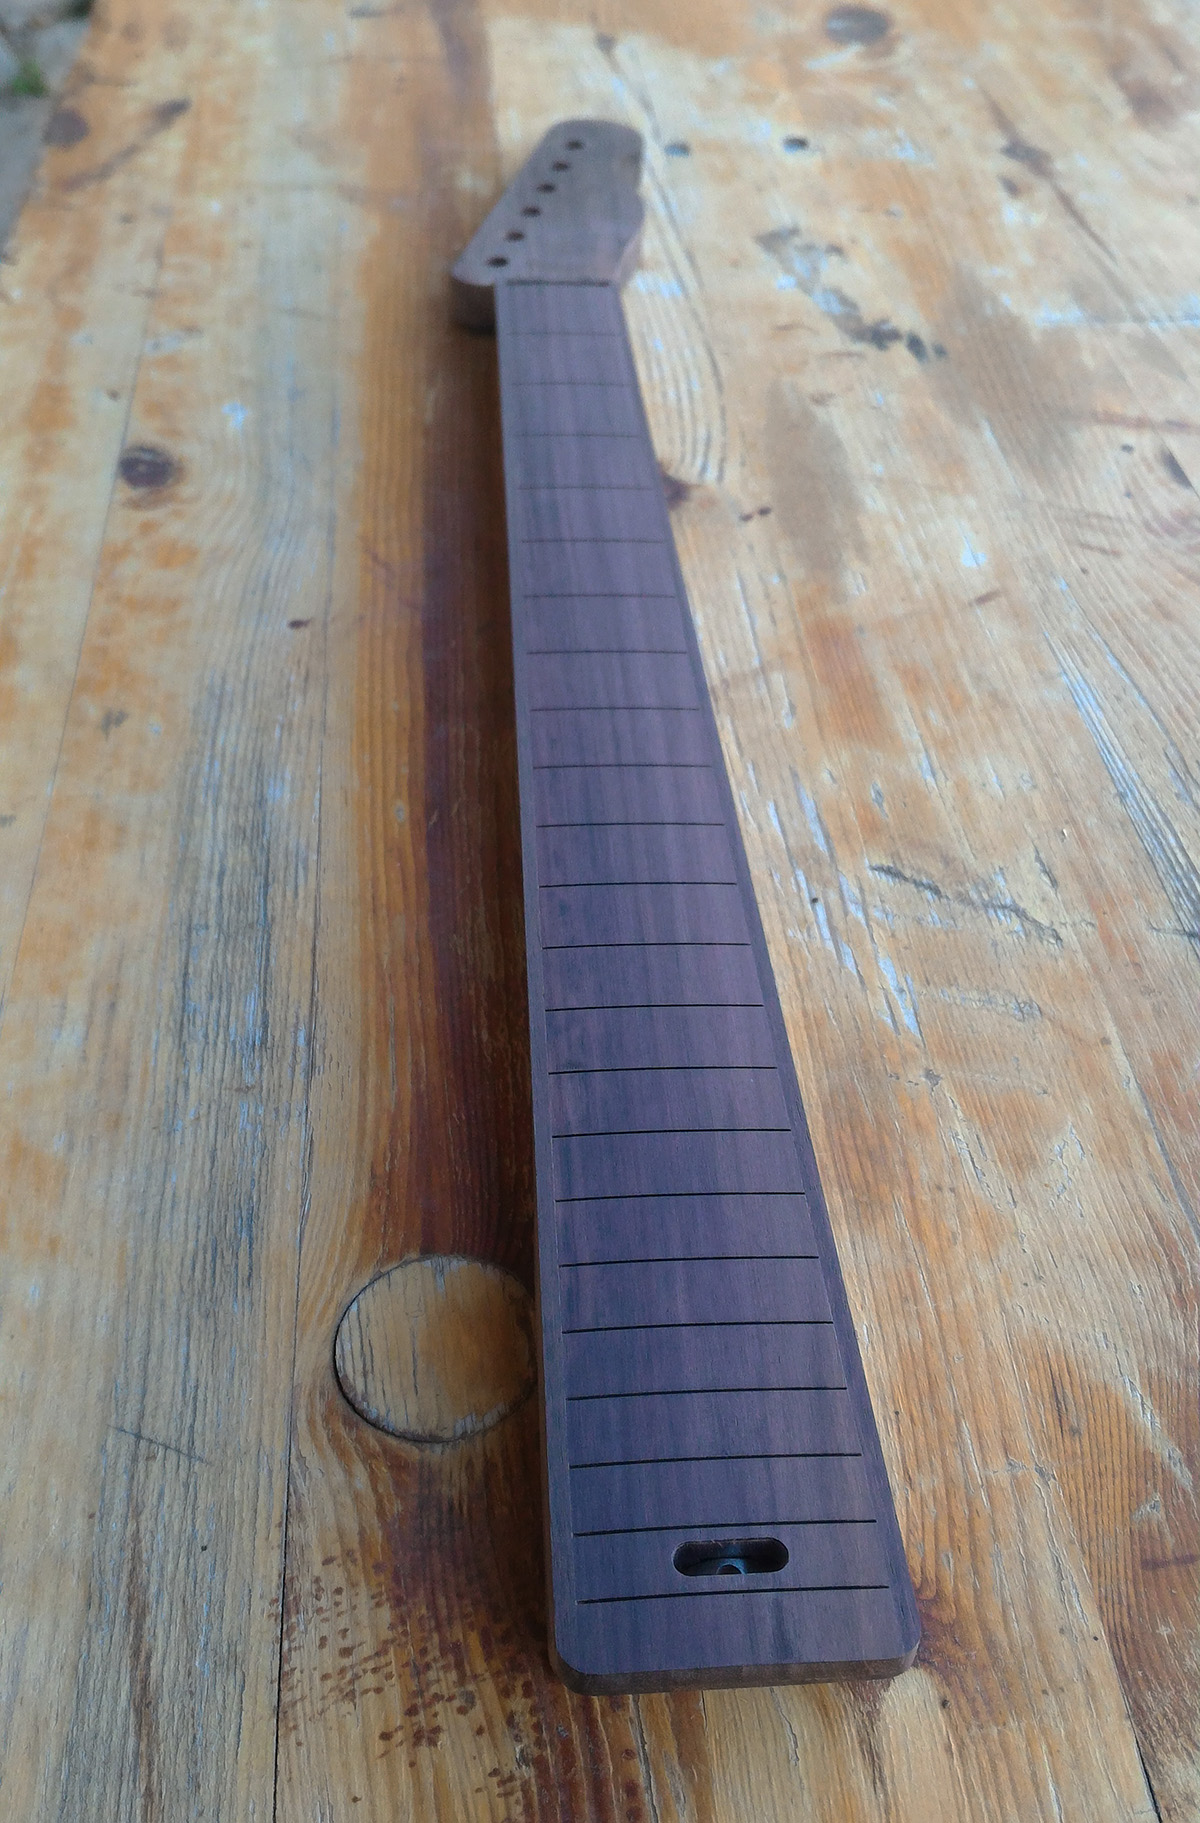
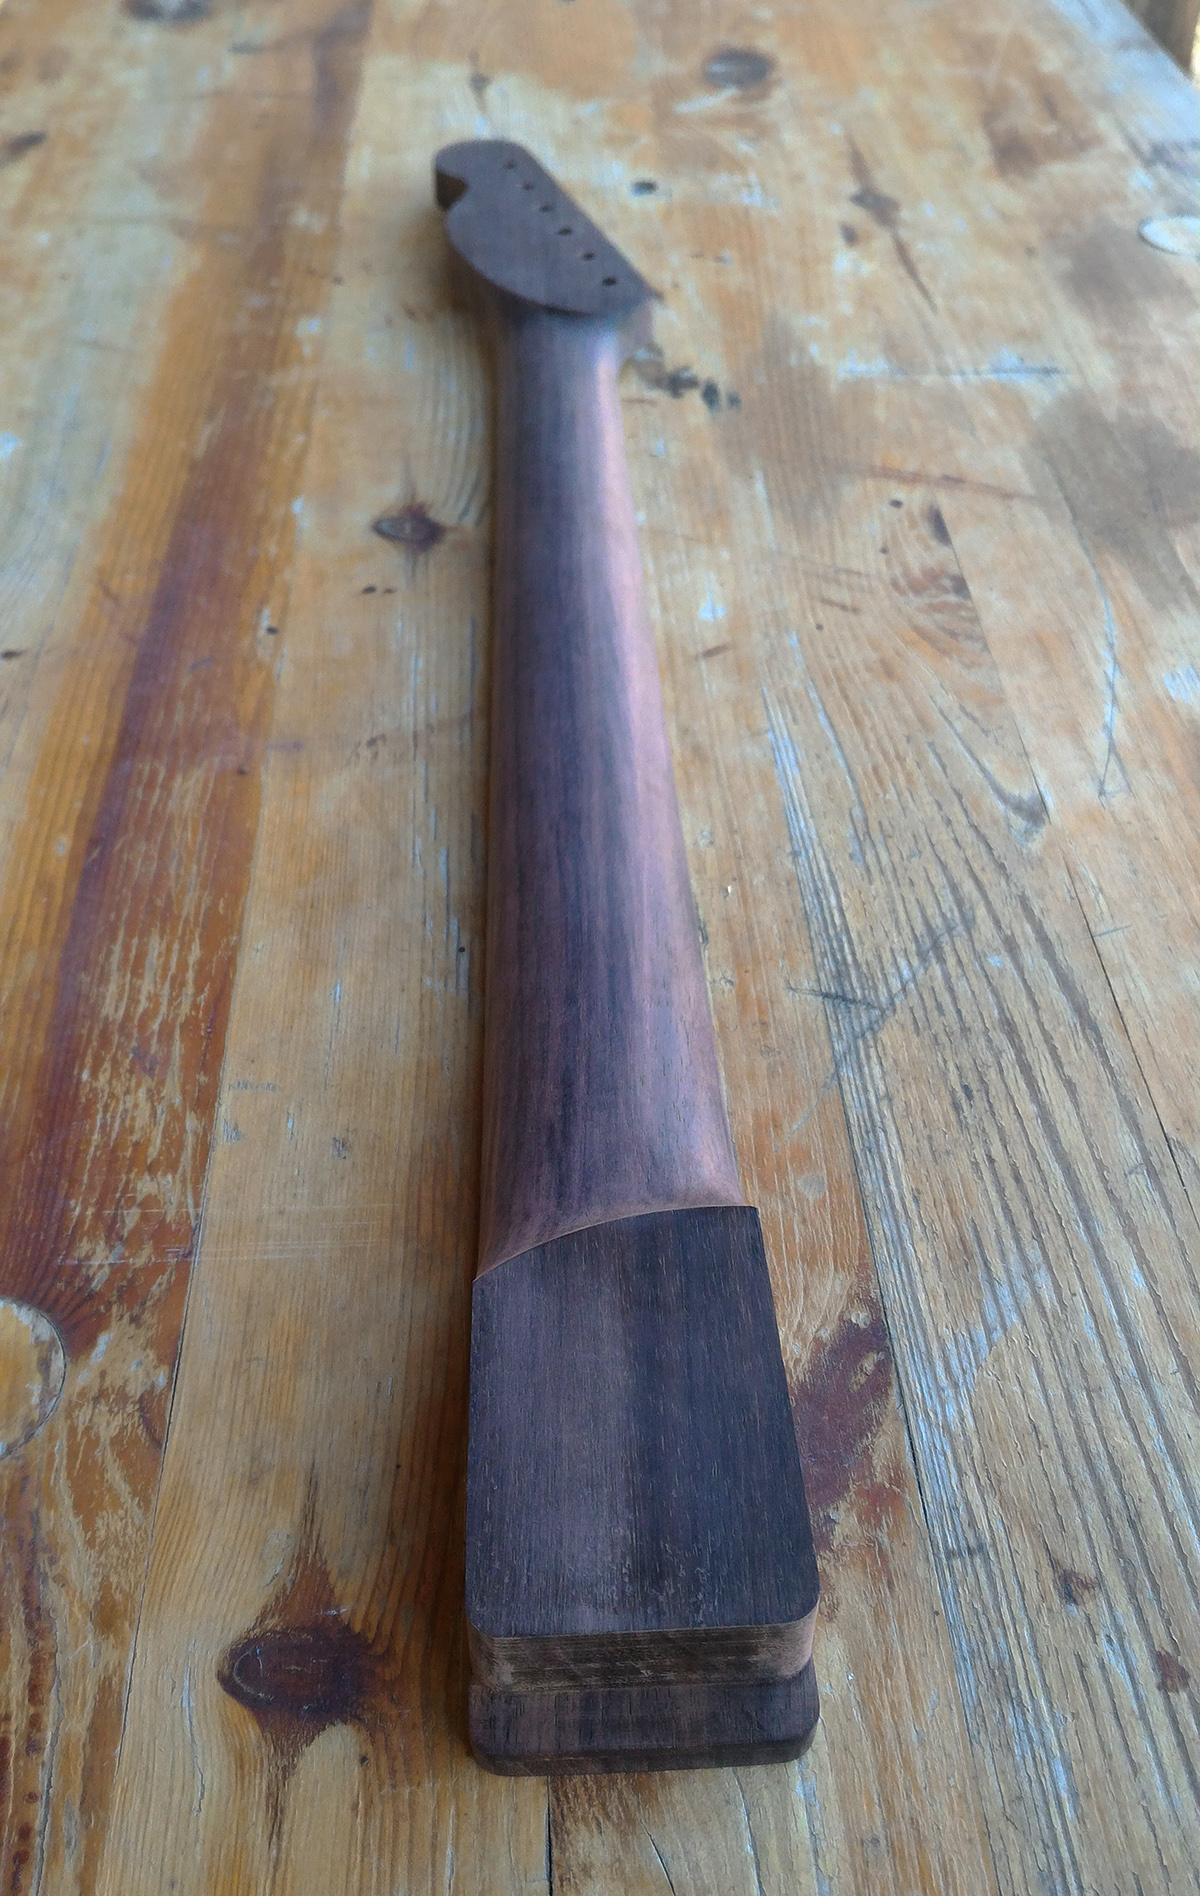
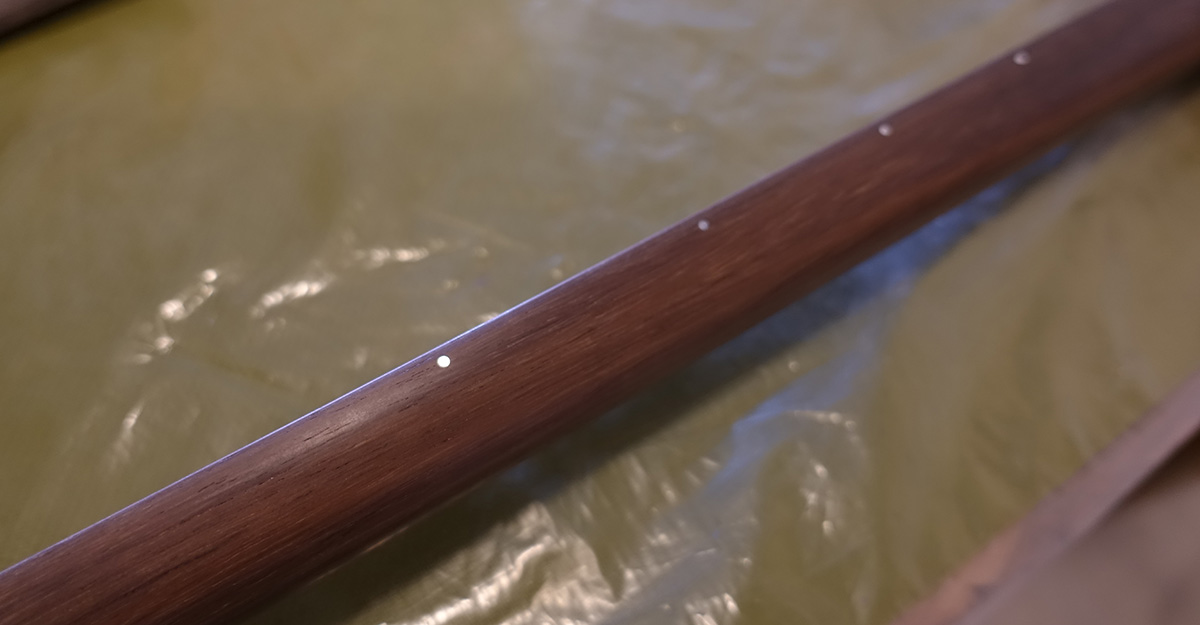
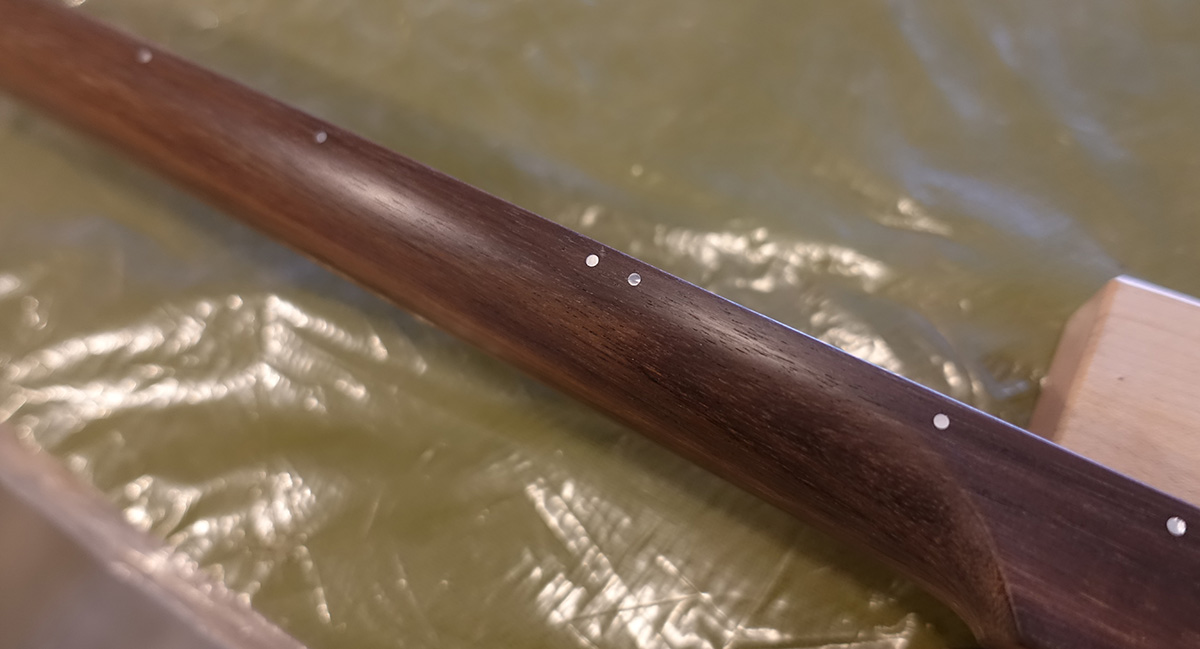
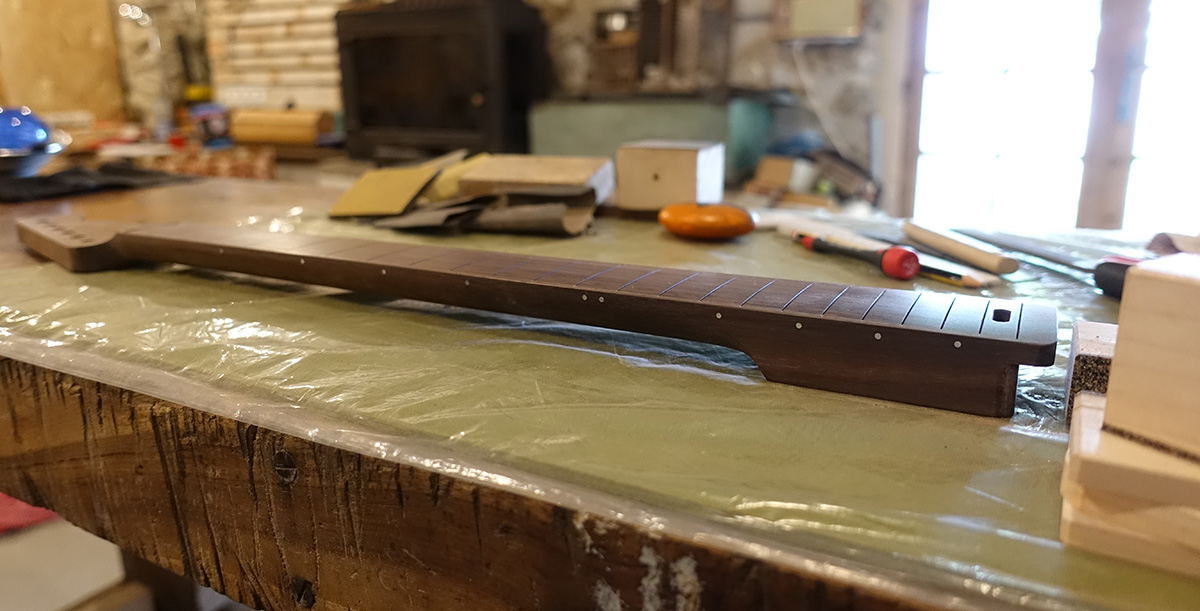
OK! preparing for fretting
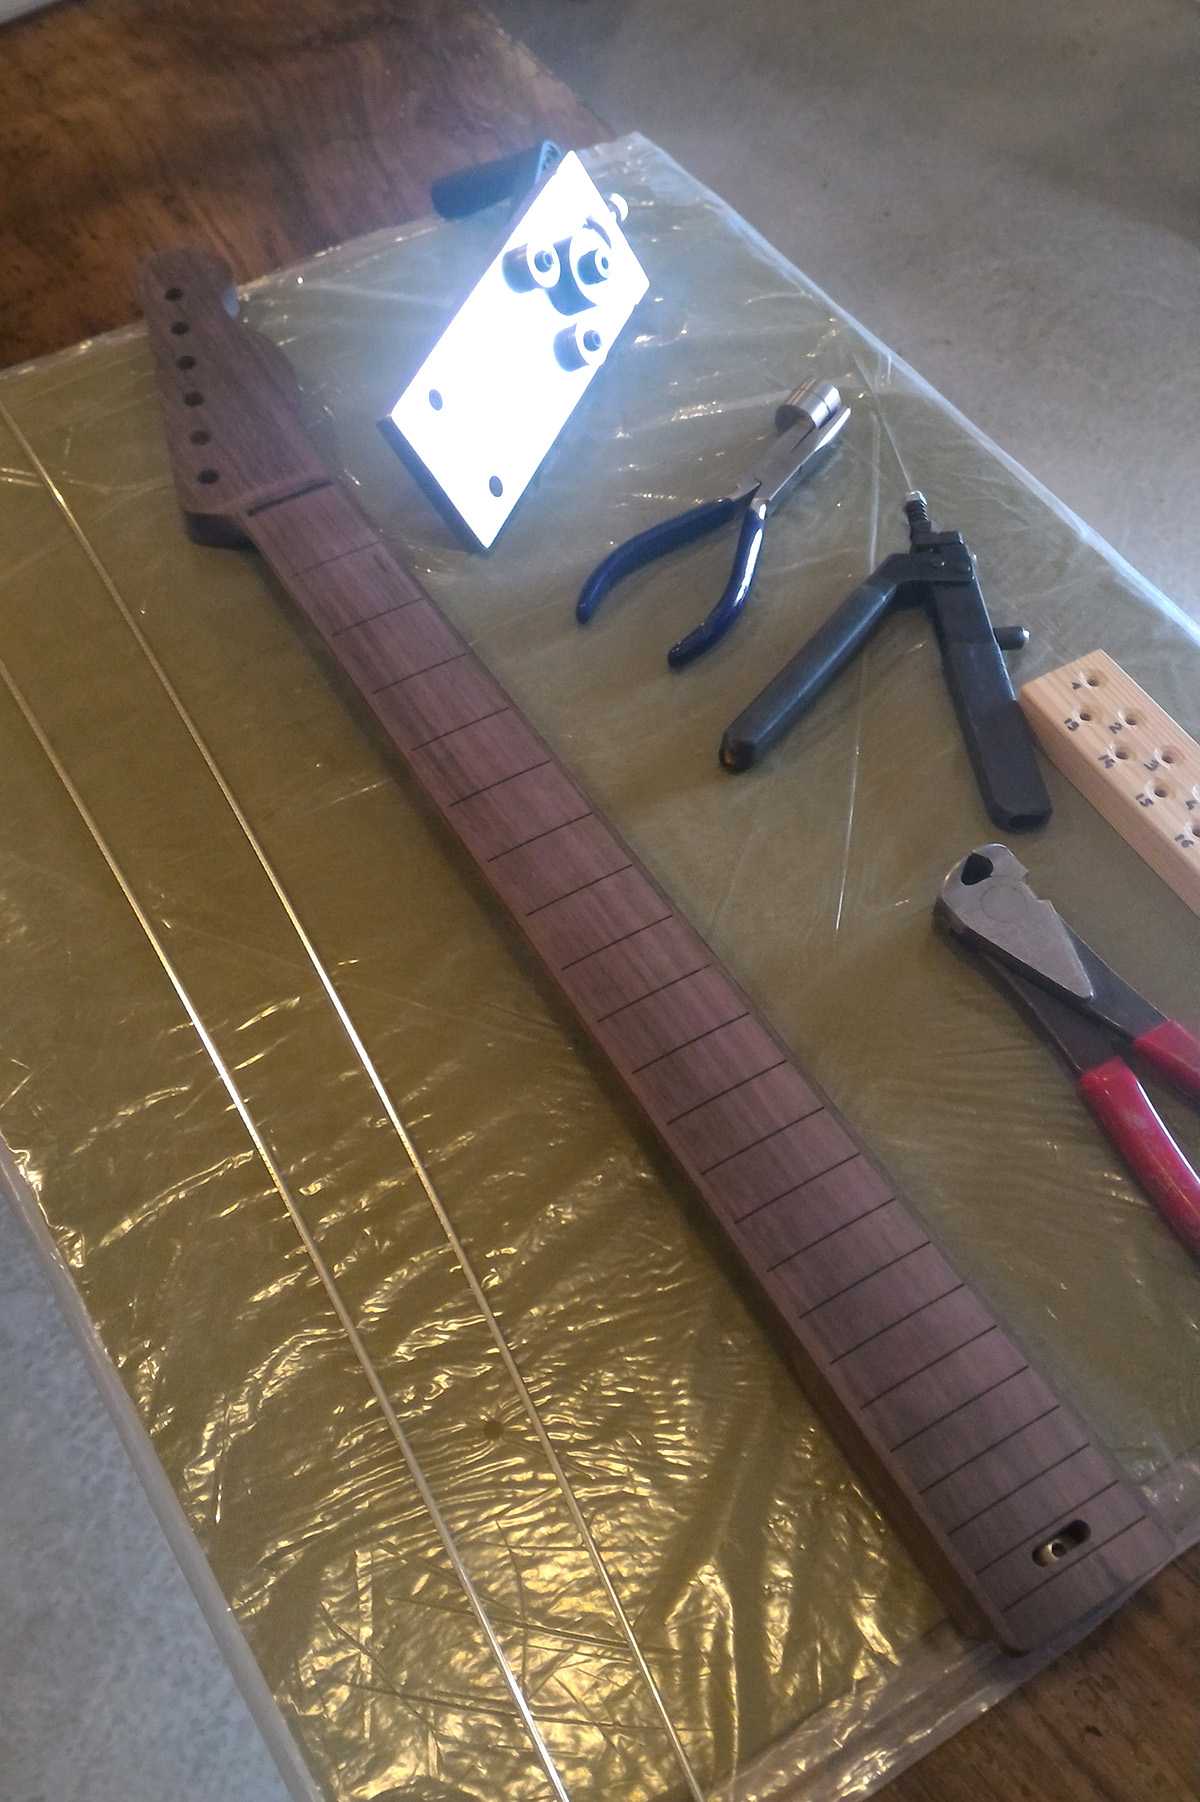
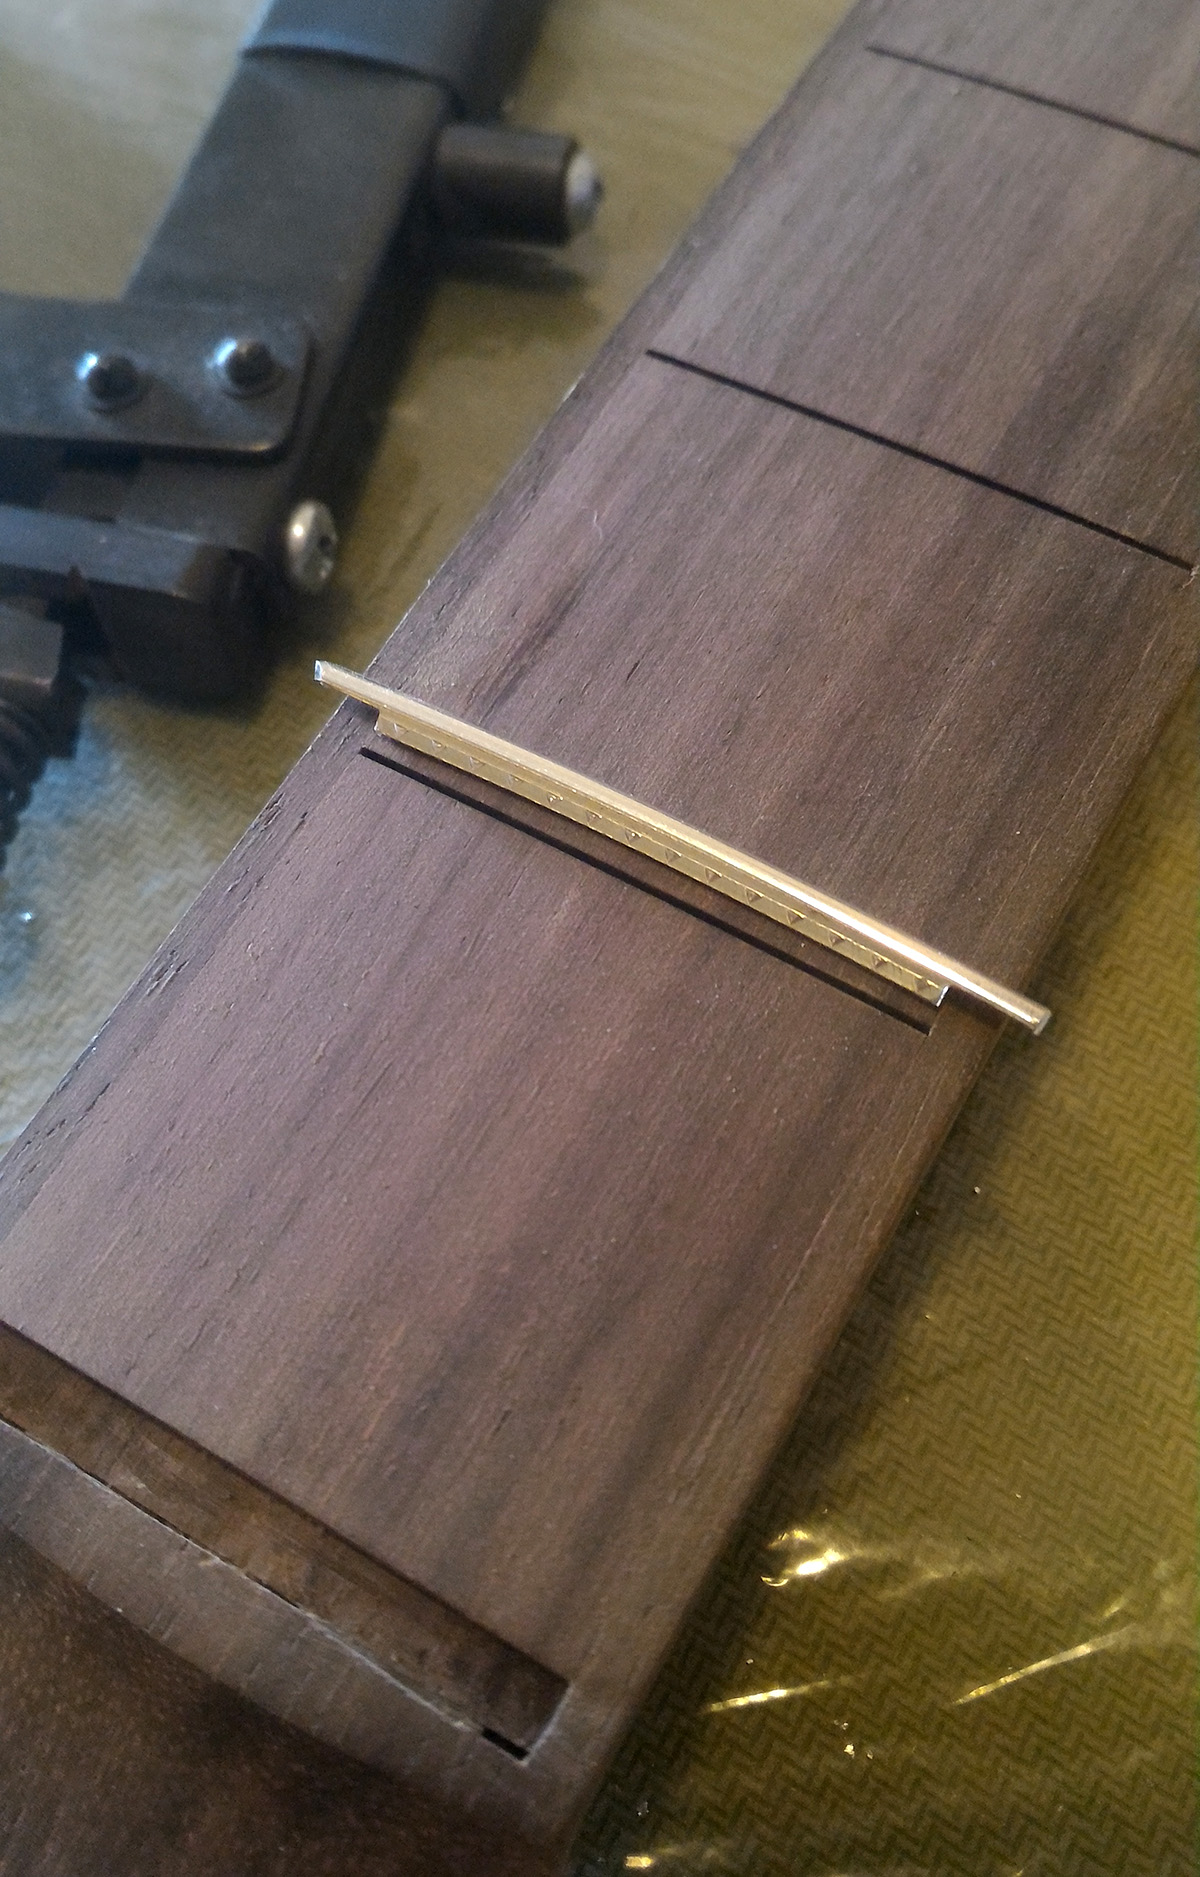
every fret tang is cut to the right length to fit the bound fingerboard
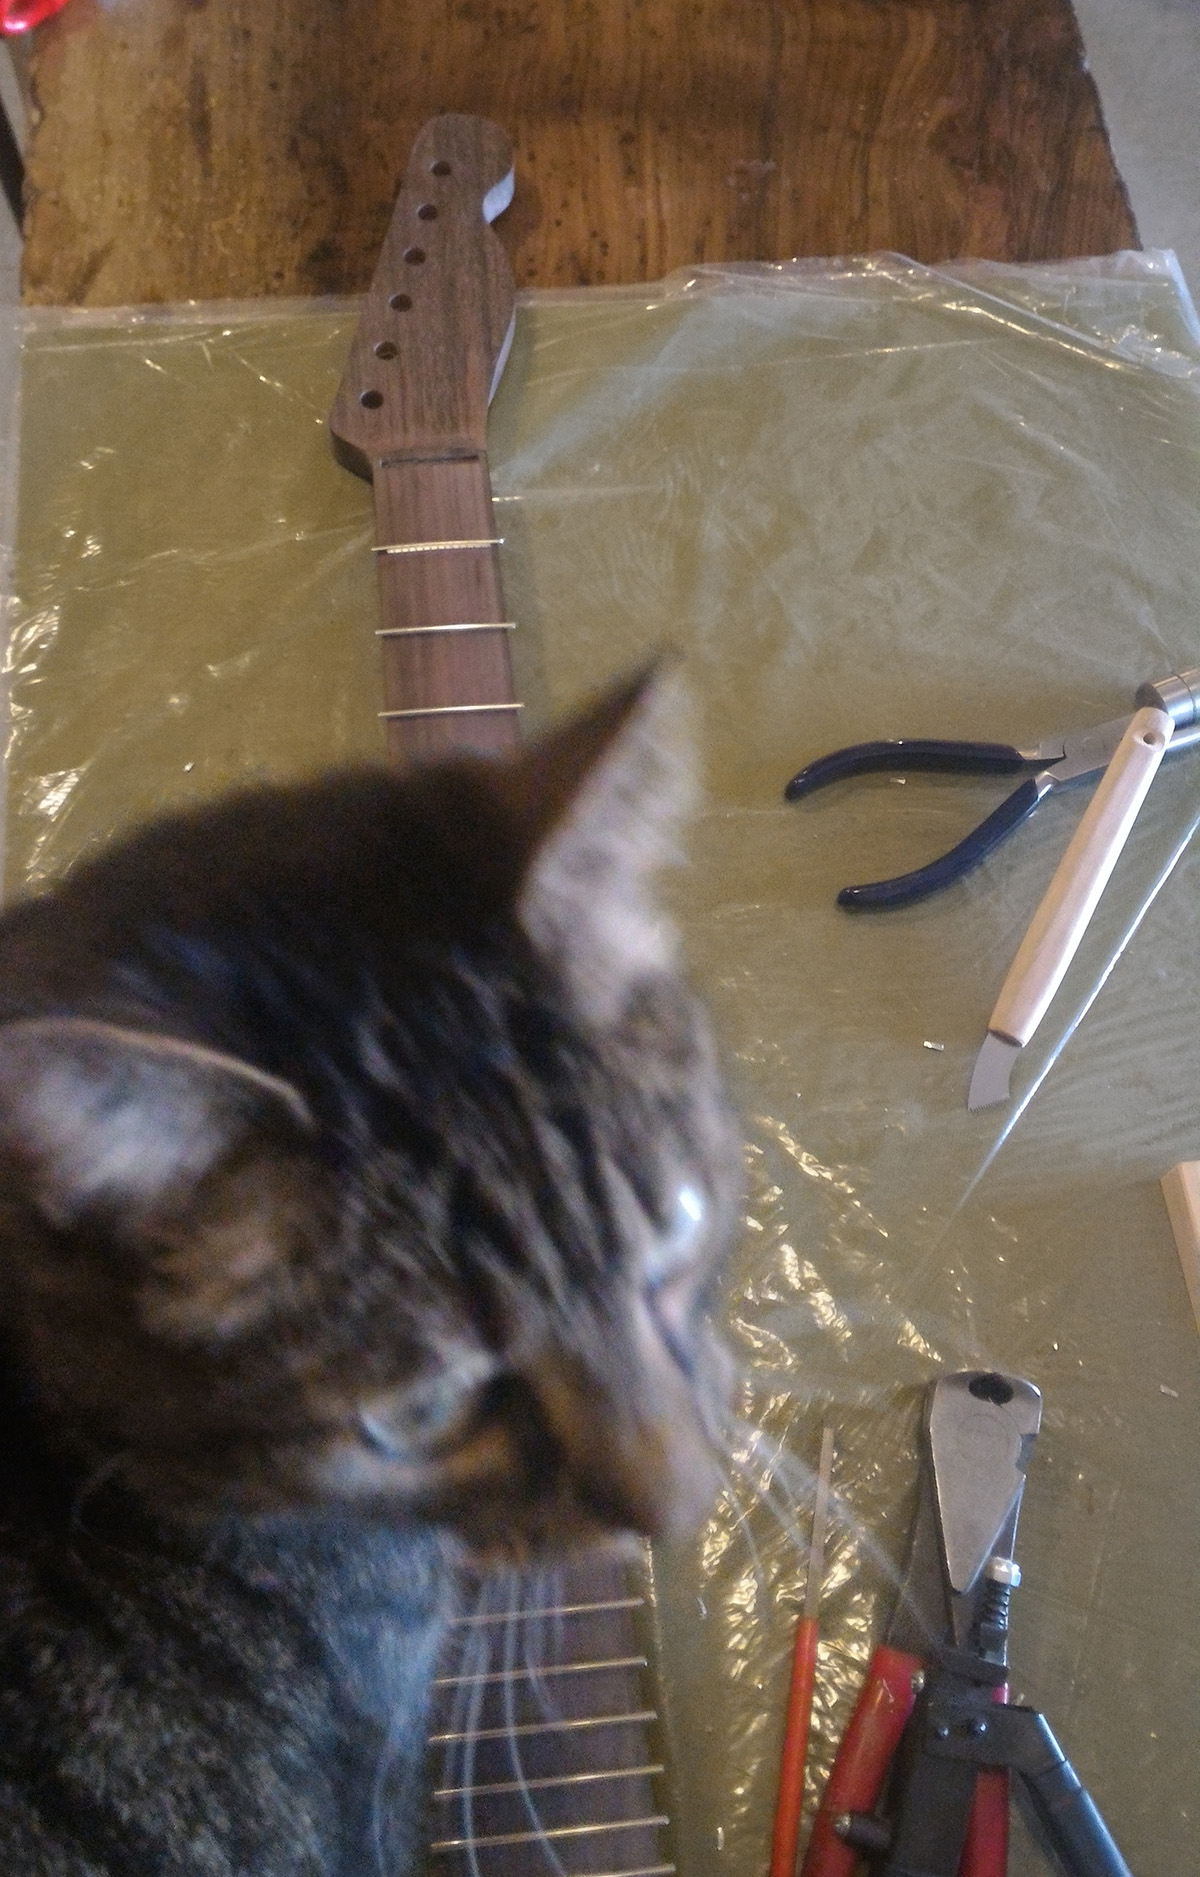
the cat trying to be more interesting that all those cut frets
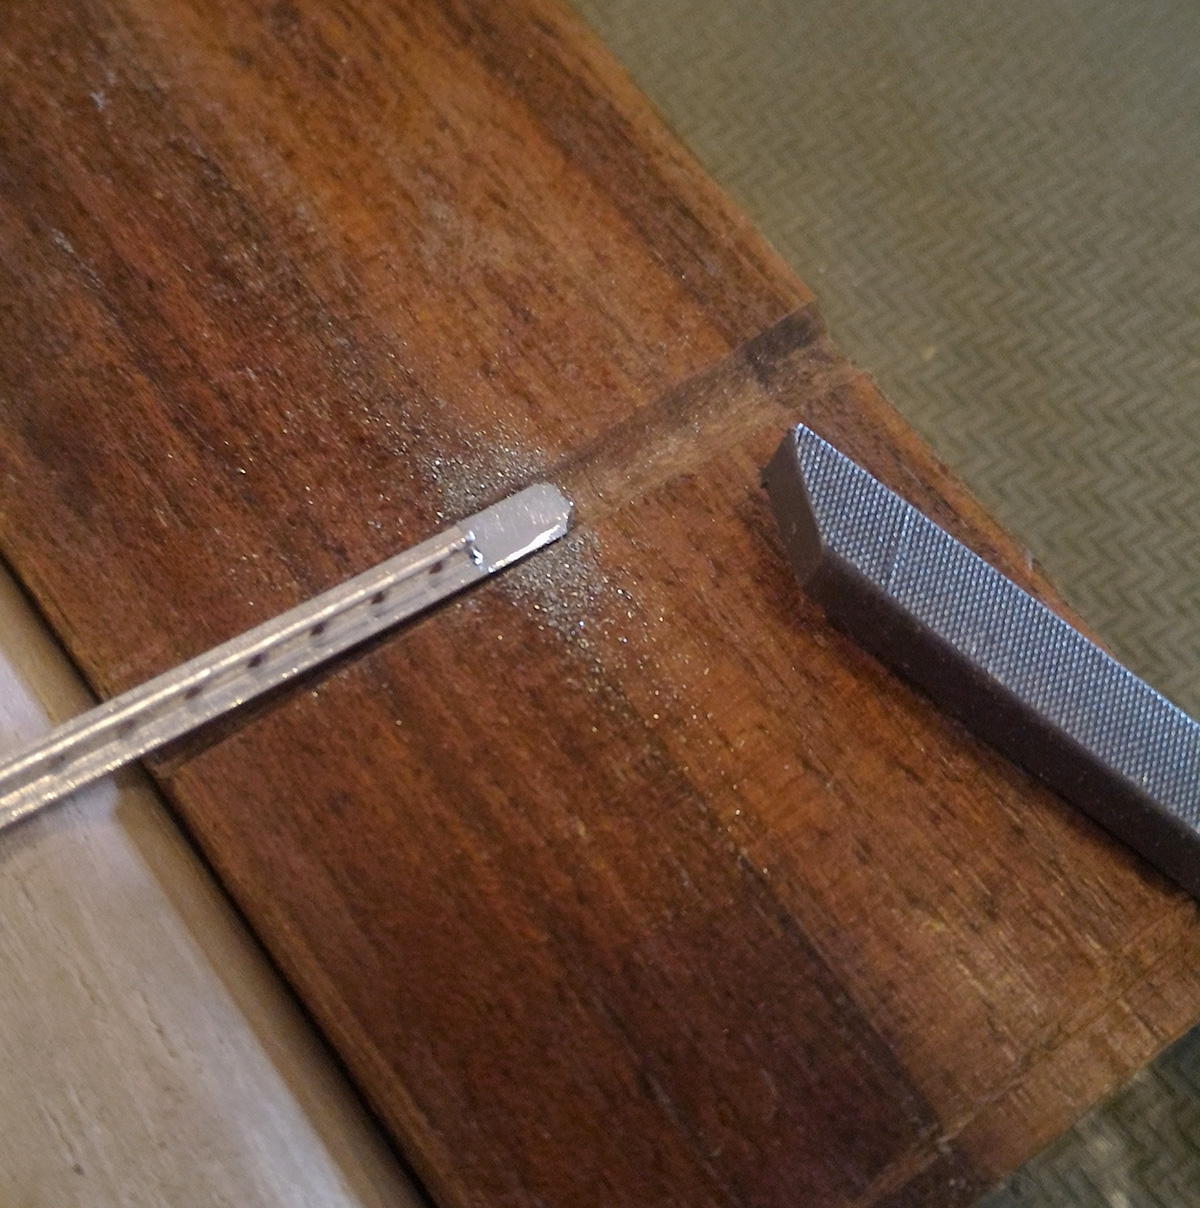
all frets are carefully filed flat on the bottom
all frets reporting for duty!
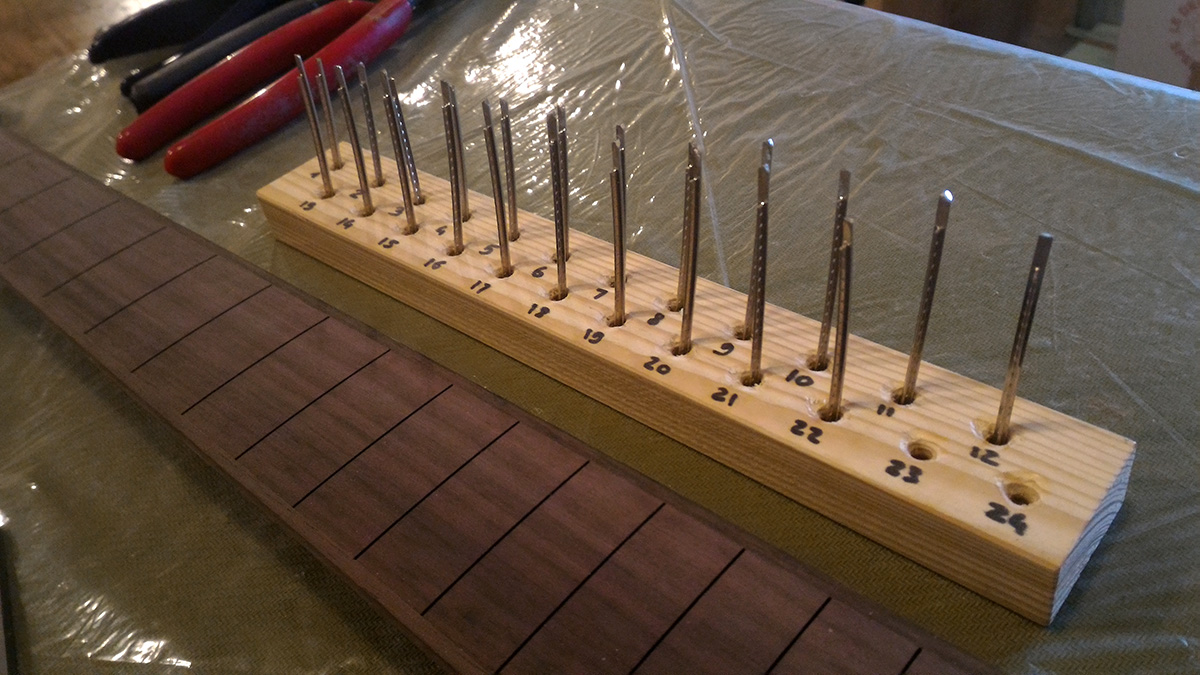
commencing fretting
beveling the fret ends
protecting the fingerboard before dressing the frets
dressing the frets
and the result after recrowning and polishing
love the fingerboard-less look of that neck, very subtle. The channel bound fingerboard was a lot of work and was stressful but I think the very tidy look was worth it
Graph tech nut blank
sanding the blank flat on all sides
shaping the nut for the recess I put in the neck.
Of course I don't expect anyone to redo that if the nut needs to be changed later on.
But I wanted something invisible from the side since this neck is very slick and sober looking
gluing the nut
reducing to proper height and radiusing.
scribing the string position.
and cutting the accurate size slot for each string.
I'll keep the capacitor instalation secret for now as it's a bit of a surprise :-) sorry!