007 - 008 - Djent guitars - 2015 - WIP thread
Hi and welcome to the work in progress thread for guitars number 007 and 008. Open the dated collapsible frames to see previous posts.
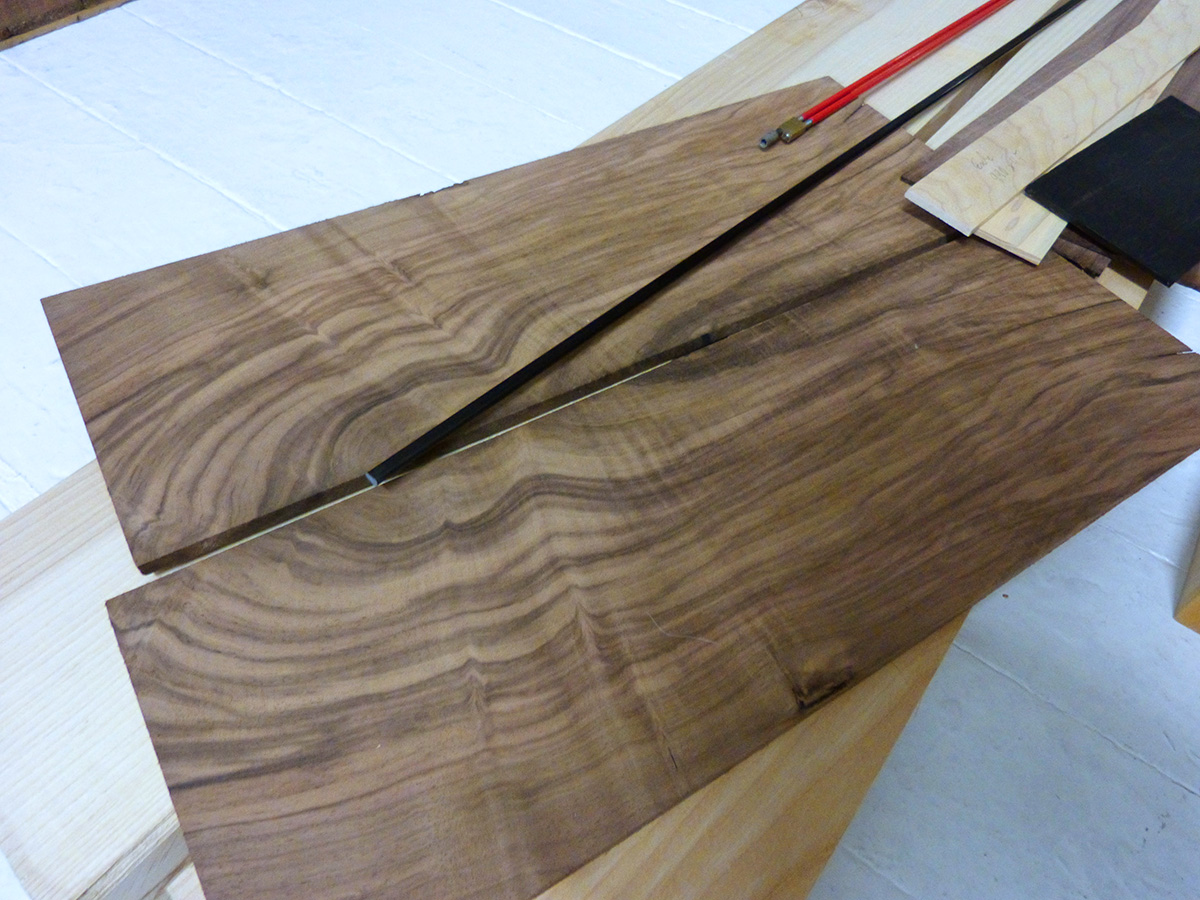
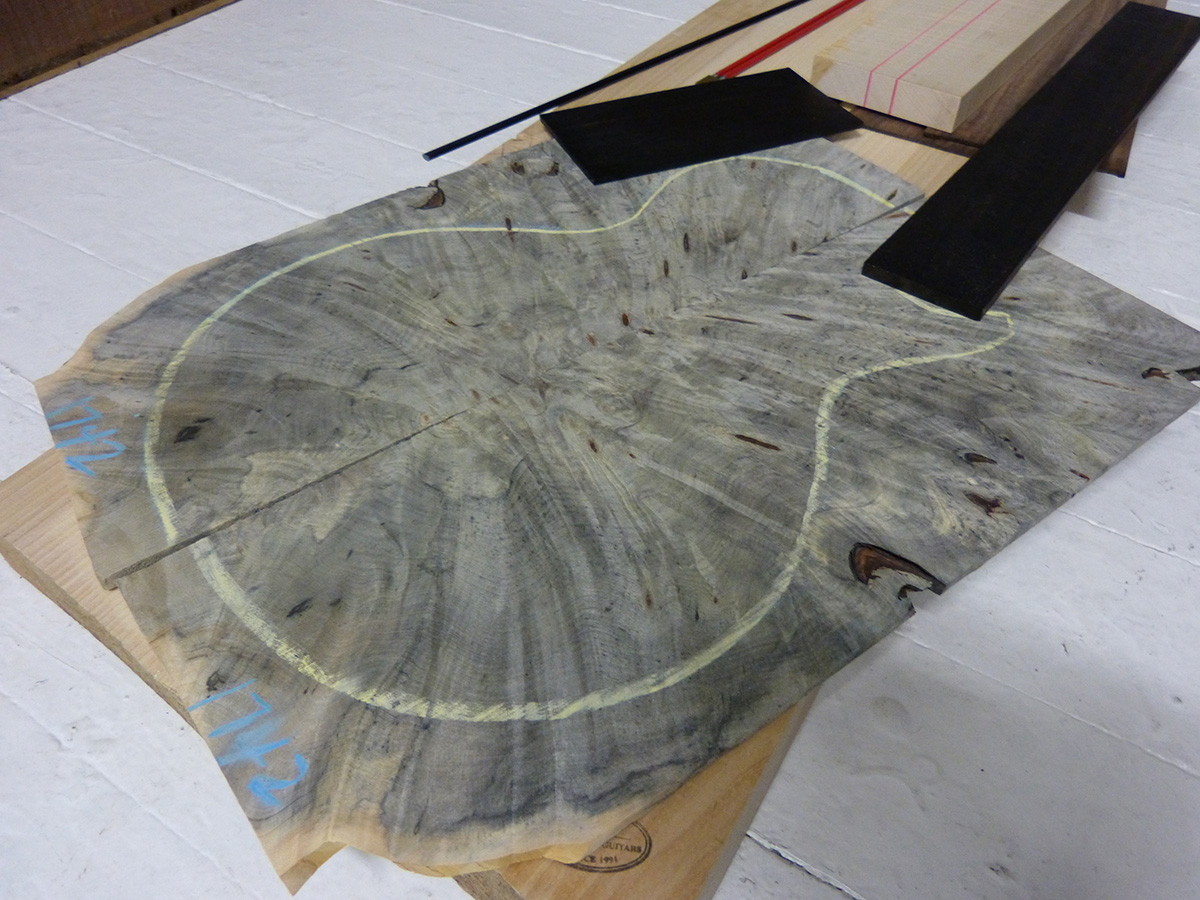
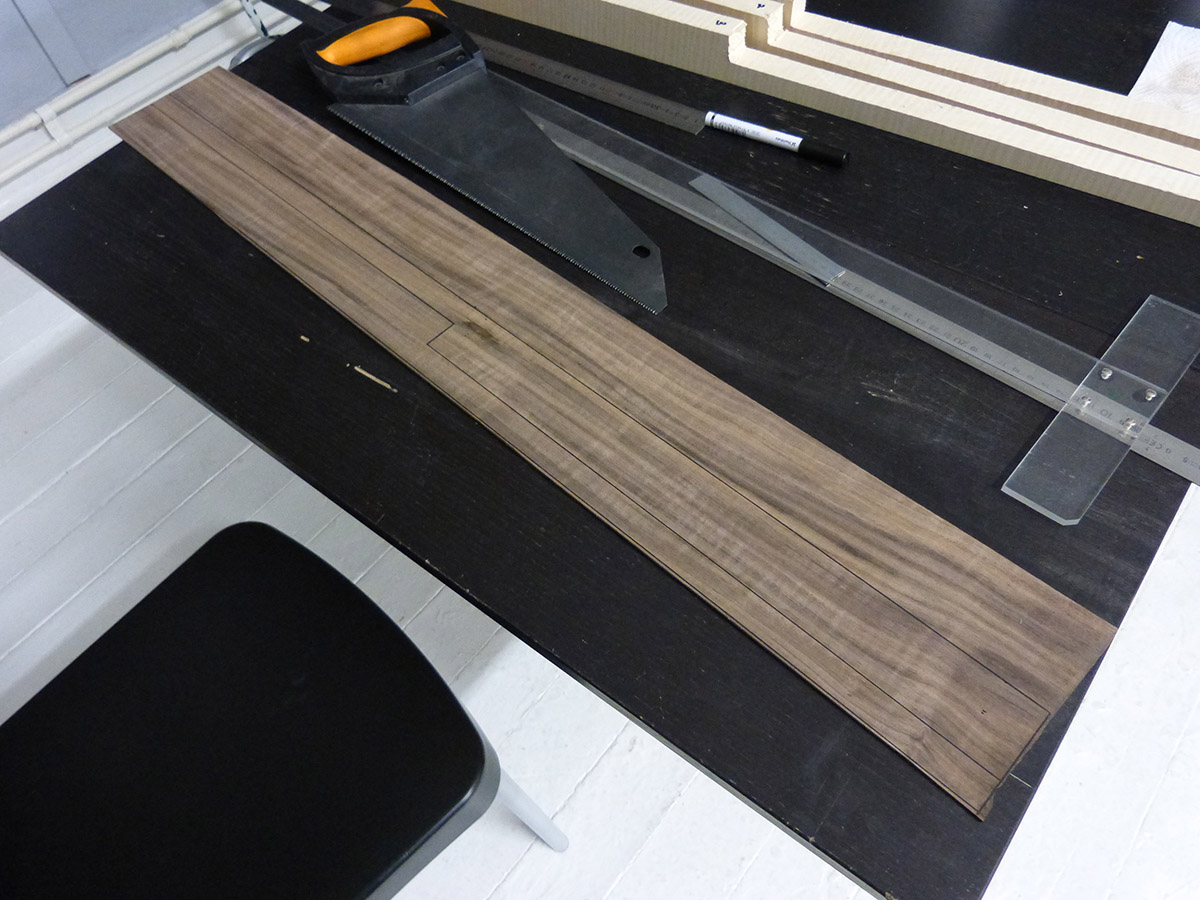
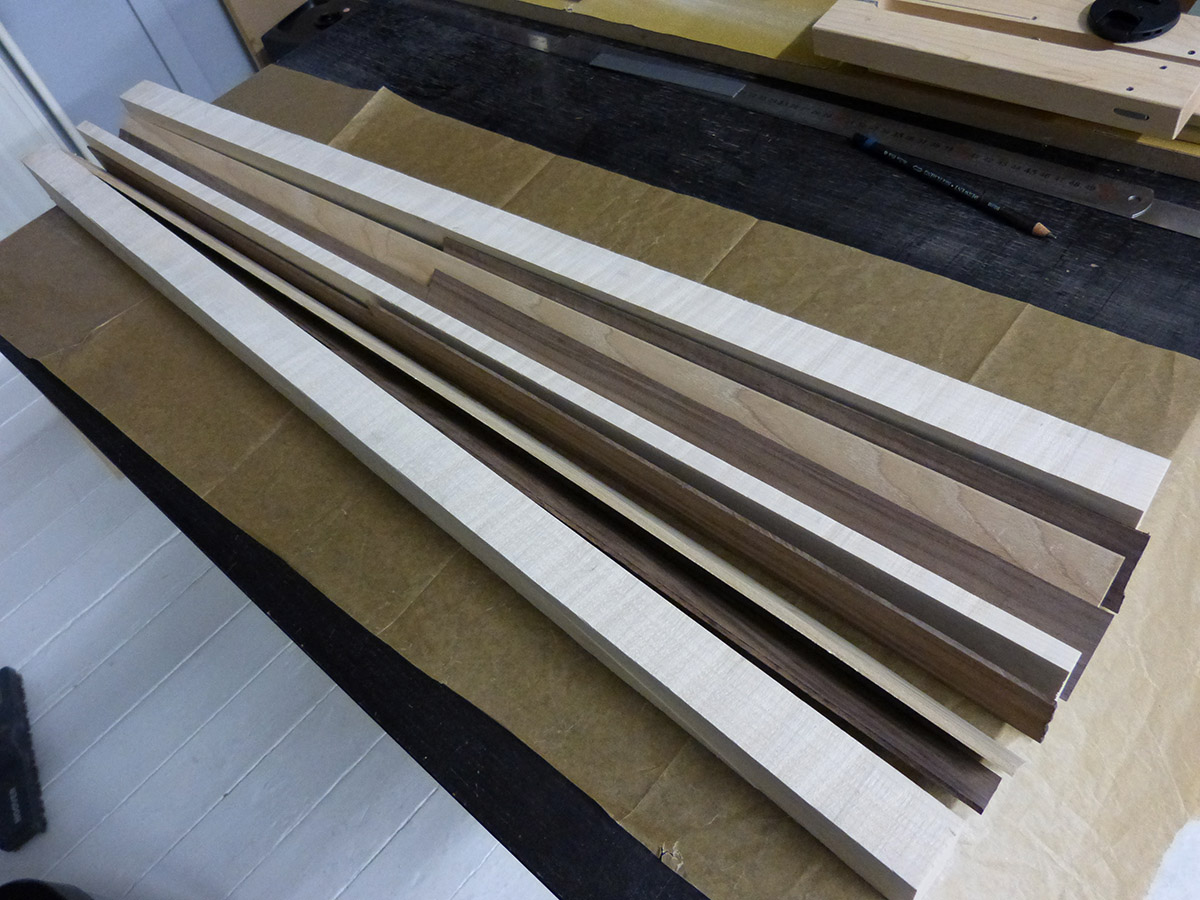
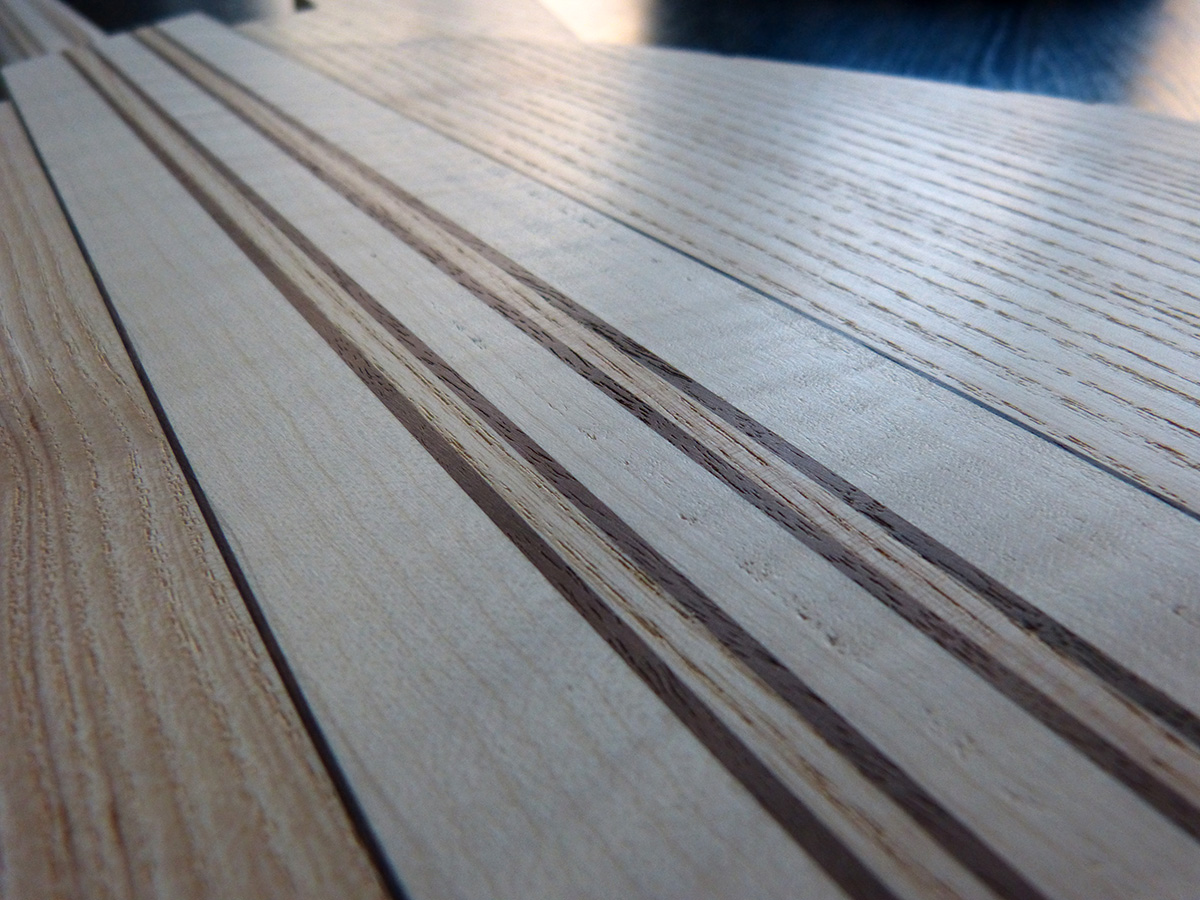
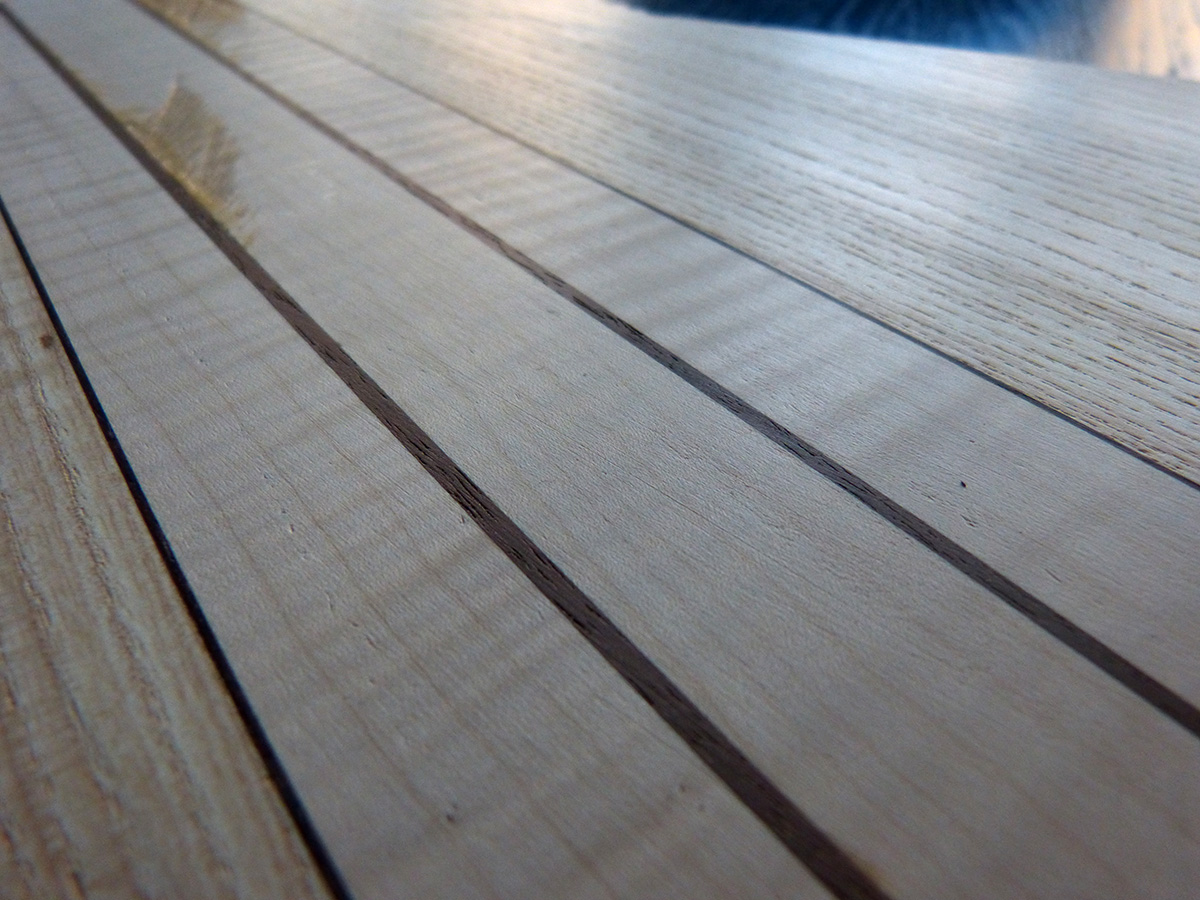
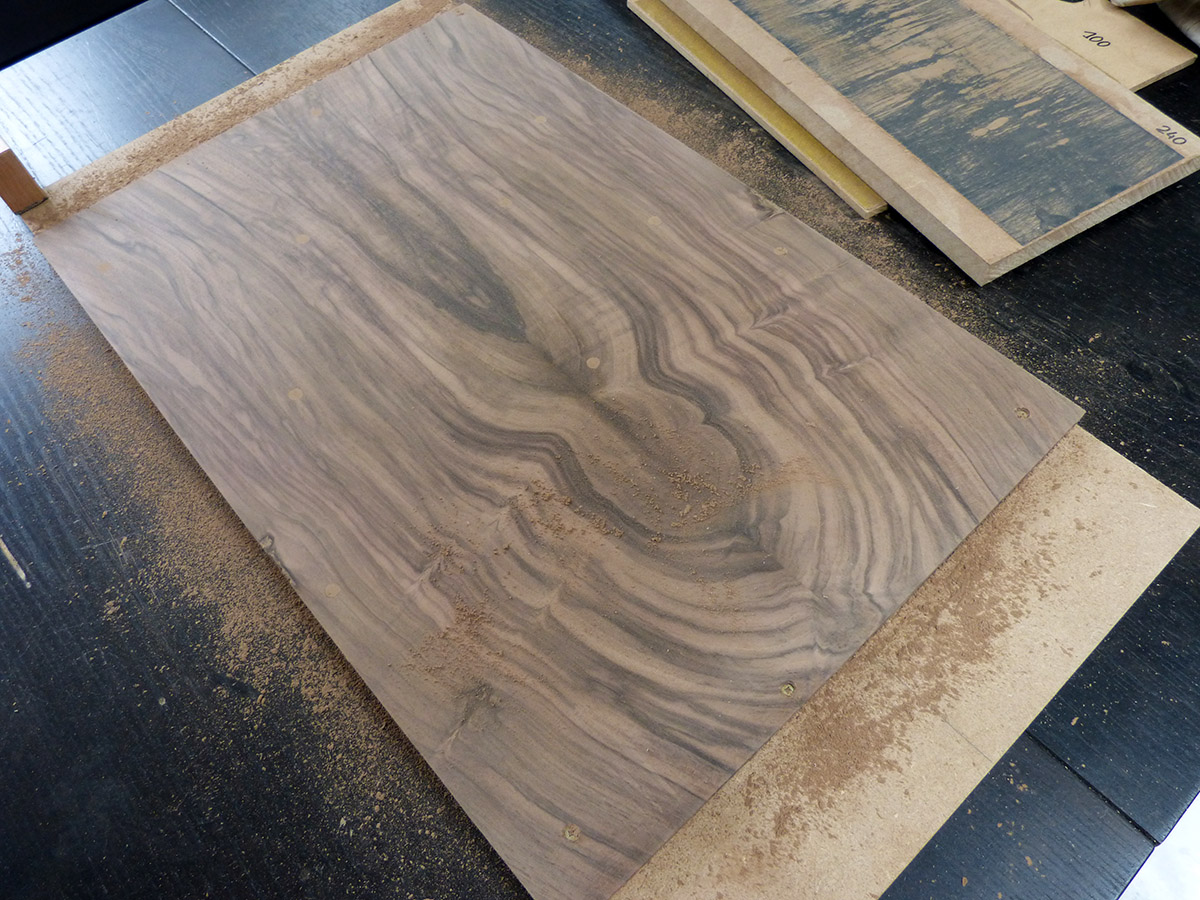
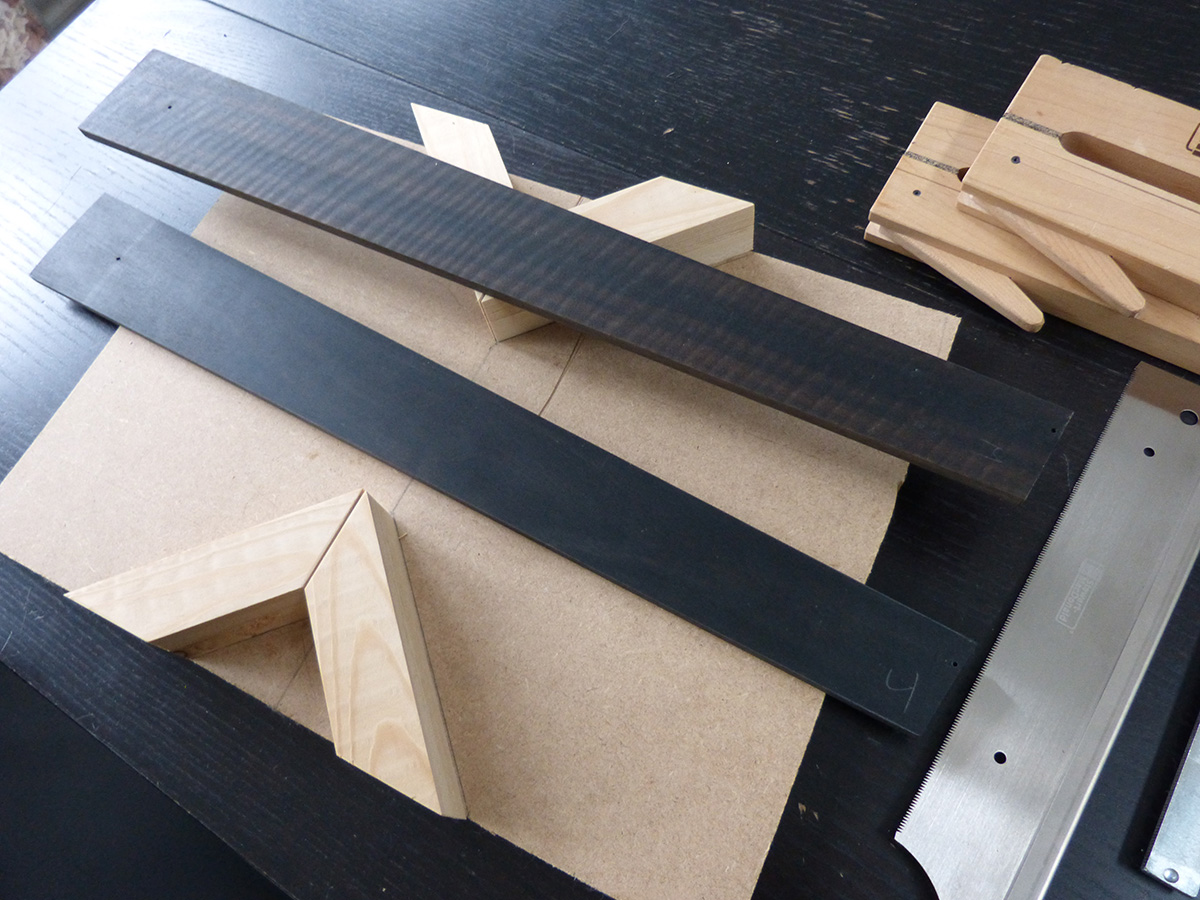
Here is the wood for 007, swamp ash body, walnut top, 9 ply flamed maple/walnut/swamp ash, ebony fingerboard and headplate
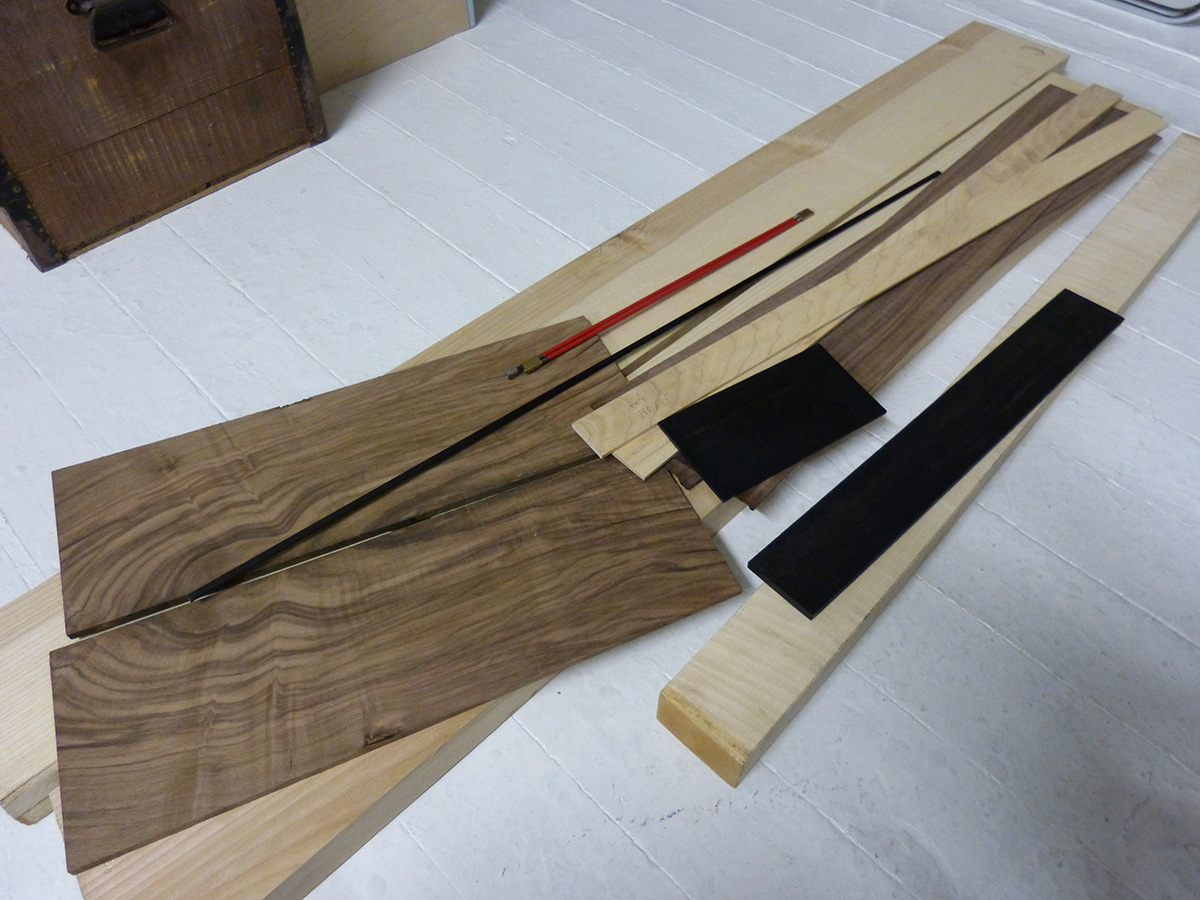
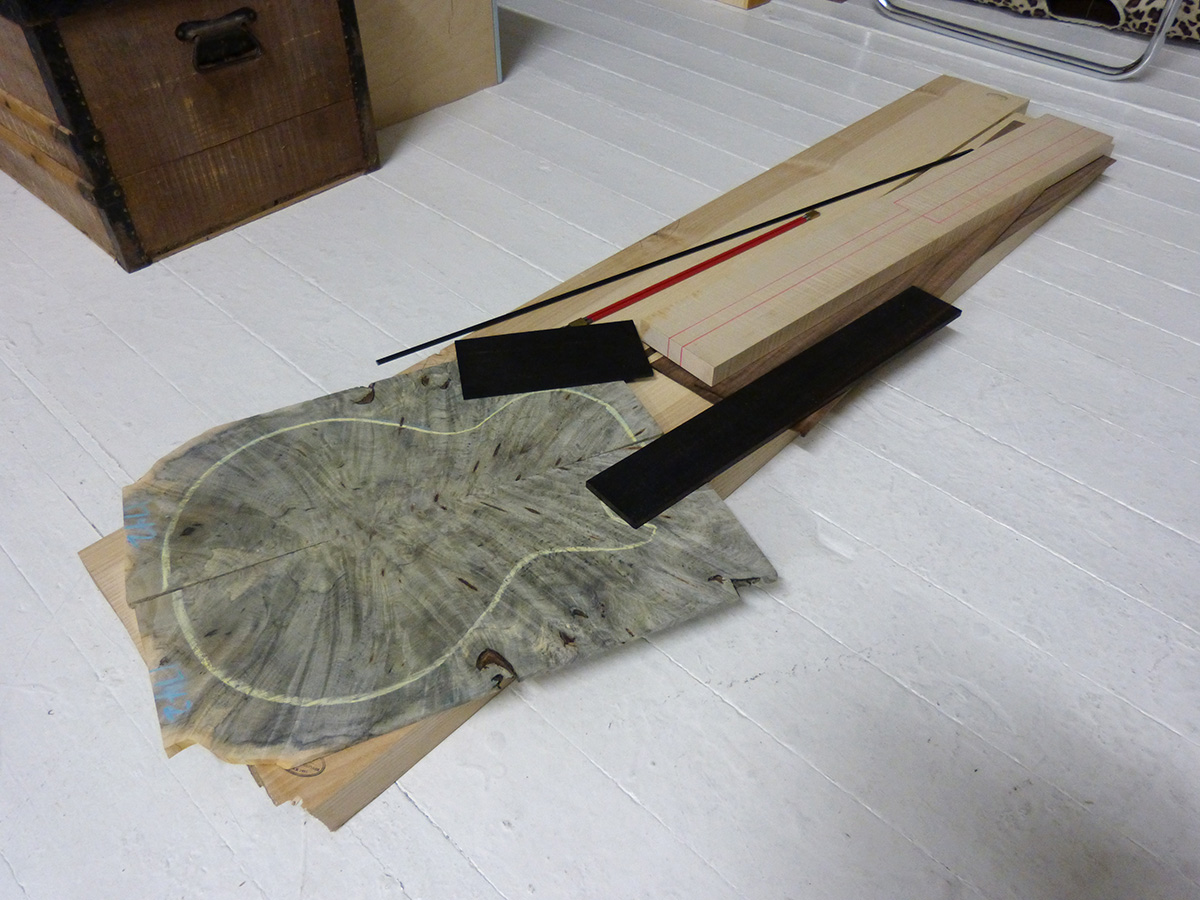
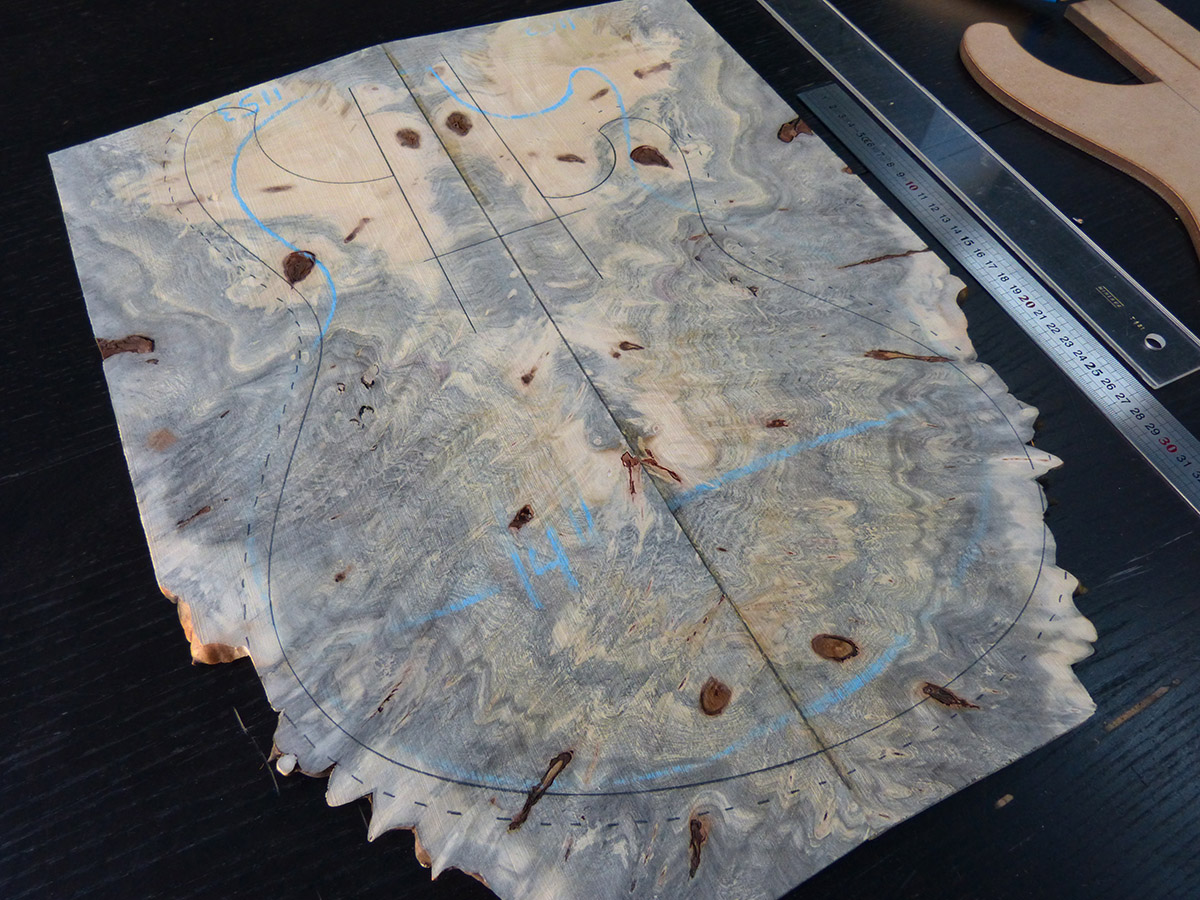
wood for 008, swamp ash body, buckeye burl top (I'm not going to use this one in the end), 5 ply flamed maple/walnut neck, ebony fretboard and headplate
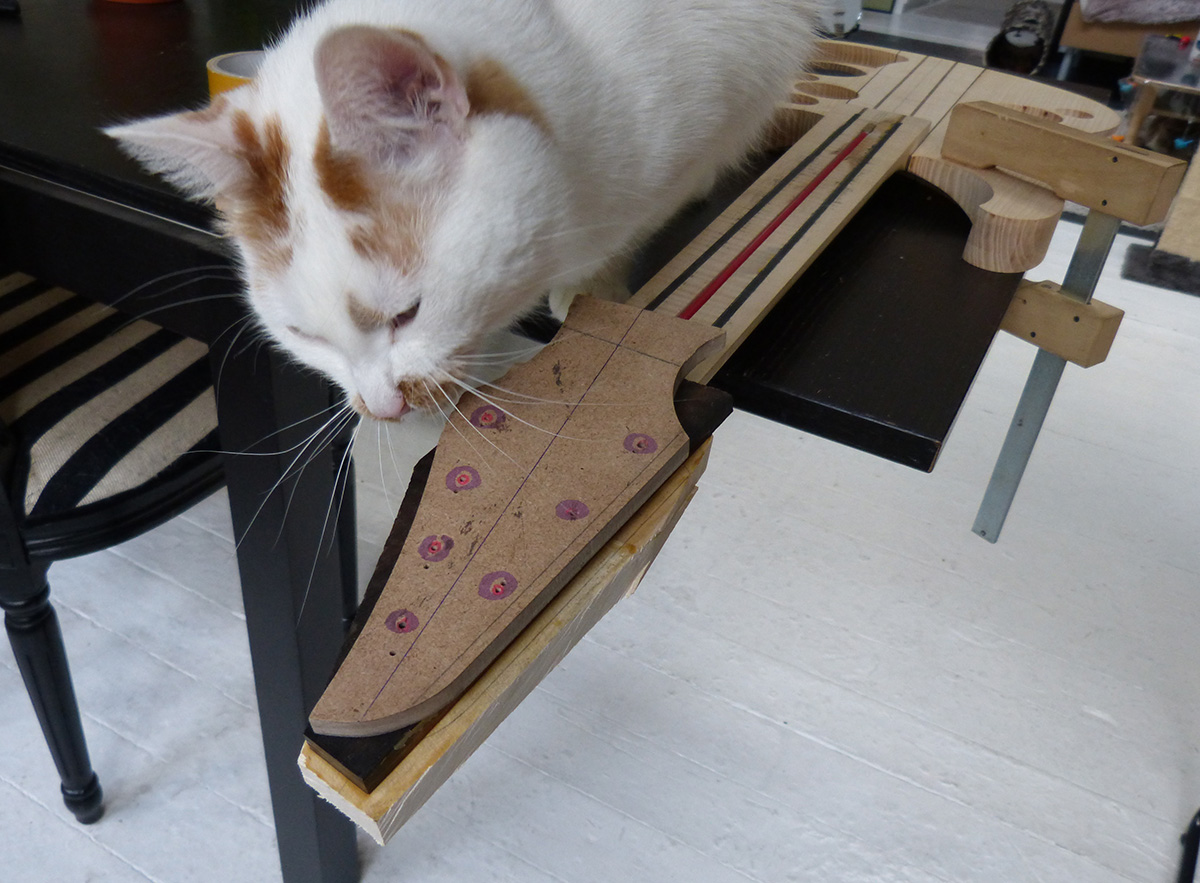
validation of the wood by the cat
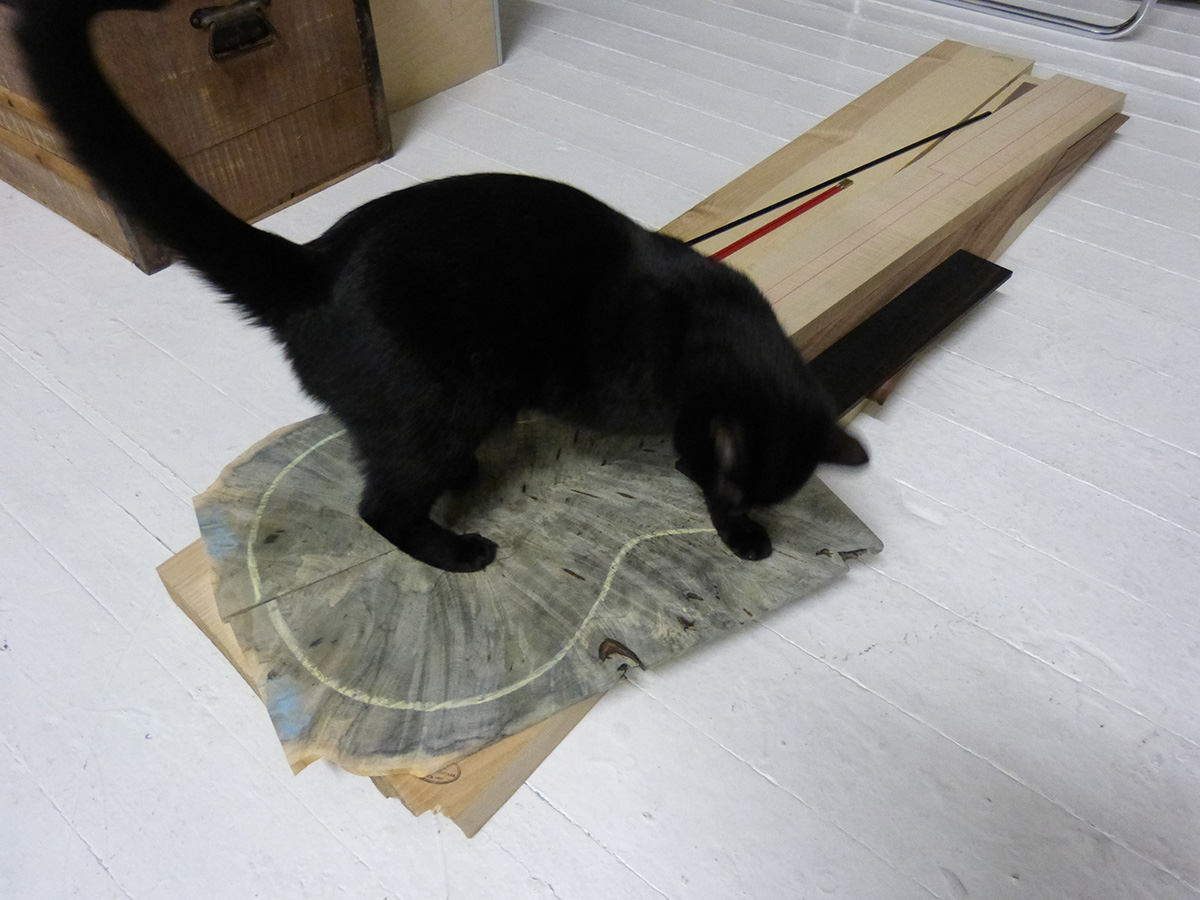
yep, validated!

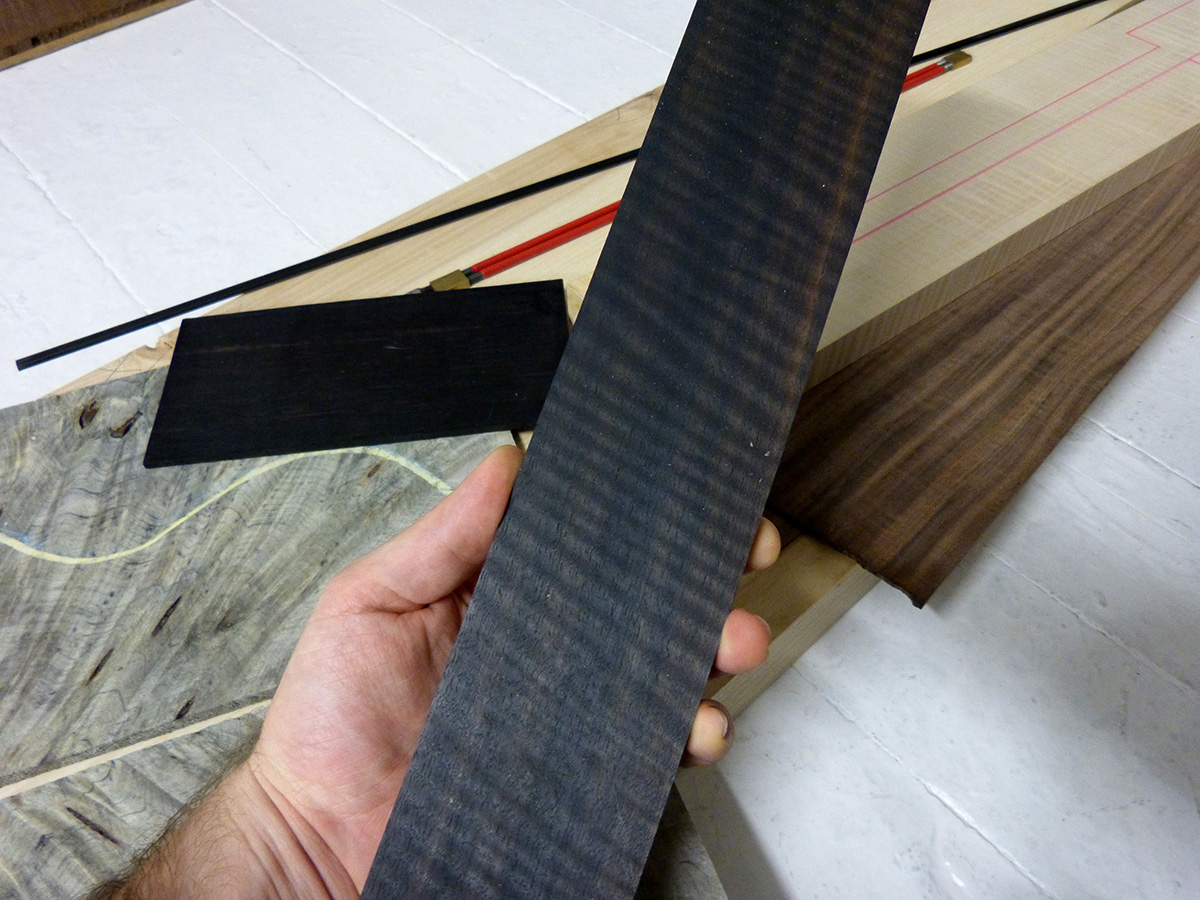
crazy flamed ebony fingerboard
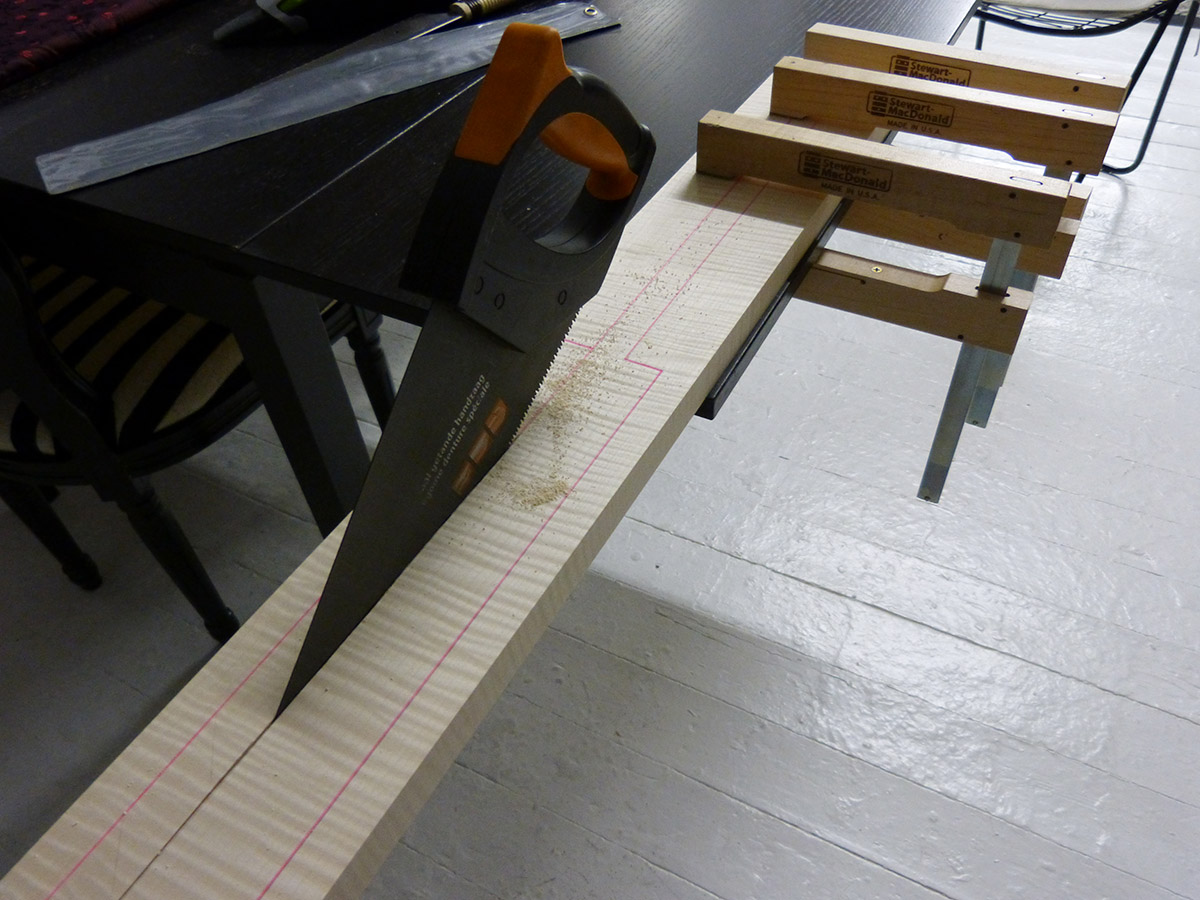
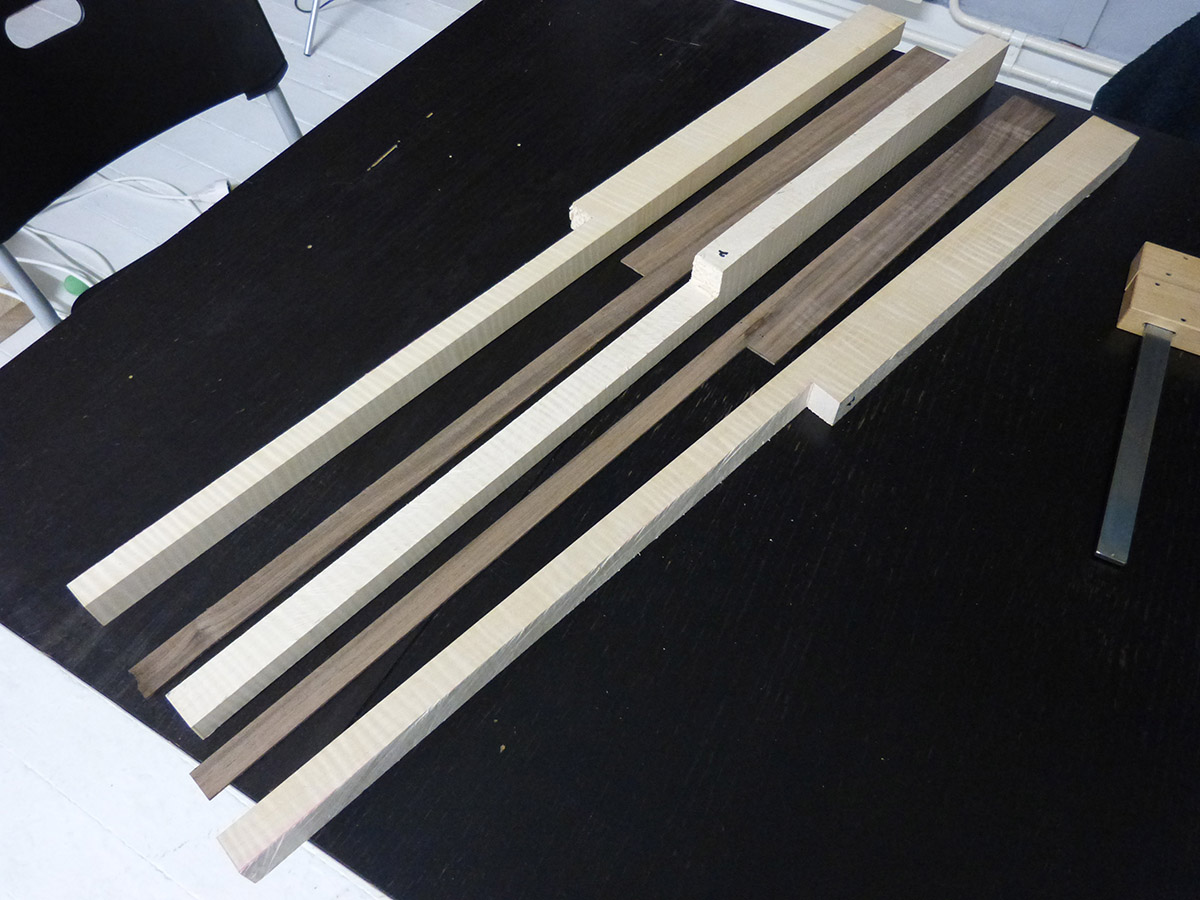
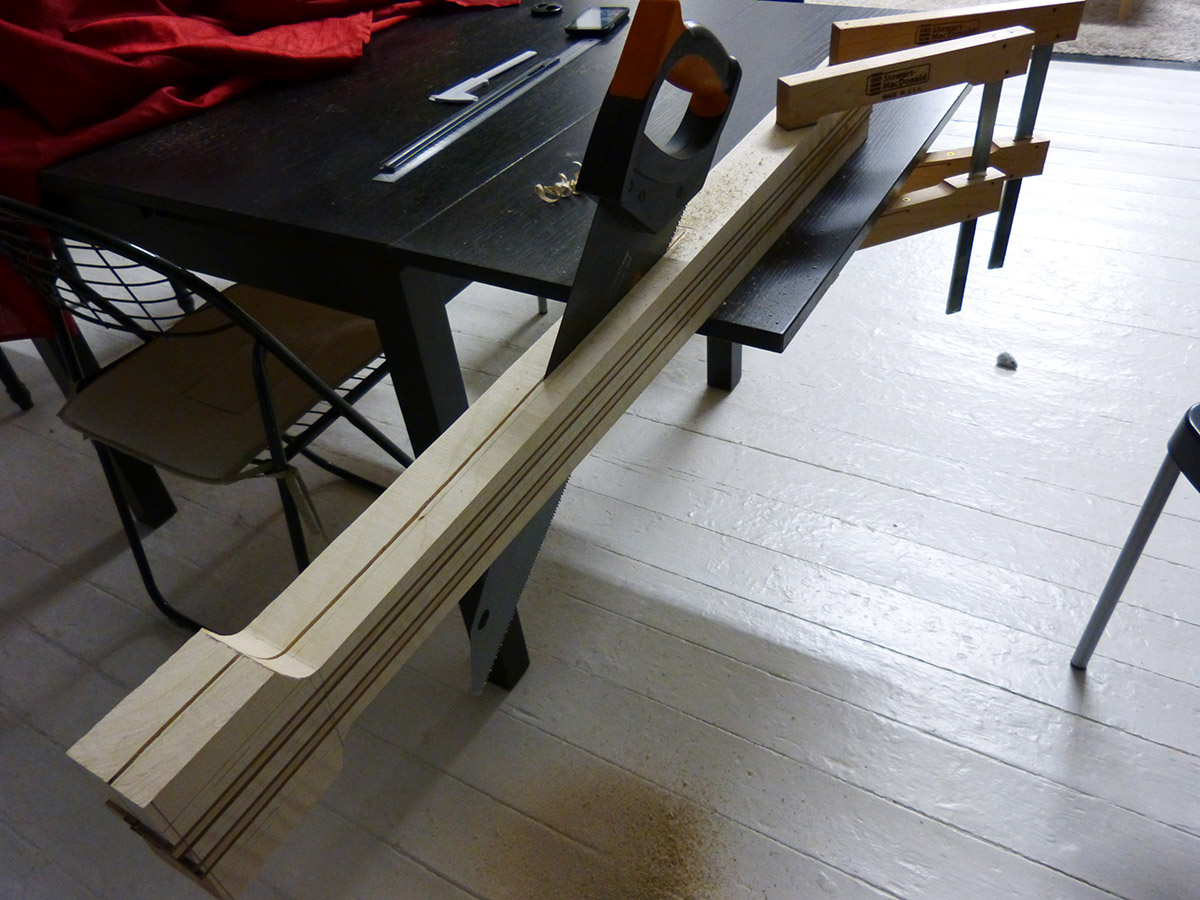
starting to cut the neck wood for 008 by hand as always...
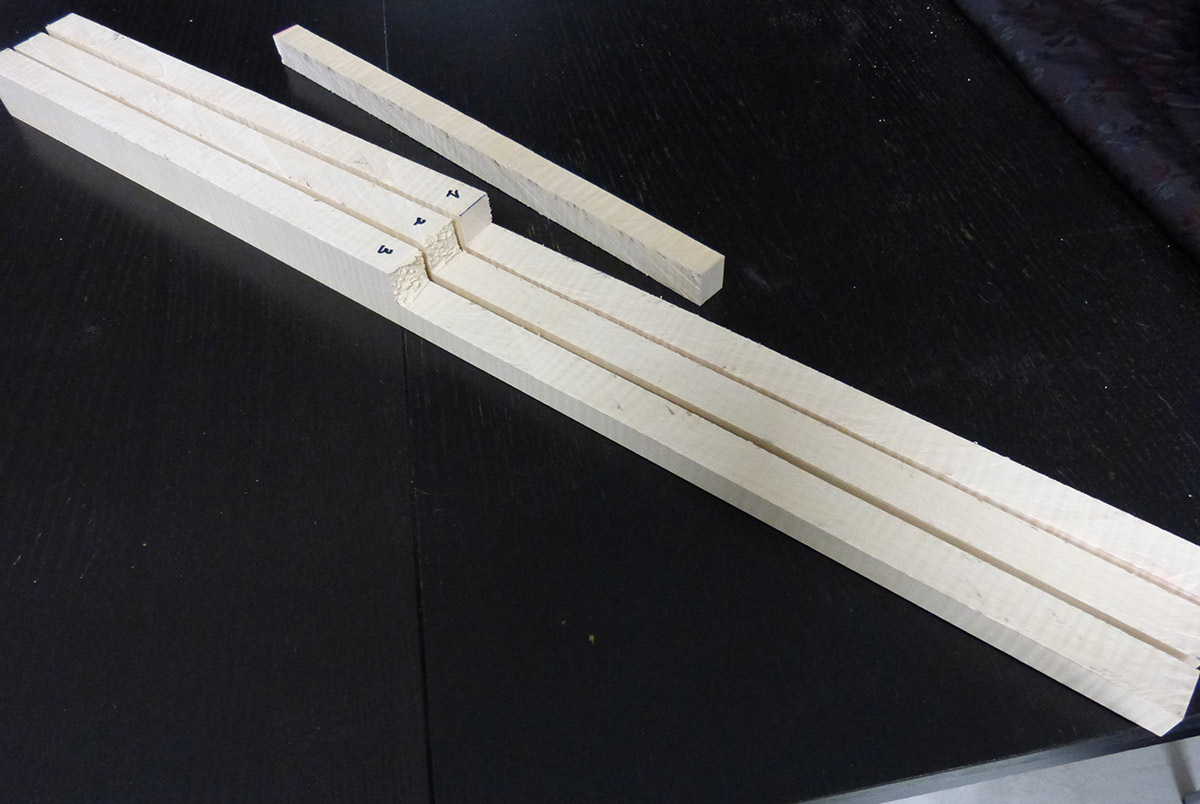
all the pieces for the neck of 008
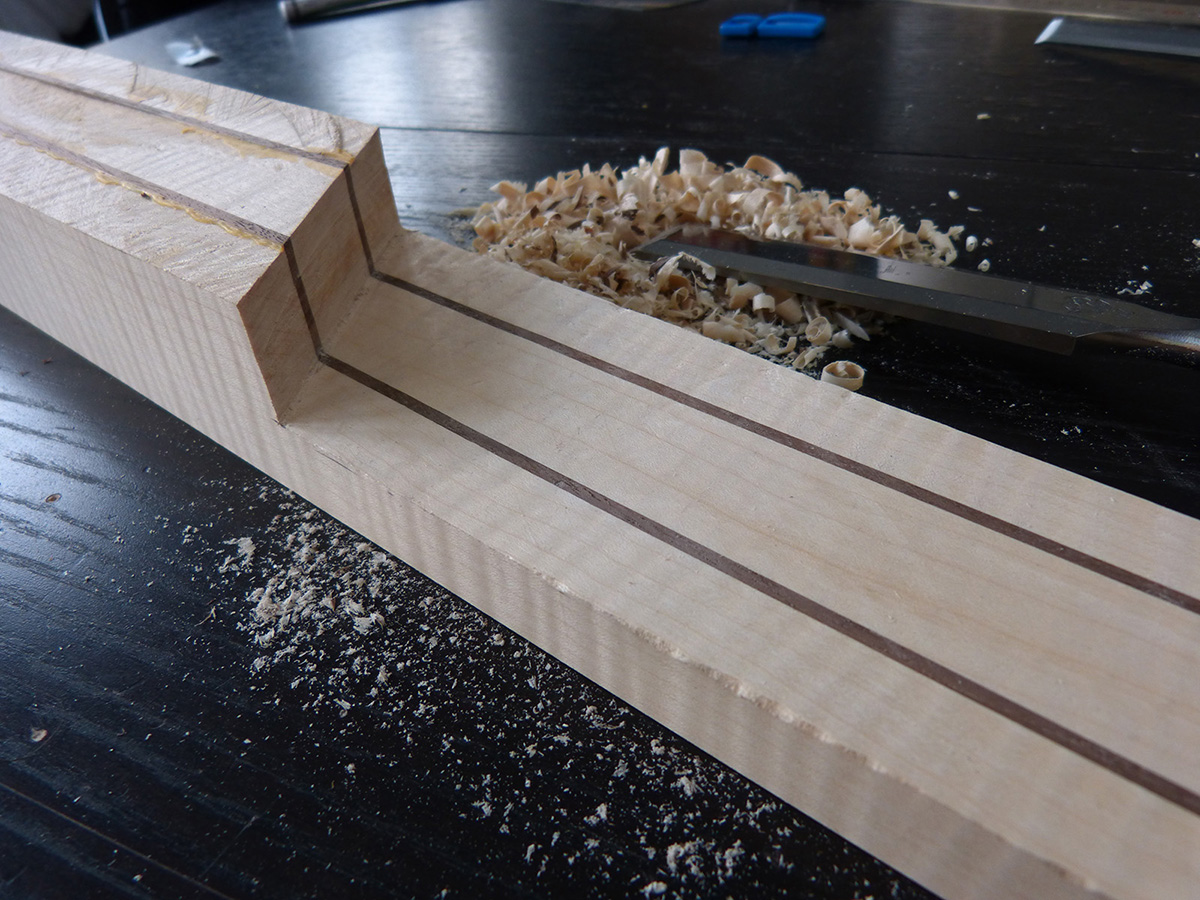
starting to cut the maple pieces for the neck of 007. here starting from a big solid block of maple, sanding one side flat, cutting first laminate, sanding flat second, cutting, and so on...
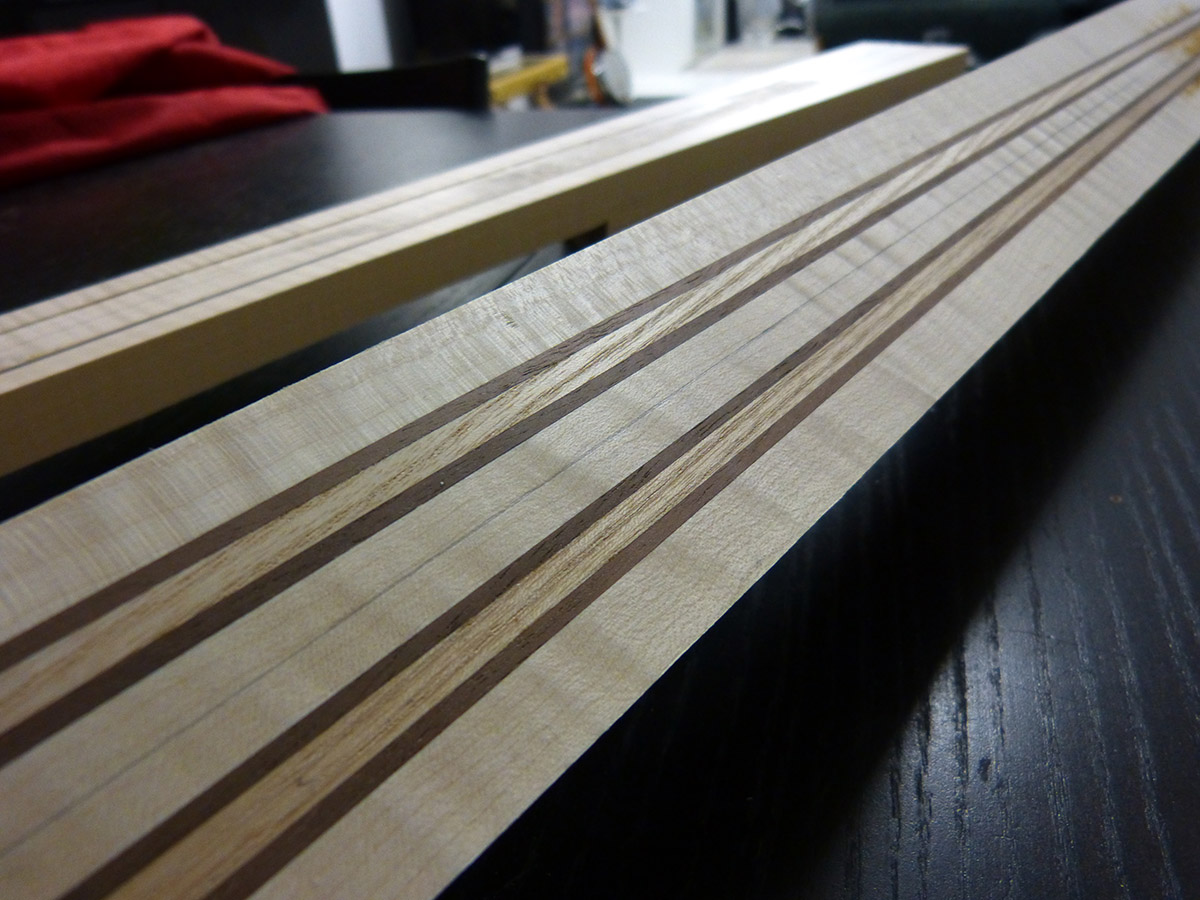
all the 9 pieces for the neck of 007
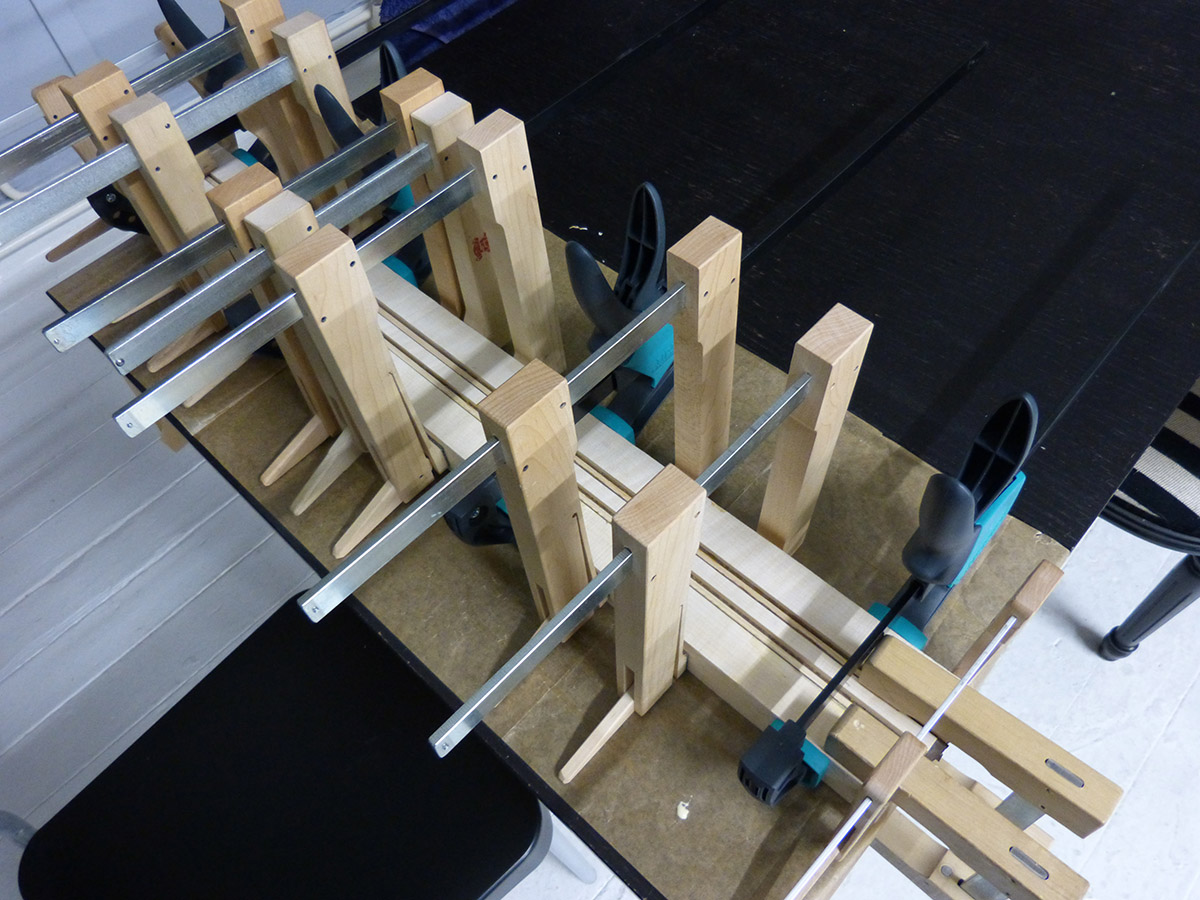
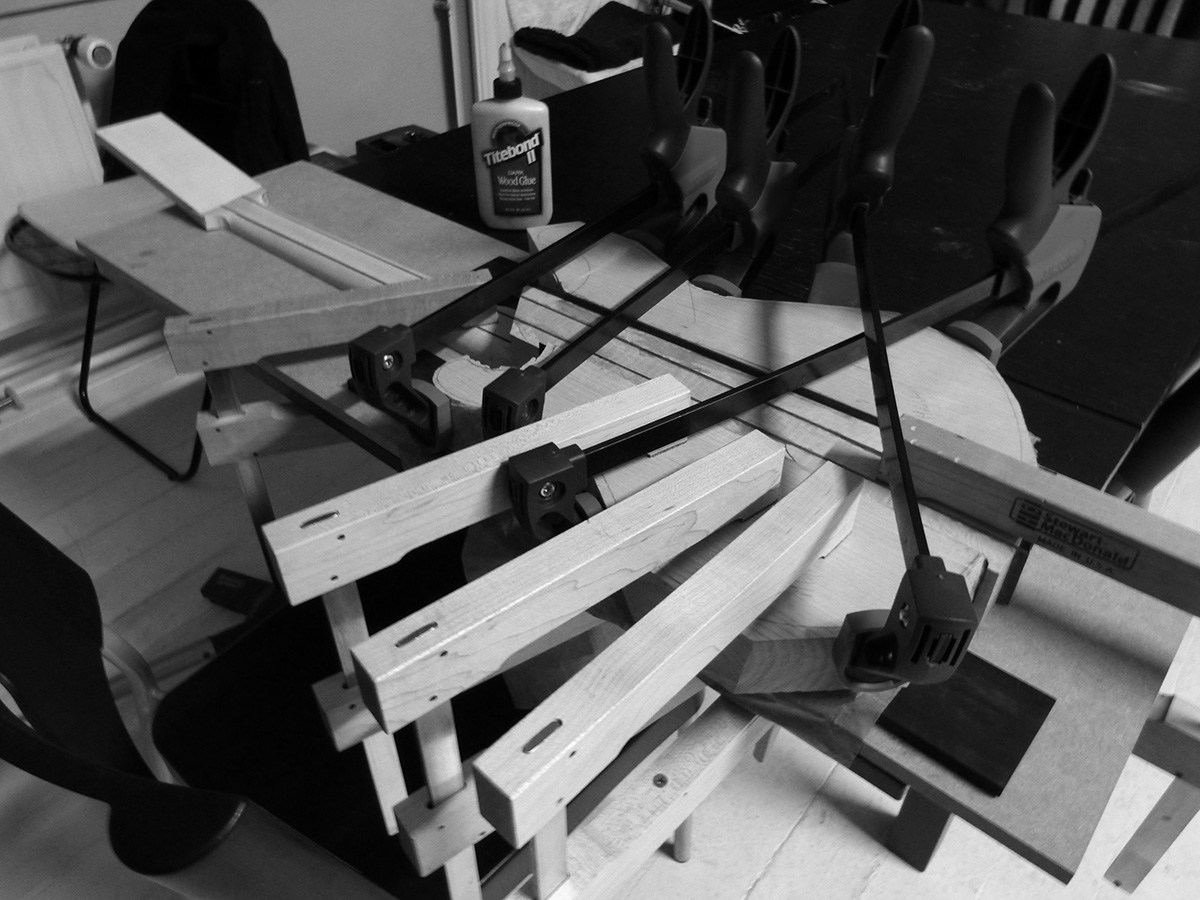
gluing up everything, actually did it in 4 times. It would take too much time to apply glue to all 9 pieces at a time.
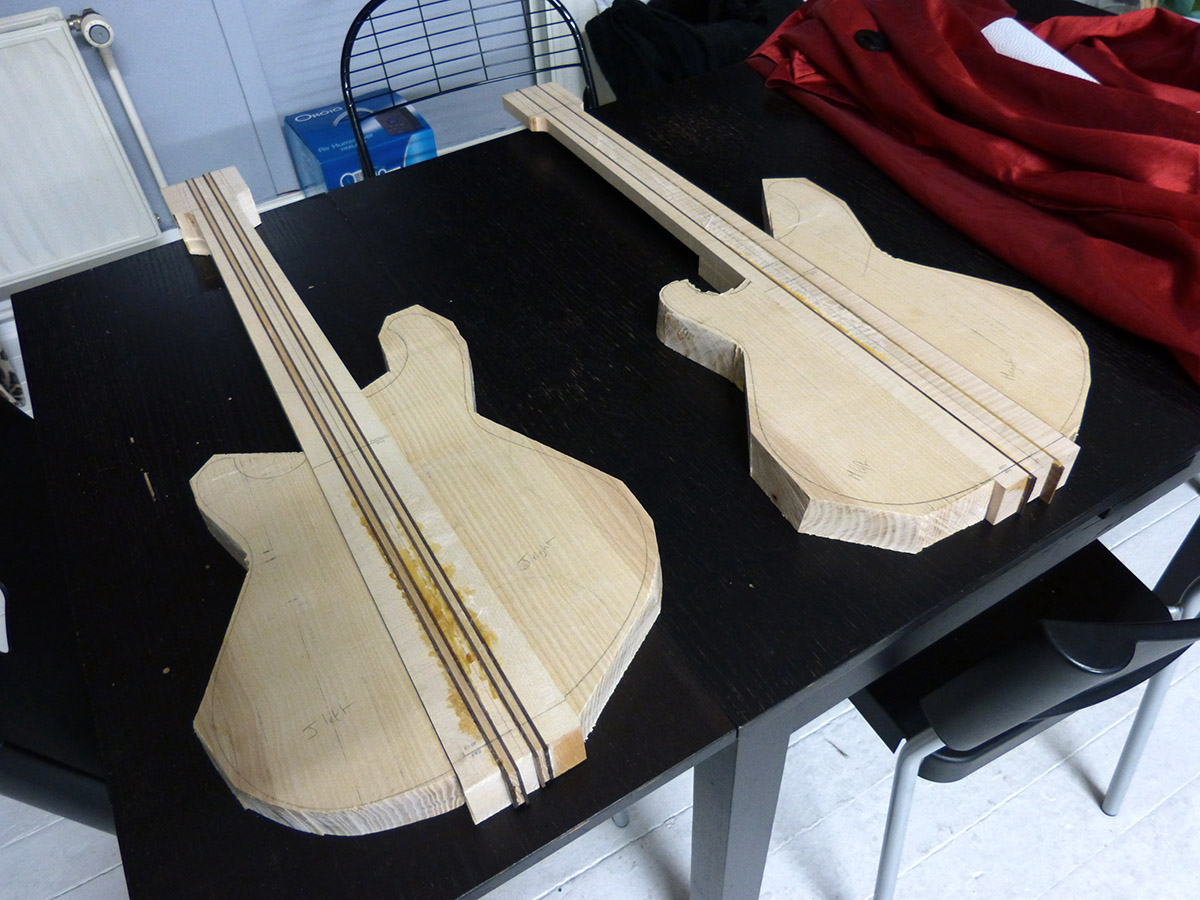
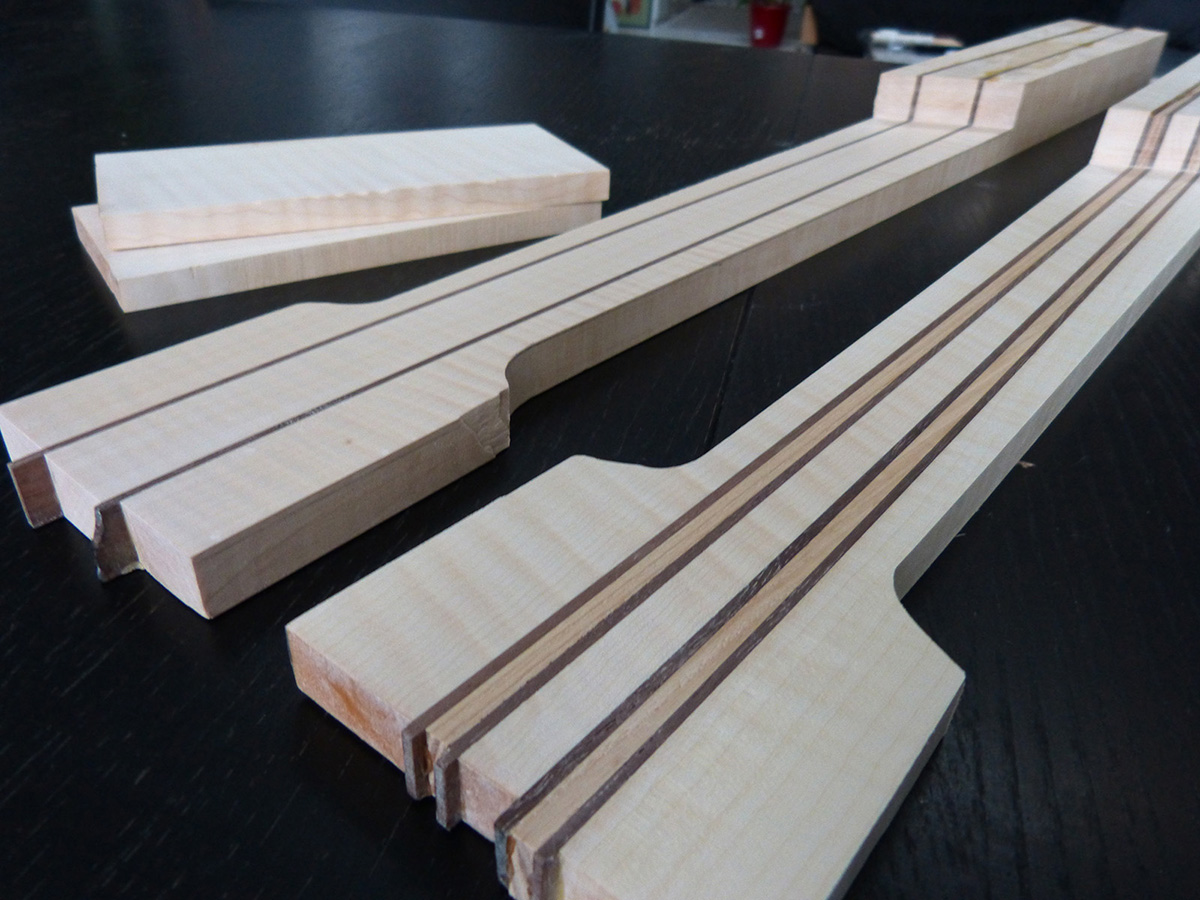
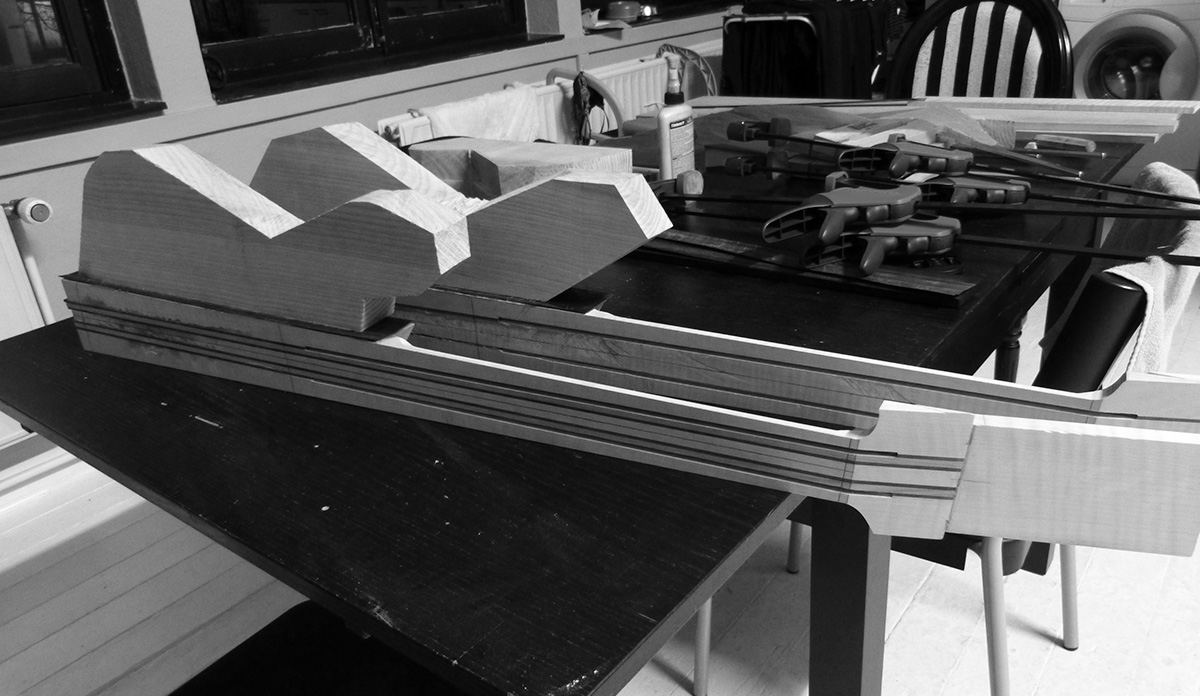
preparing necks to rout the tapper (not by hand!)
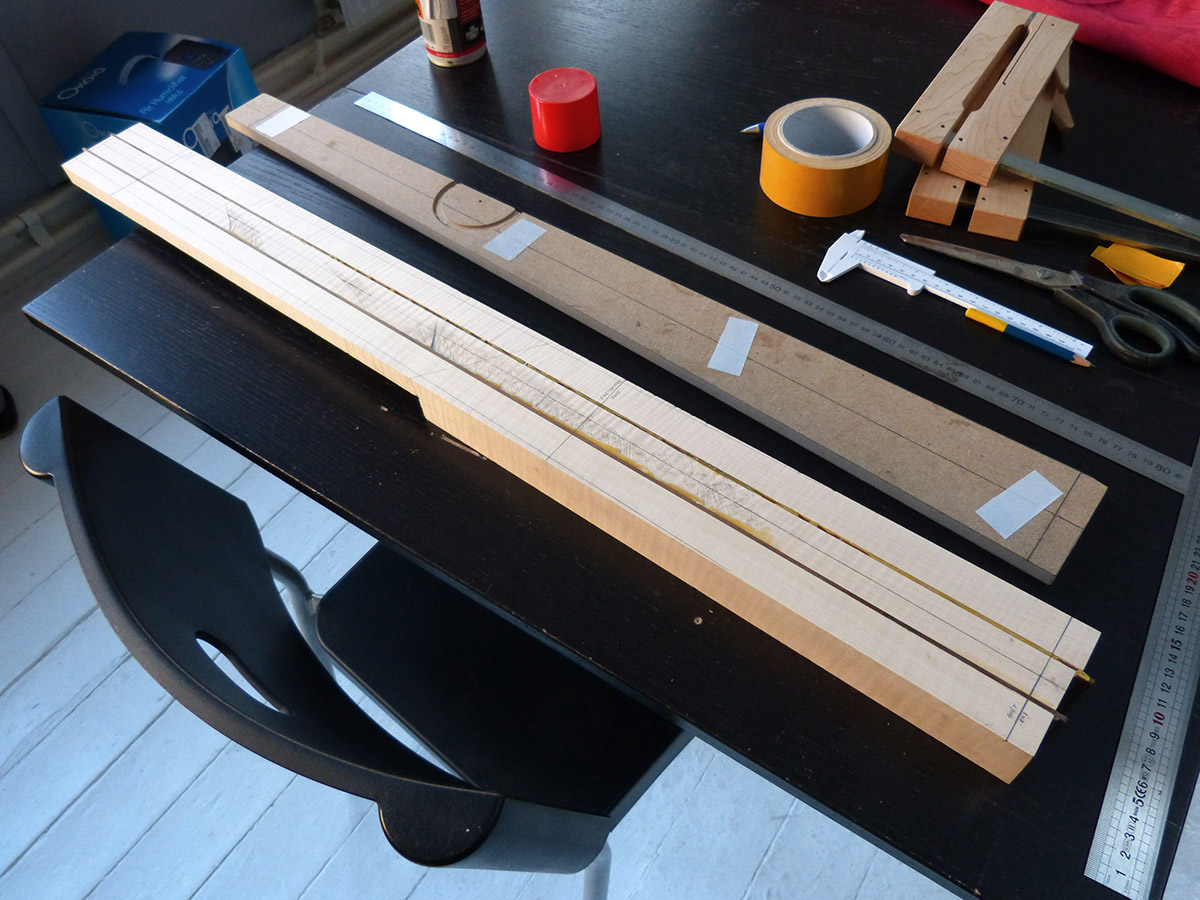
done!
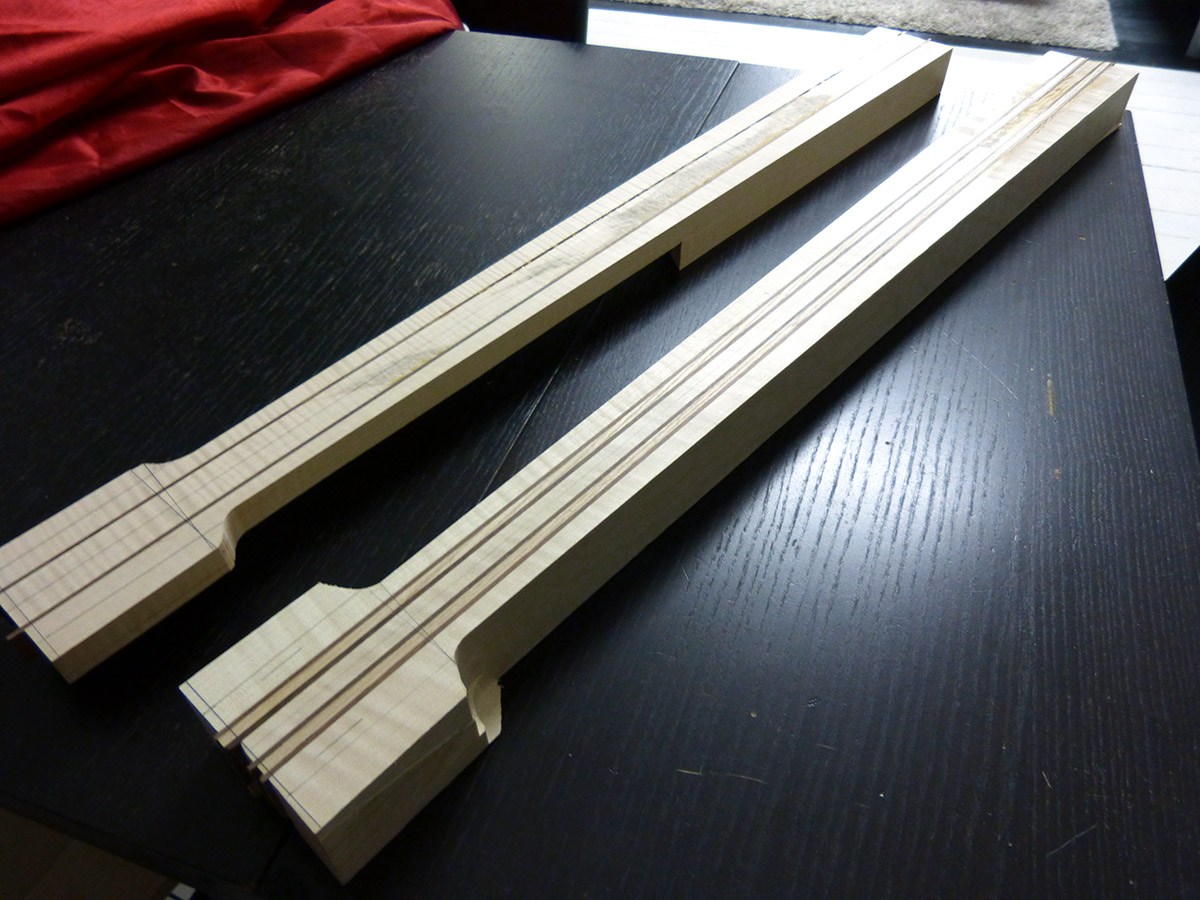
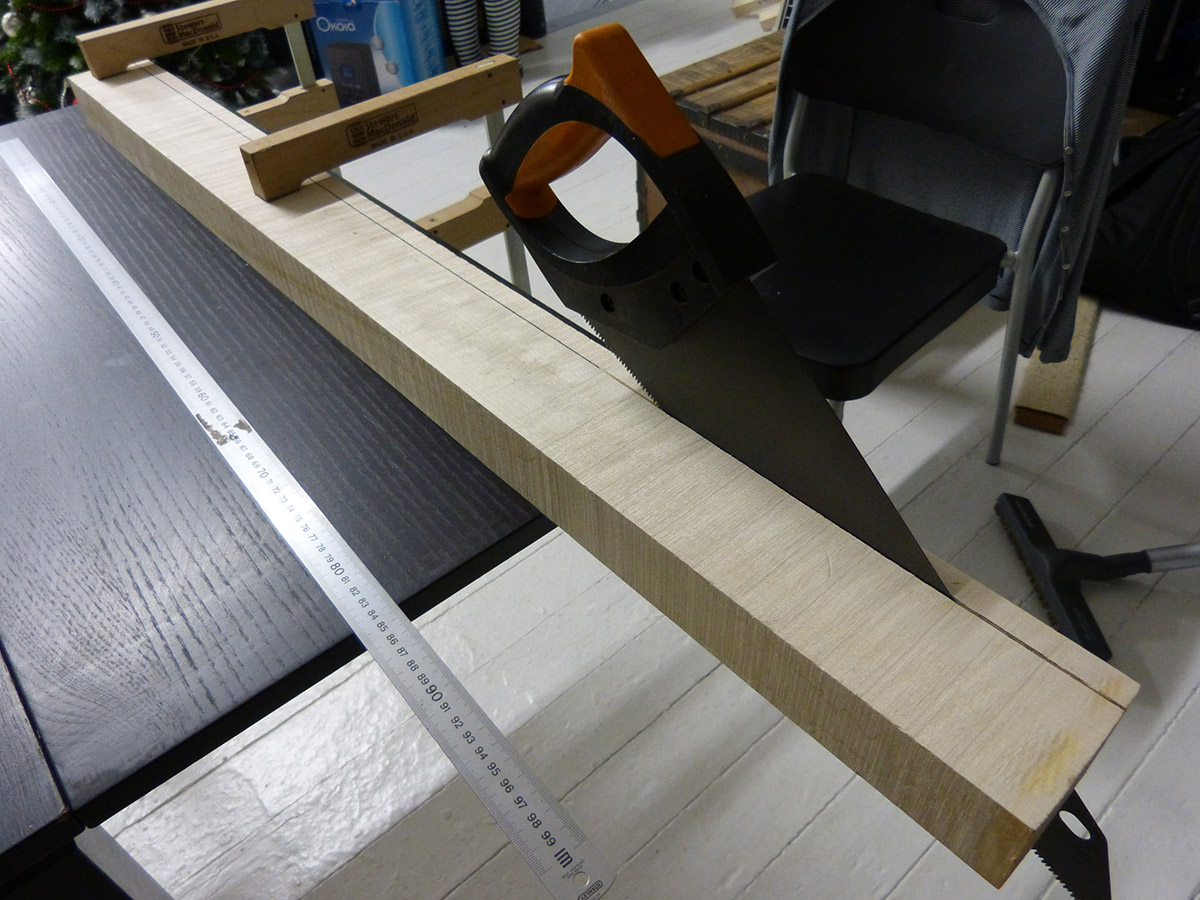
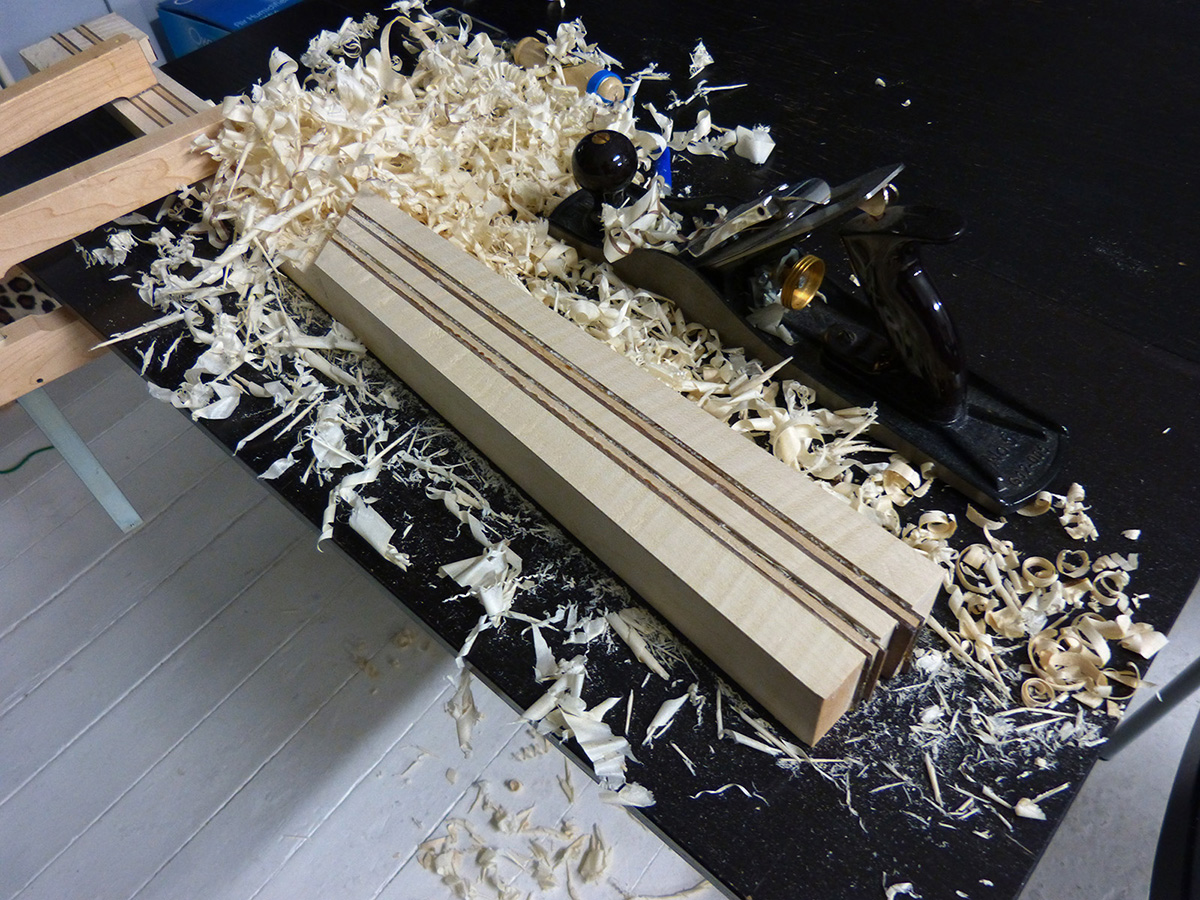
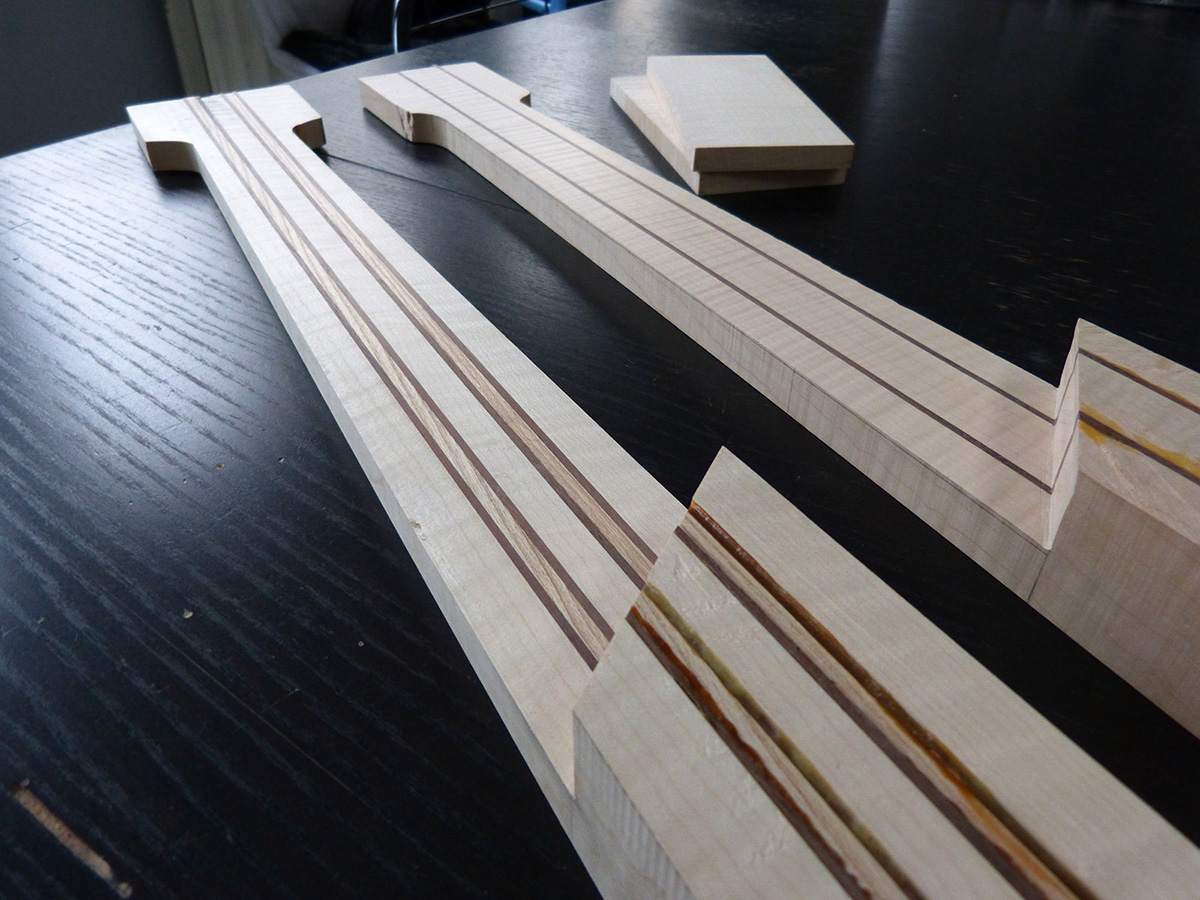
and cutting, by hand, the thickness of 007 neck
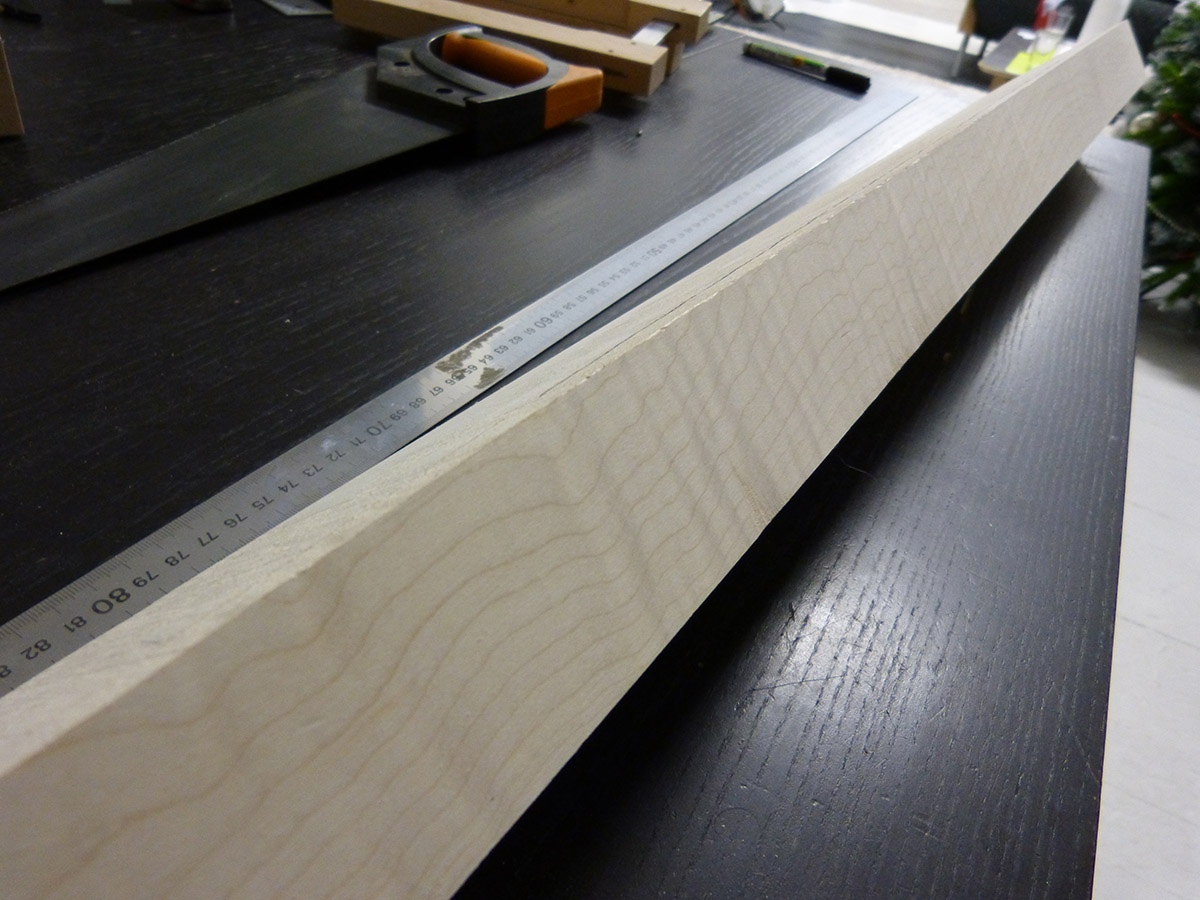
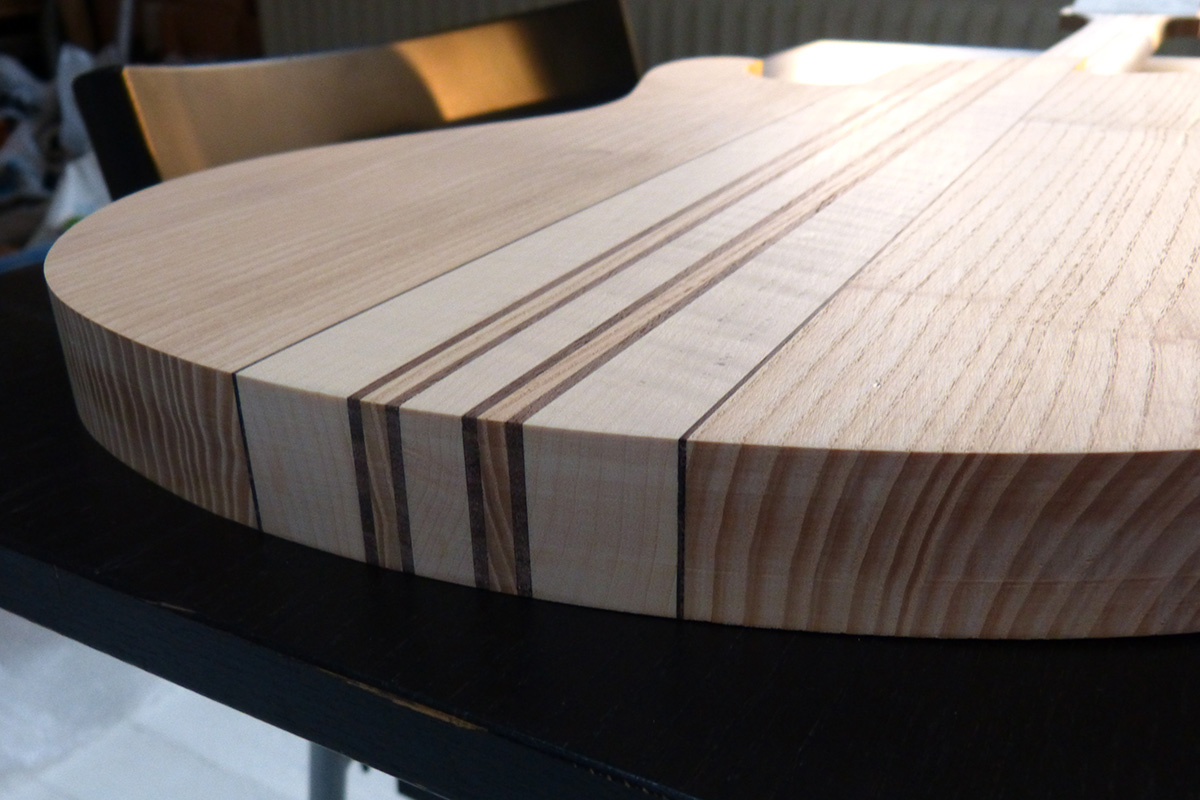
here, a closeup on 007 really nice neck
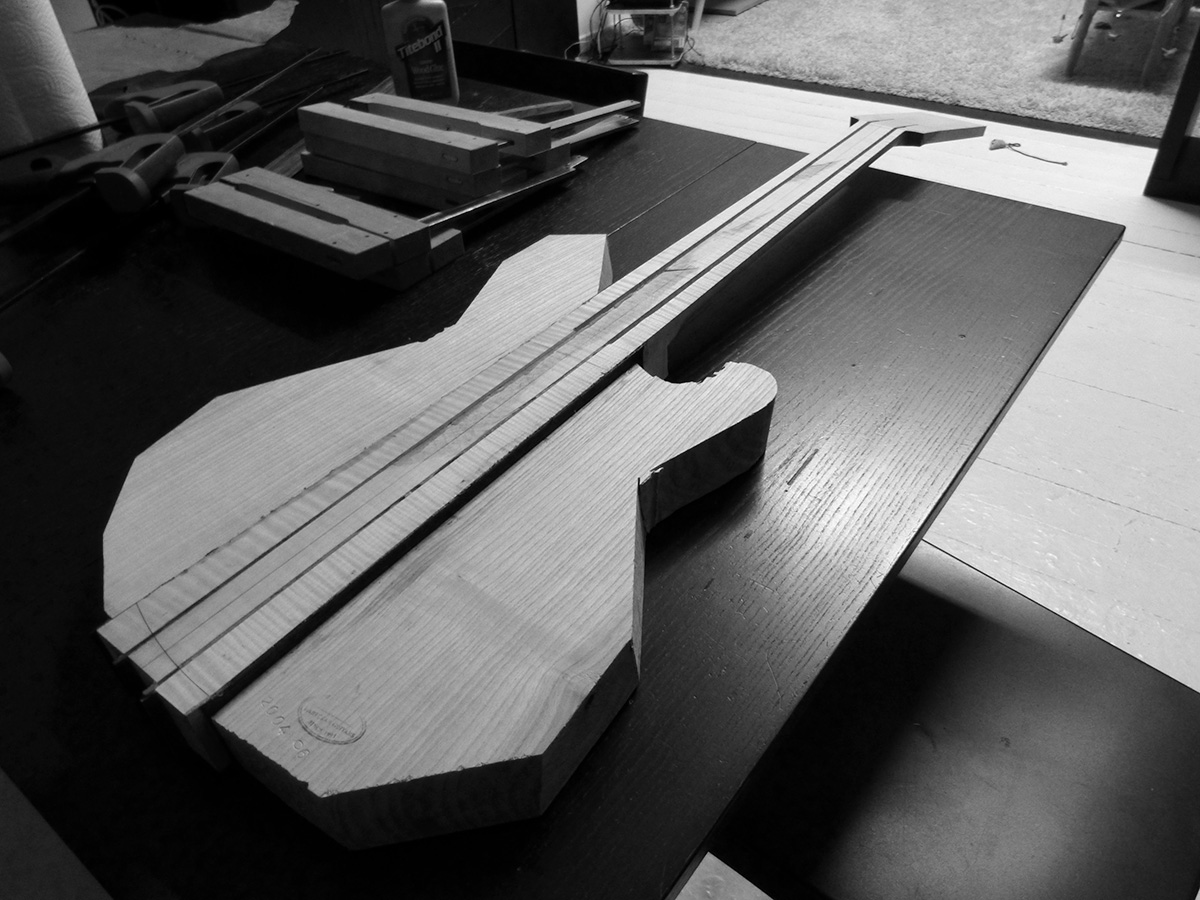
rough cutting of the four body wings... by hand

and, the guitars are done!
just kidding...
Hey there, one month later, I didn't work as much as I wanted but here is a small recap of the progress
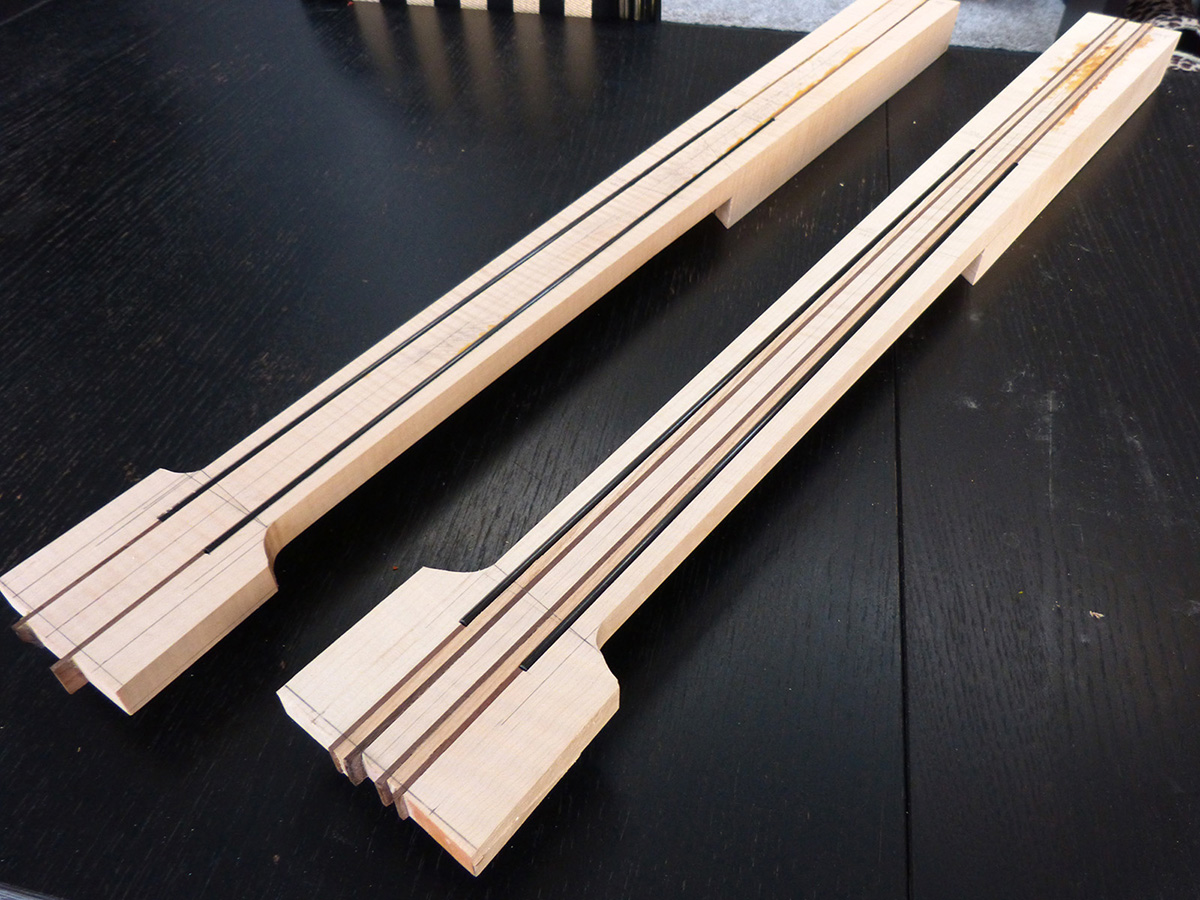
Thickness of the necks with the router, then finished by hand, from 15mm at the head to 16mm at the heel

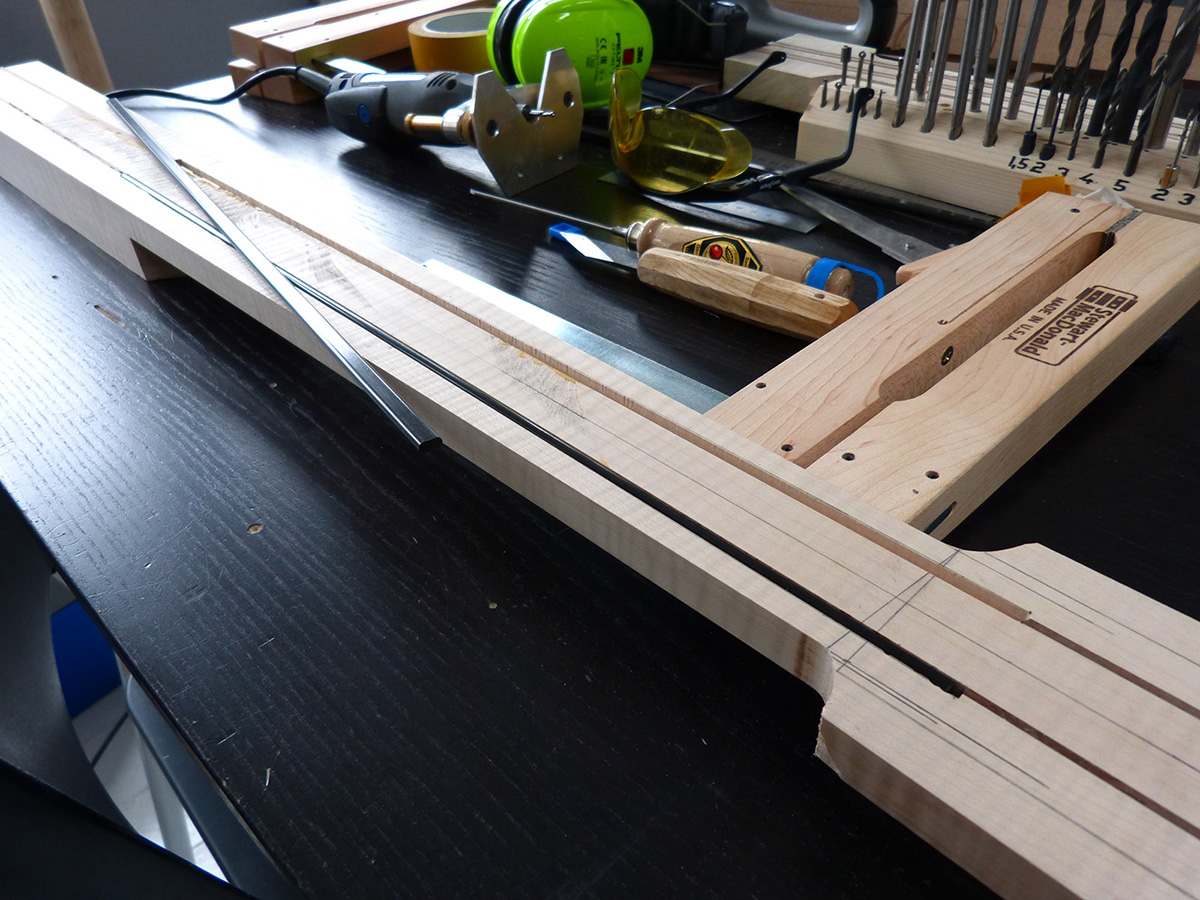
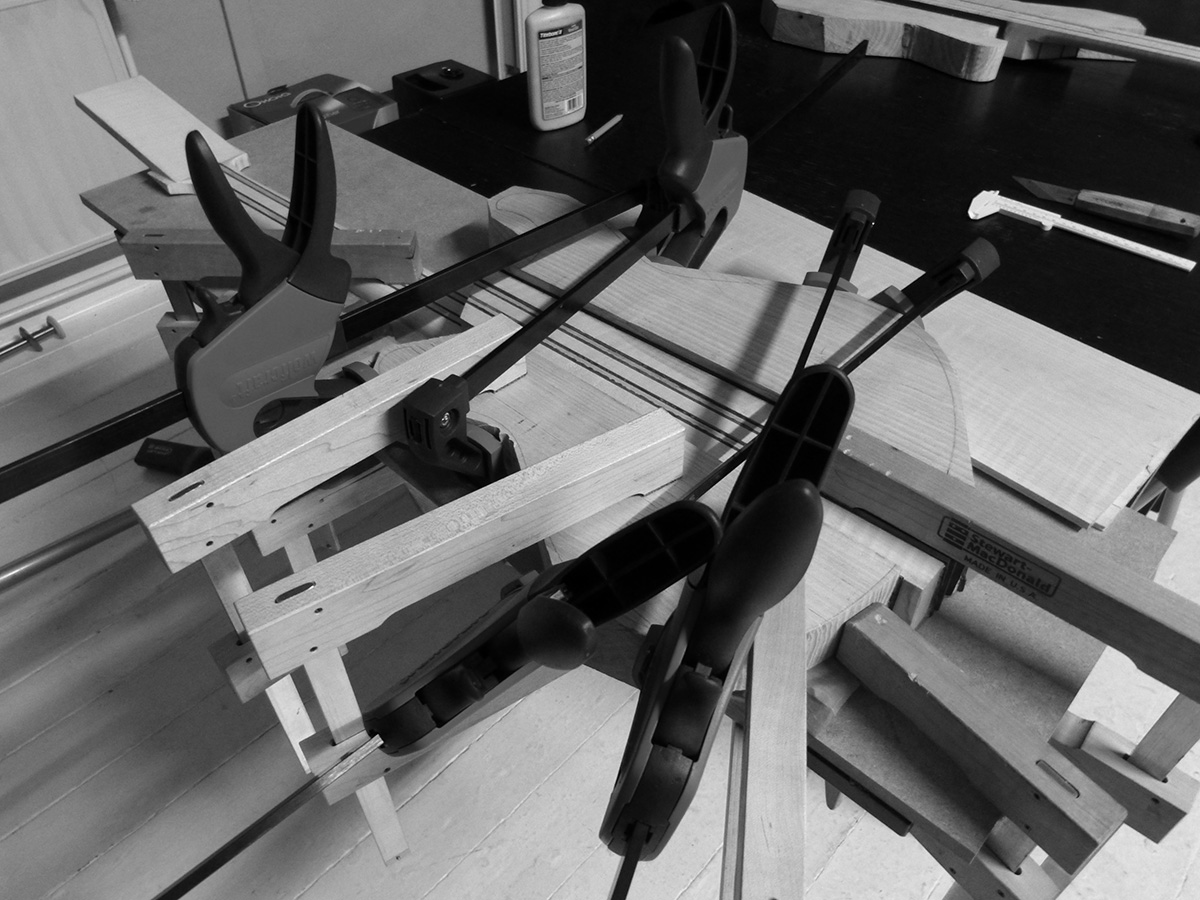
integrating the carbon rods on both necks
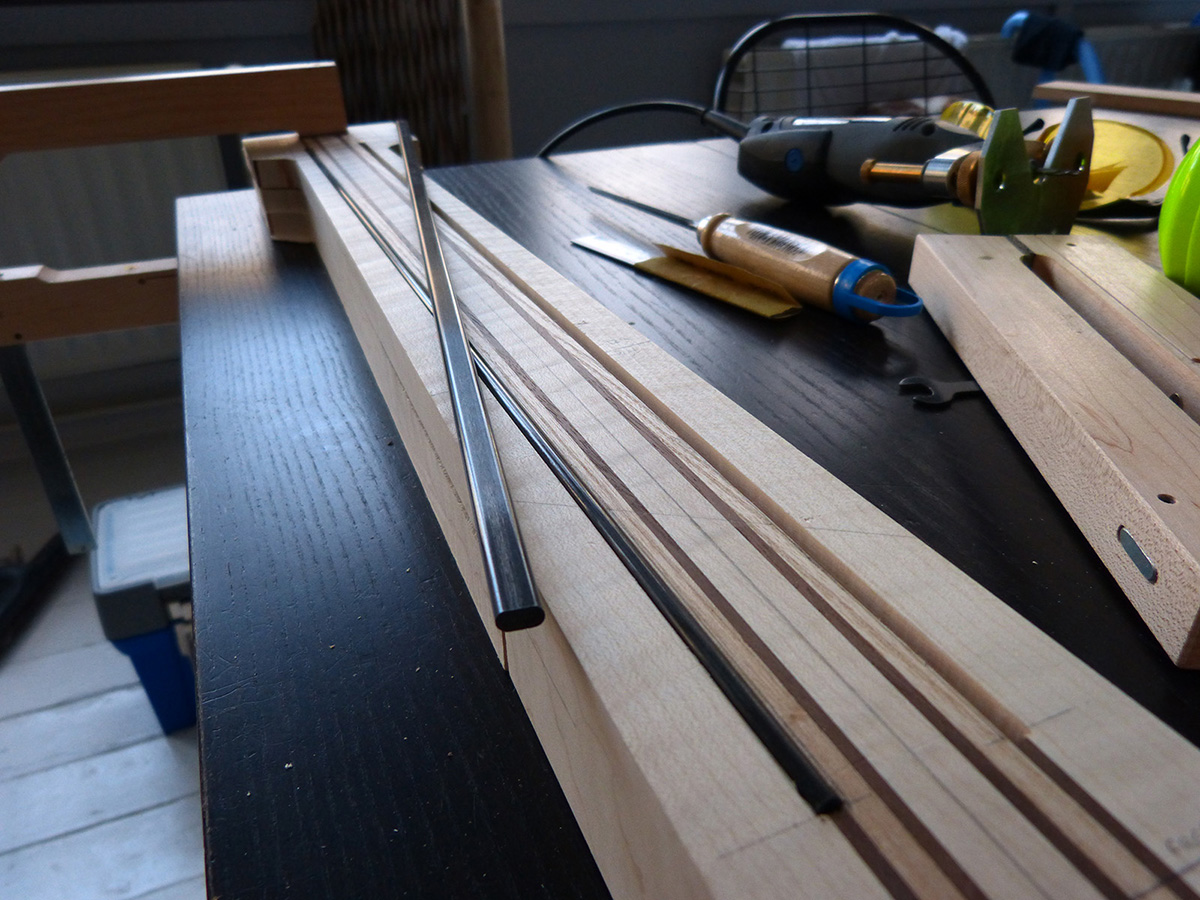
Starting the necks back contours. First routing a really flat D profile for a regular base to work with
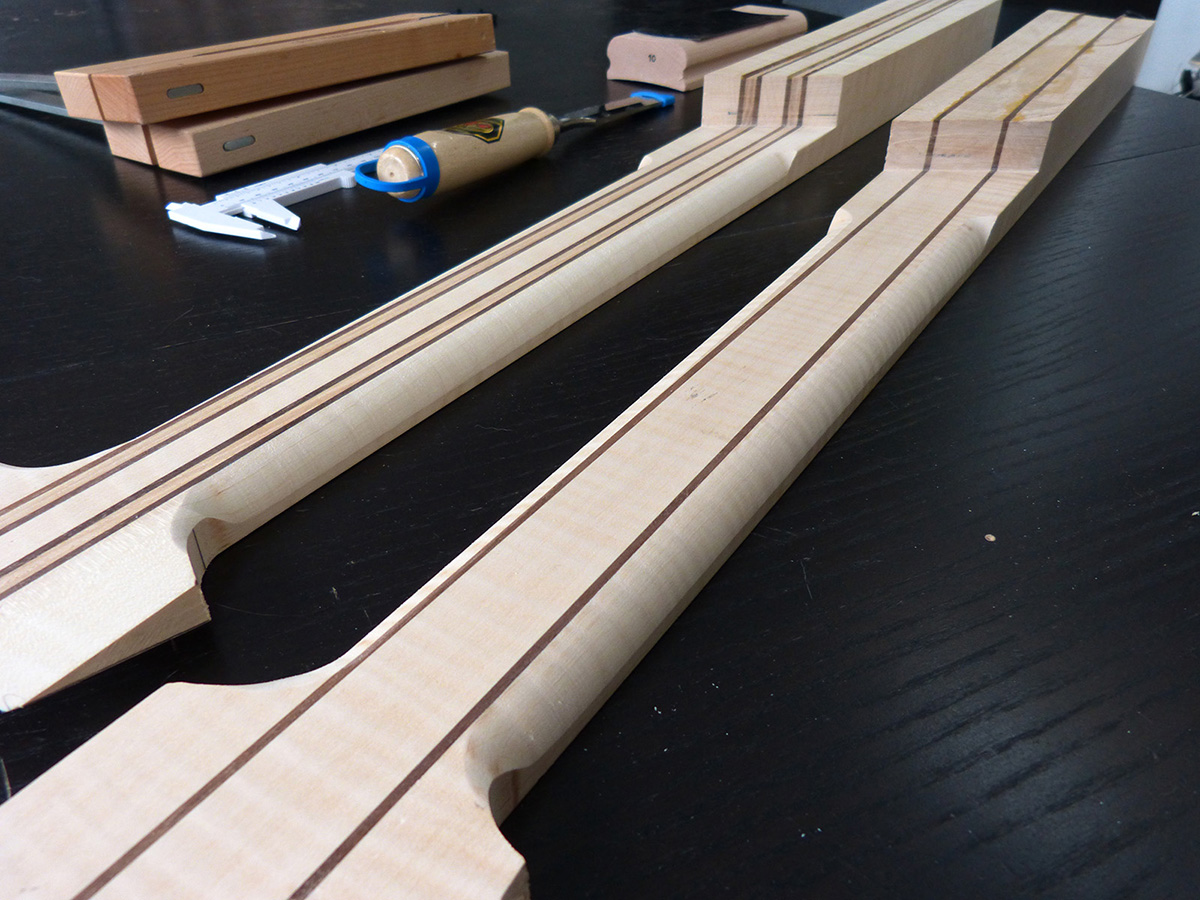
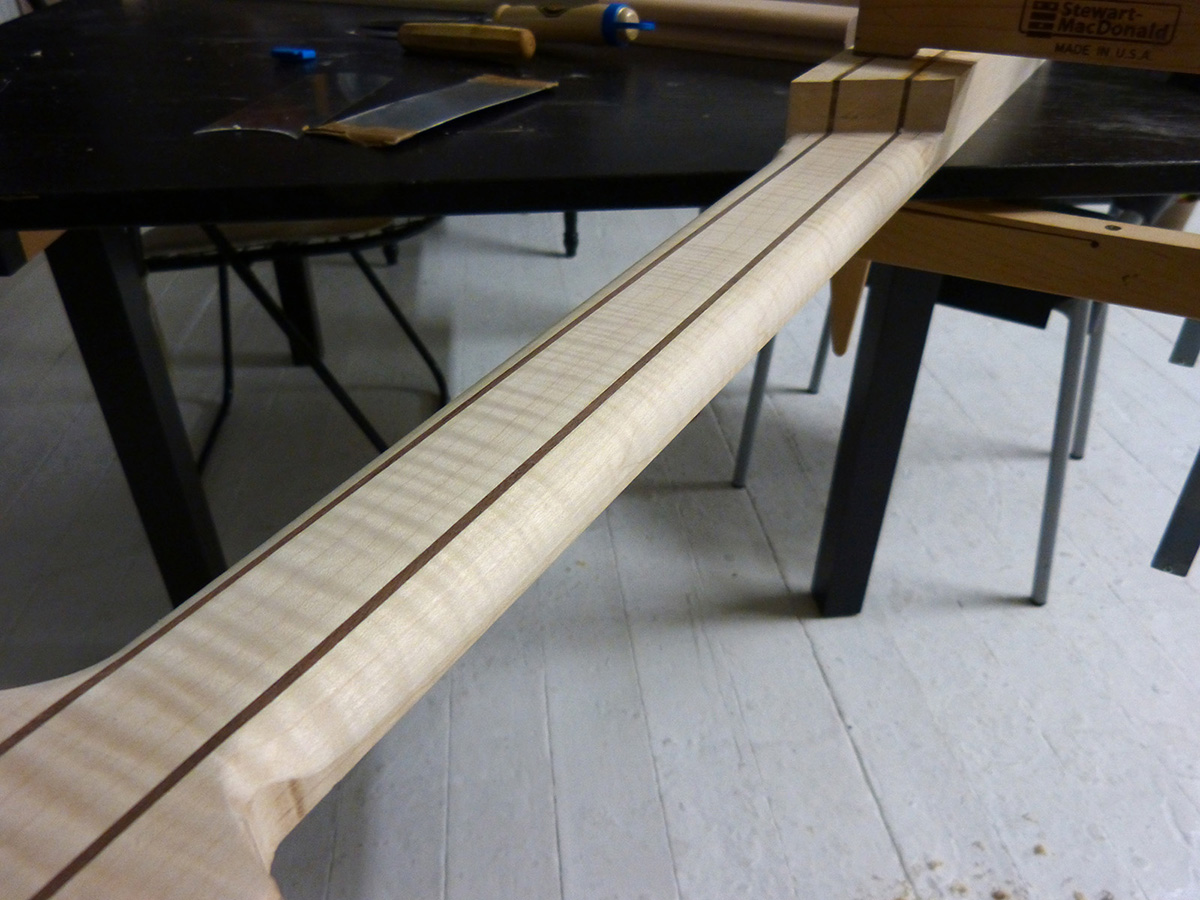
then, progressivelly going to a soft C profile by hand with scrapers. It will stay like that for now, the final profile will be done when the fingerboard will be glued on.
See you soon!
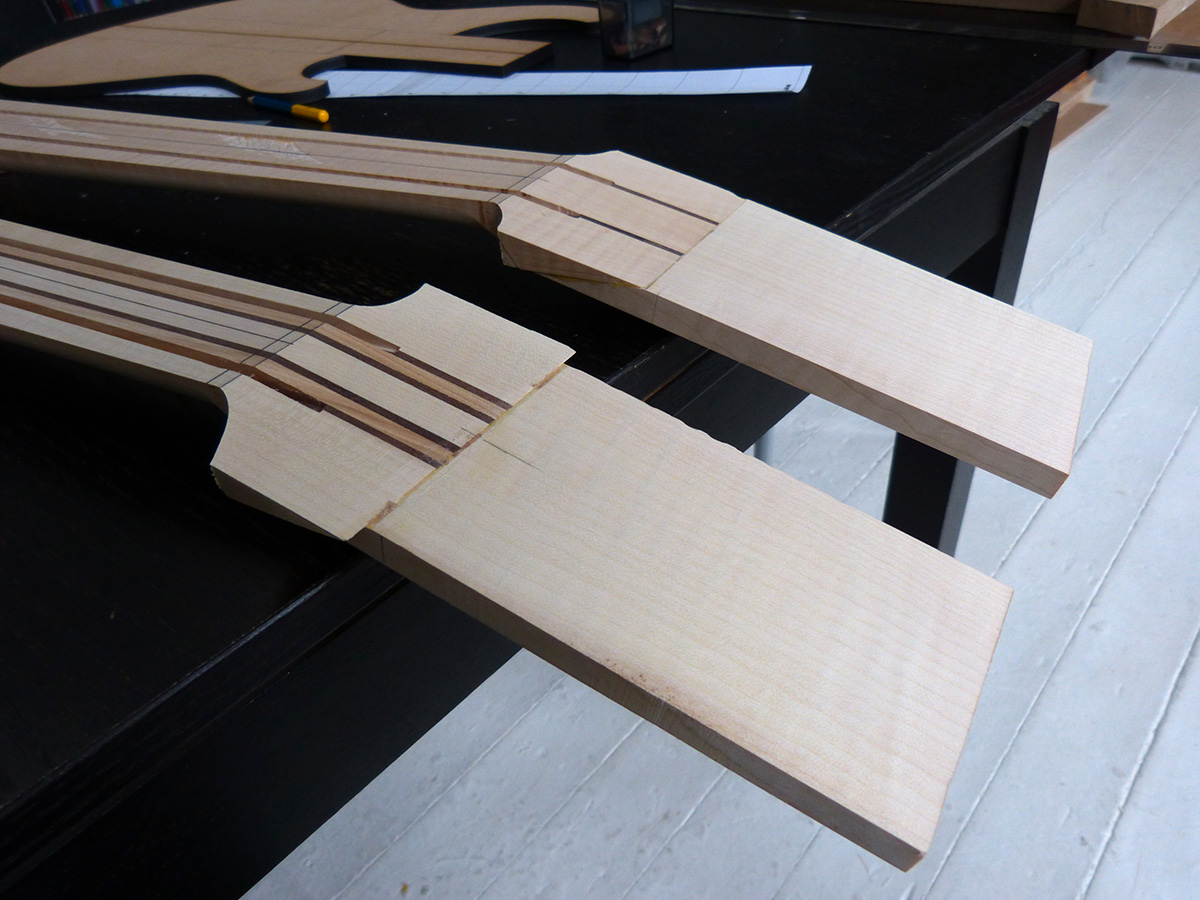
Cutting the 15° tapper on the heads
Cleaning up the tappers with the jig on the back and the router on both necks and heads

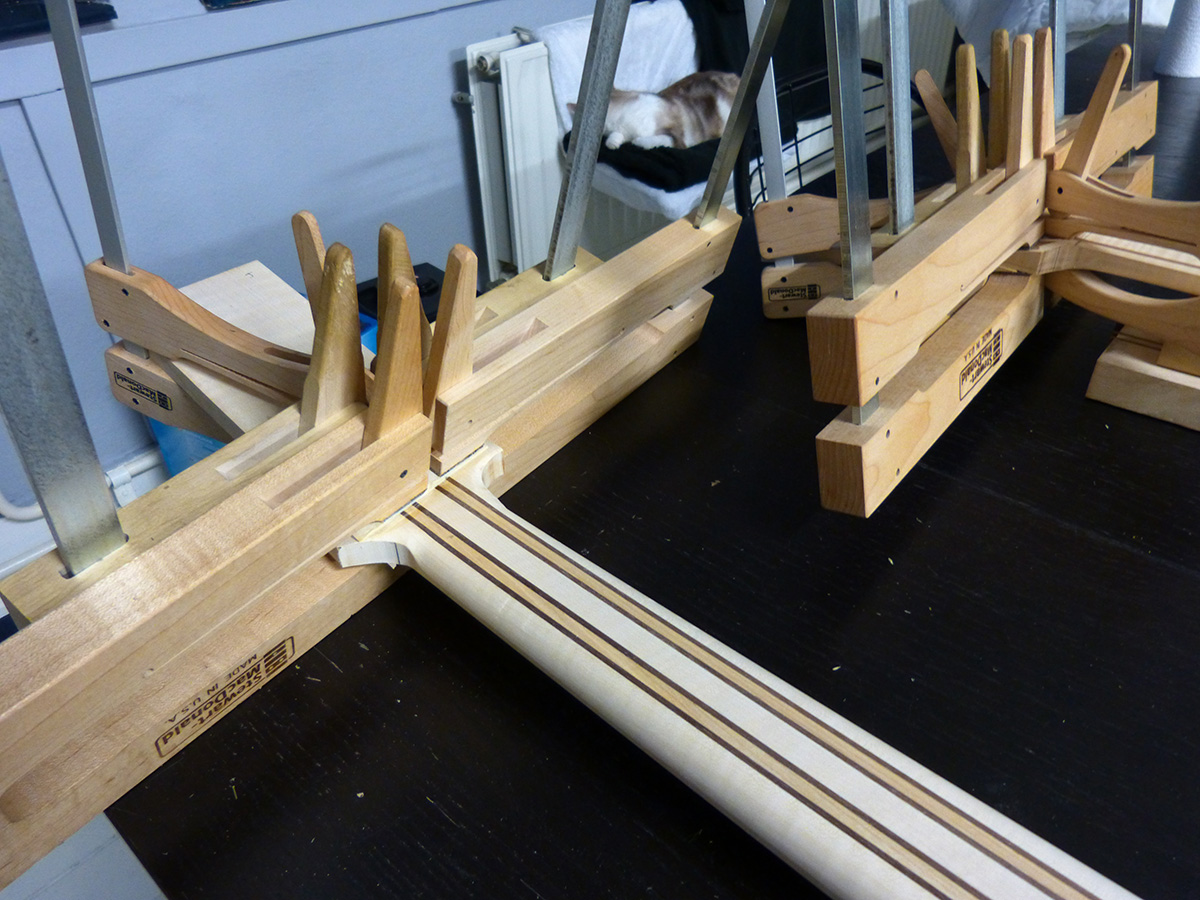
Gluing up the heads. I usually drill small holes in the head and use drill bits to hold the pieces aligned, this time, I just tapped the pieces together and it worked fine.
Sanding everything clean
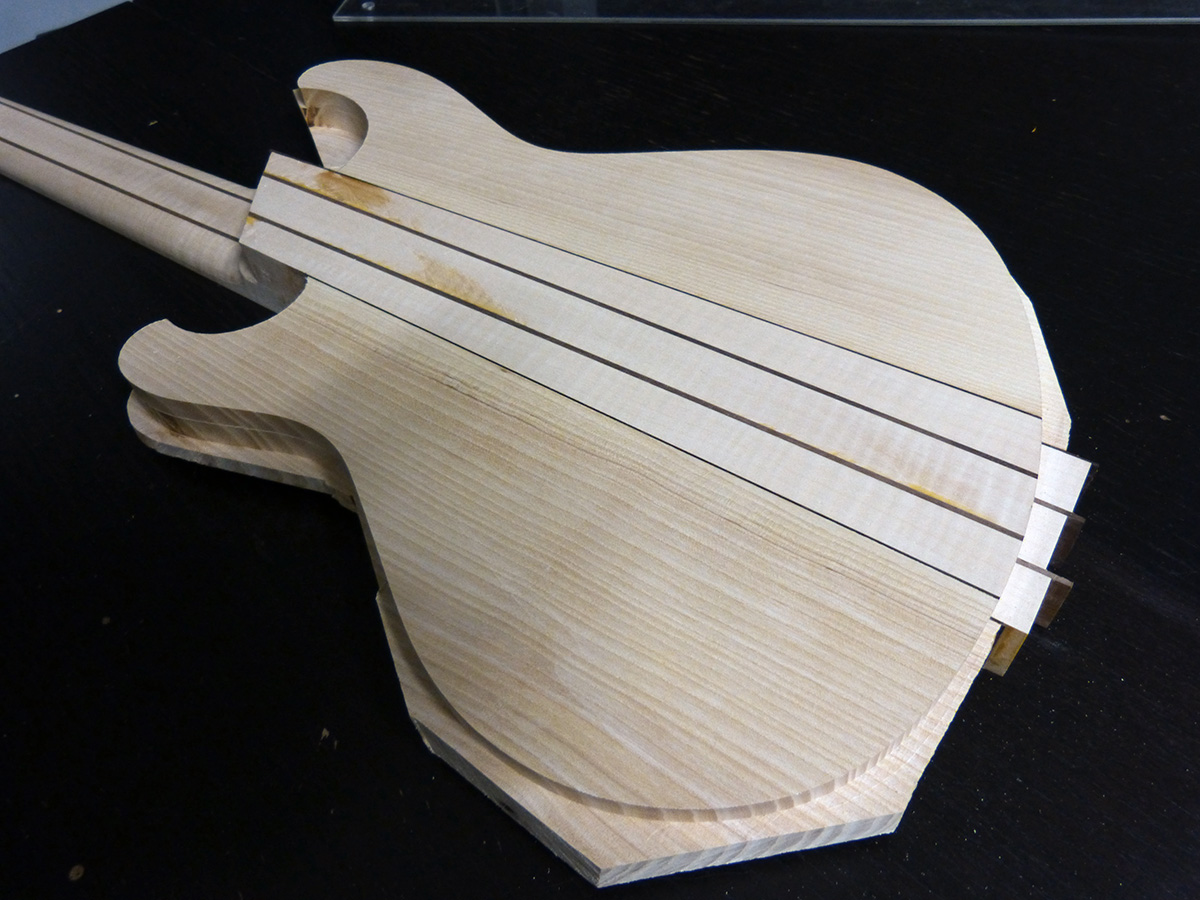
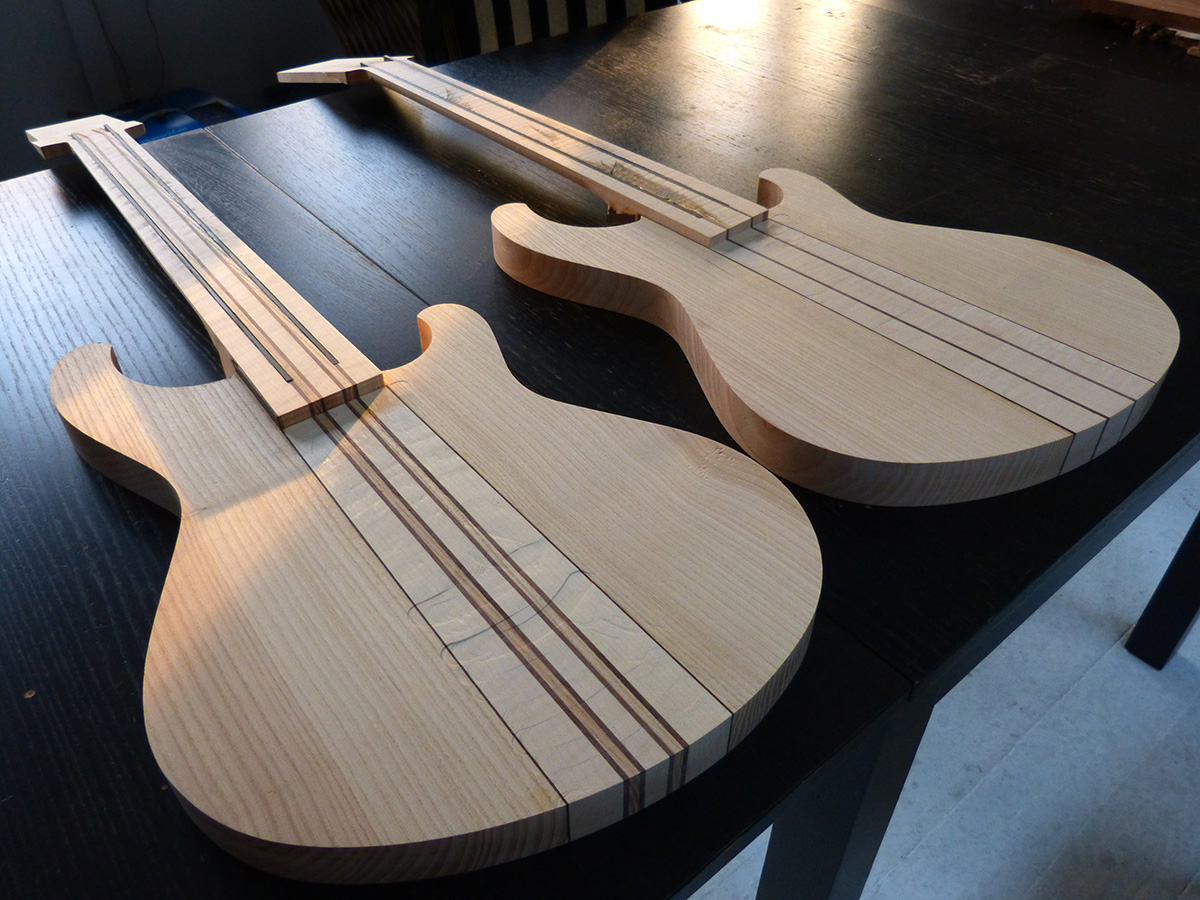
First side on first guitar first

second side on second guitar then
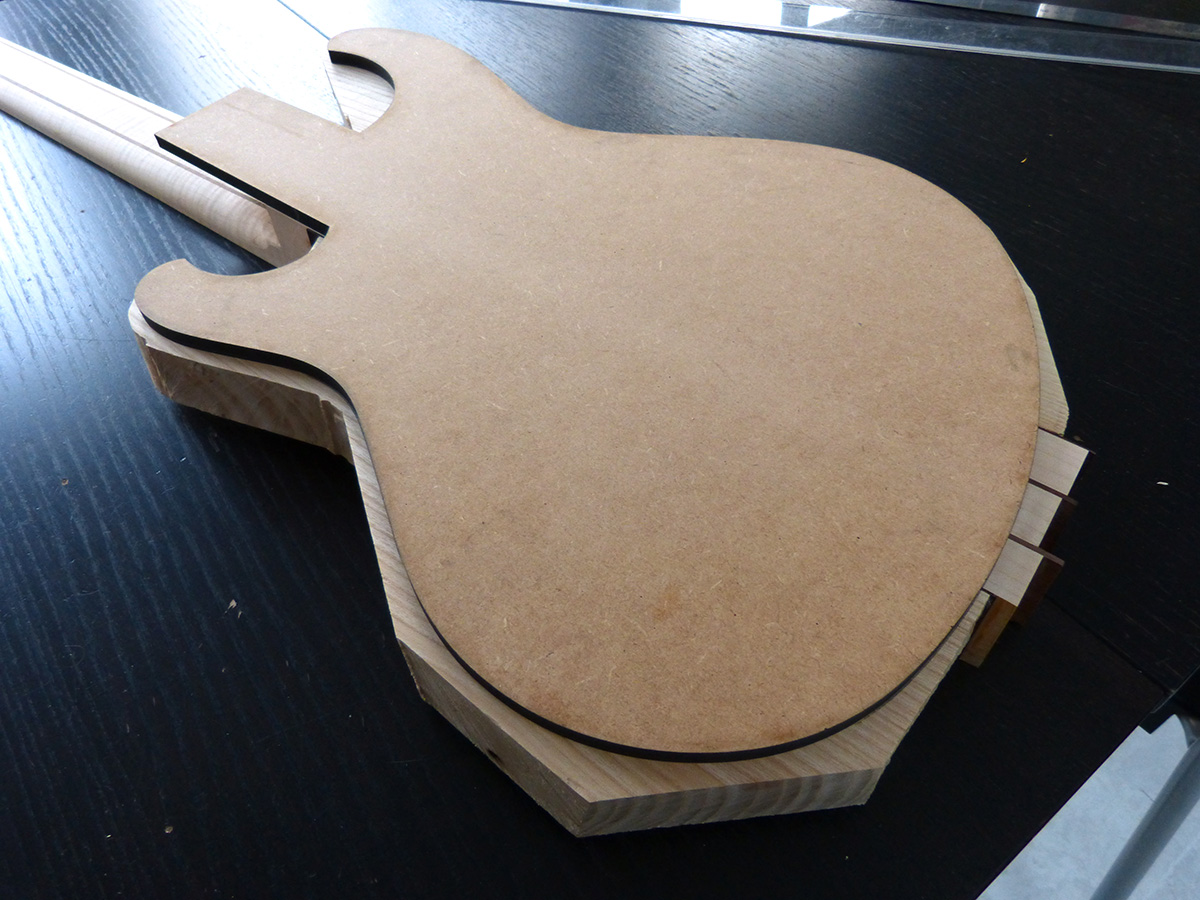
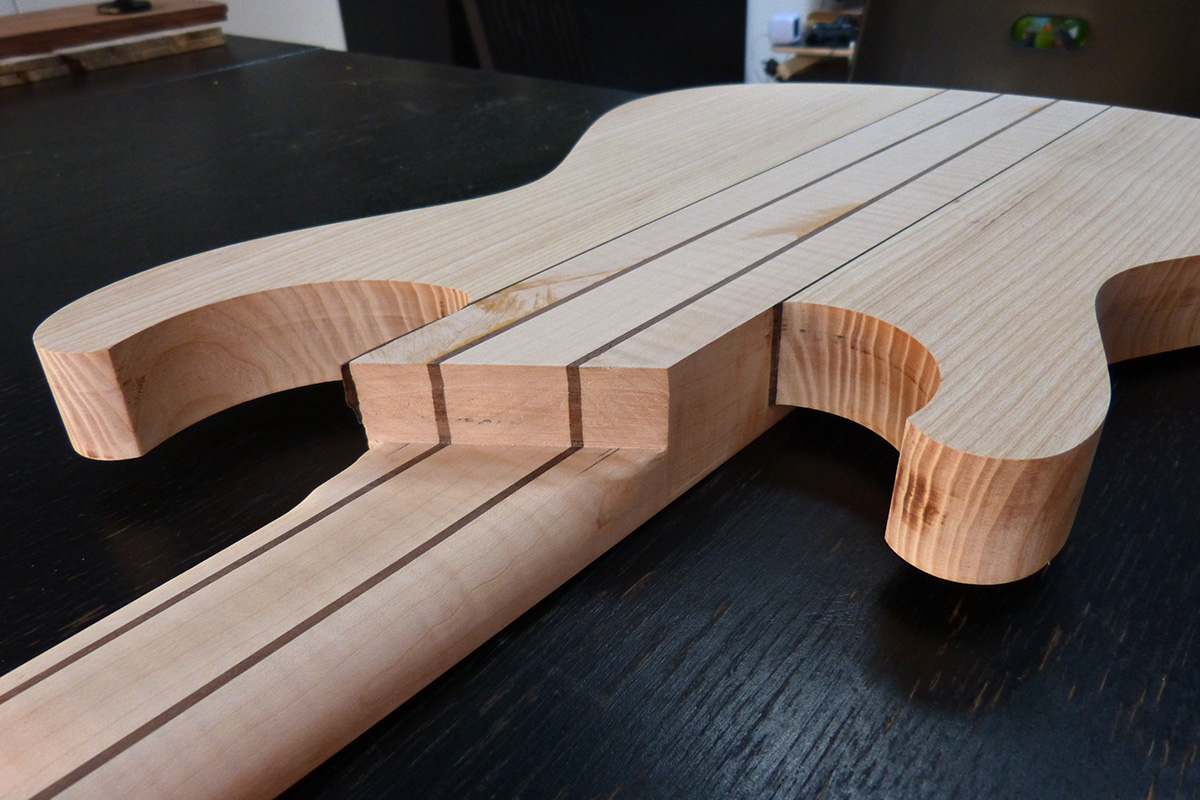
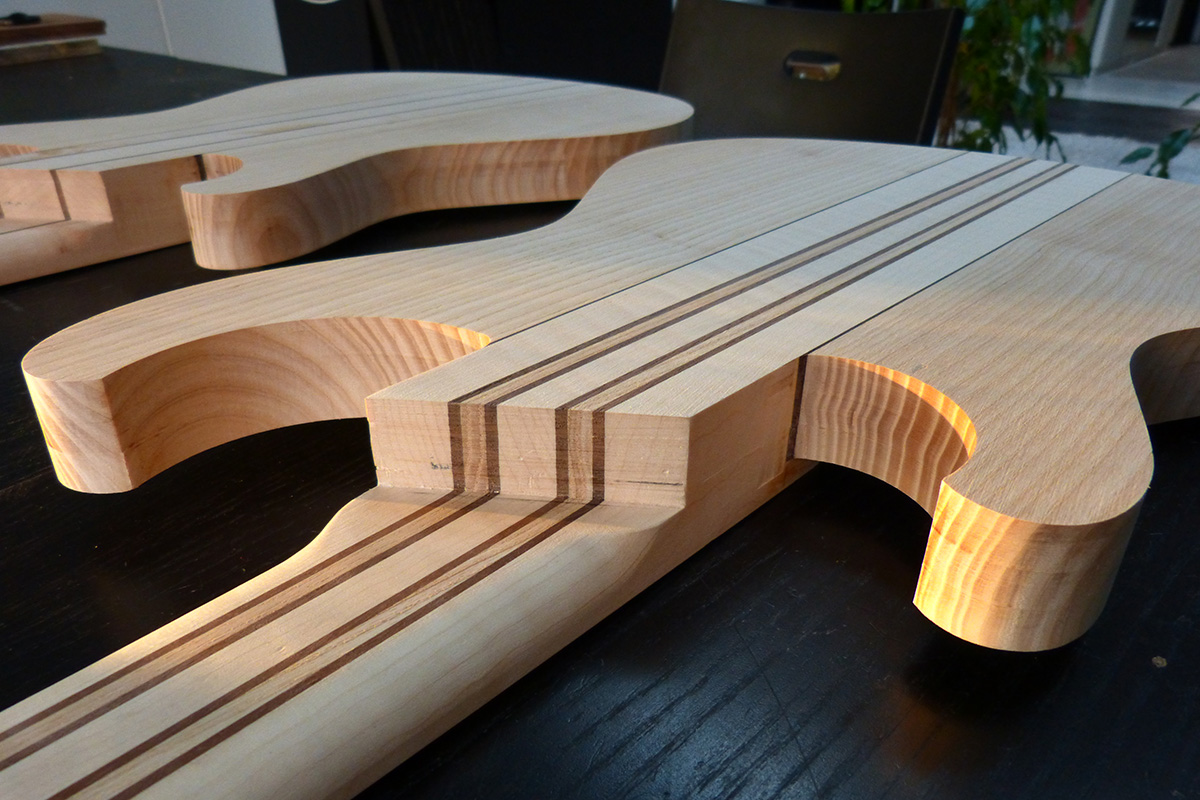
the wings are glued with the right offset compared to the neck to accommodate for the top wood
then routed the back of both guitars to get to the right thickness
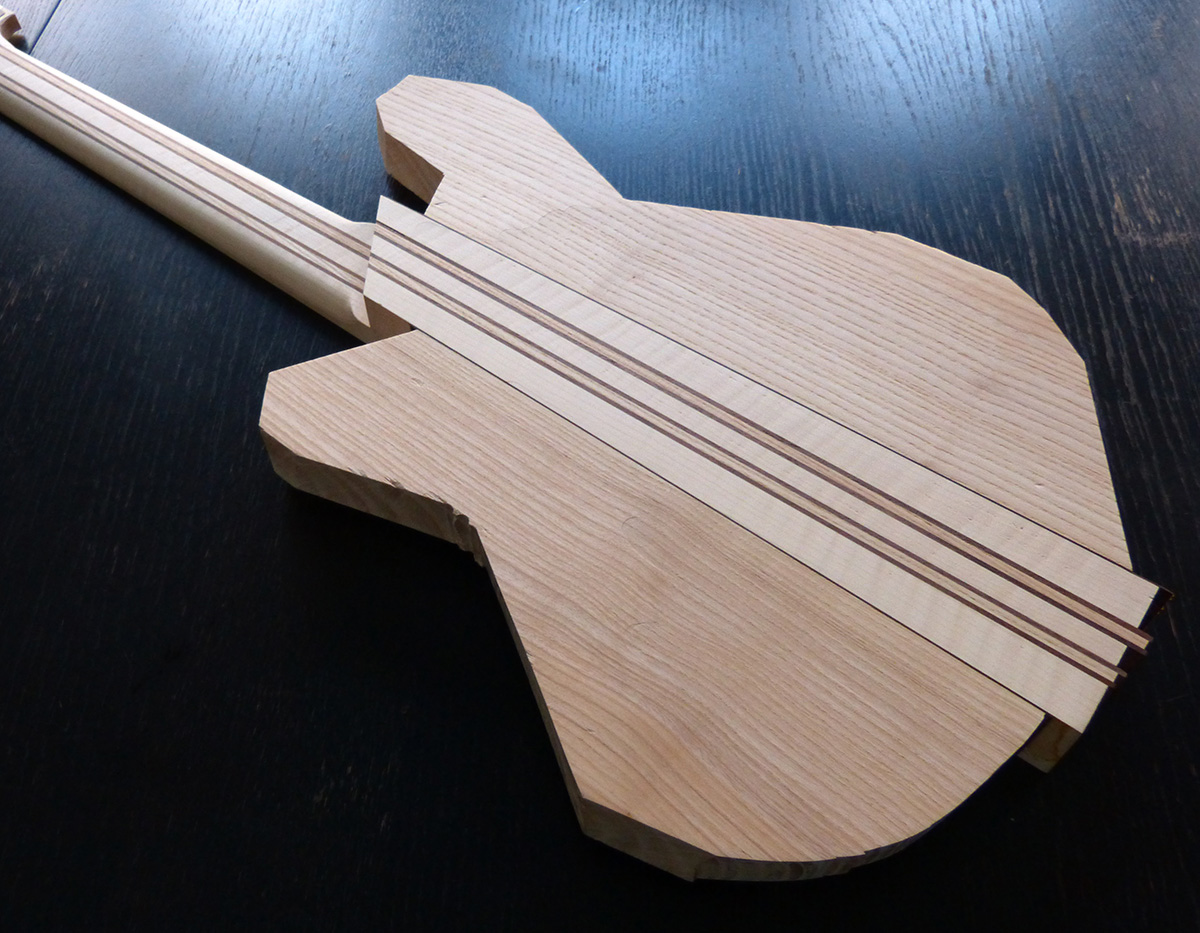

and next step will be to rout the bodies to their actual final shape!!
Hi there, here is a nice update!!
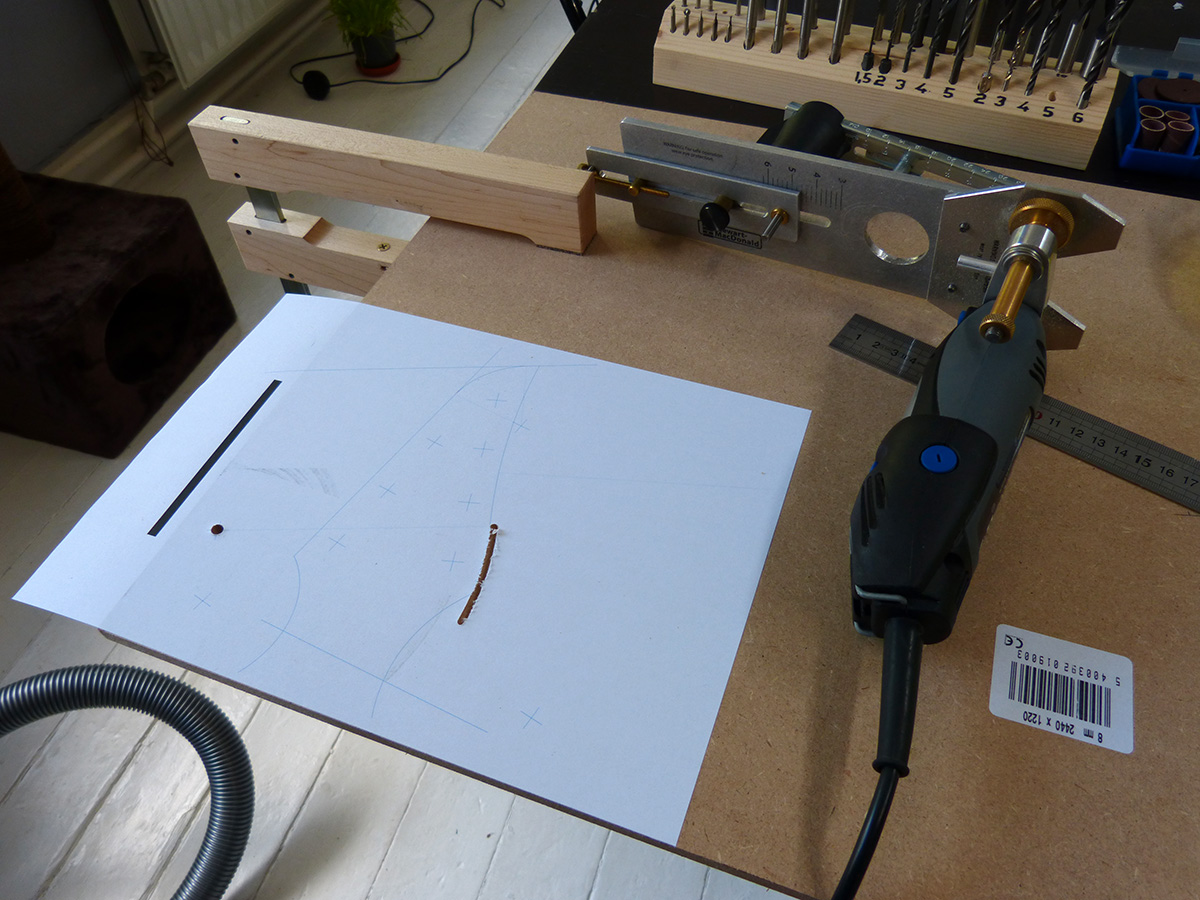
first, drawing the shape to position the template
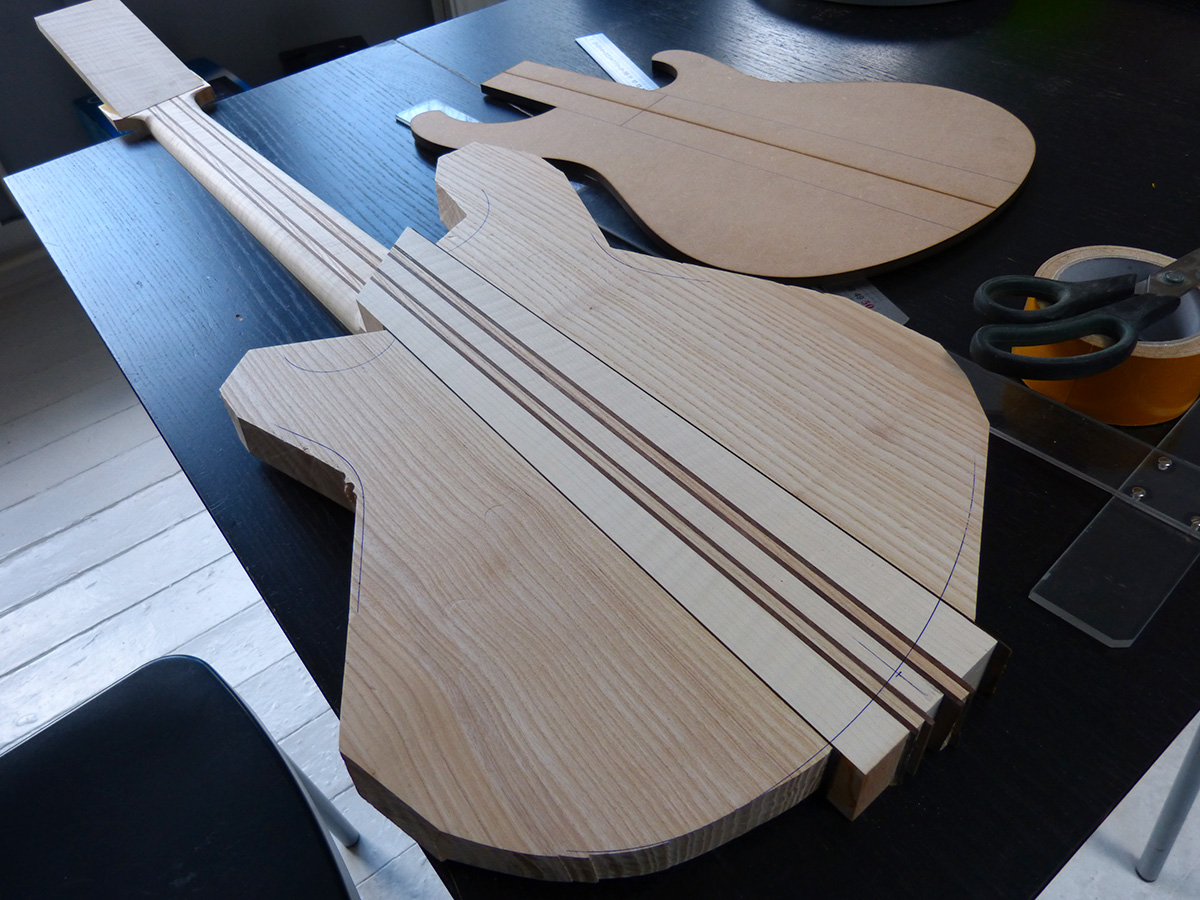
tapping the template
first pass of routing, then removing the template before the other pass
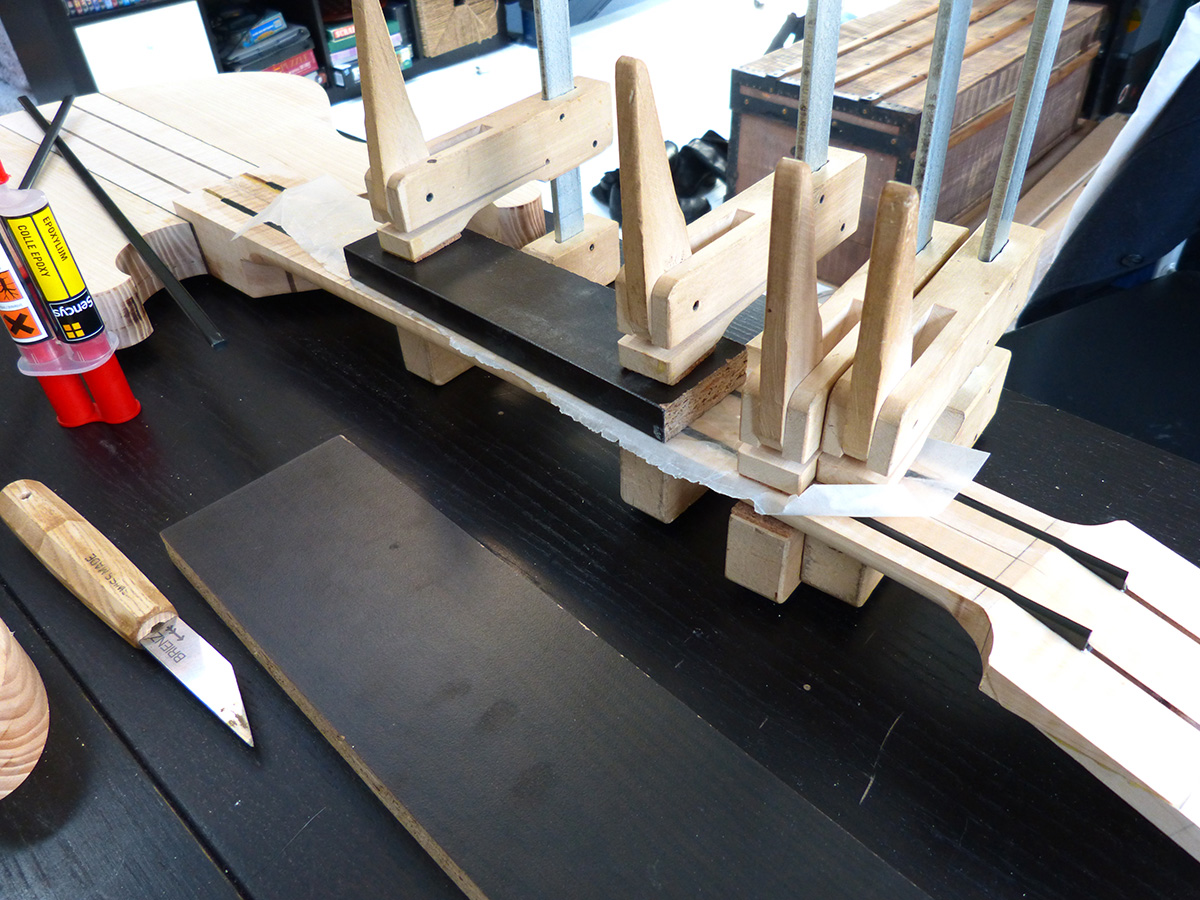
here, gluing the carbon rods with epoxy glue. First time using that glue and a bit messy but still worked fine, don't know if I'll use it again though.
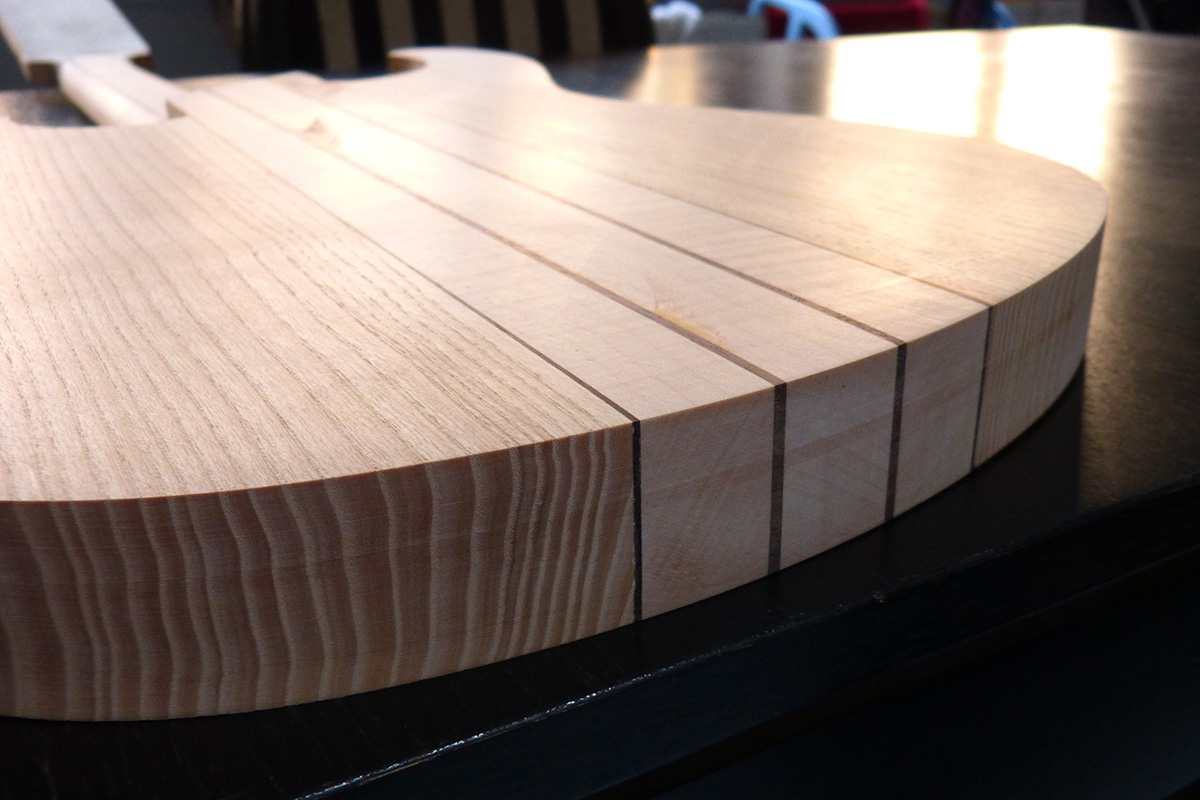
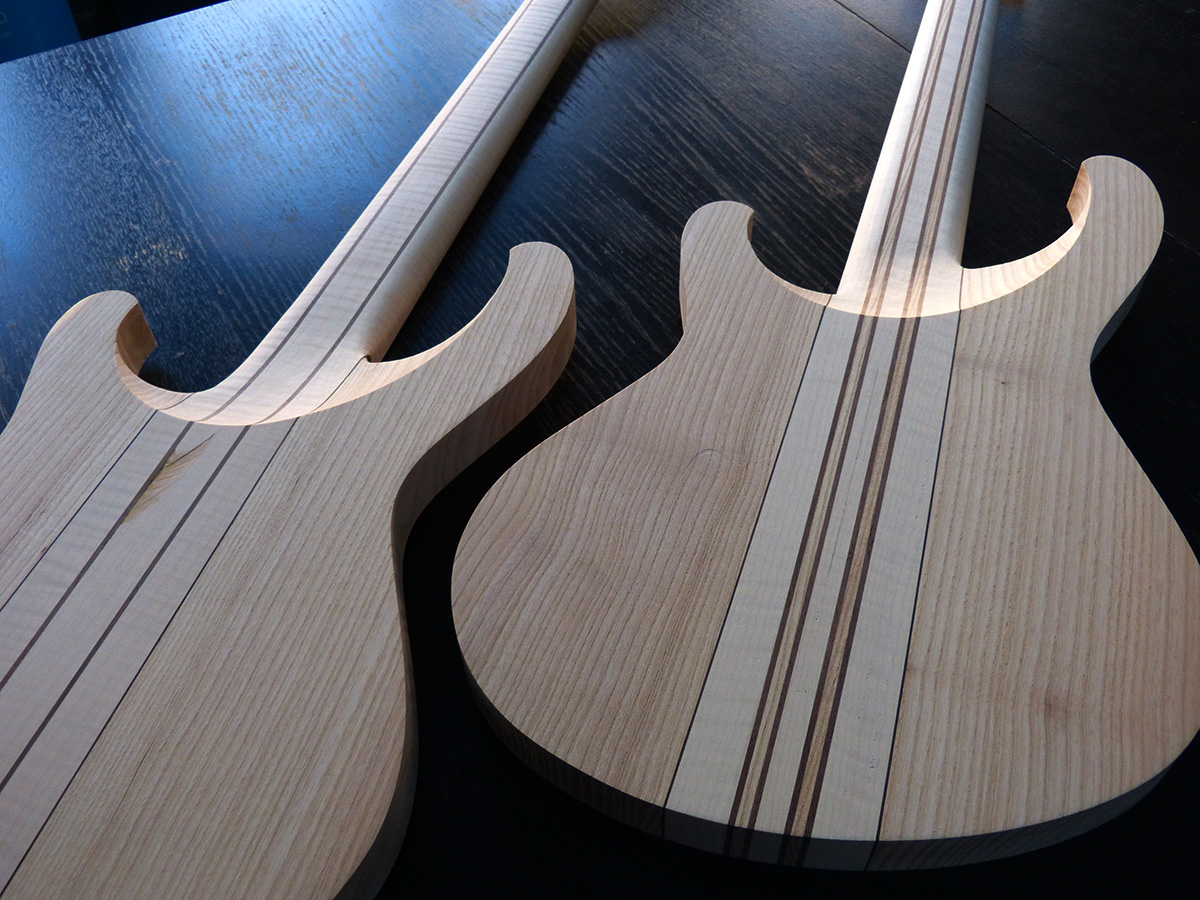
and after a bit of cleaning, here are the guitars with the final shape and a nice setting sun!!

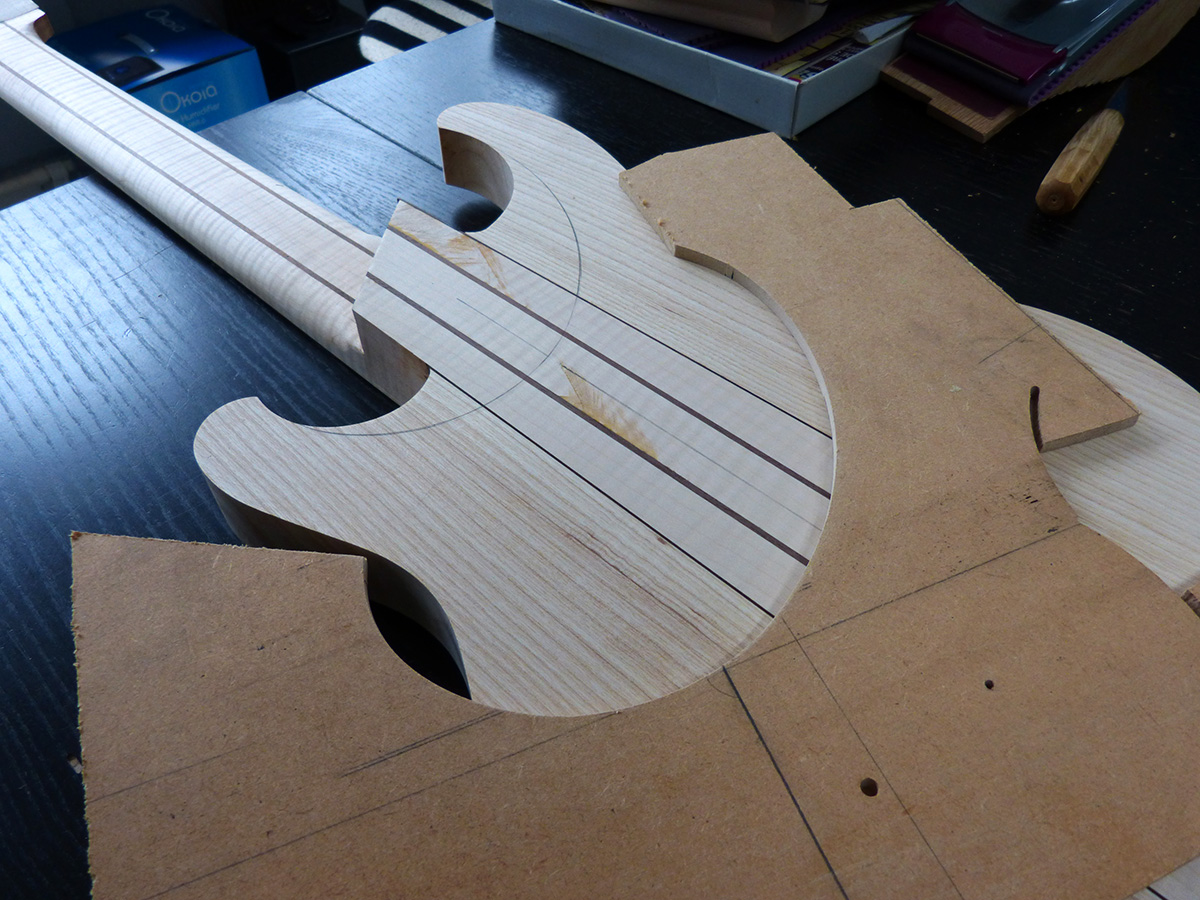
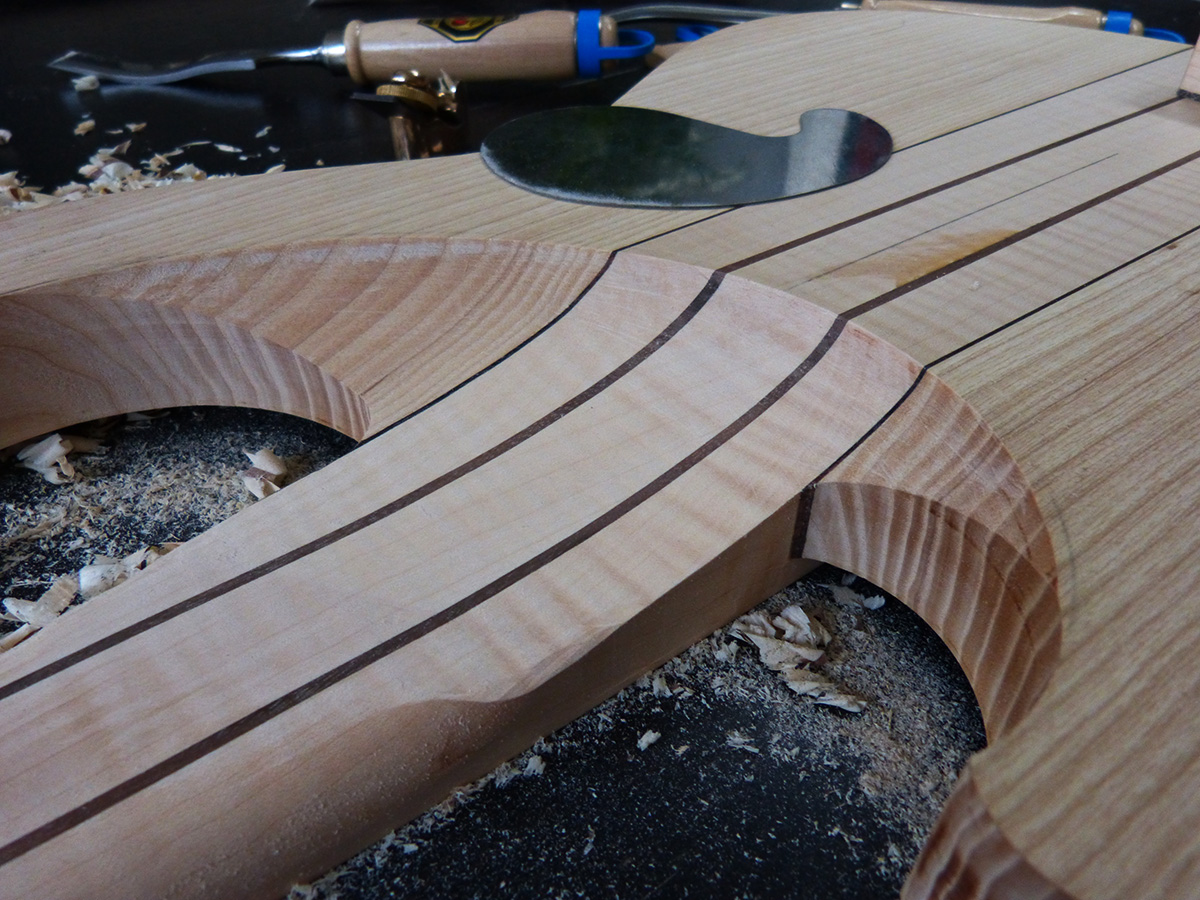
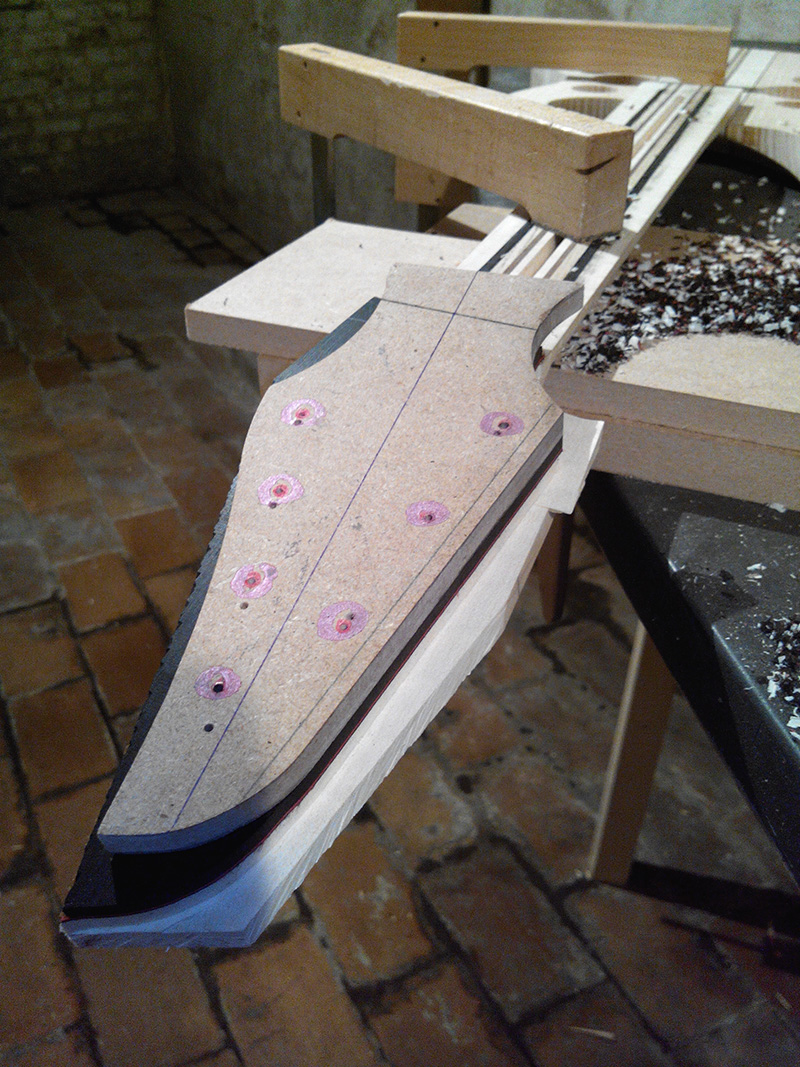
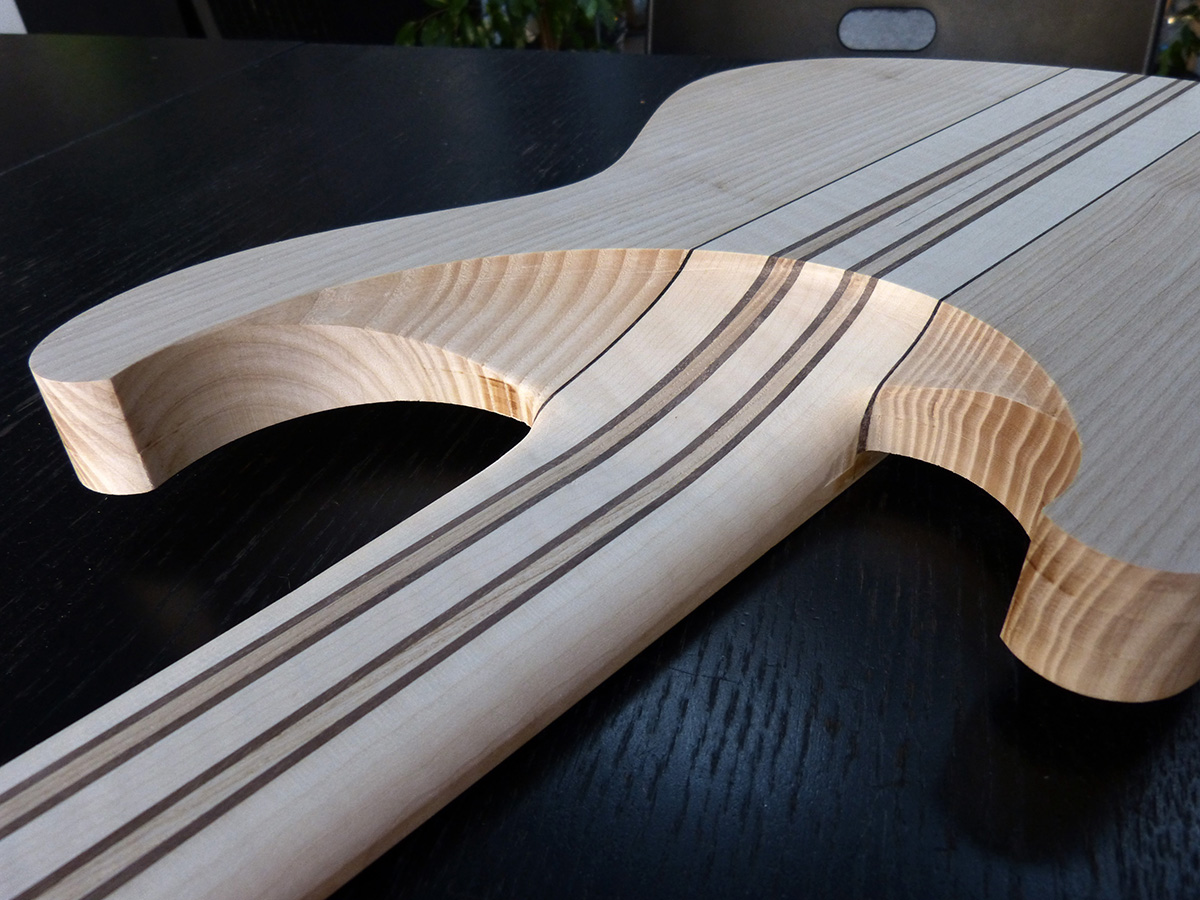
Hi there, here is the first pass of neck heel shaping. There will be another pass when the top is glued to finish the neck shape and blend it completely with the body.
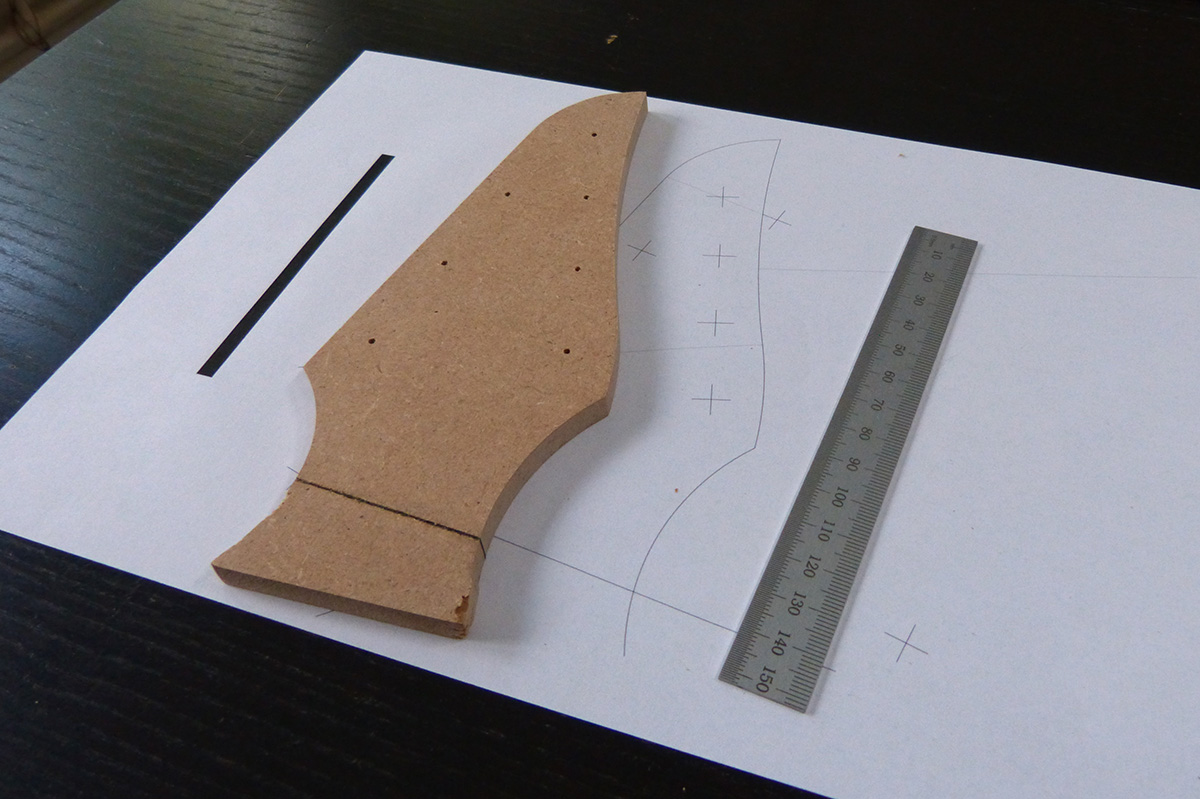
First, cut a template:
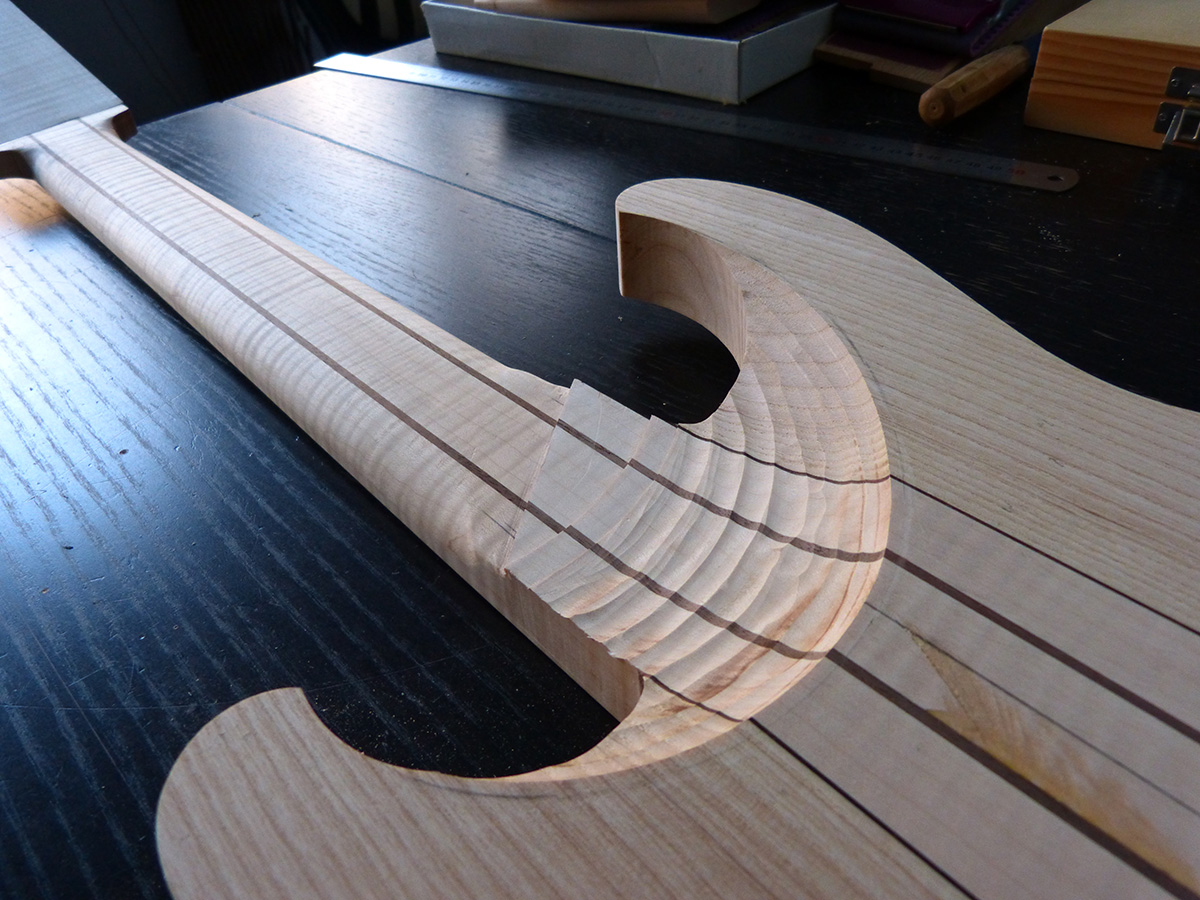
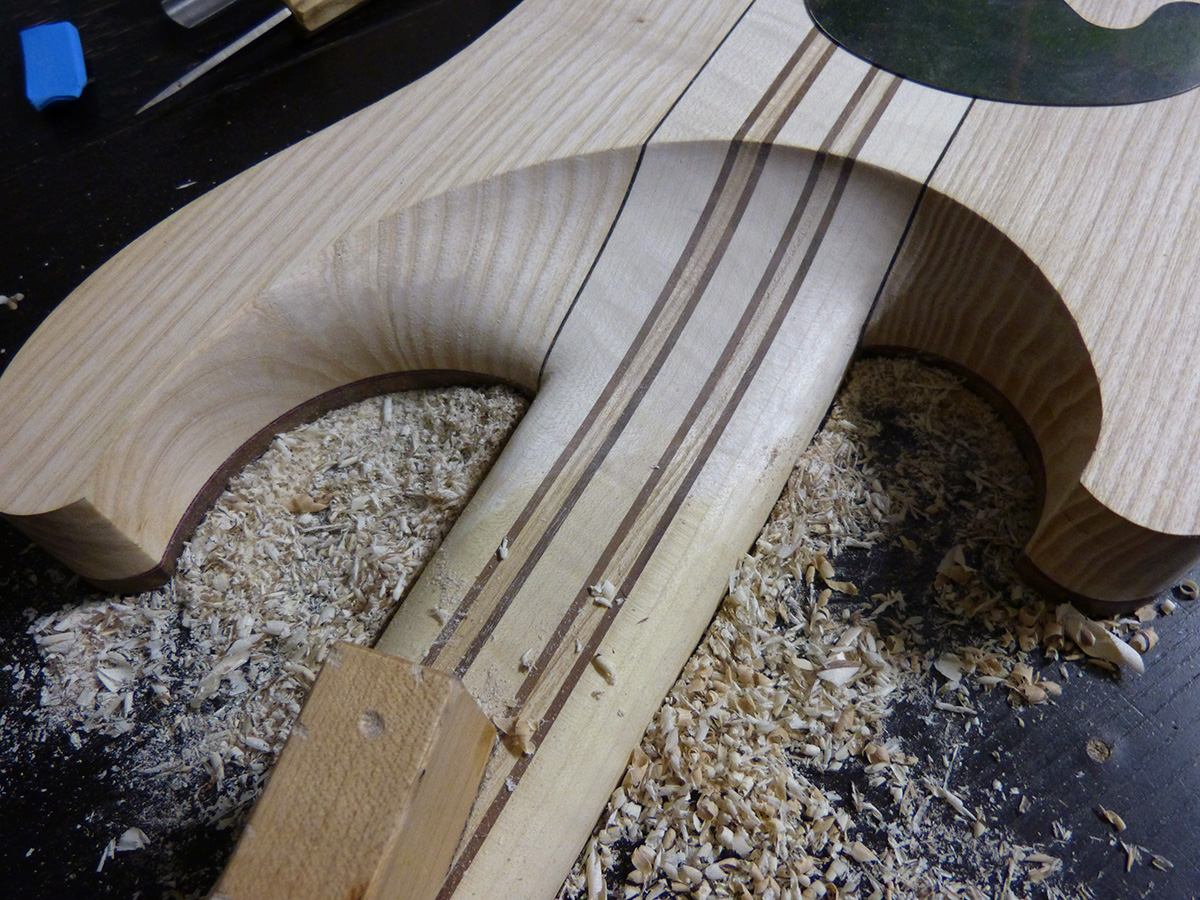
routing steps with a circular router bit
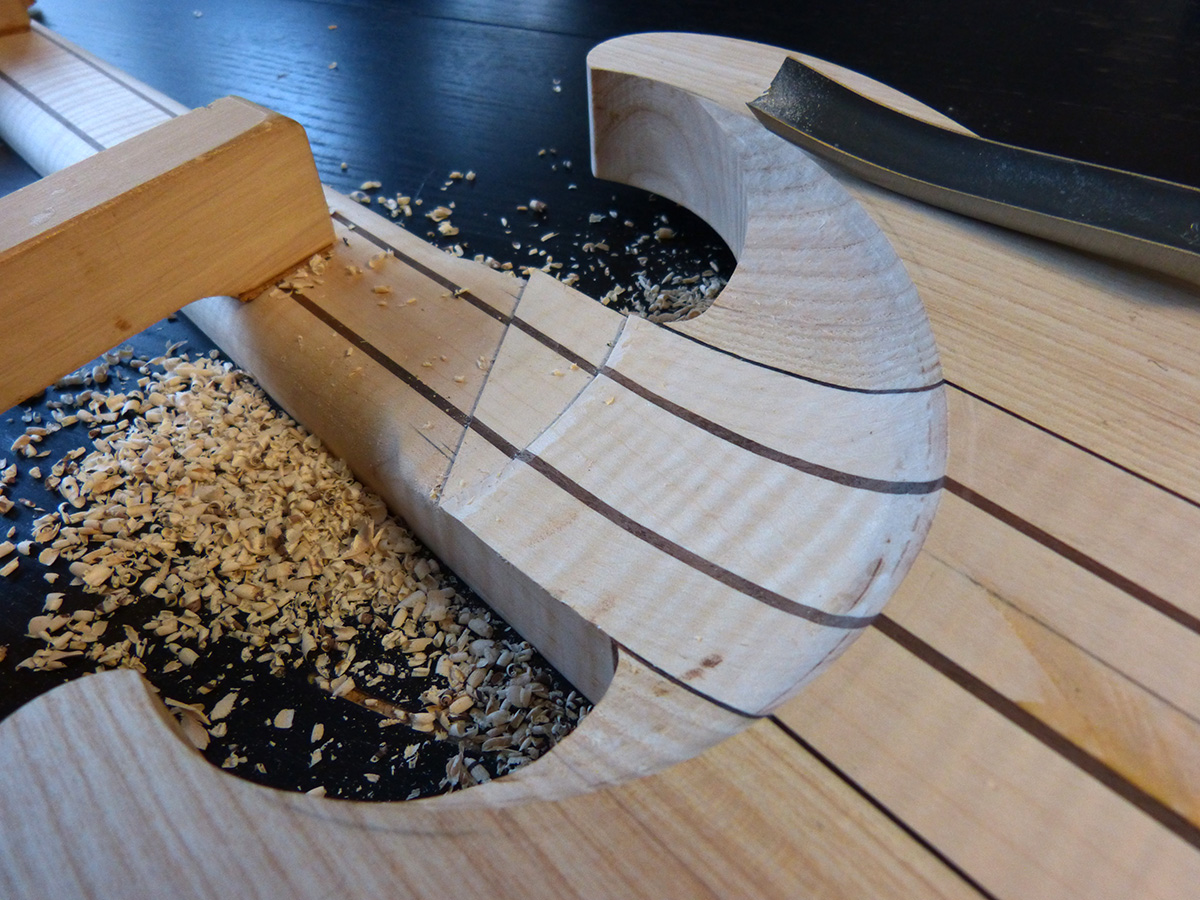
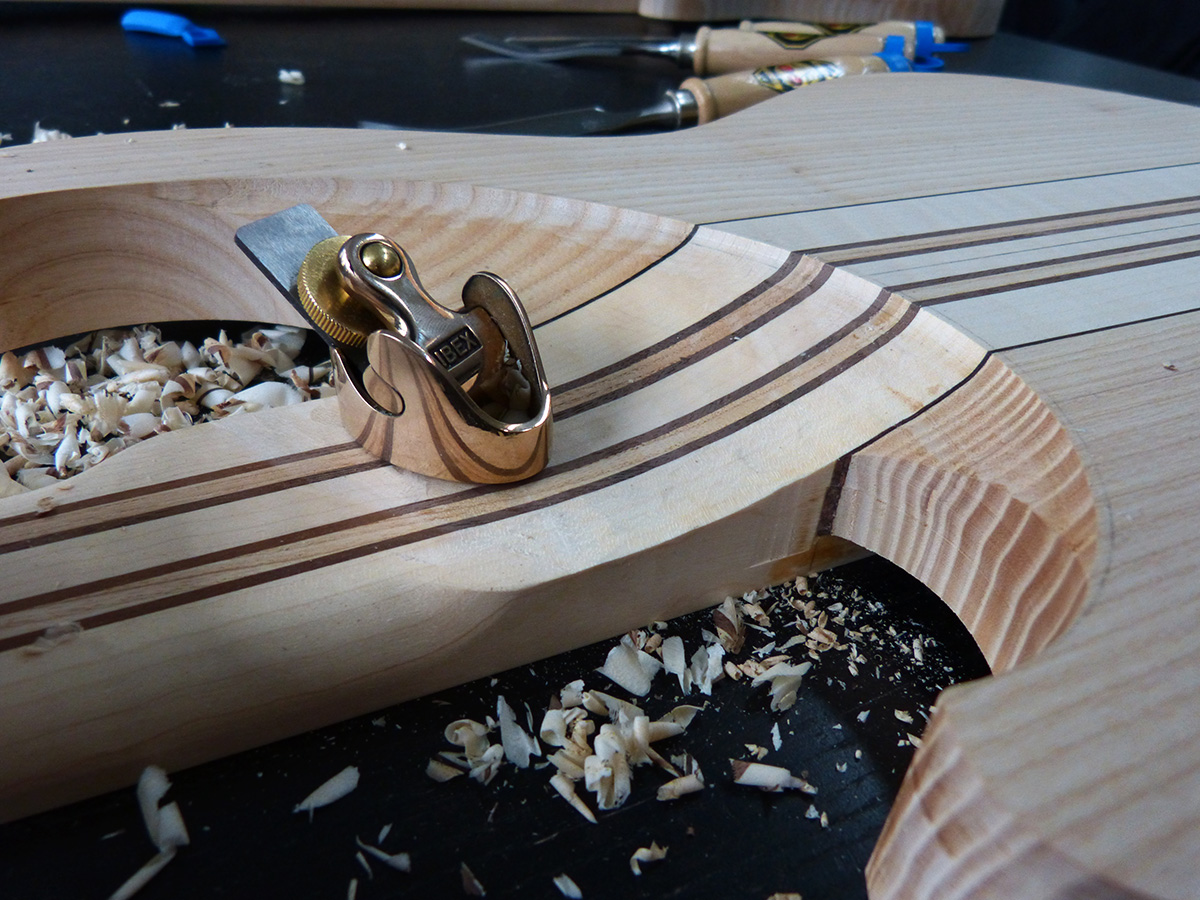
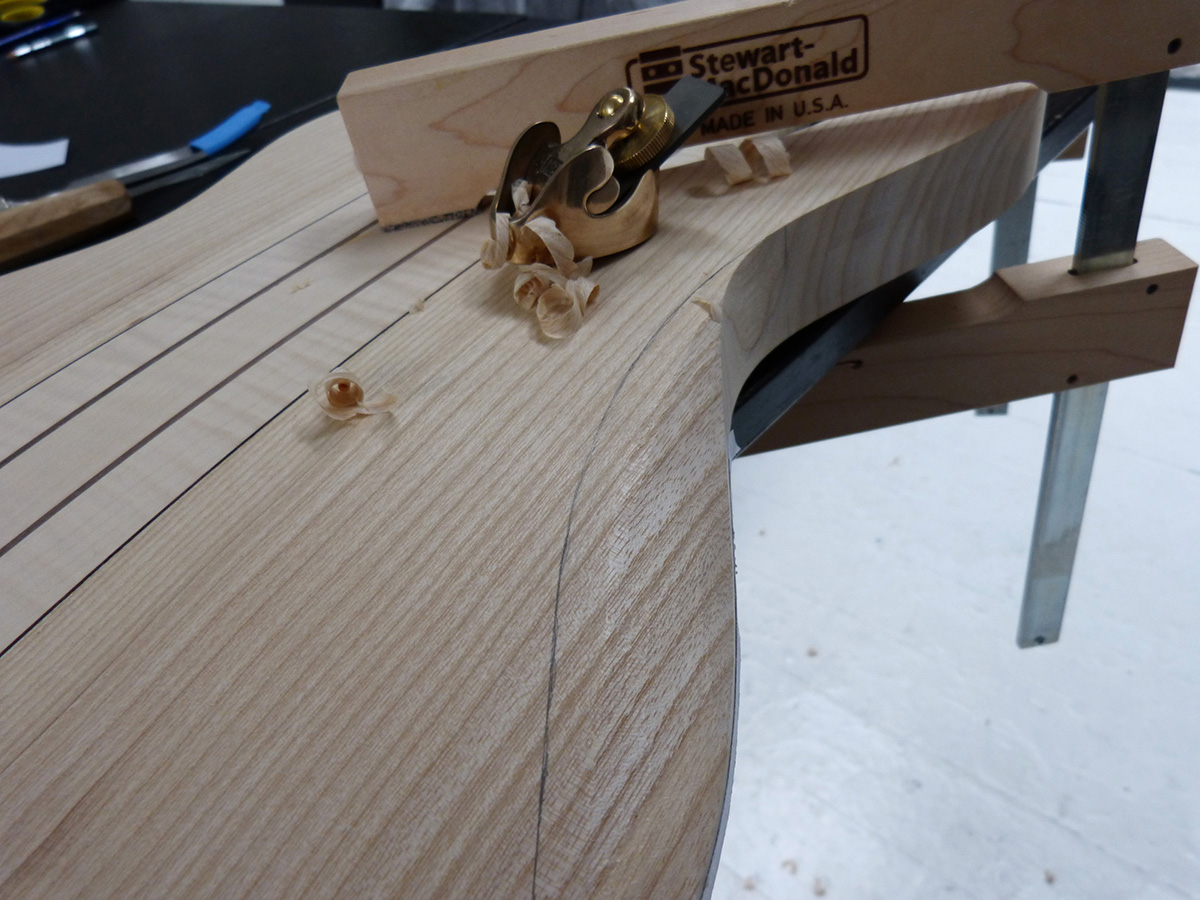
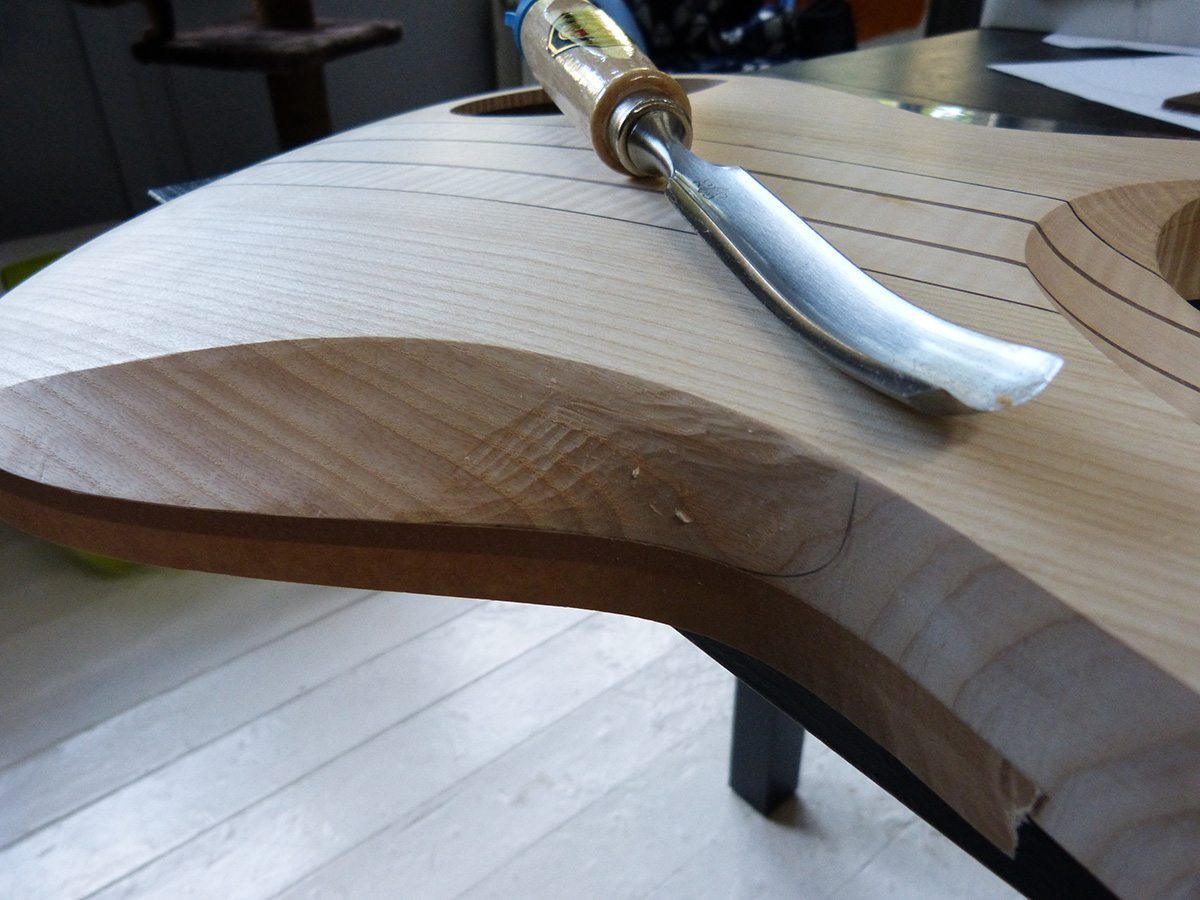
Cleaning up by hand with a curved chisel and a small curved plane
that new small curved bottom plane is really magical, I love it and I wonder why I waited so long before buying it!
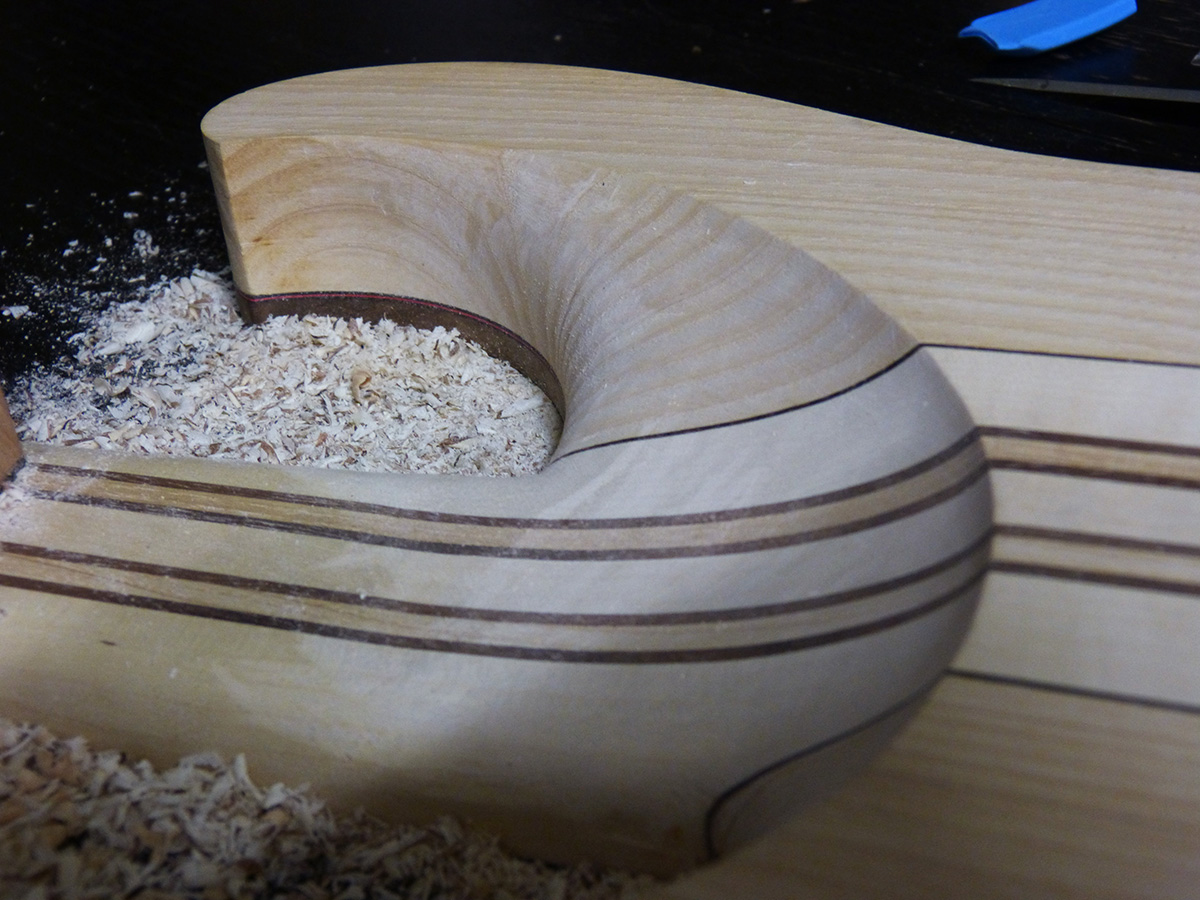
Finishing with a scraper
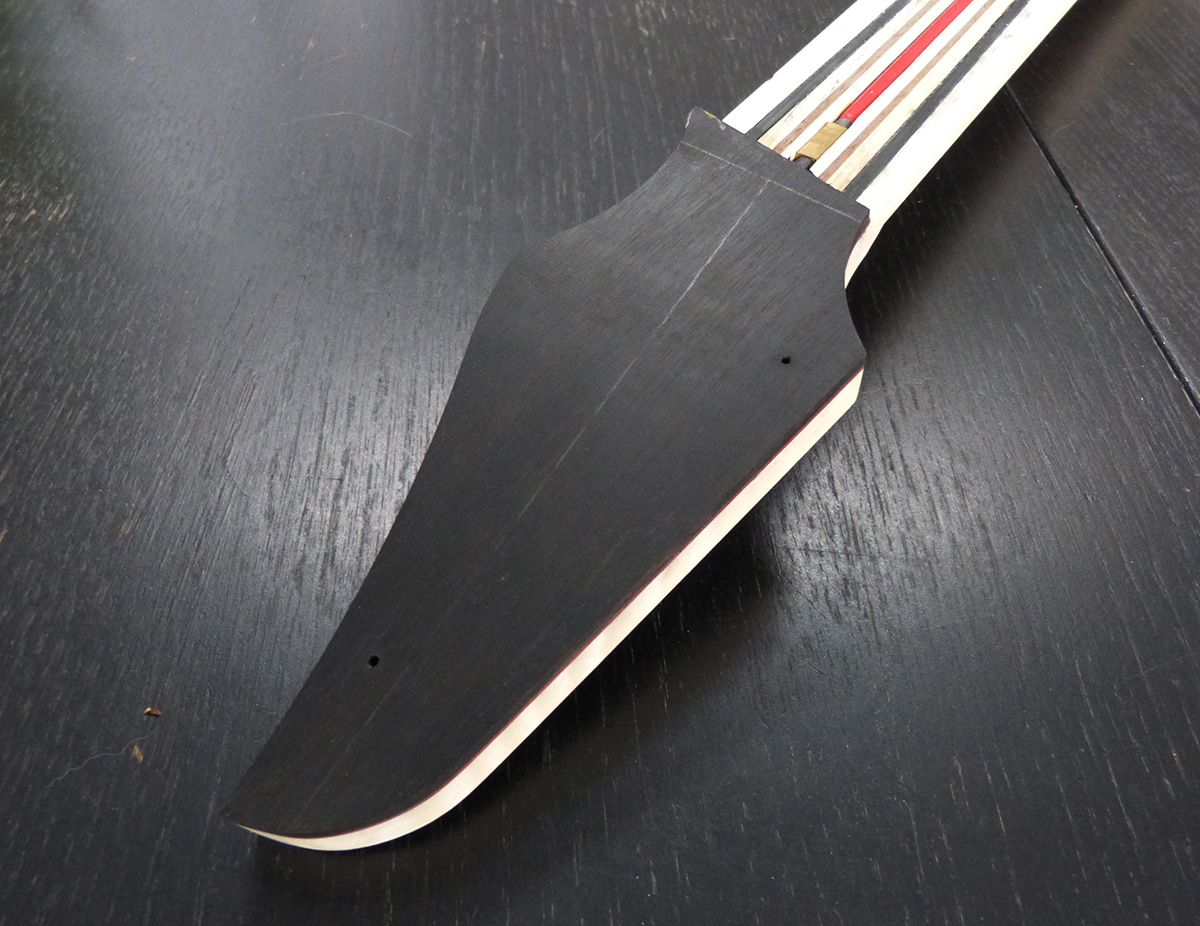
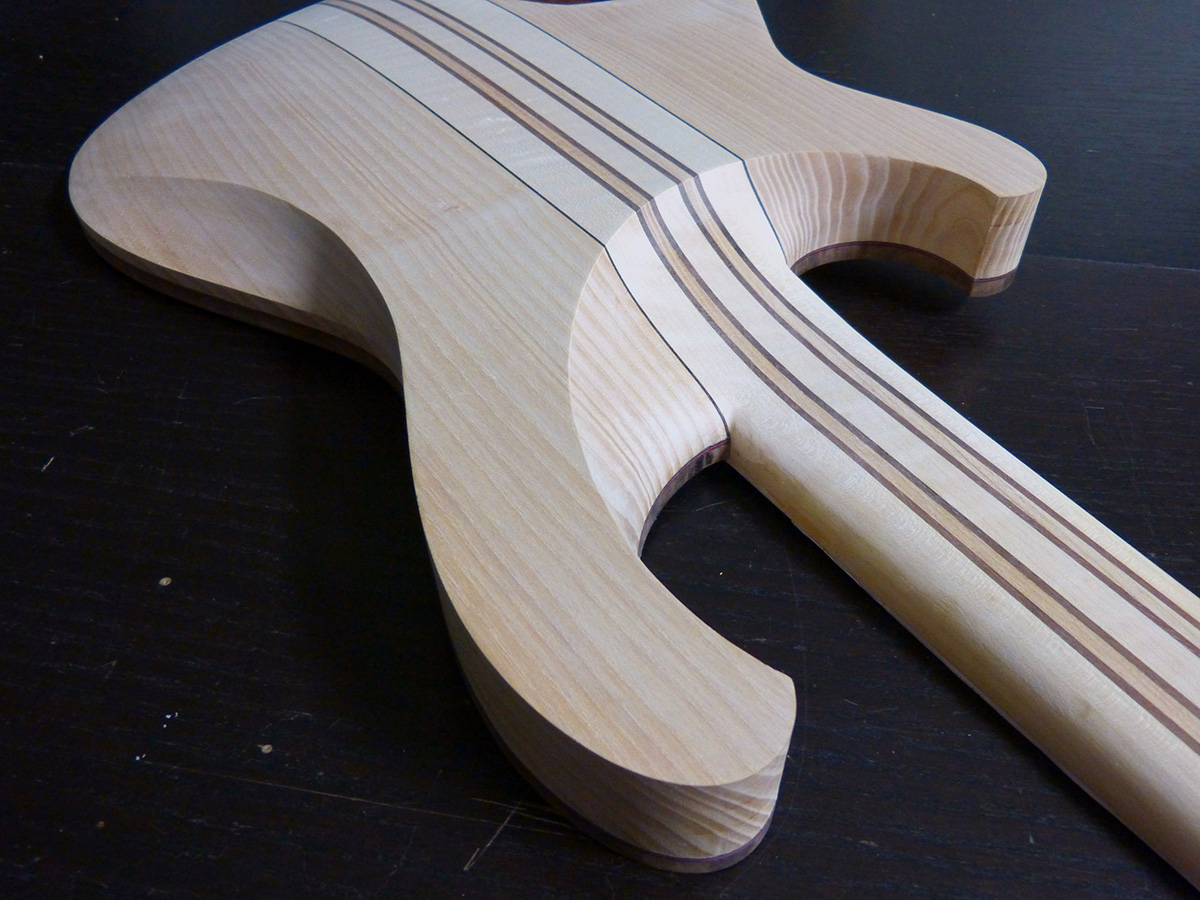
and now, the sunset pictures again
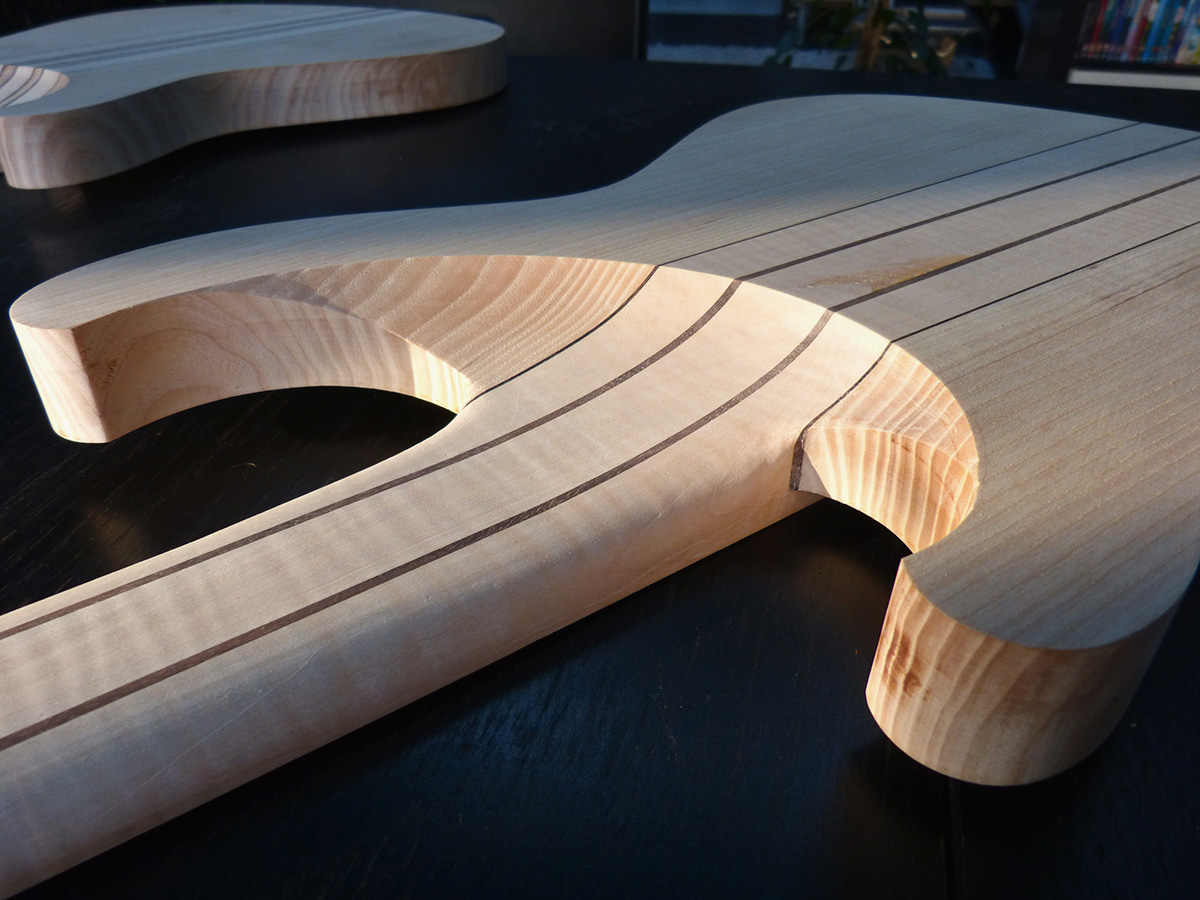
once again, this is only a first pass, that edge going to the neck will not be here in the end. It will just be a nice and smooth surface
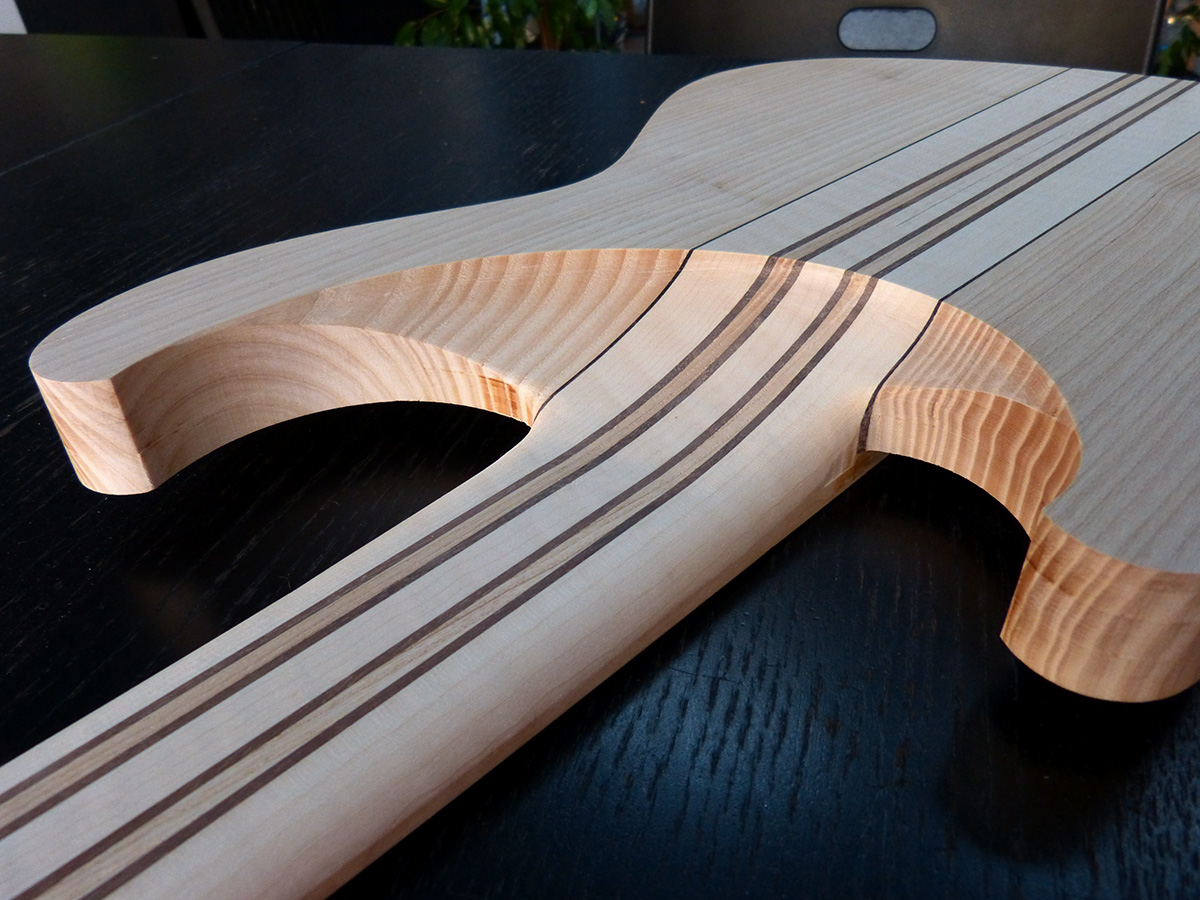
starting to look niiice!
hello!
Sorry, long time no see... I worked on the 3D concepts for the guitars for a while. There were still a bunch of stuff to define properly and I got stuck in the construction because of that. Bad planning...
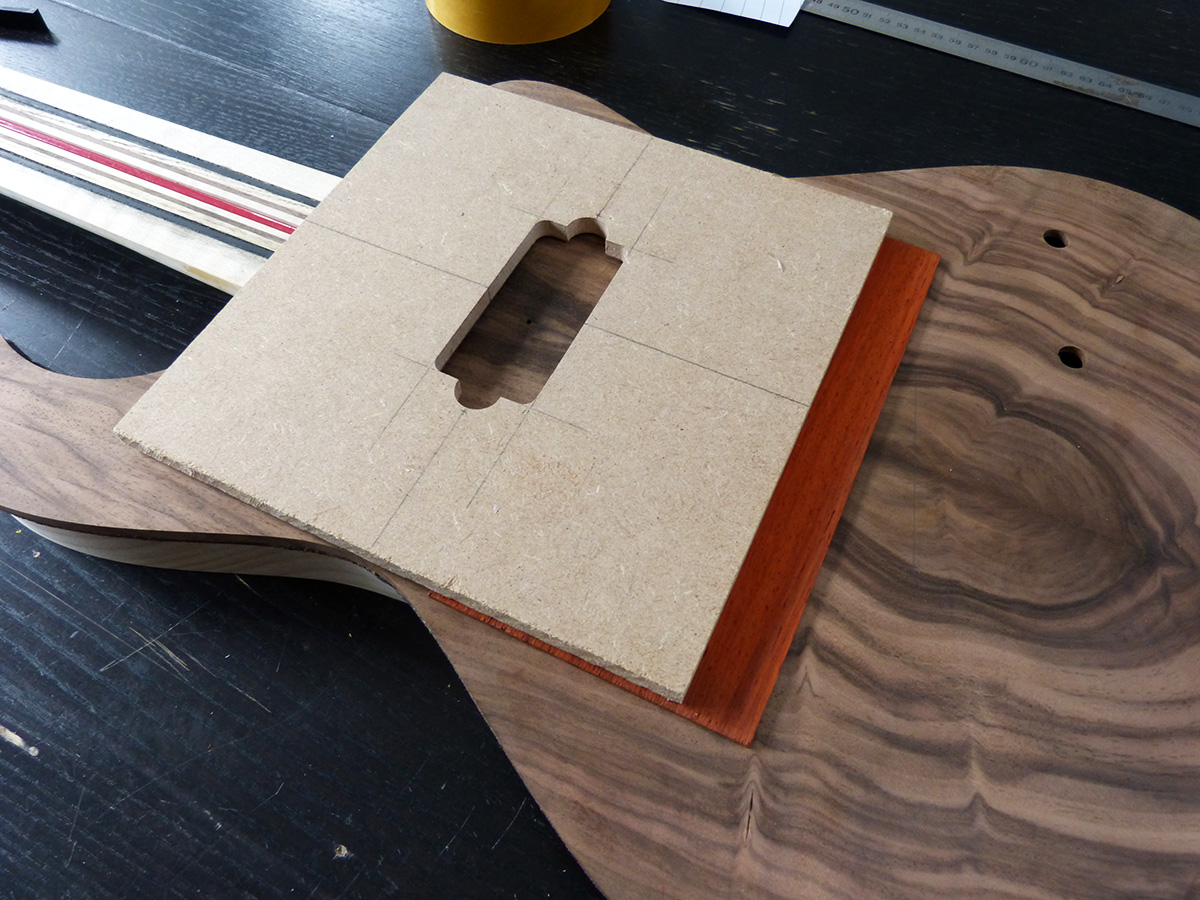
But here we go again, here cutting the templates for body cavities:

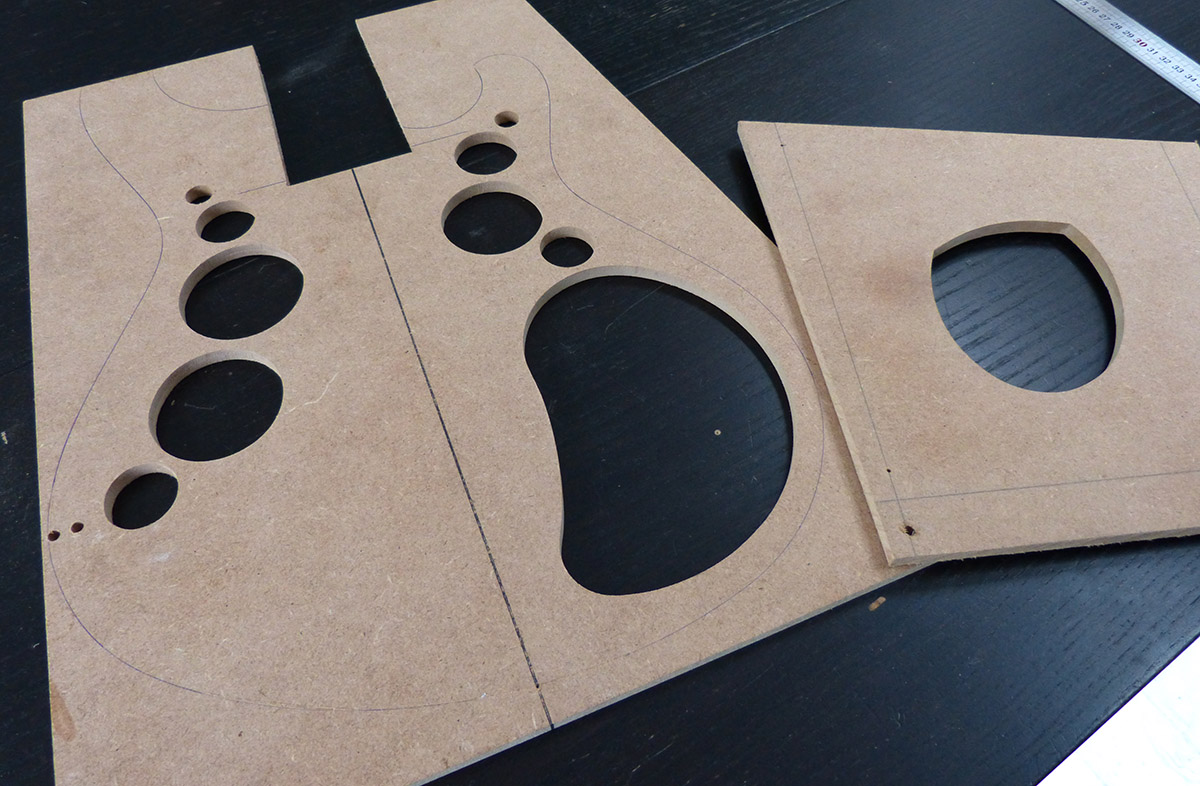
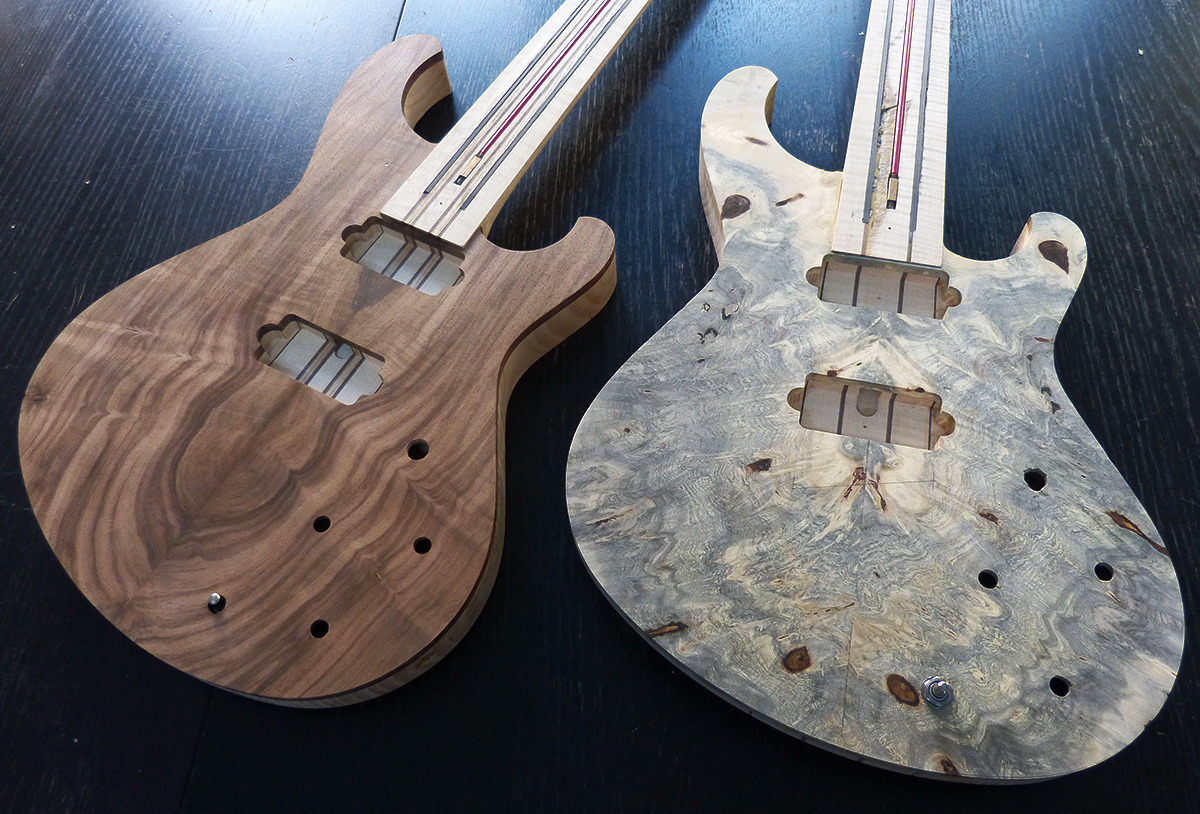
Here is the result. So, for now, left guitar is 2260g and right is 2500g. All the difference is in the neck wood, the bodies are from the same piece of wood. The aim is to stay under 3kgs in the end.
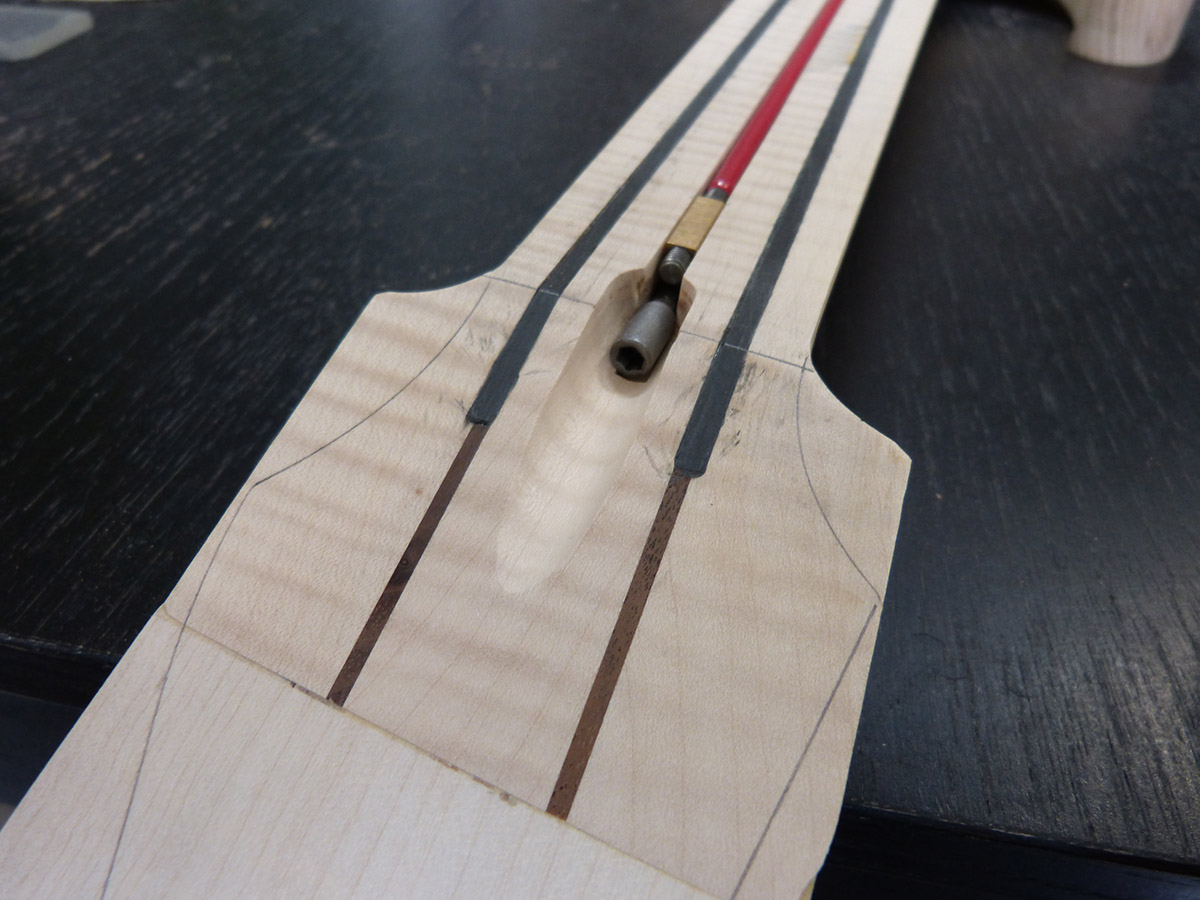
In the meantime, inserting the truss rods as well:
Hello there,
here is a nice update with lots of pictures.
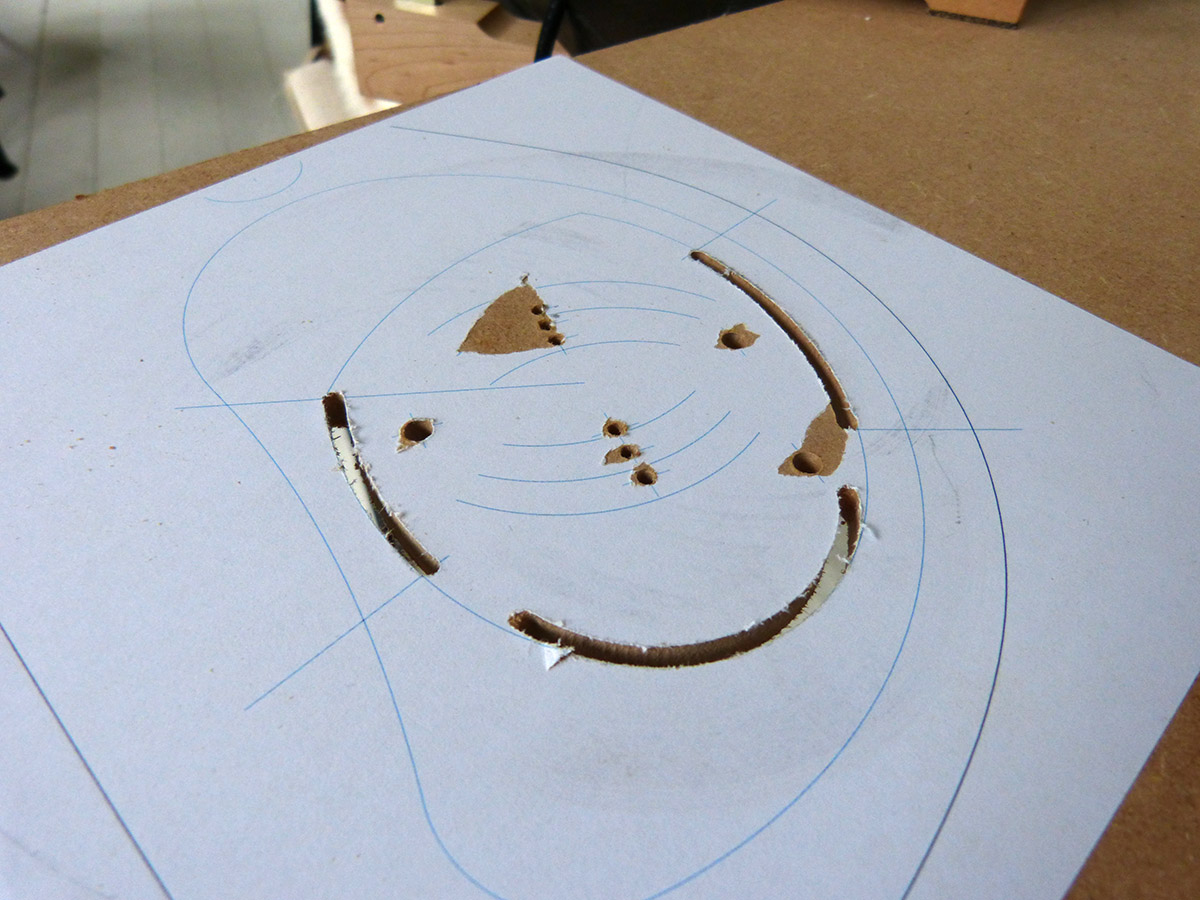
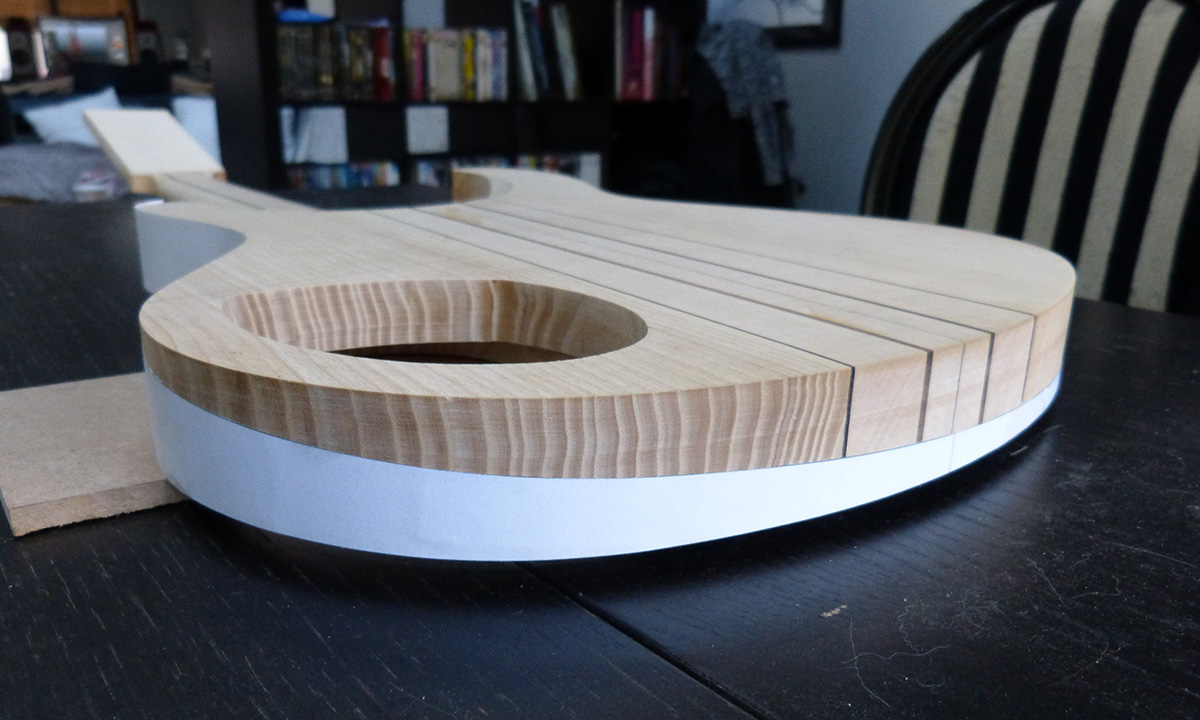
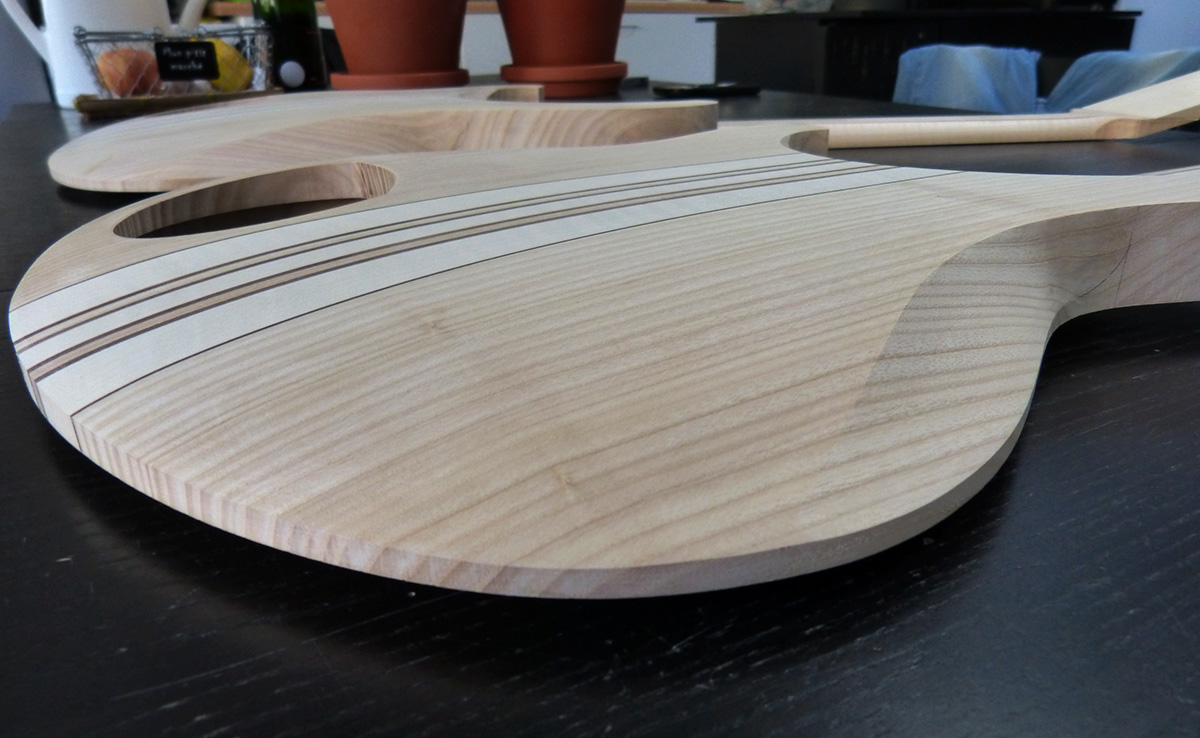
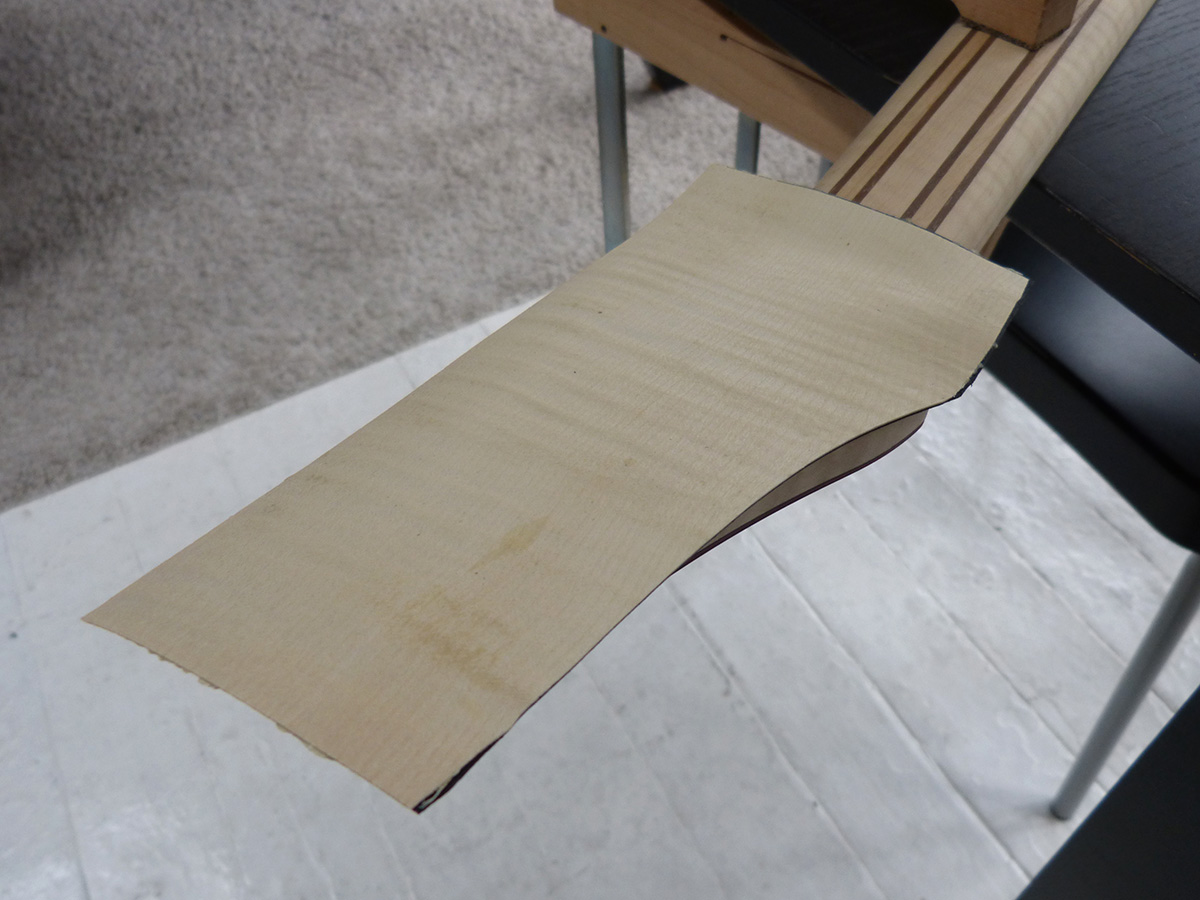
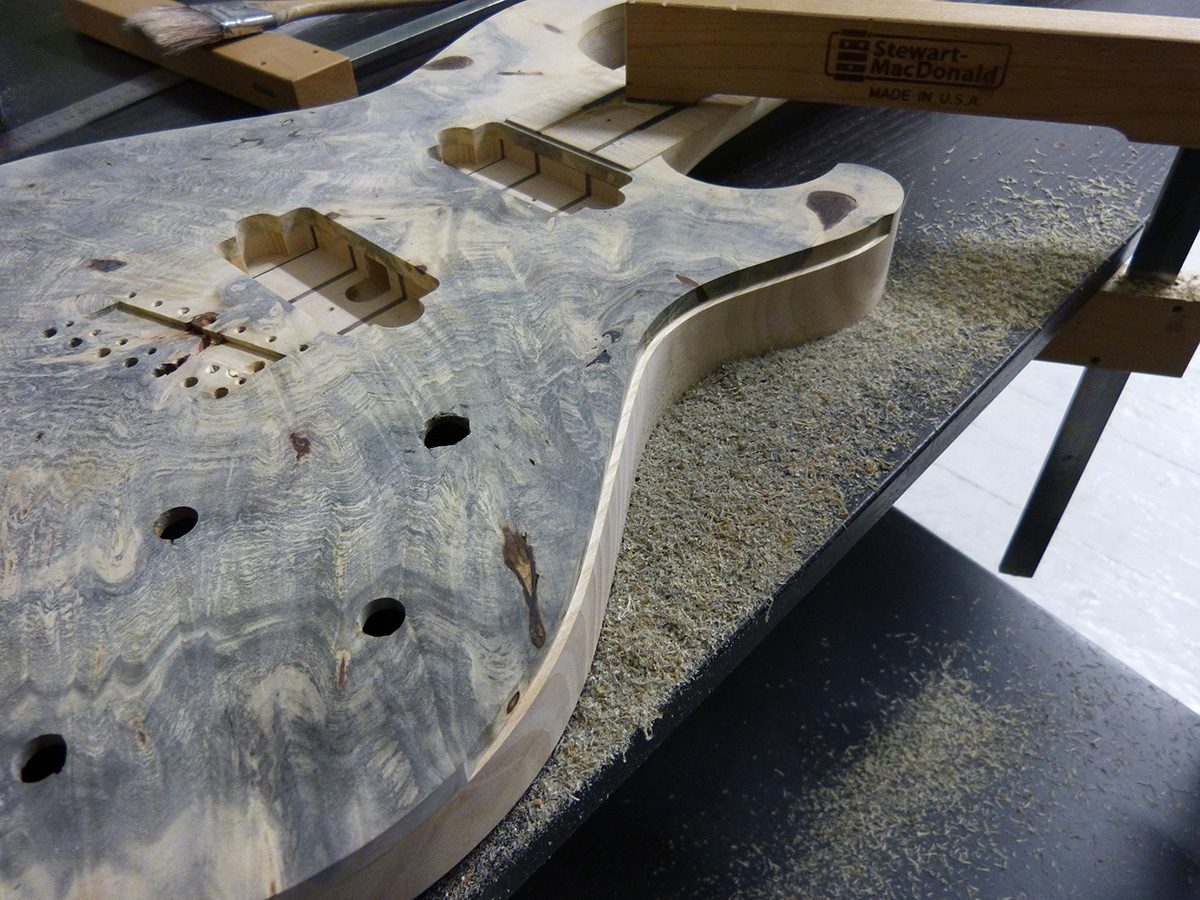
here, preparing to sculpt the body thickness. making a guide with a piece of paper
starting by hand with the small plane, for fun!
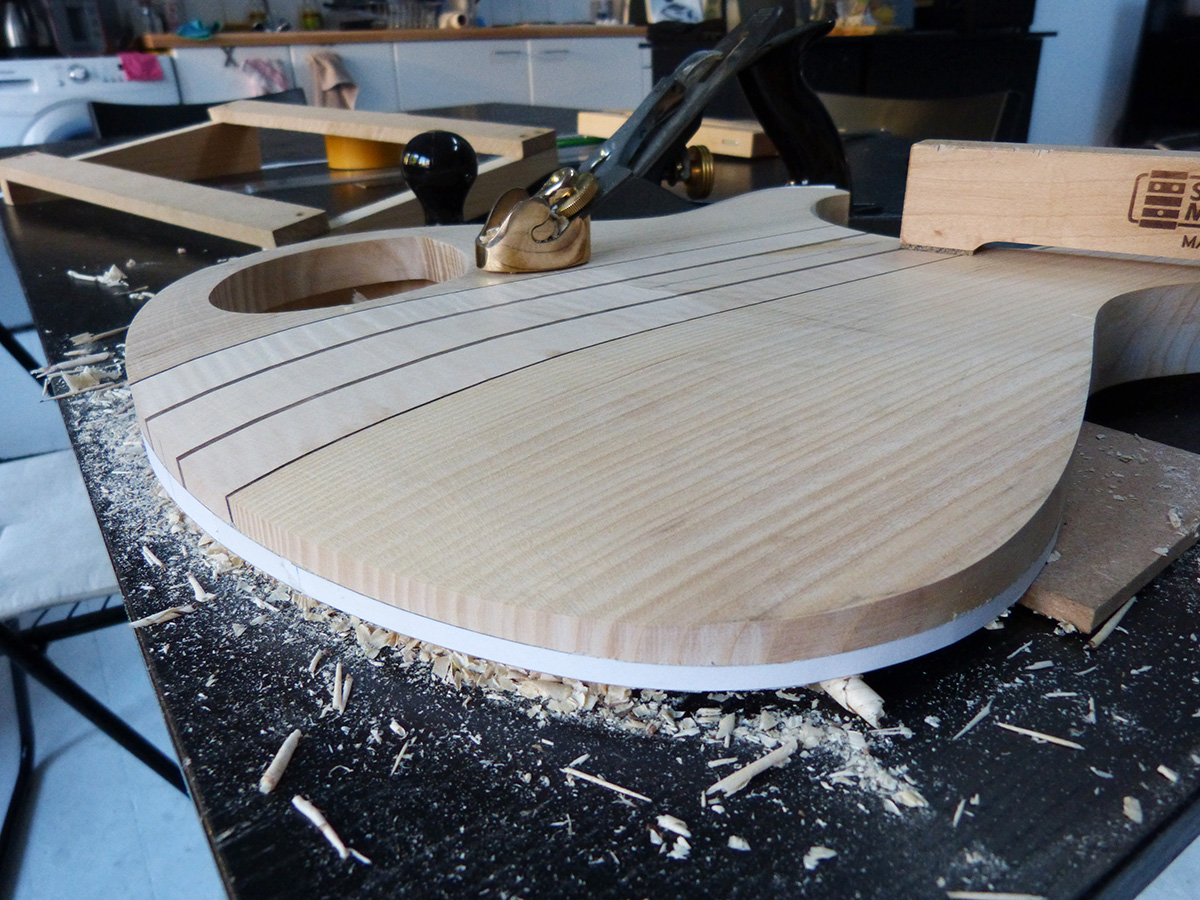
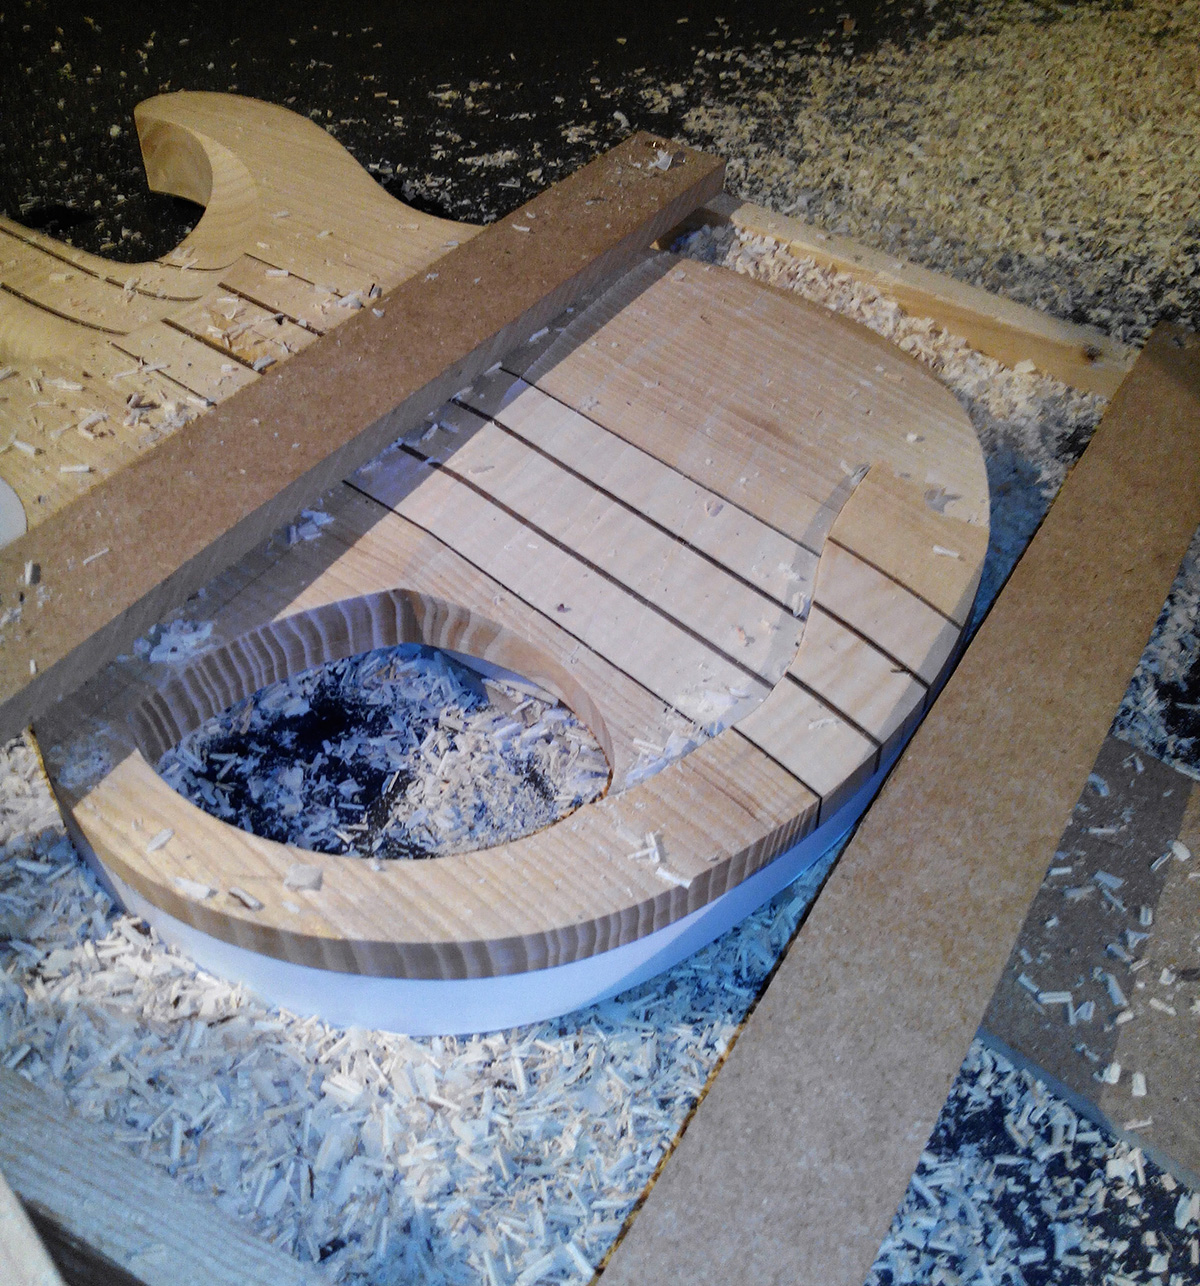
roughly cutting the shape with the router now (and erasing completely my fun hand made work)
and finishing the curved shape with the plane. Sorry for the poor picture quality, this is taken in my basement "workshop" with my smartphone and poor lighting.
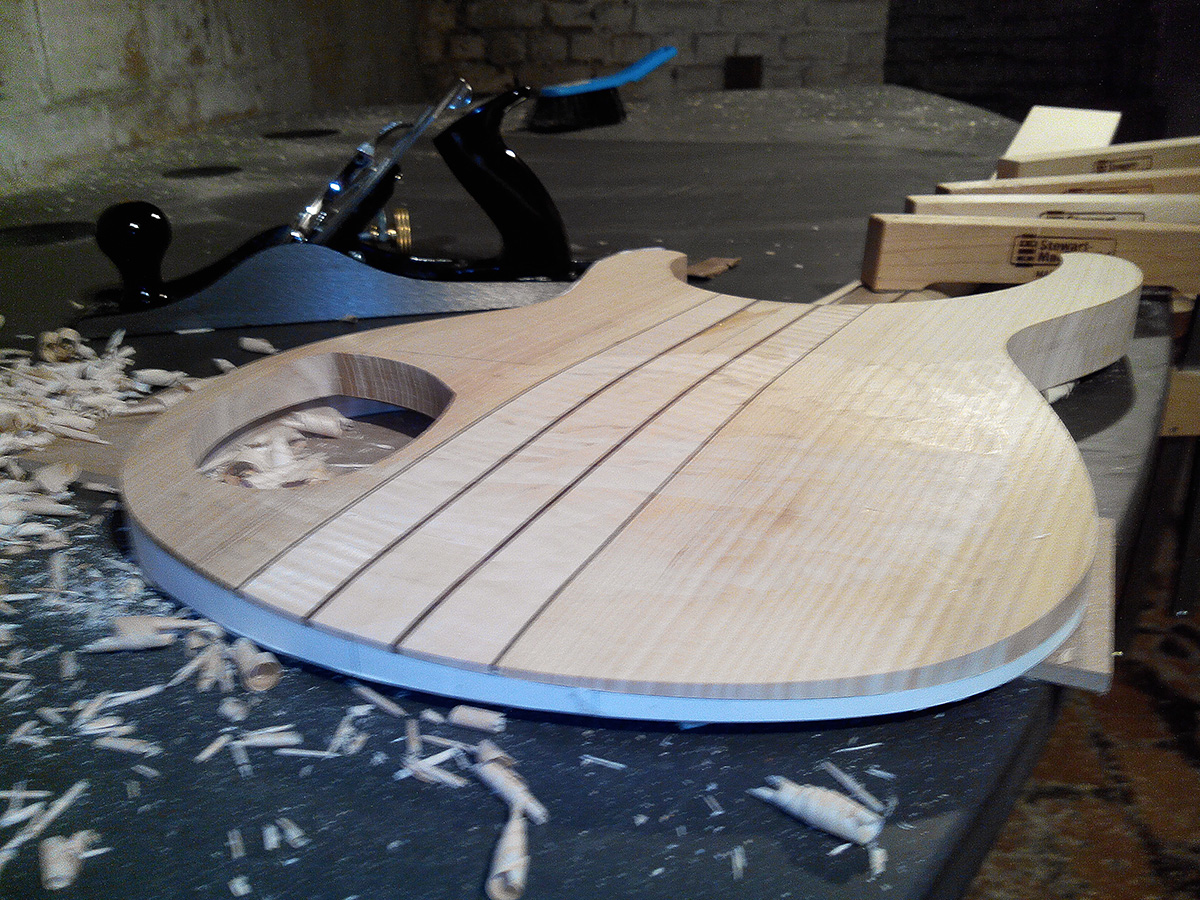
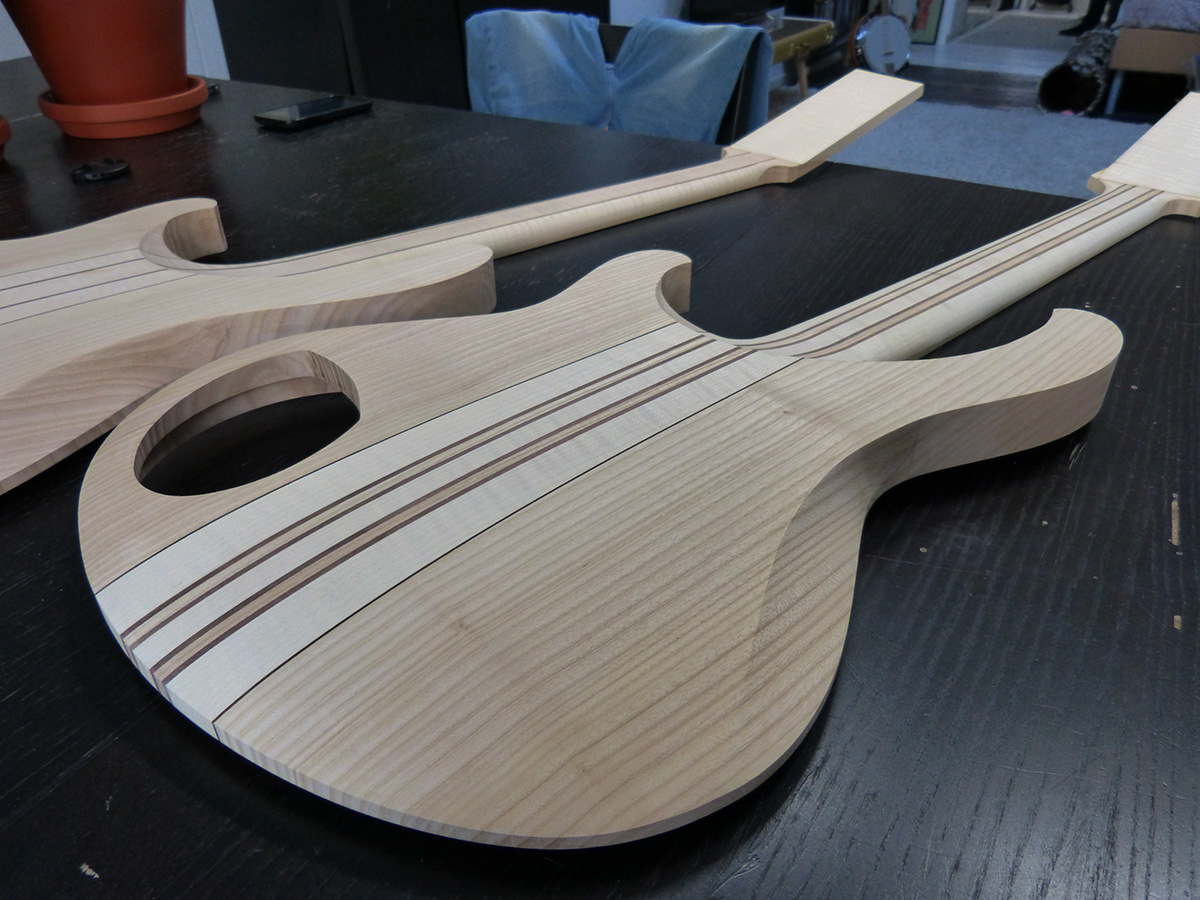
here the result with a bit of sanding
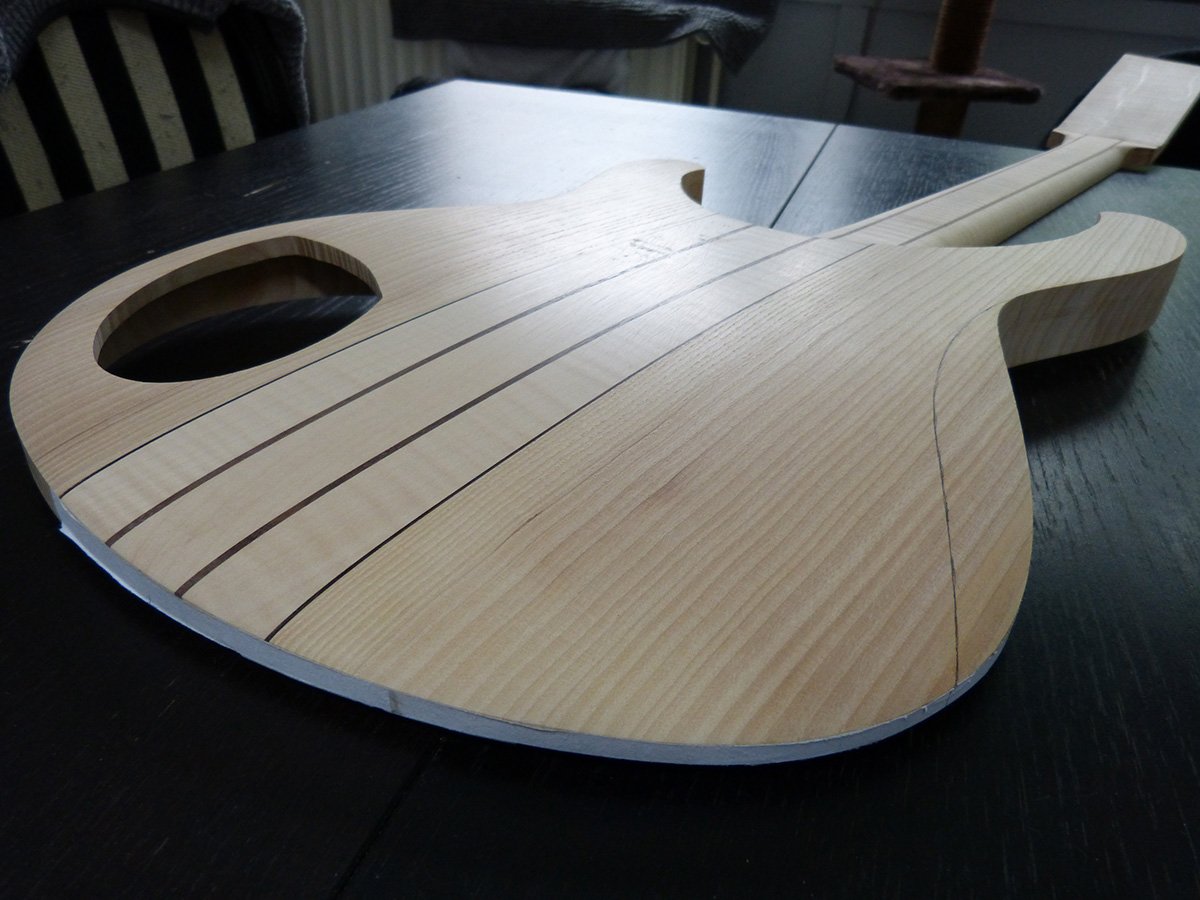
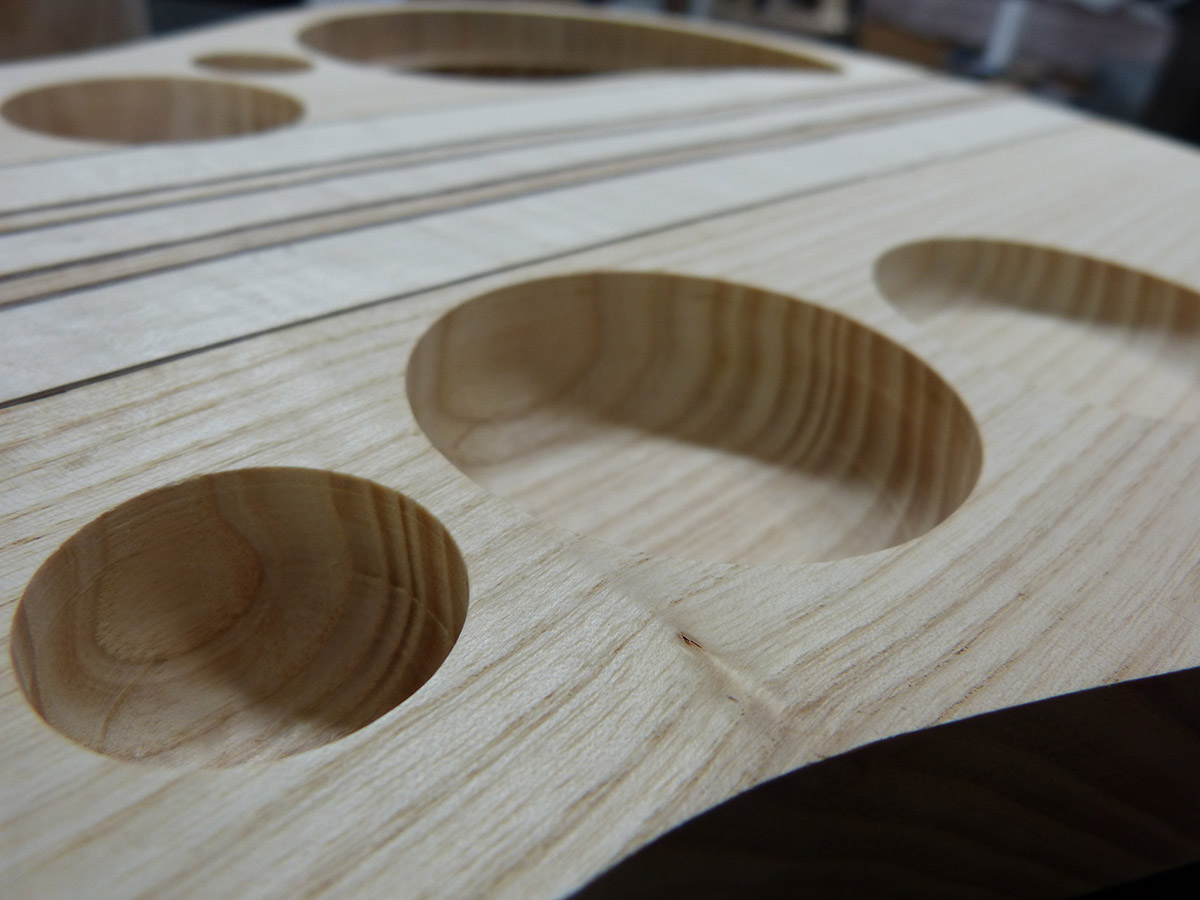
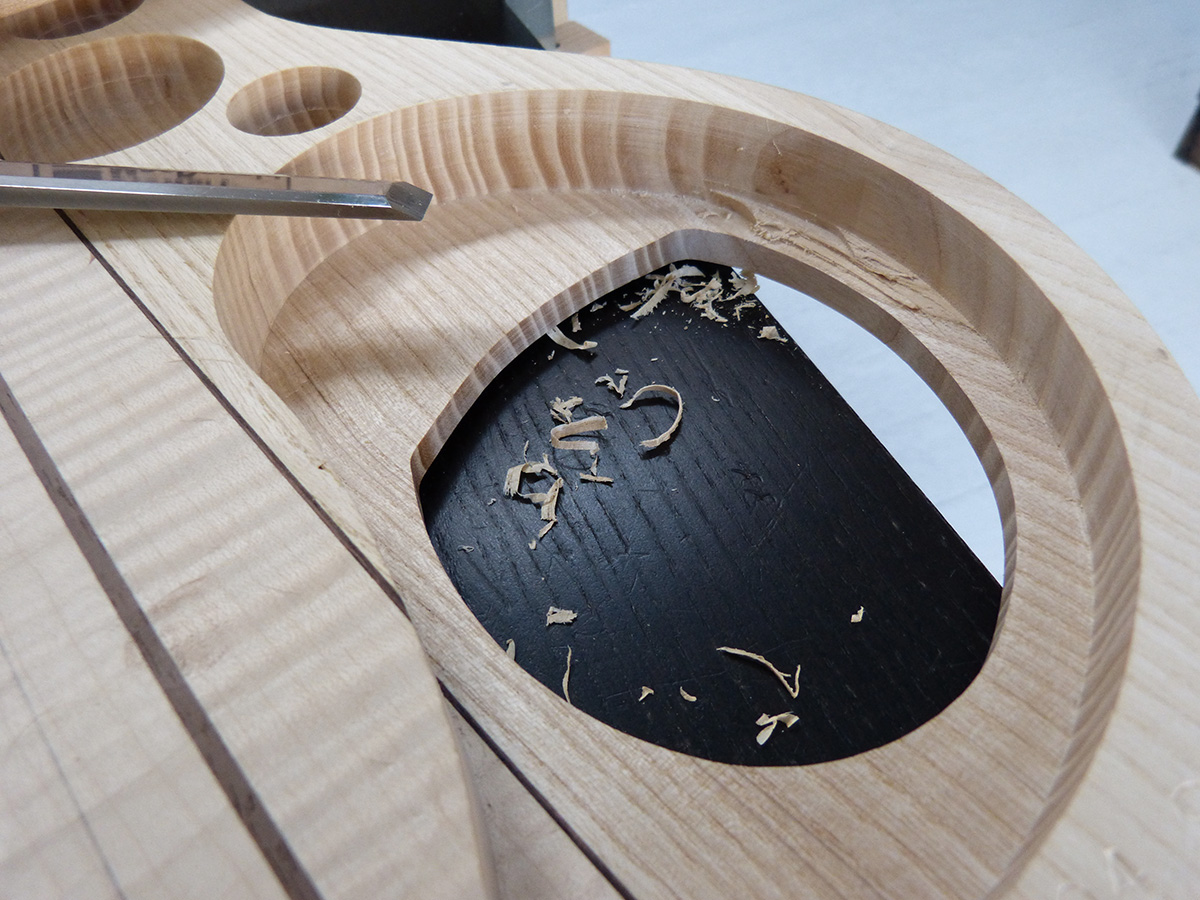
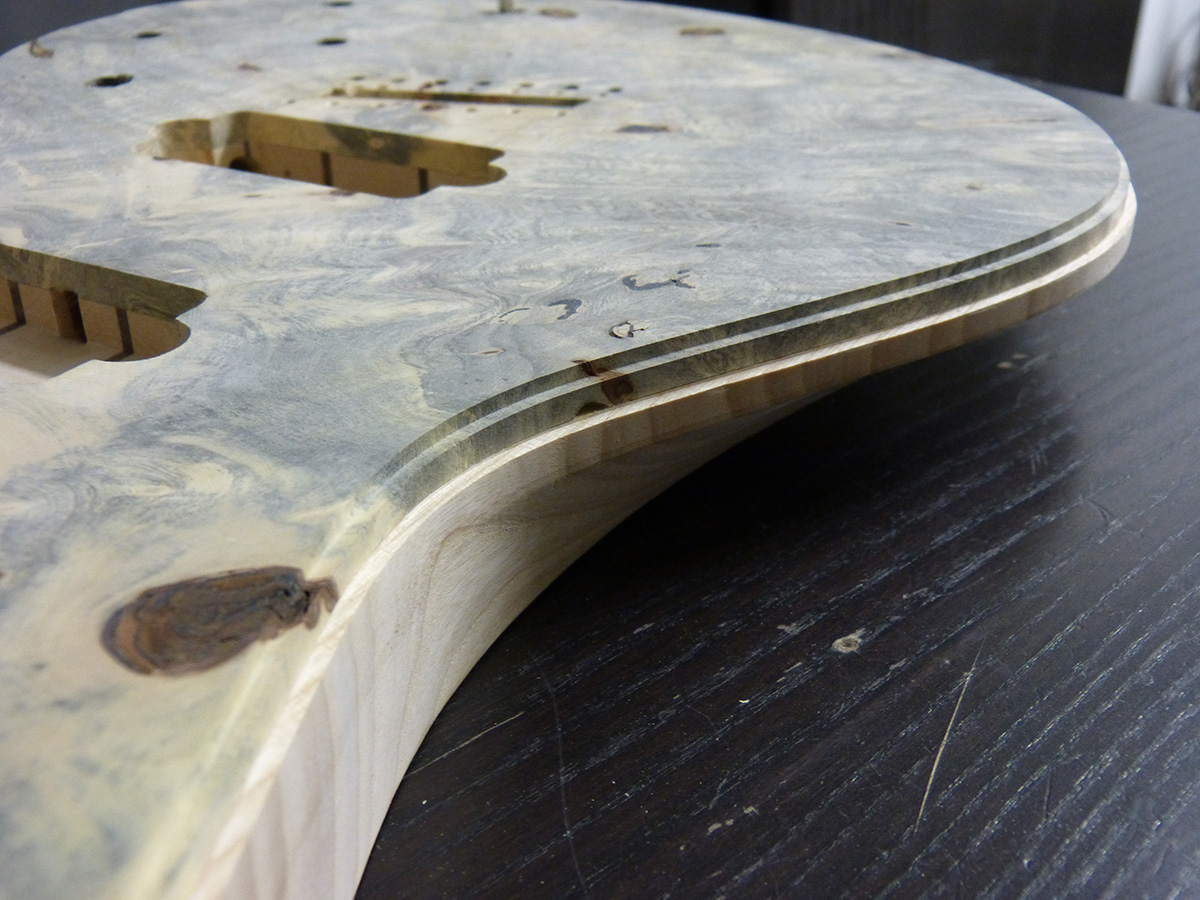
now that the back is to final shape, making the electronics cavity deeper and the border to a constant thickness. you can check it out on a previous picture and see the border was two times thicker on one side than the other.
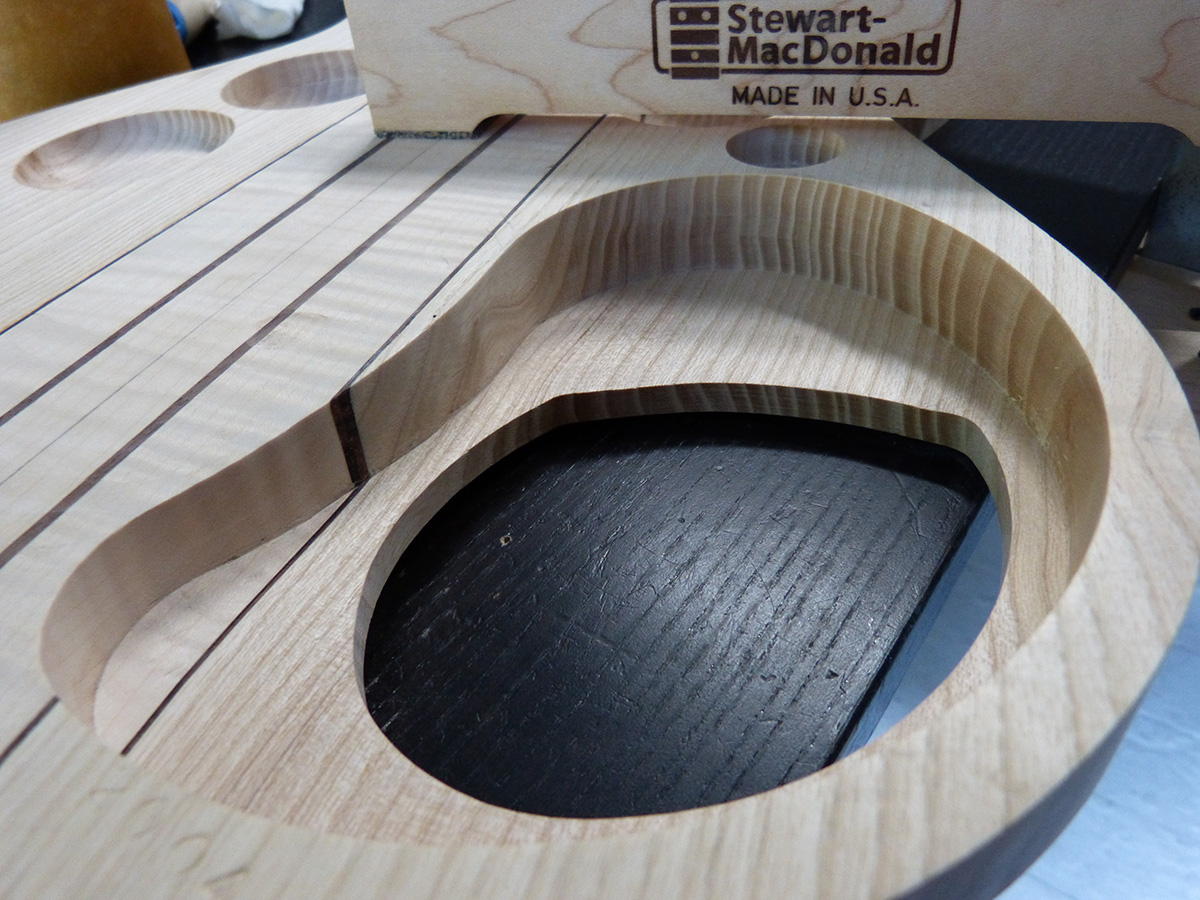

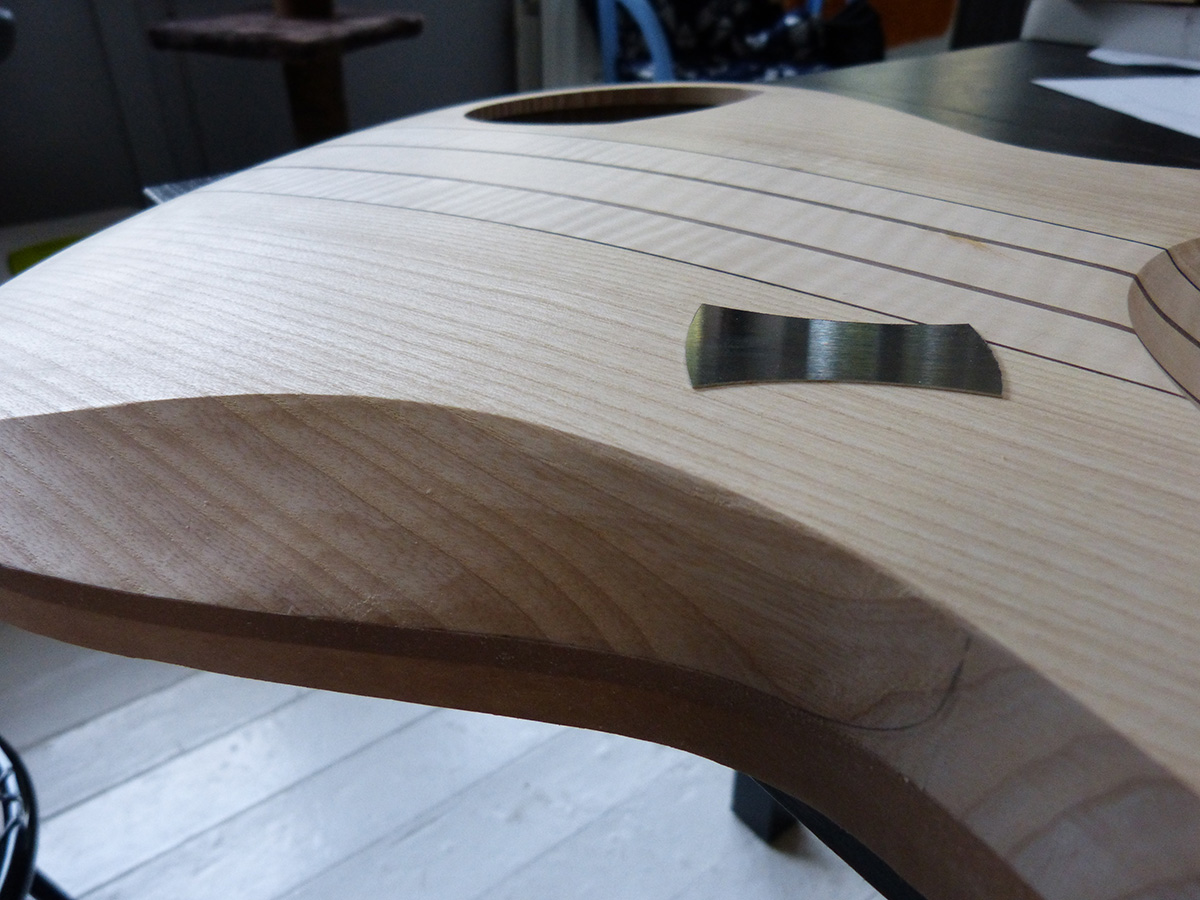
now, on to the tummy cut sculpting
just received that small scraper and it's great!
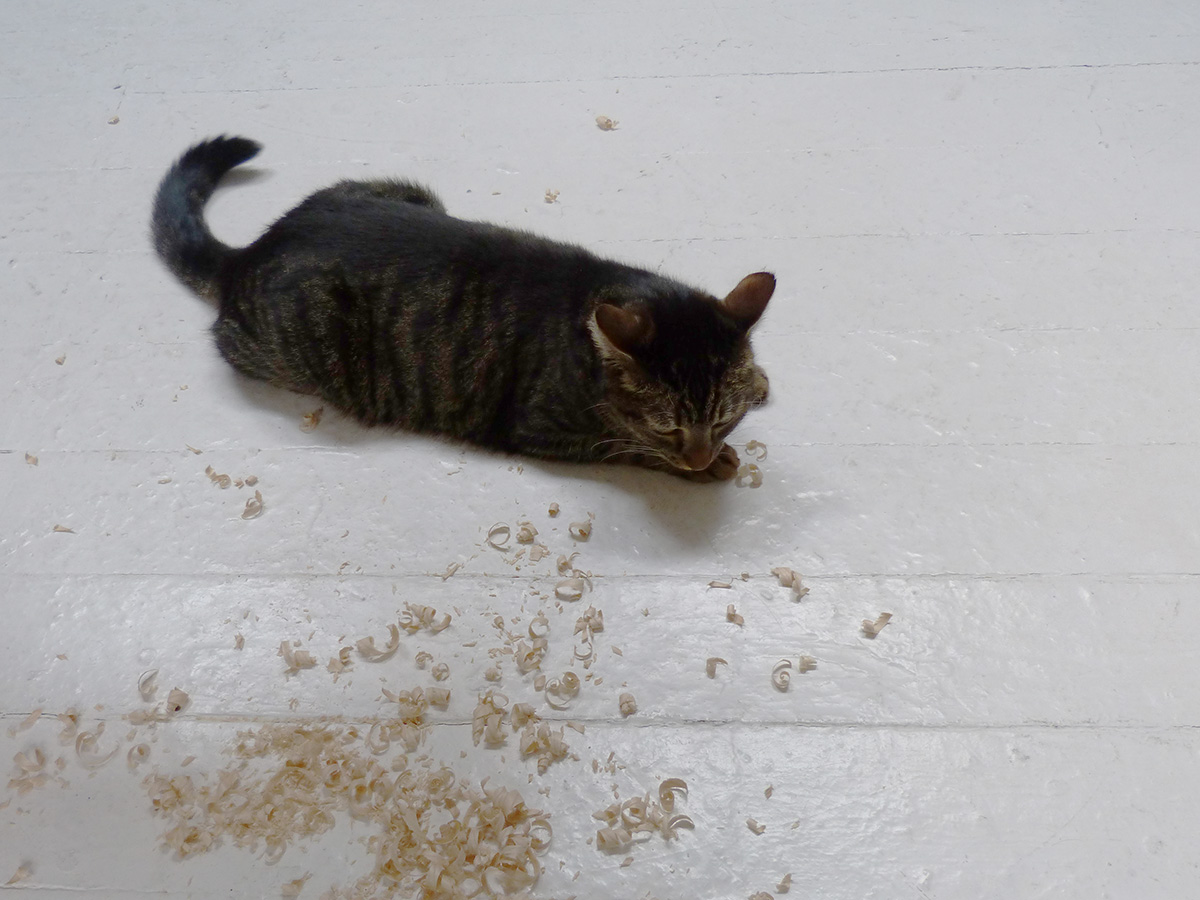
(one of) the (new) cat playing with the wood chips. yep, she made a mess and I had to recover the chips everywhere in the appartment.
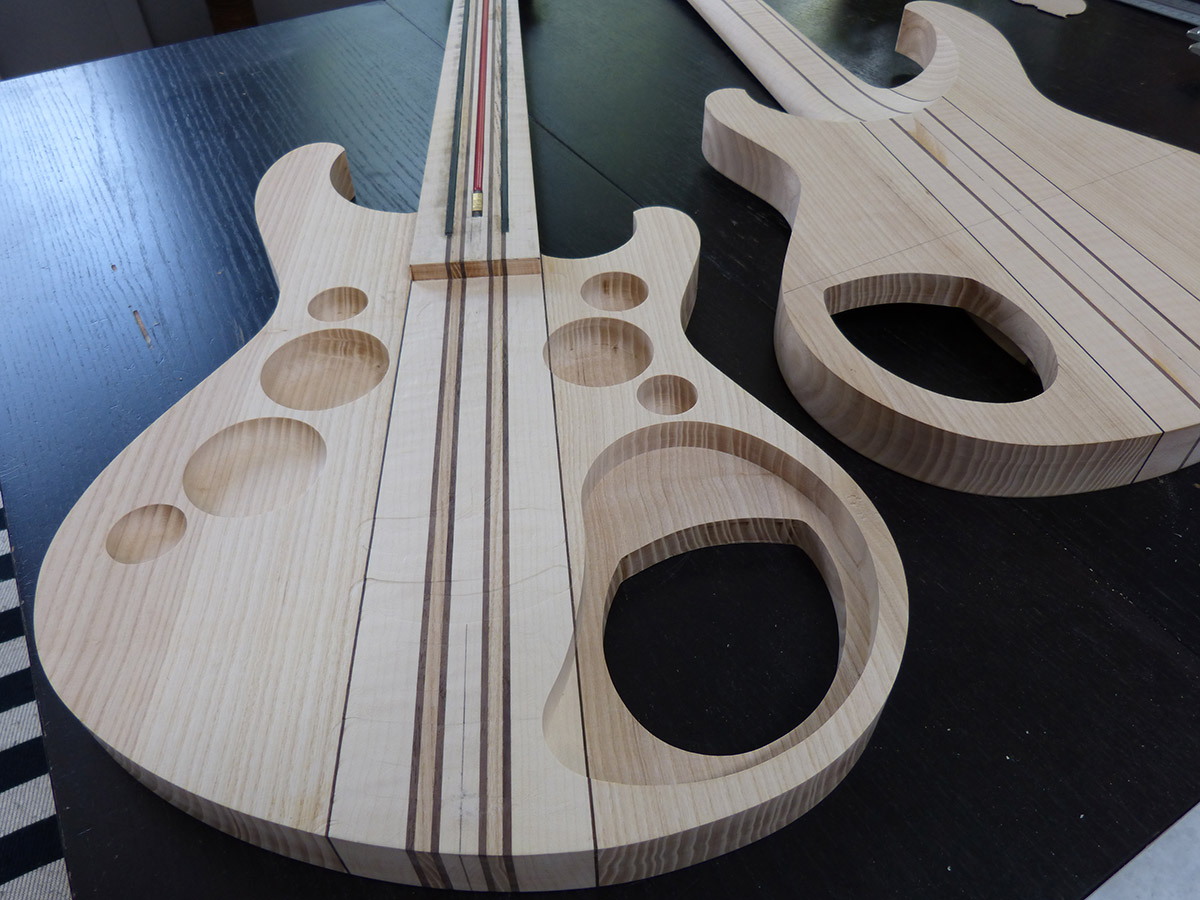
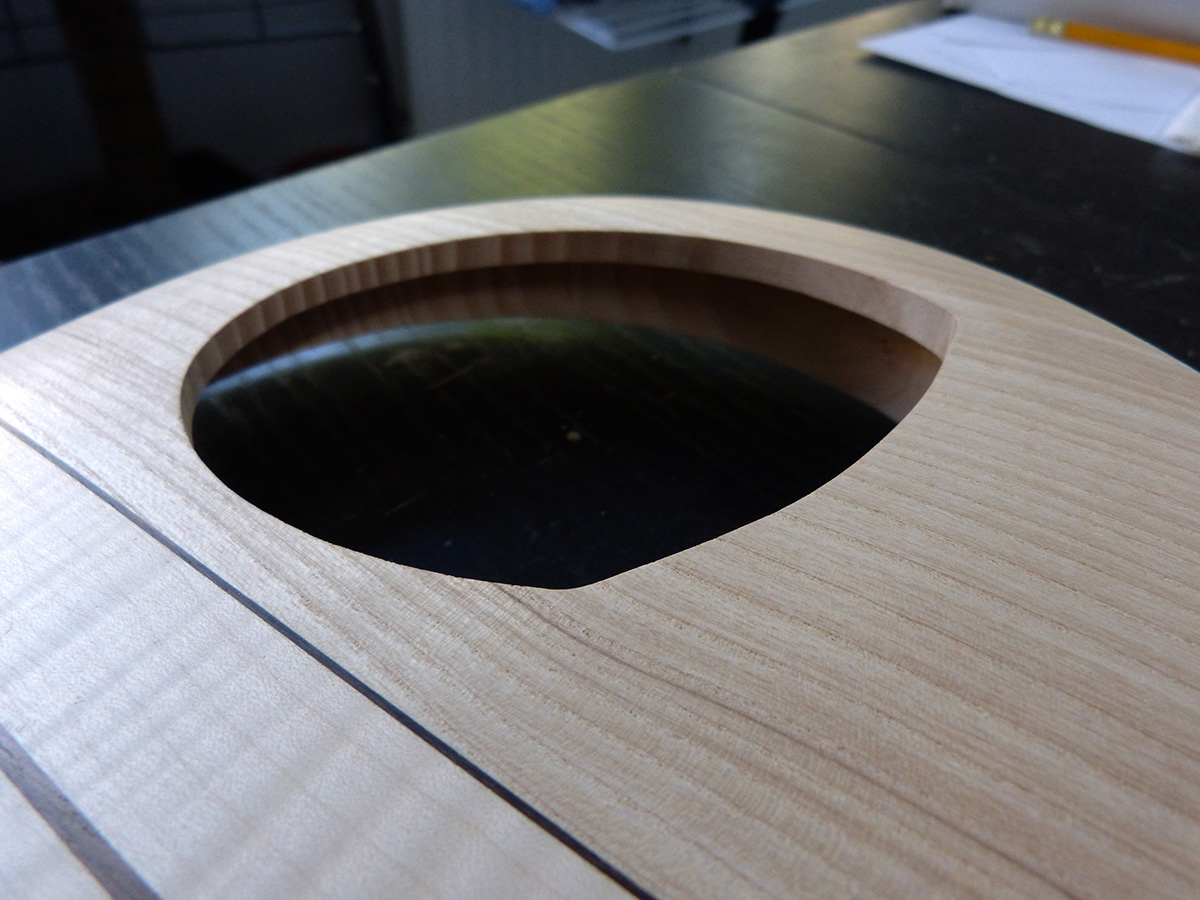
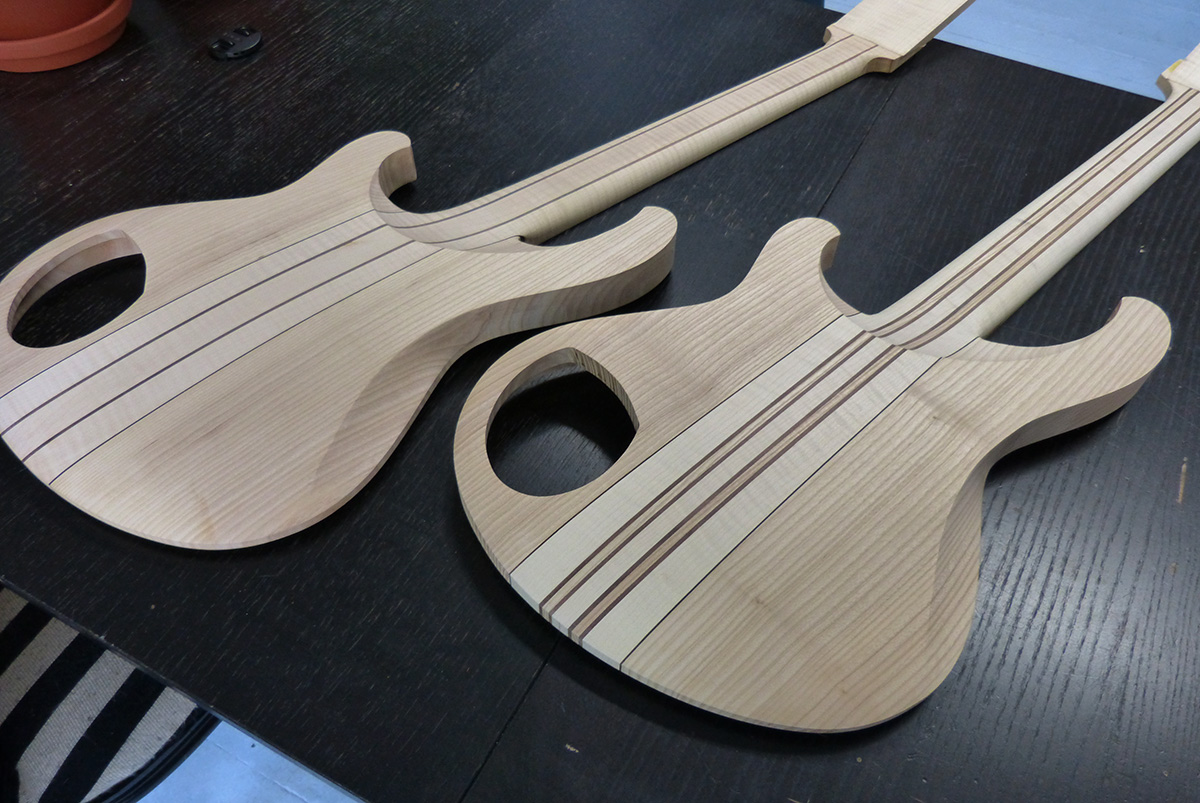
and the result! (the electronics cavity on the right one is not yet to uniform thickness)
Hello there!
That step was not completely finished and ready to put online but the customer asked and you got to make the customer happy ;-)
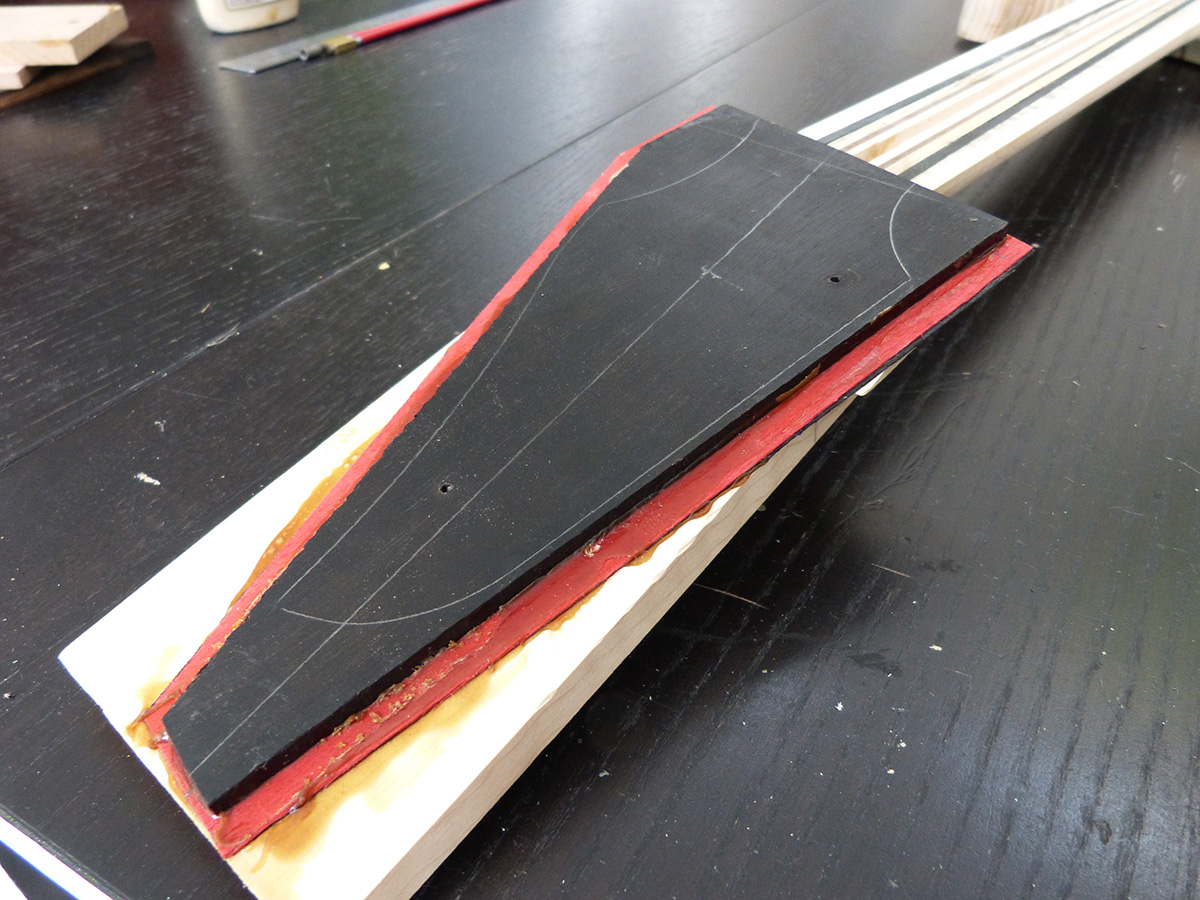
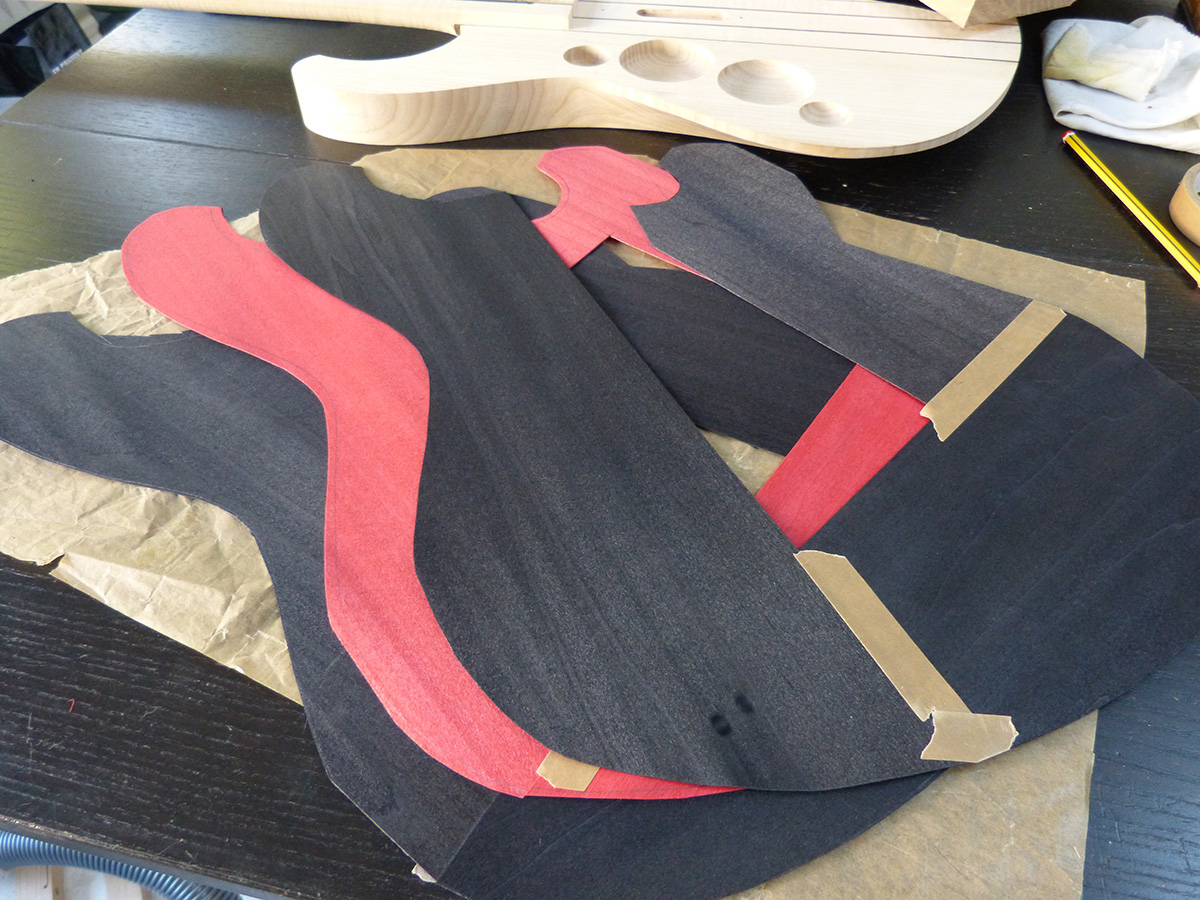
preparing the layers of overlay
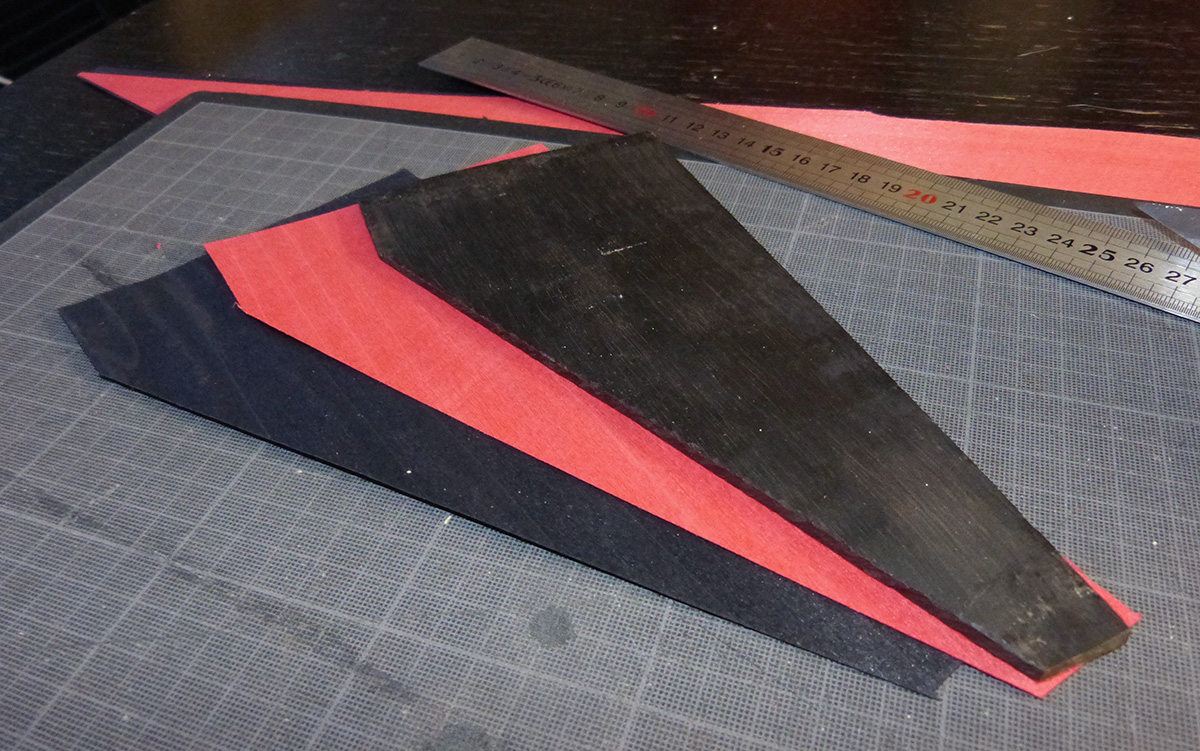
a bit of painting
gluing the 3 layers
a bit of tracing
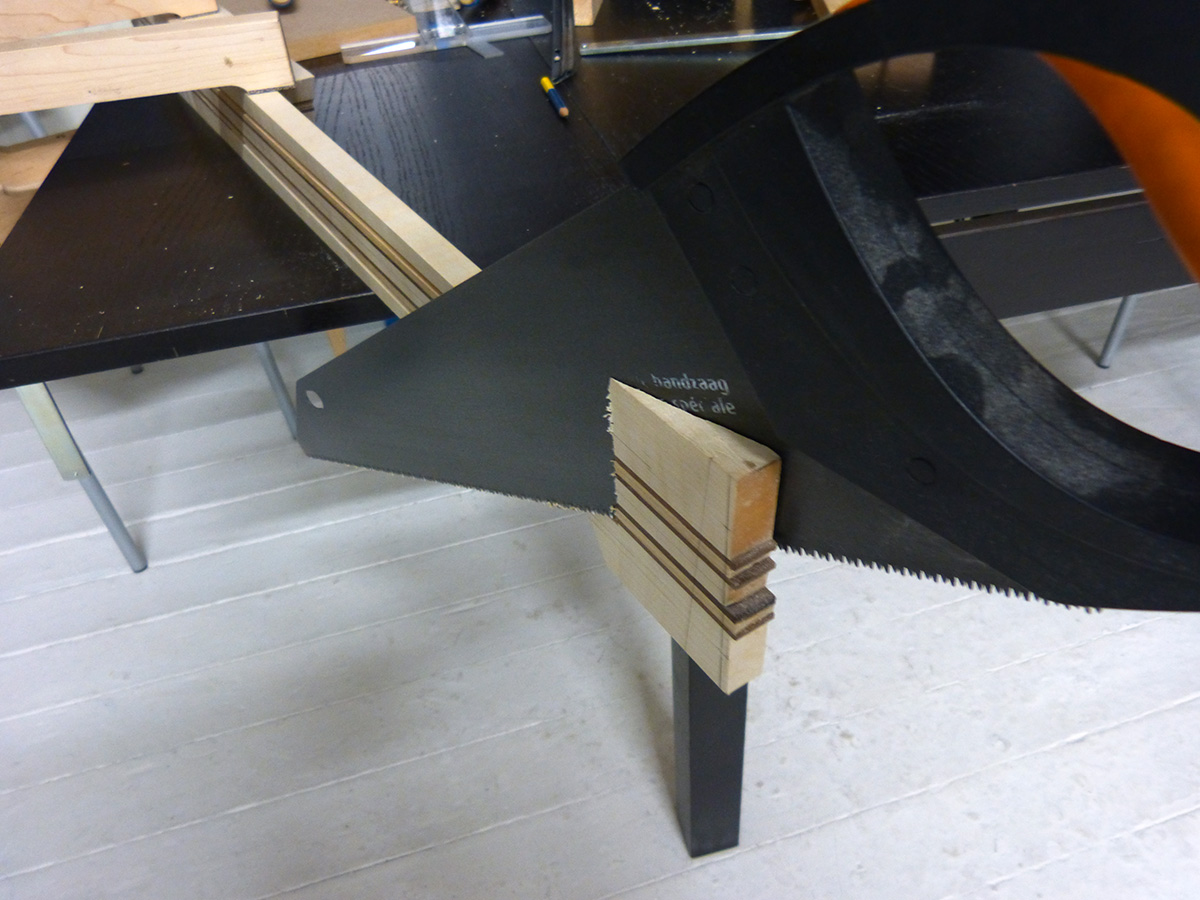
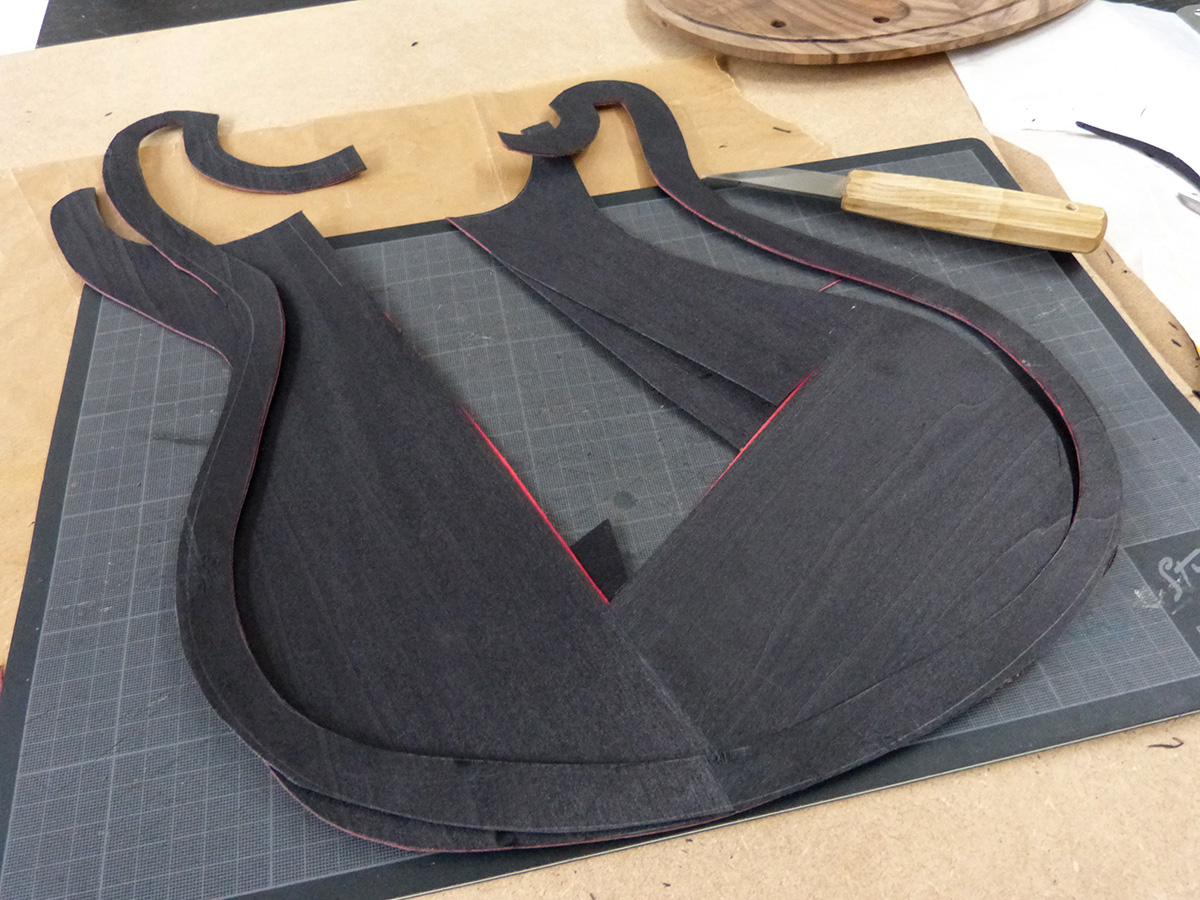
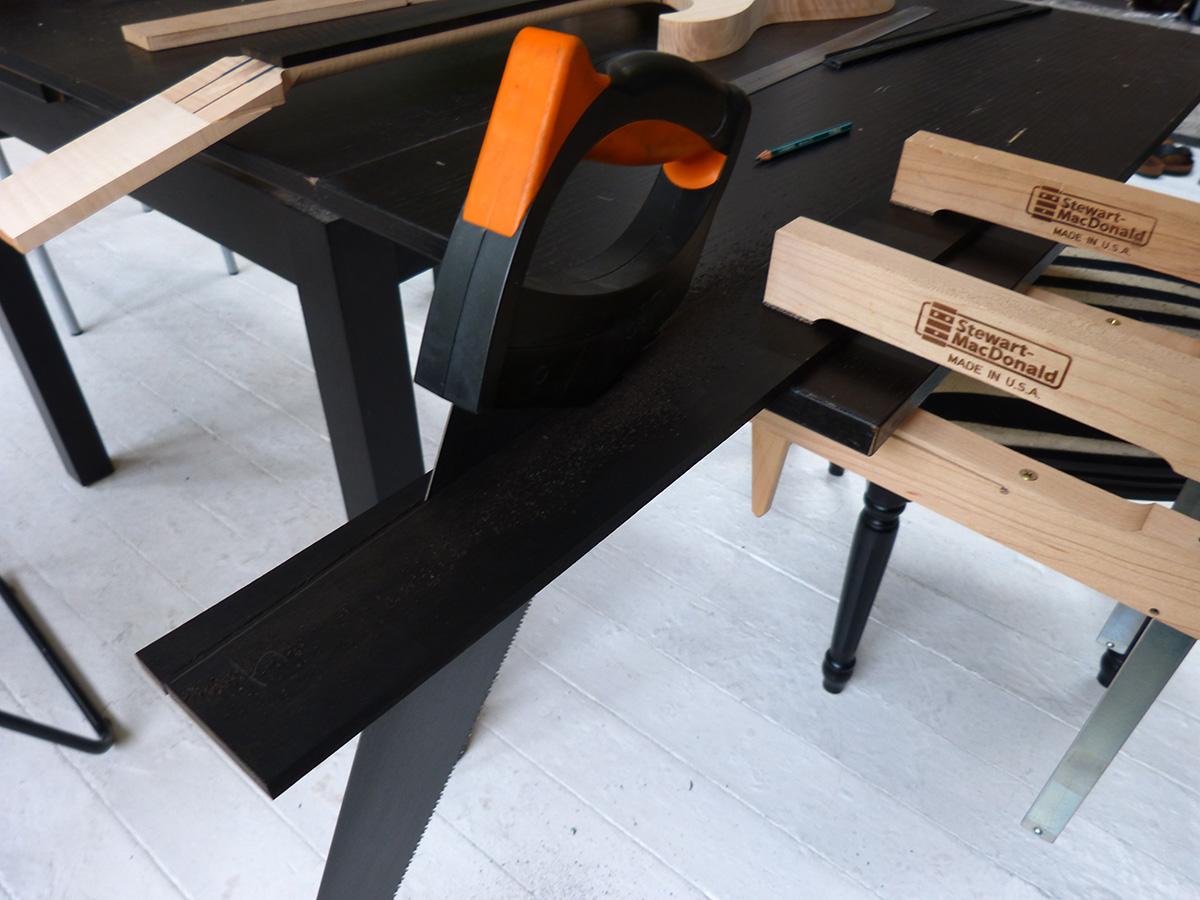
cutting what can be with the hand saw to save a bit of work for the router. btw, will you find the cat hidden in that picture?
ok, this one is harder, will you find it this time?
power tooling in the basement!
and the result.
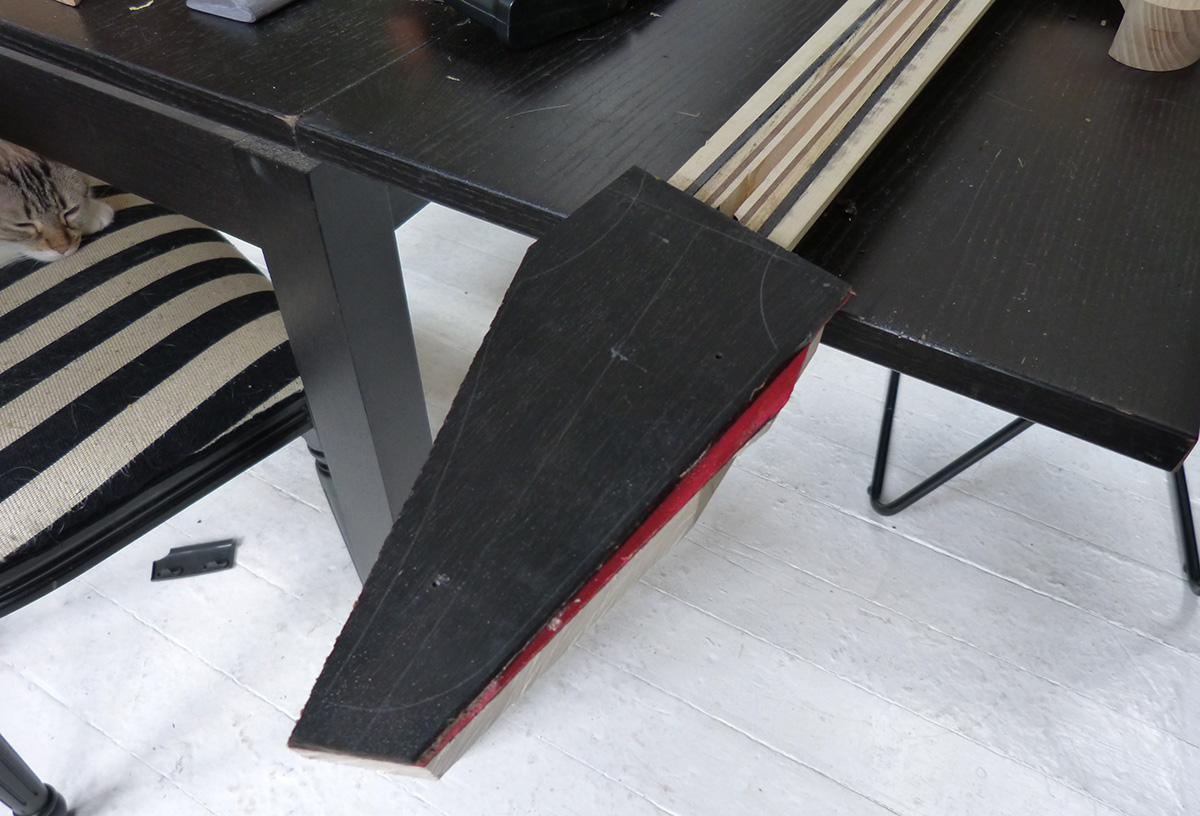
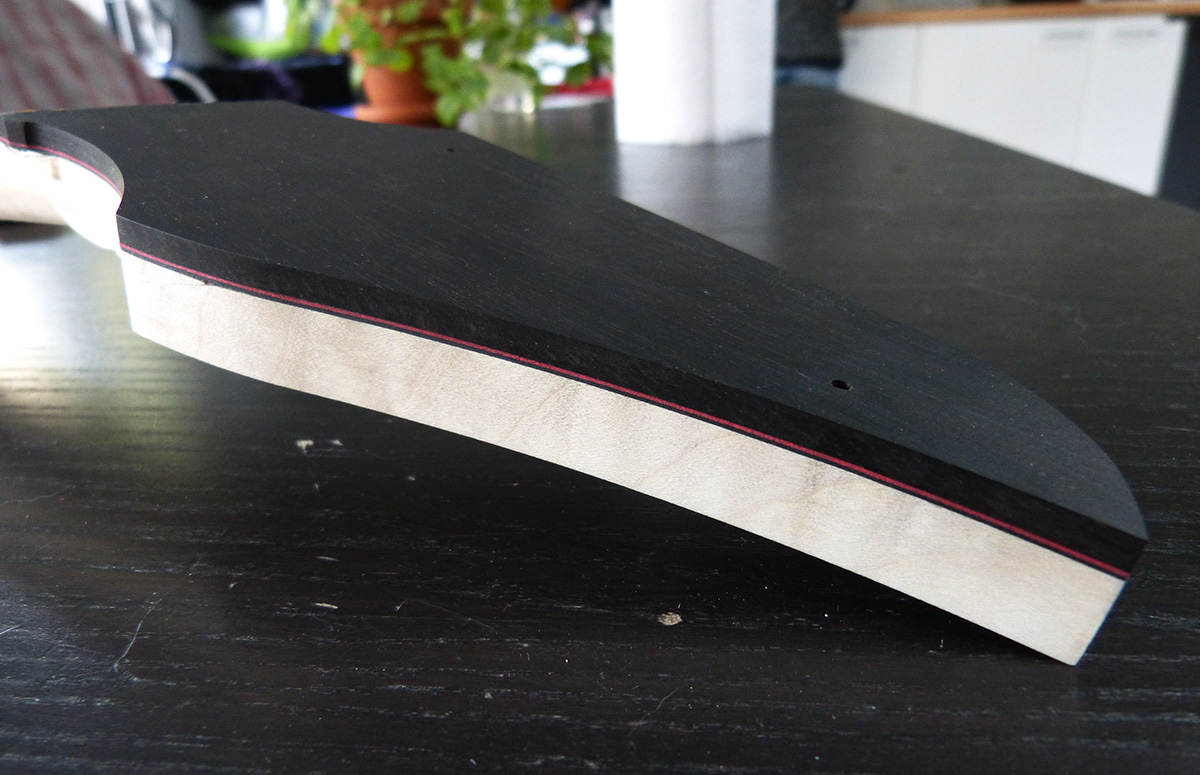
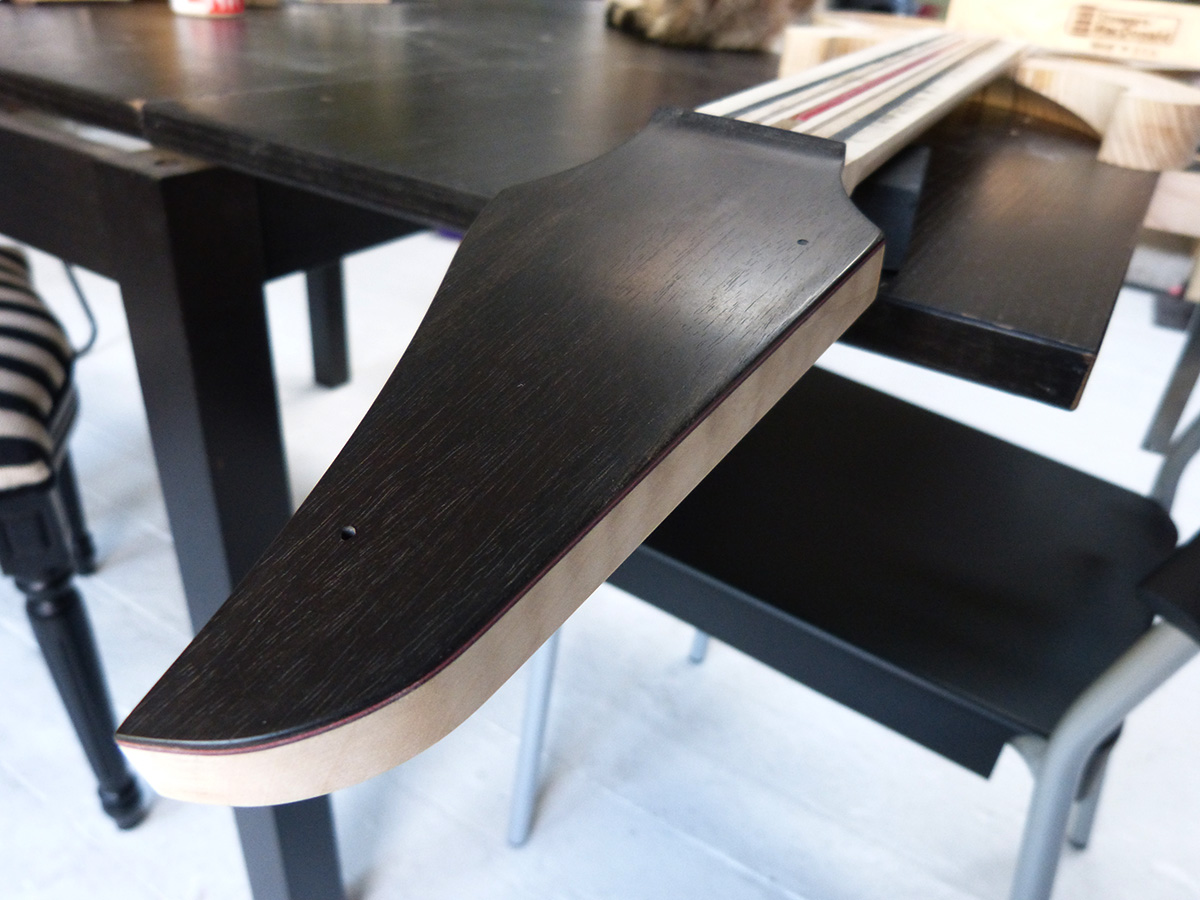
So, how do you like your black and red stripes boss? (If we skip the part about the over-exposed pictures...)
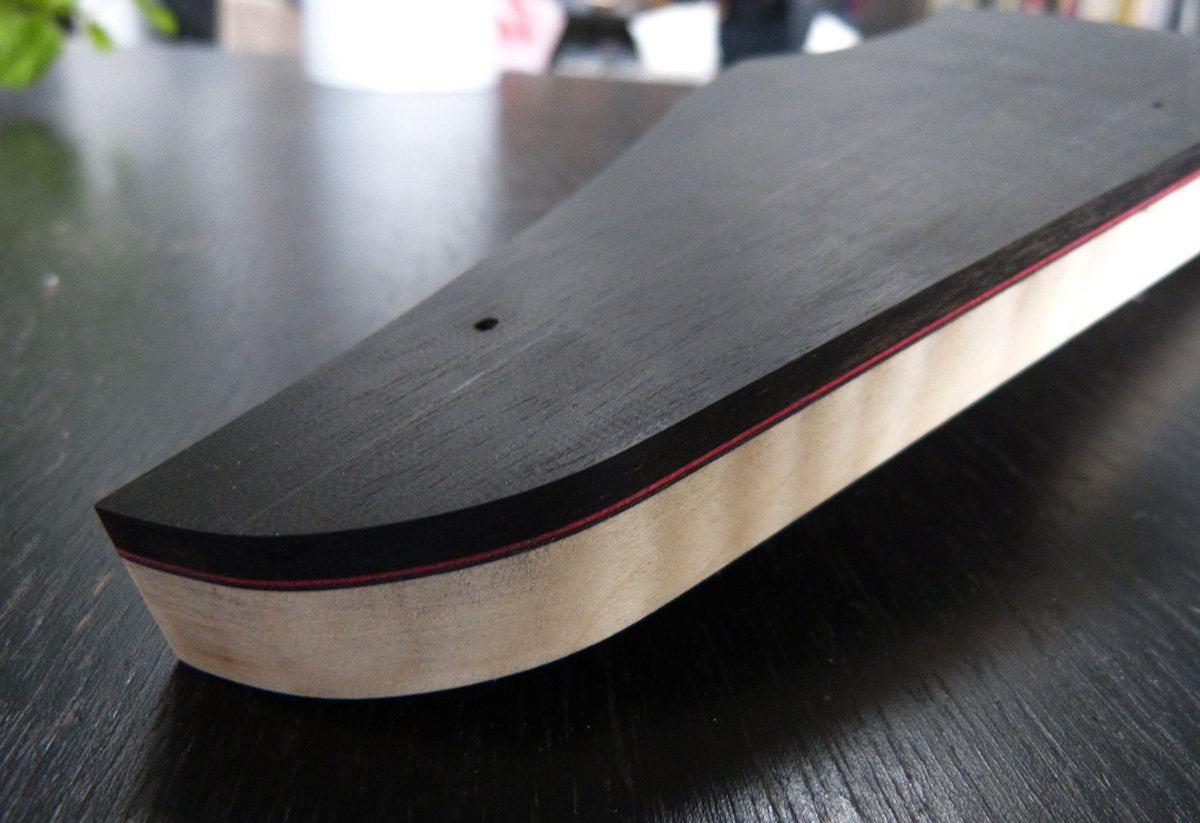
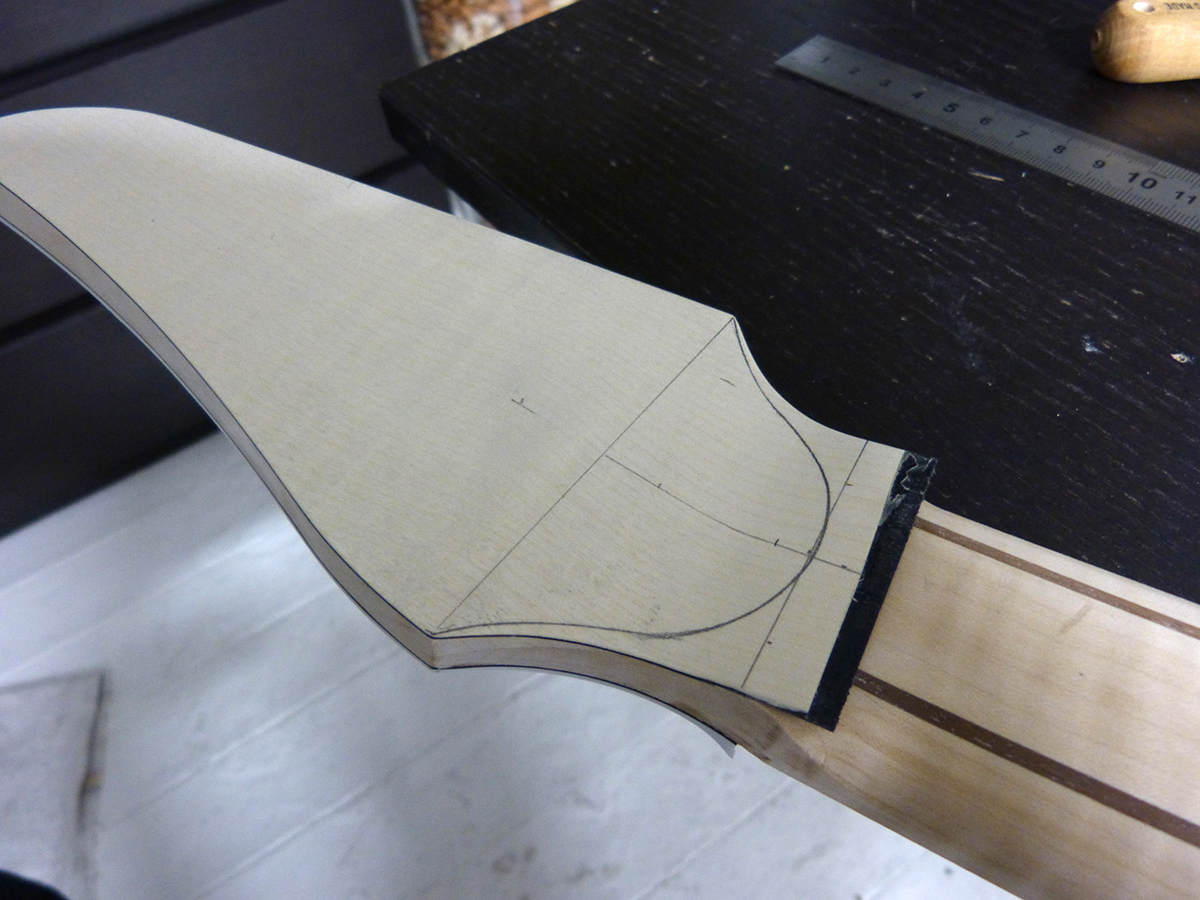
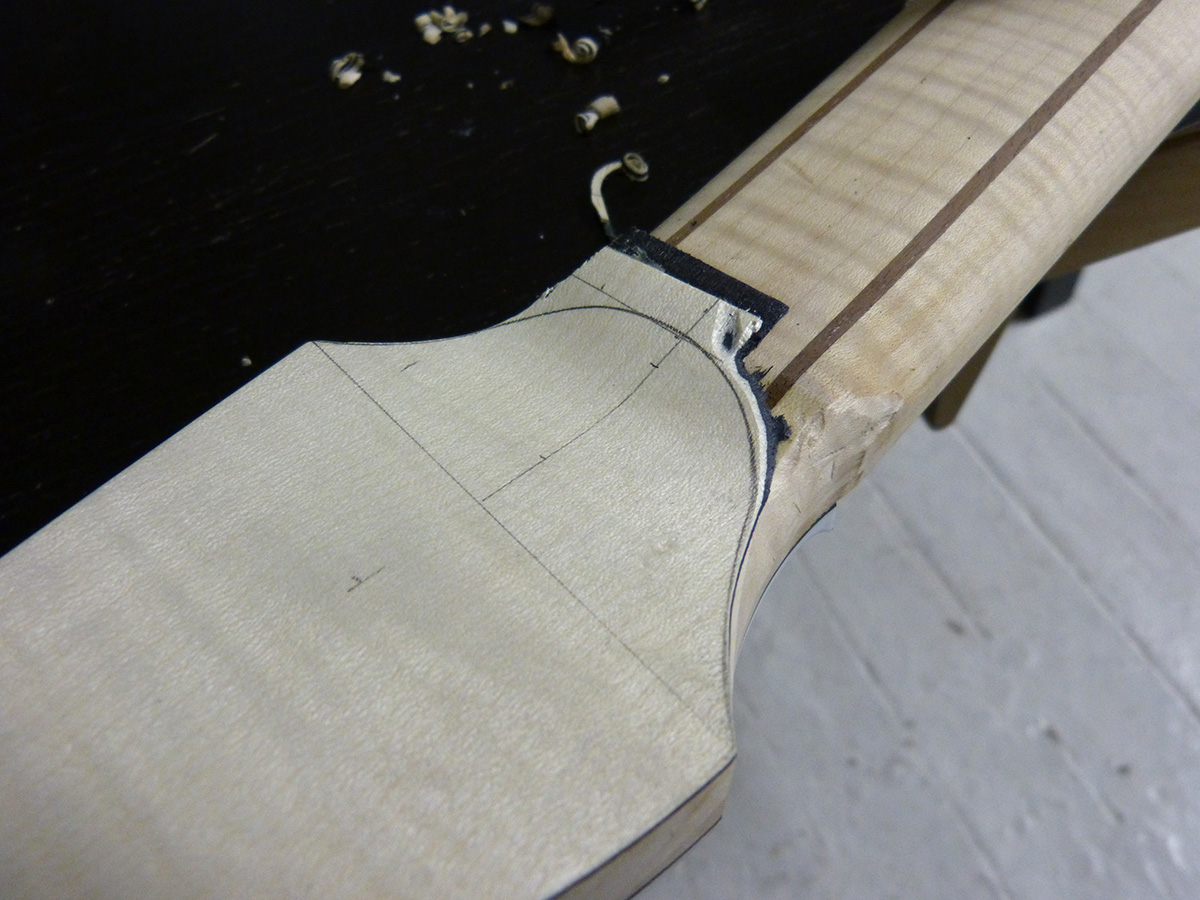
ah yeah, by the way, this is were this is not yet finished, the overlay is going to be a lot thinner in the end and making a curve at the junction with the nut. And this is not yet final sanded.
Update of the 16/06/2015
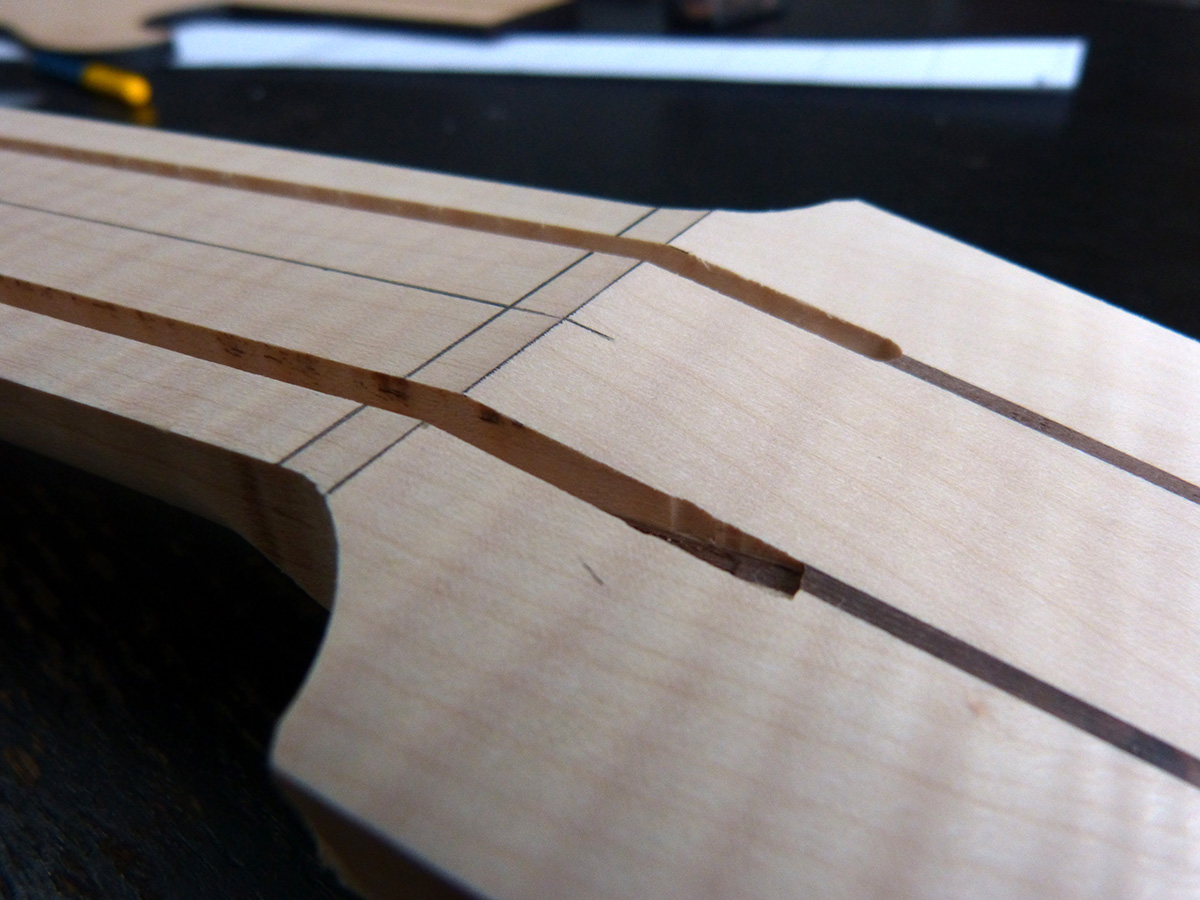
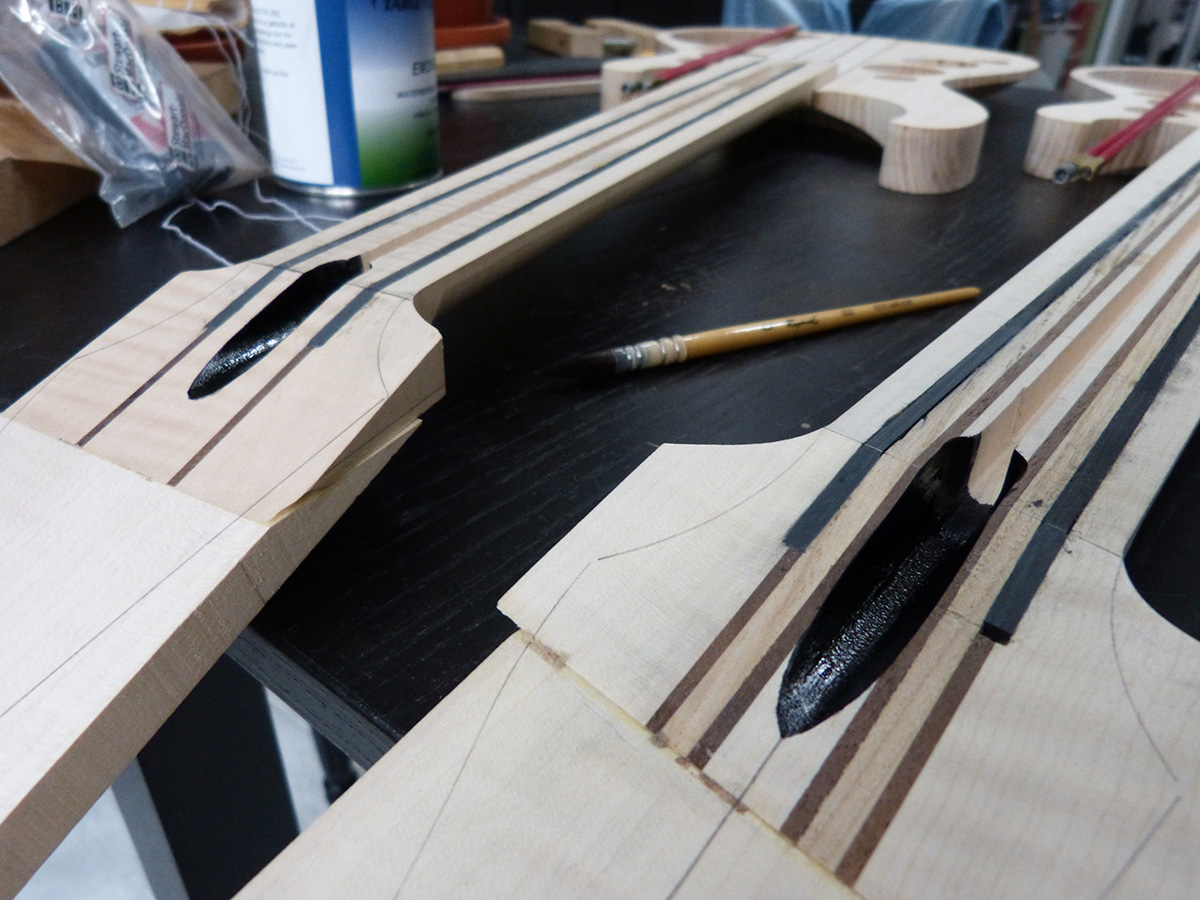
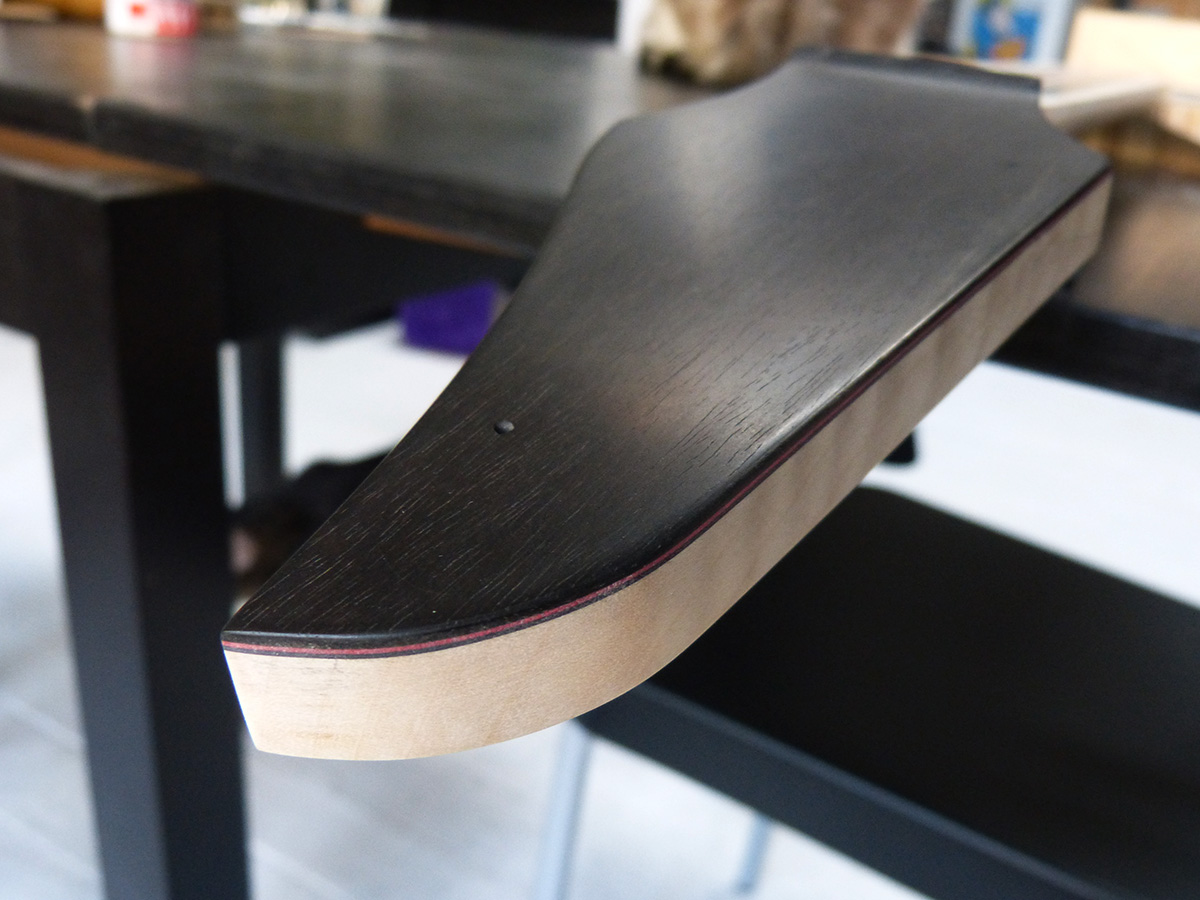
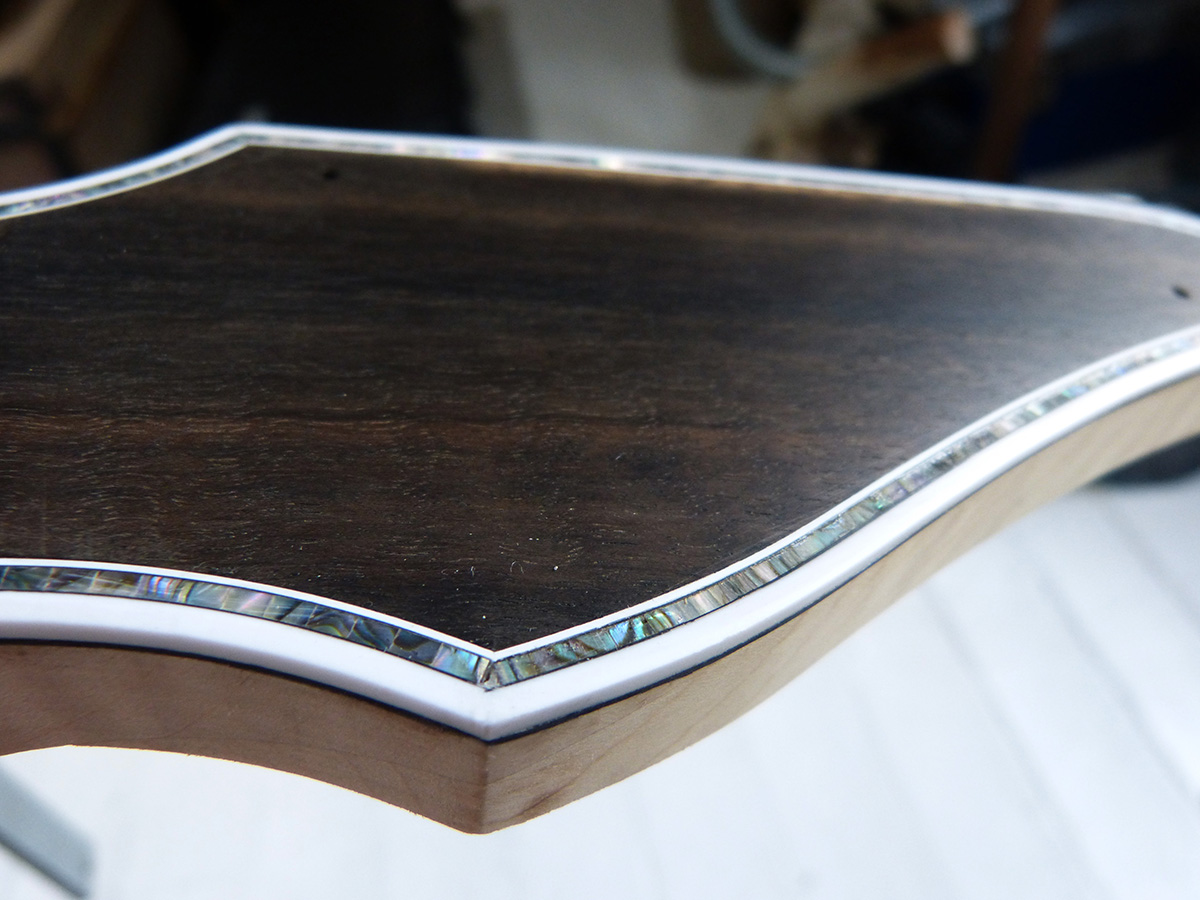
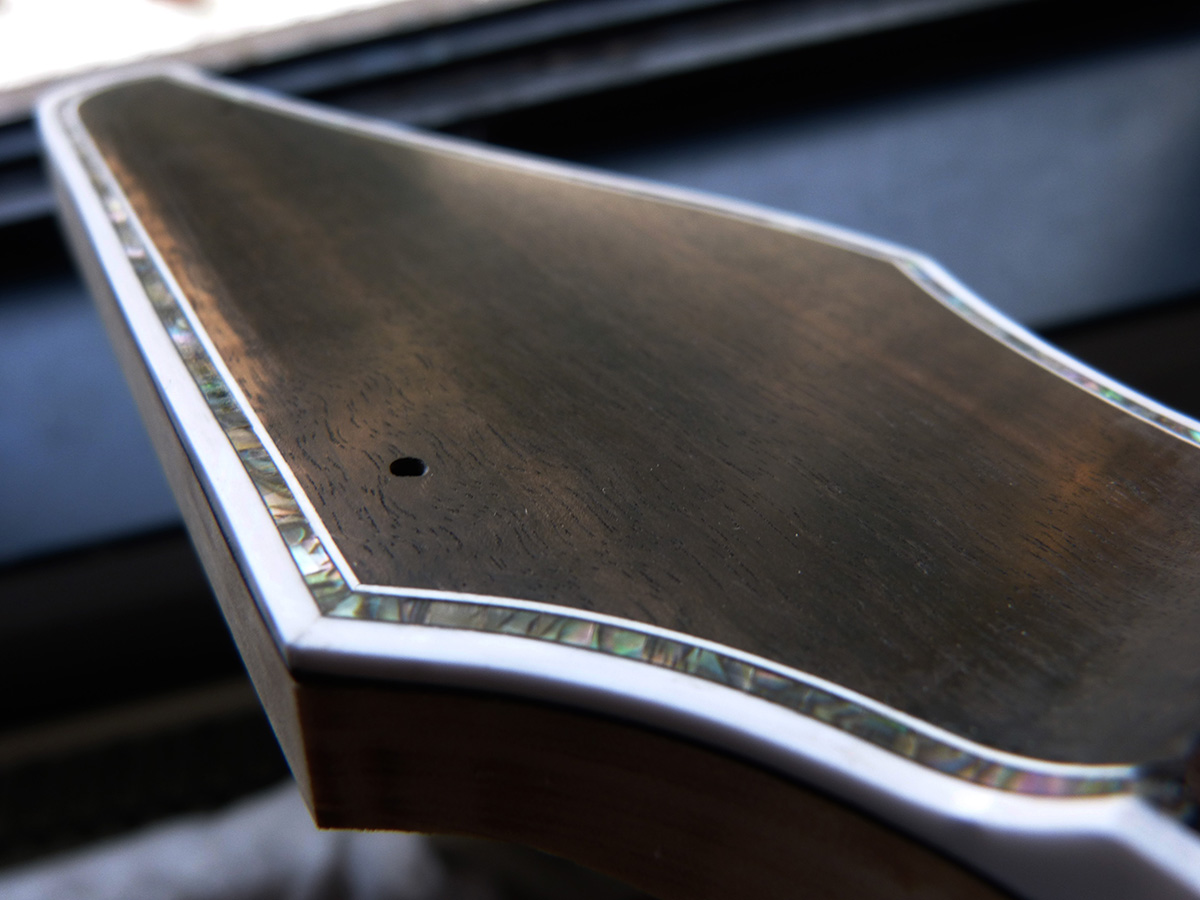
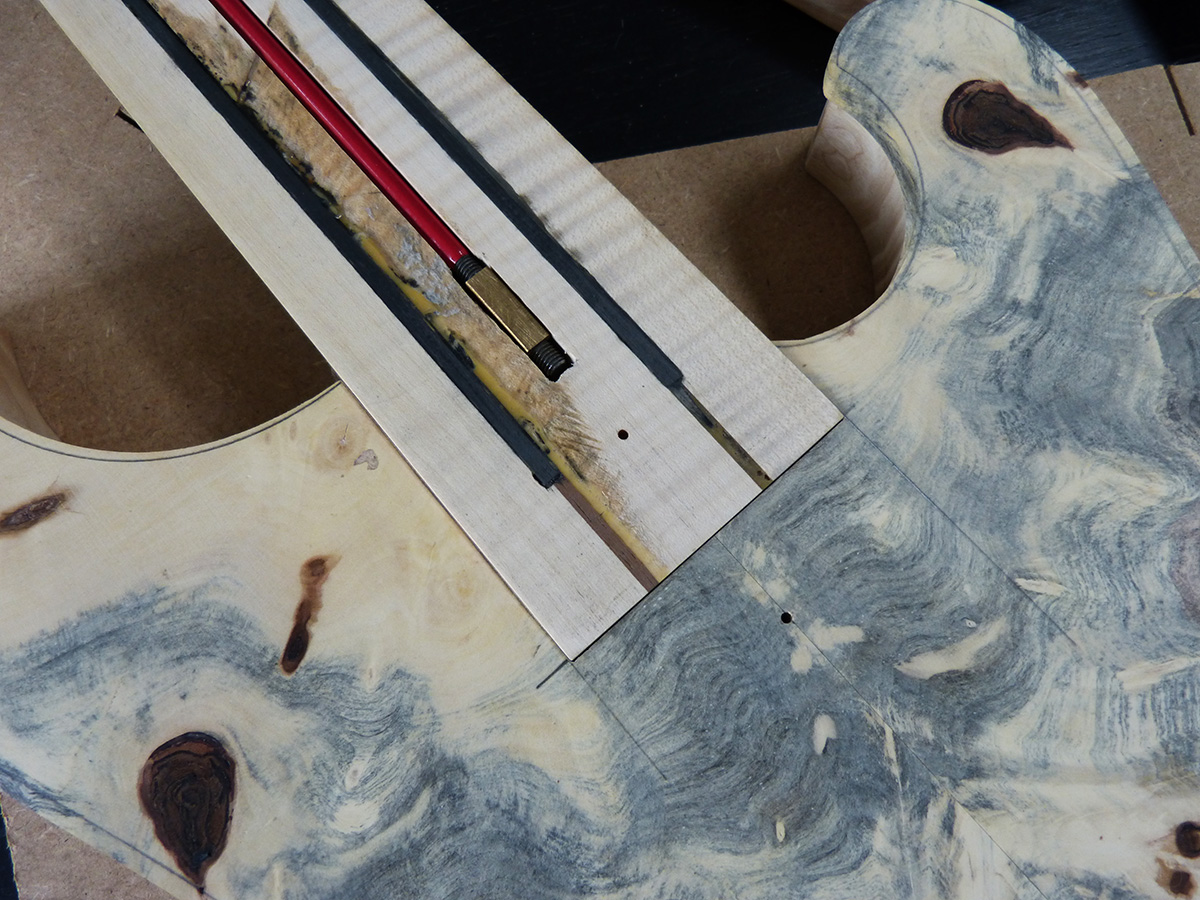
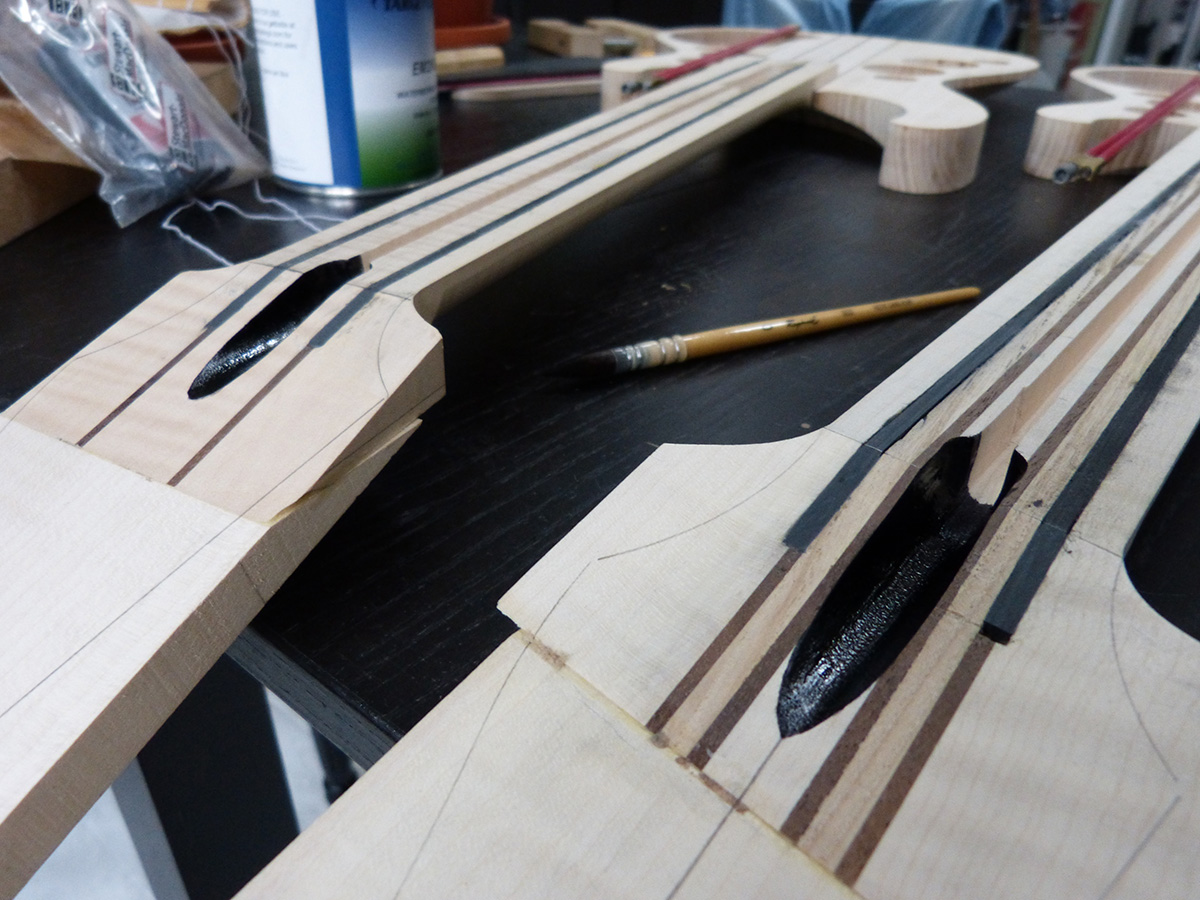
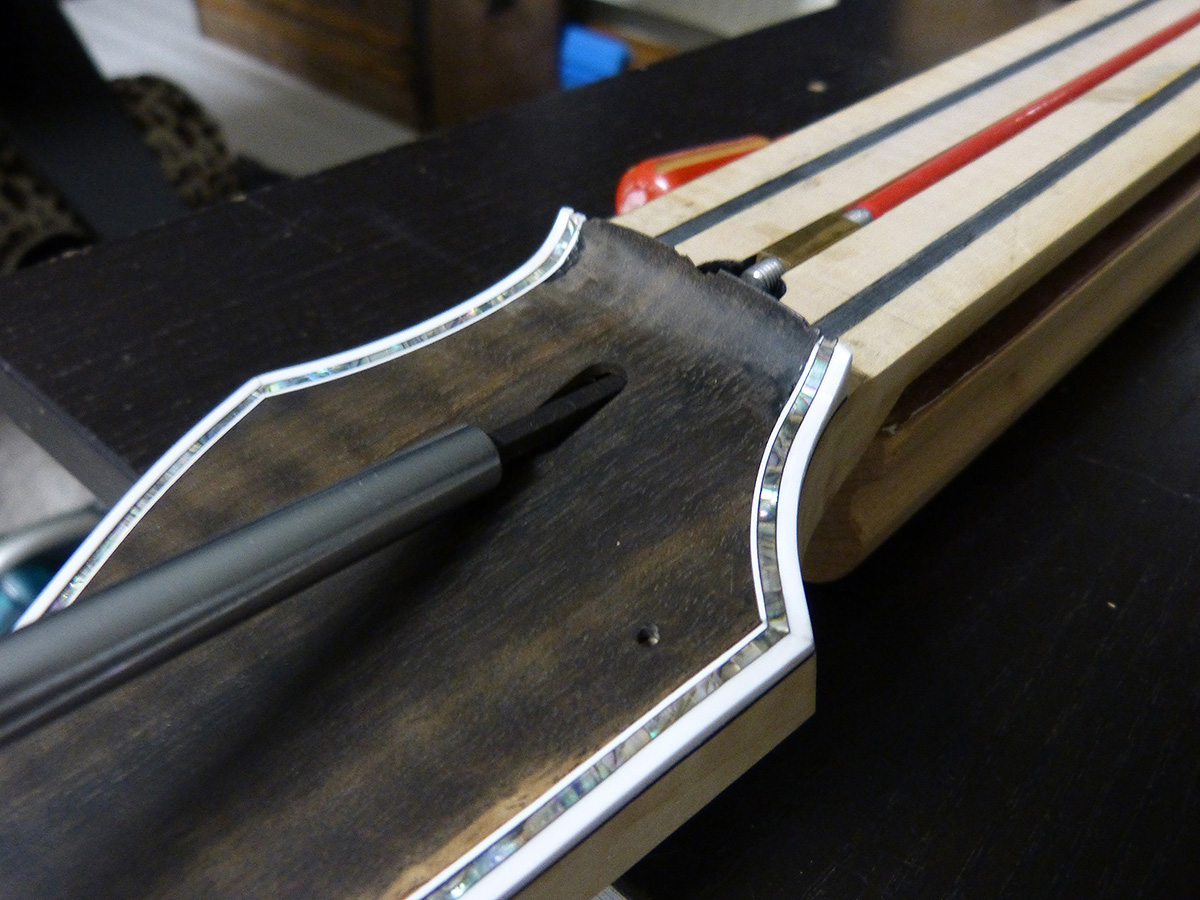
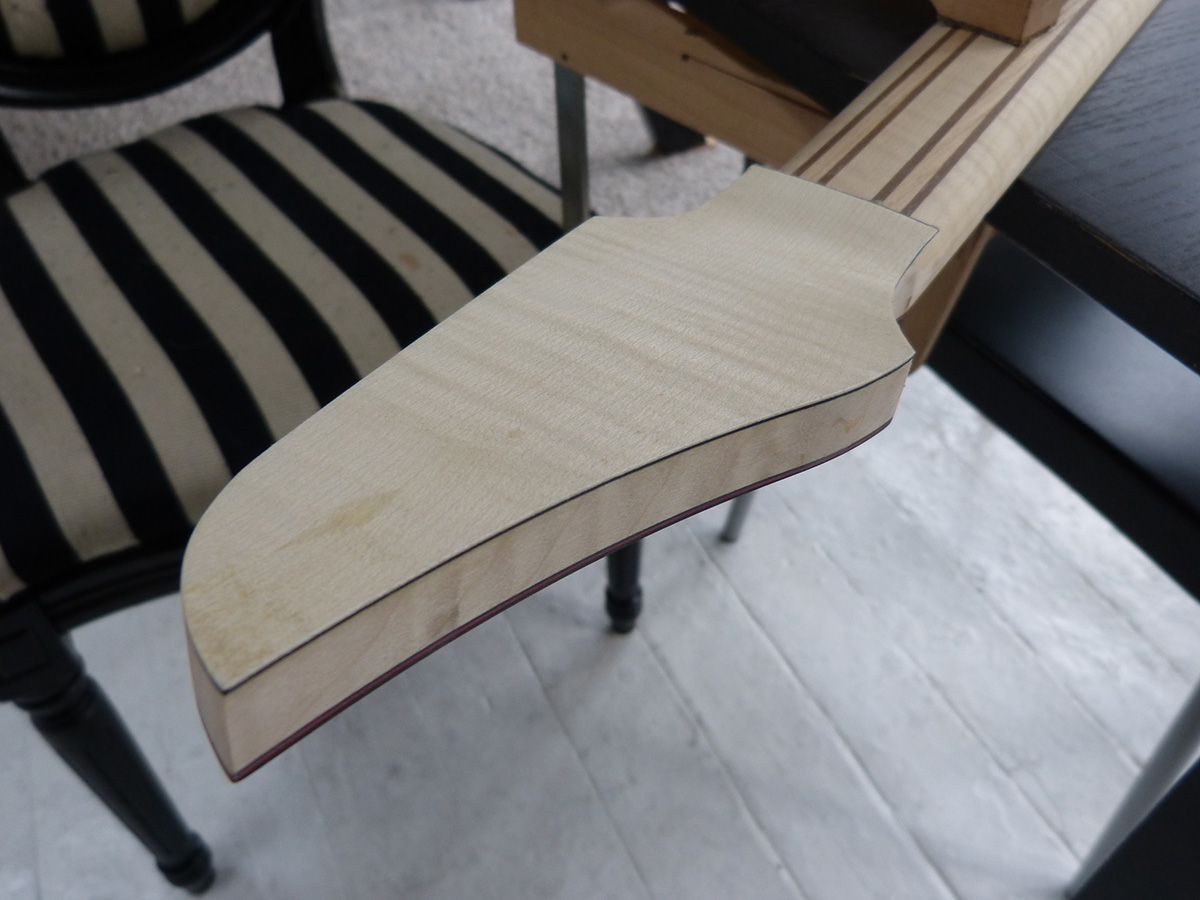
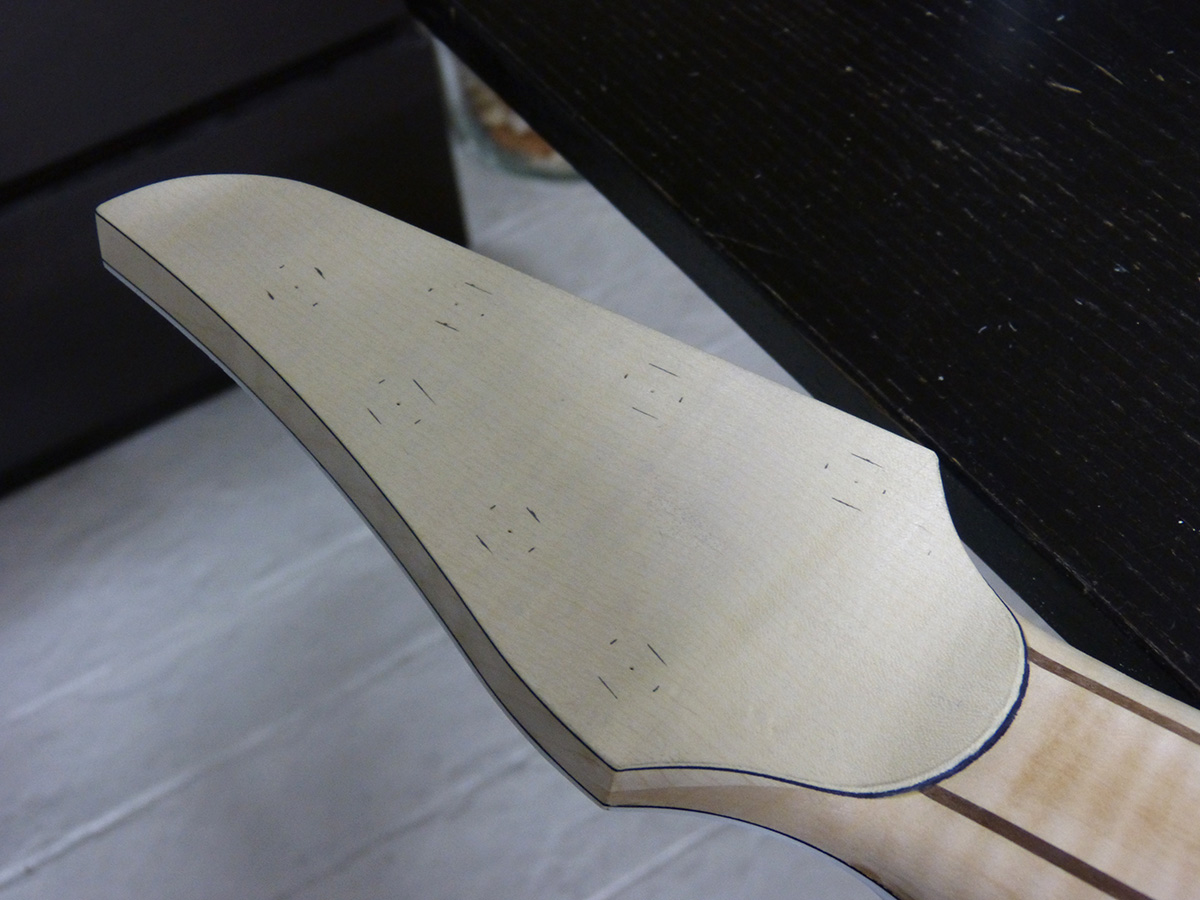
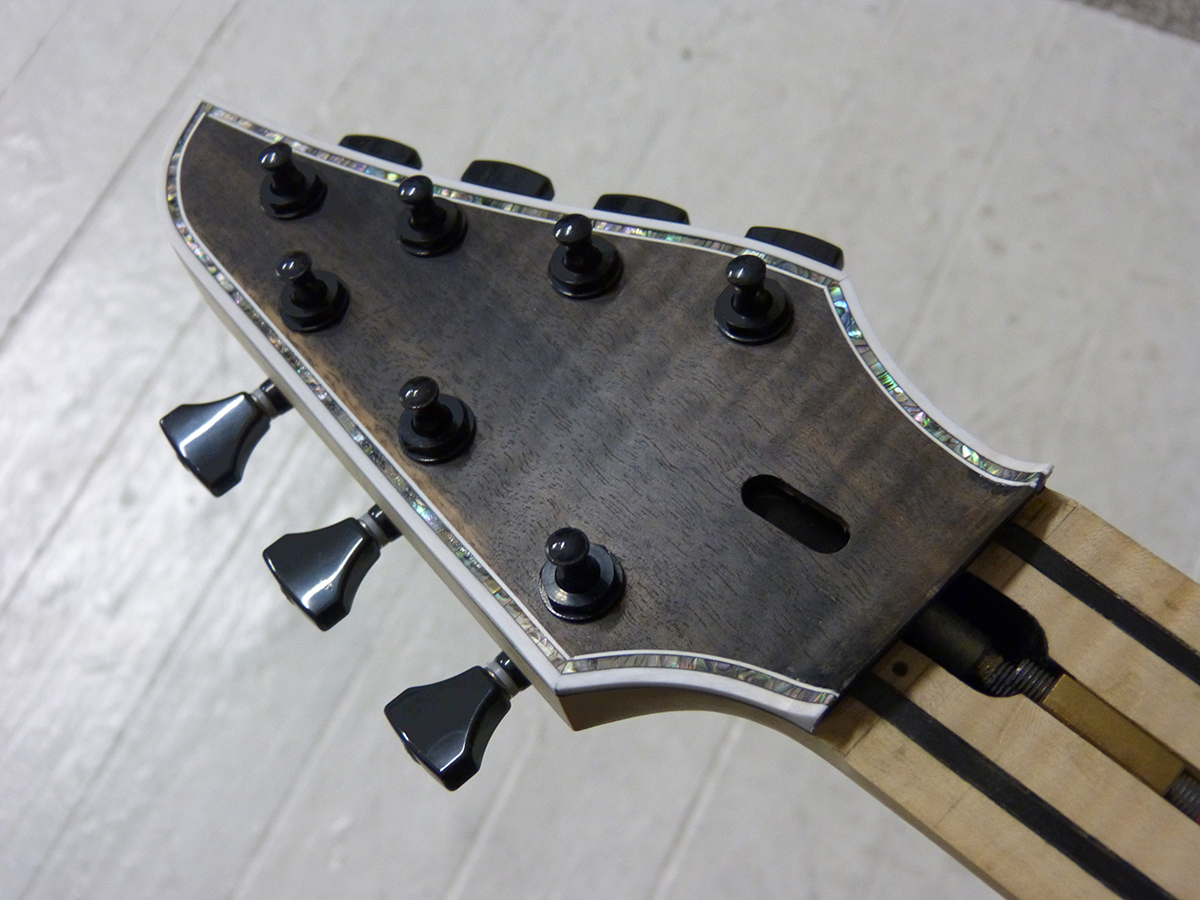
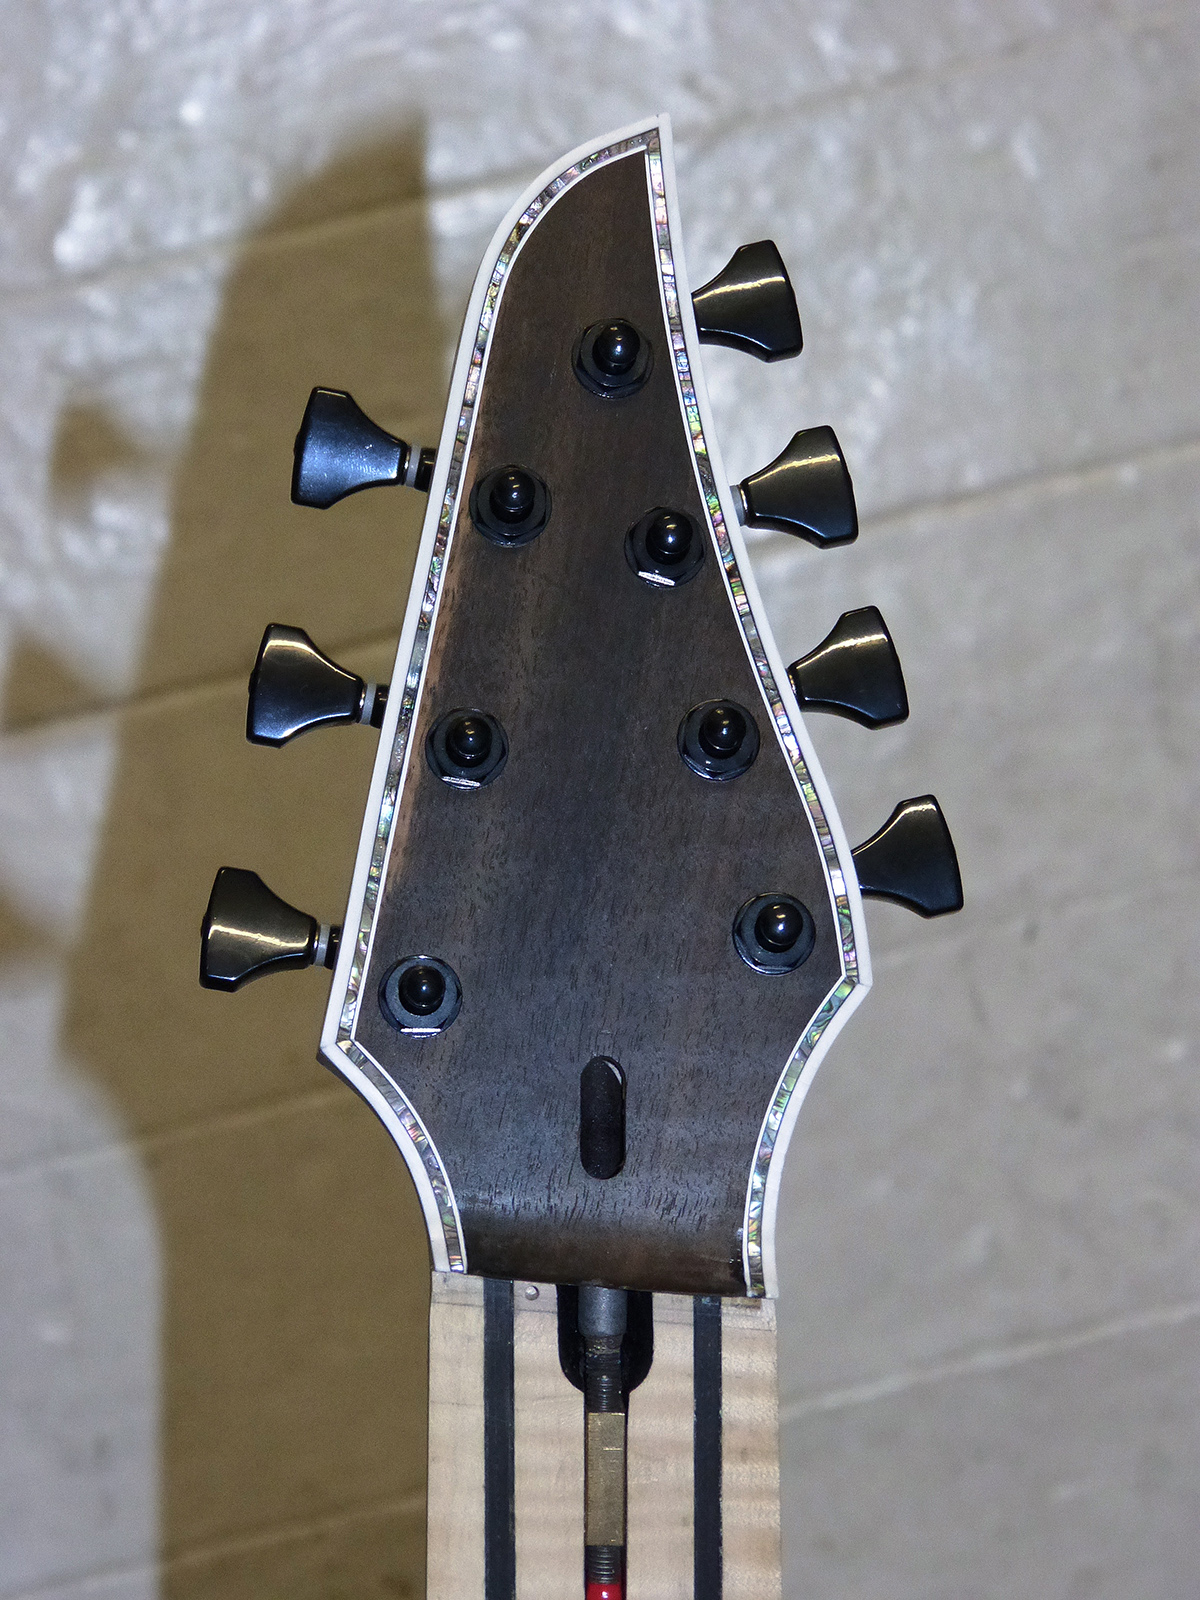
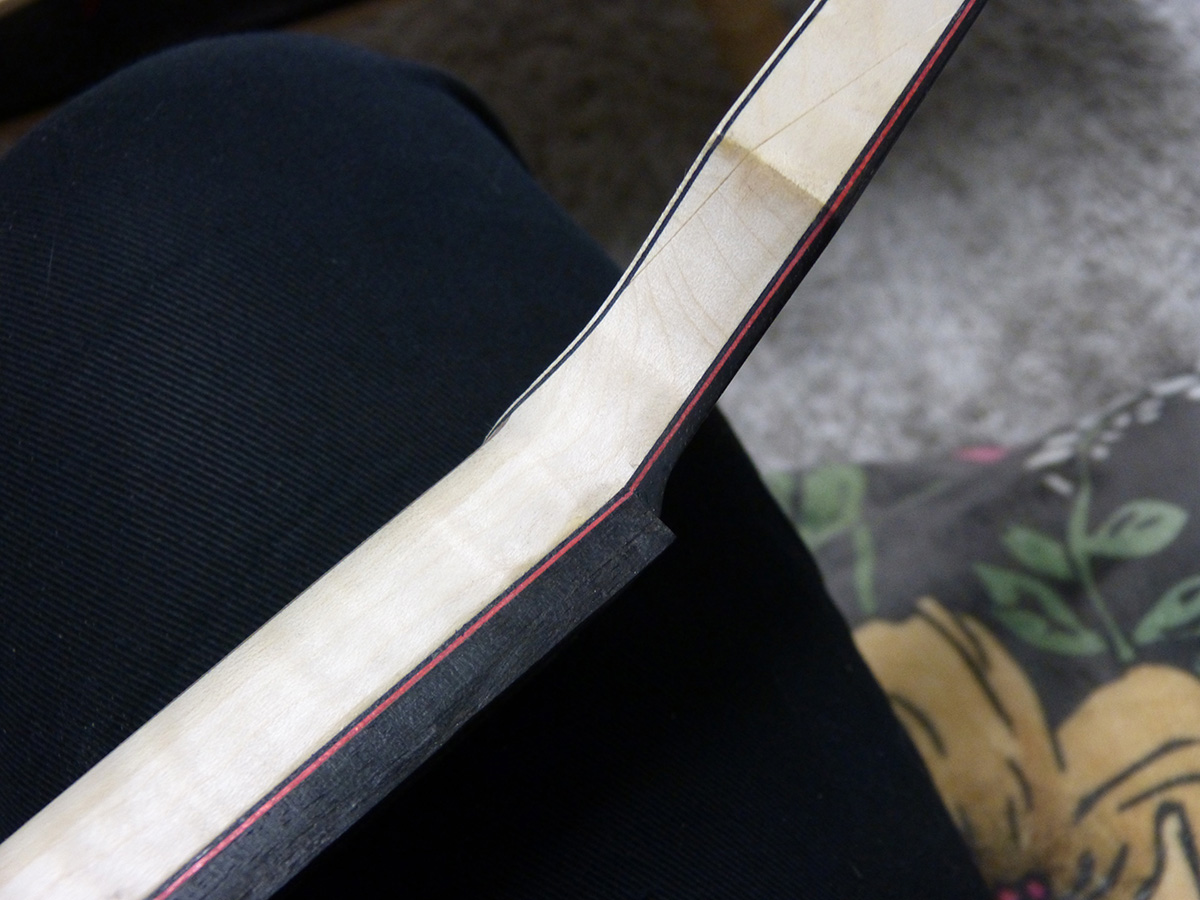
here is the head veneer thickness and nut joining curve for the first guitar:
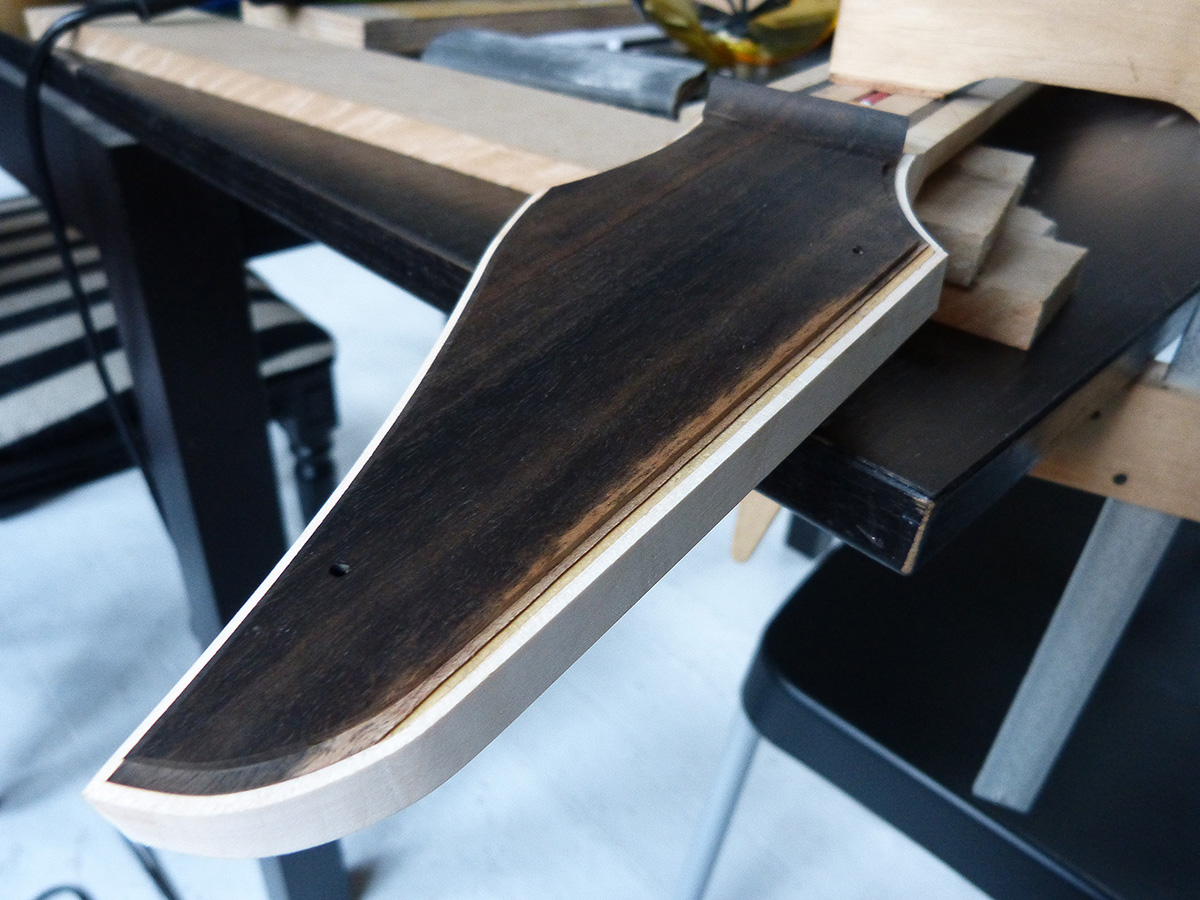
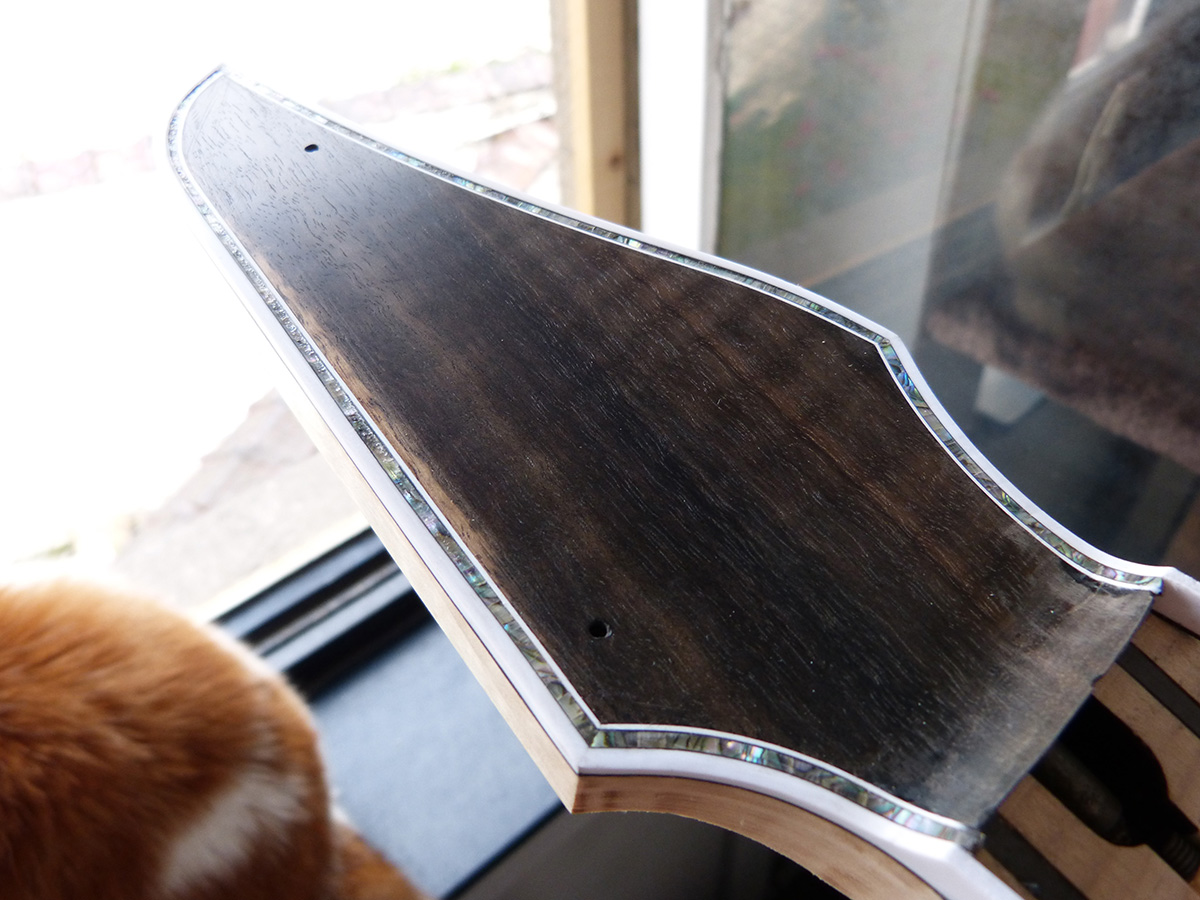
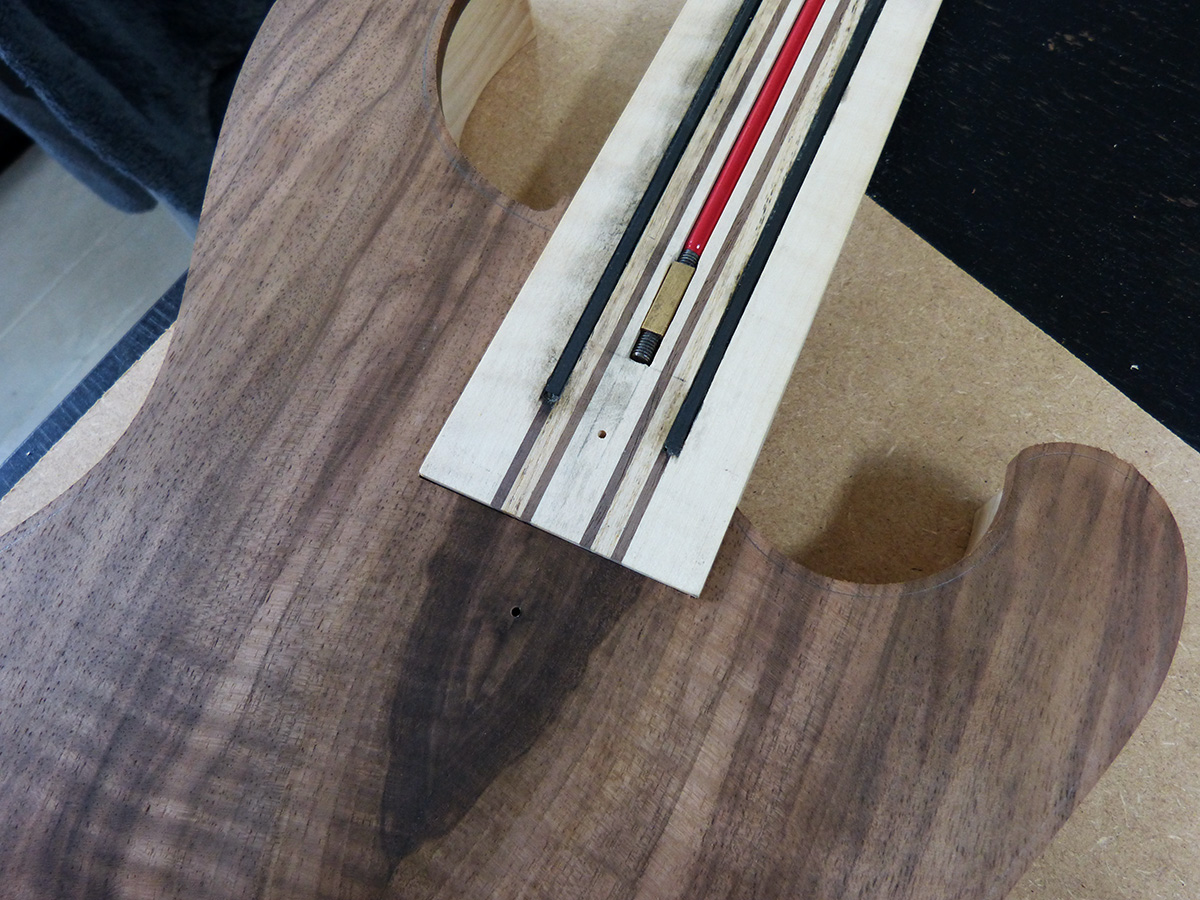
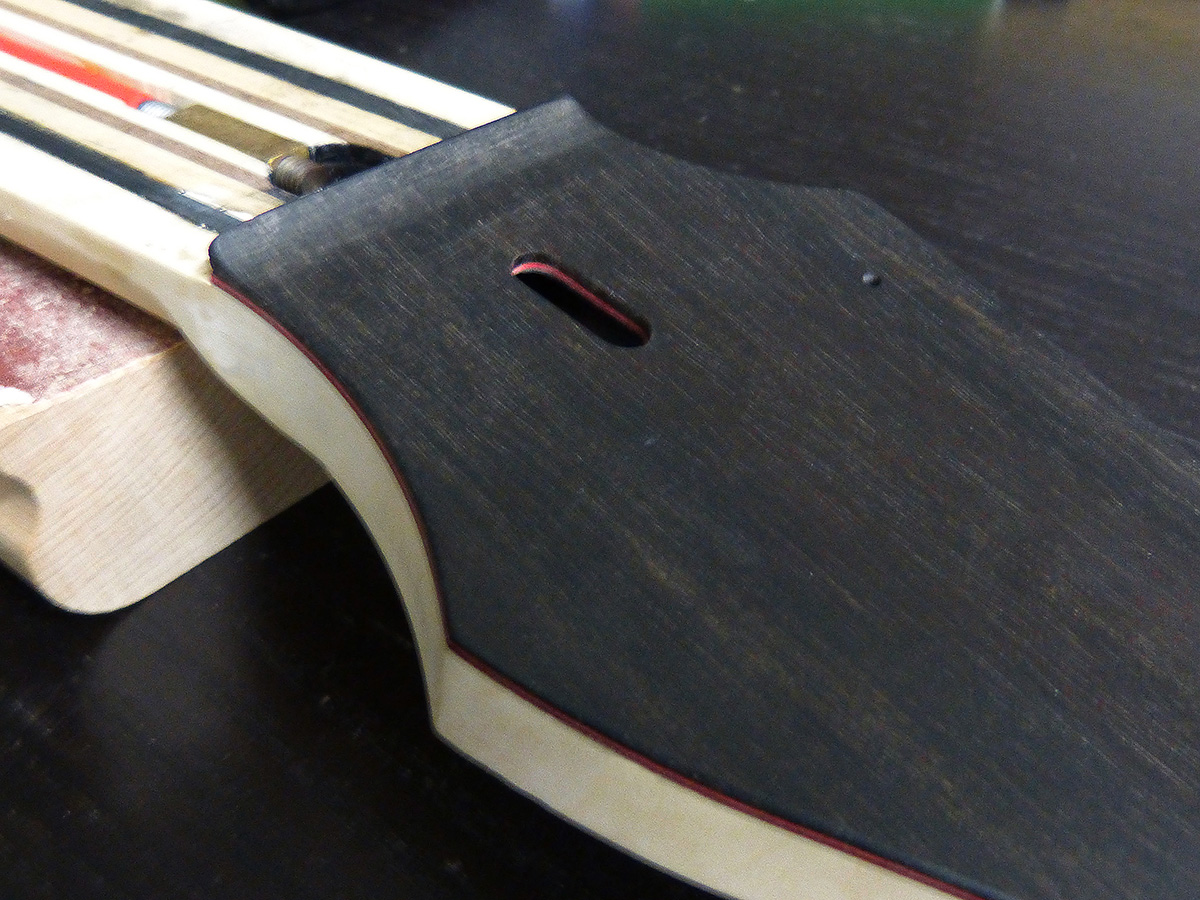
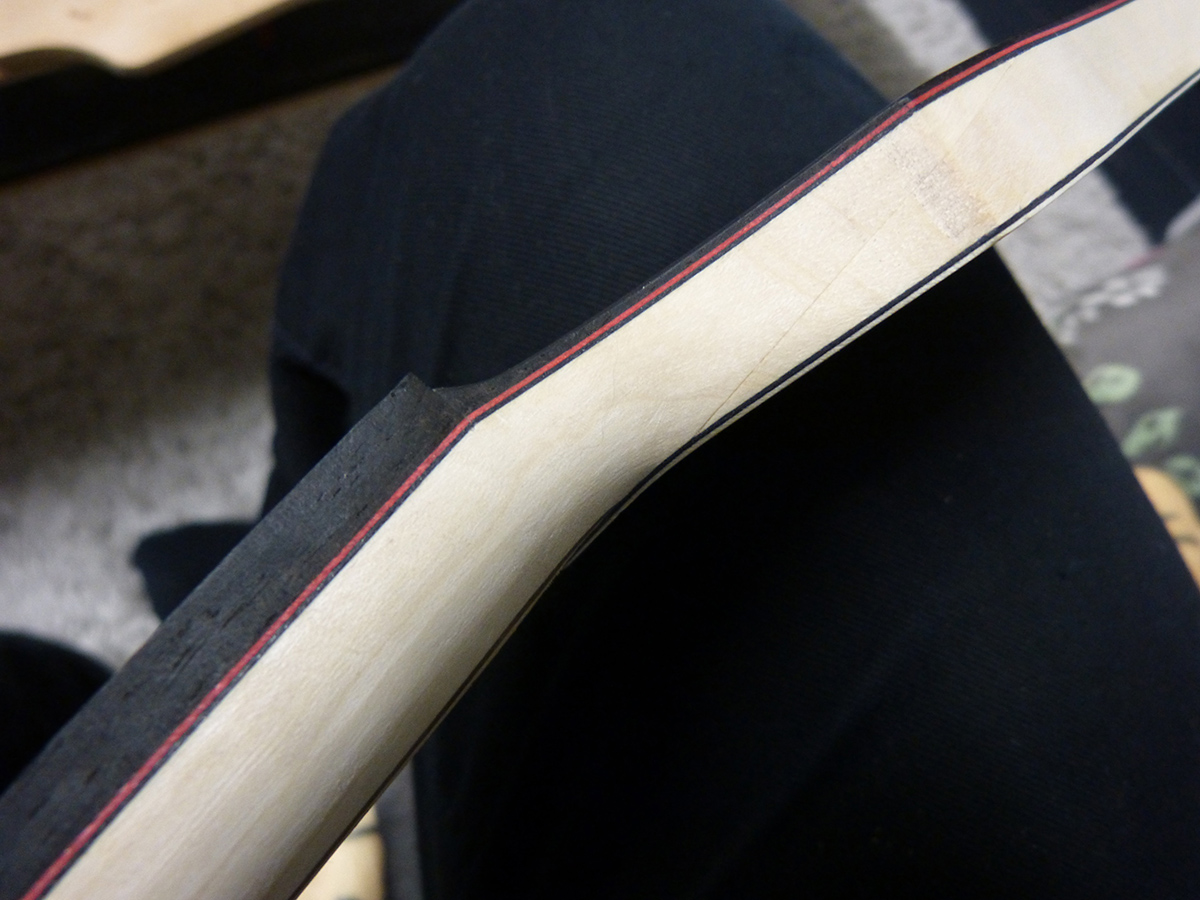
and the second guitar with the amazing flamed ebony

see you soon for a new *actual* update.
Hello there!
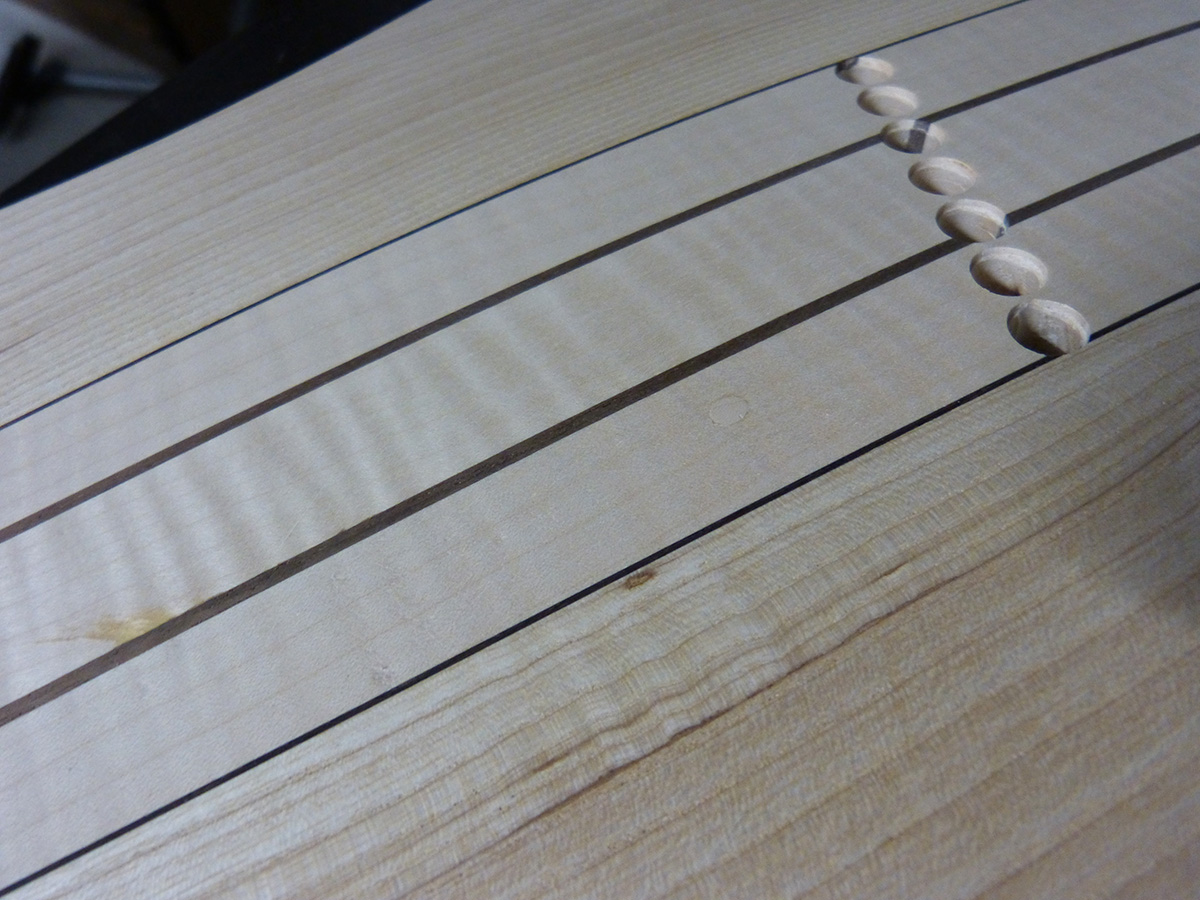
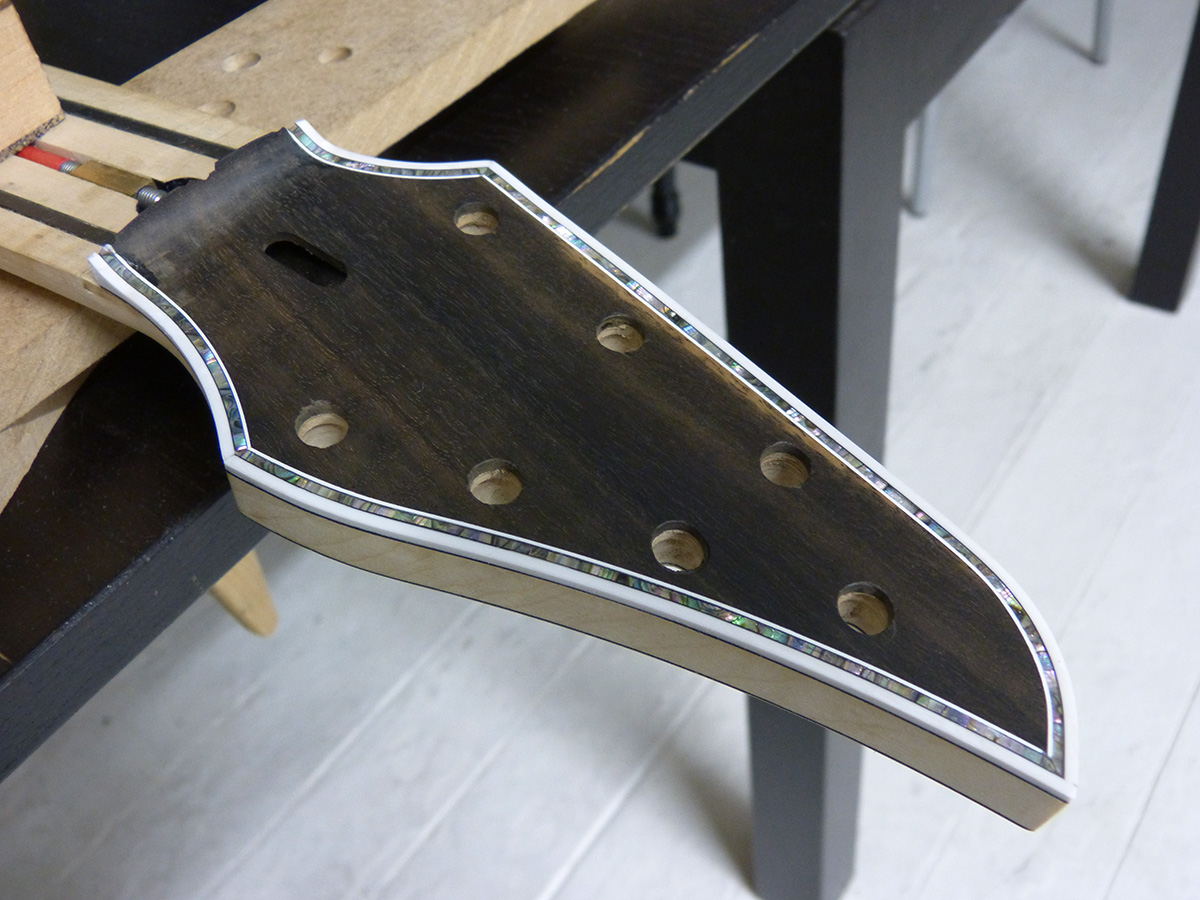
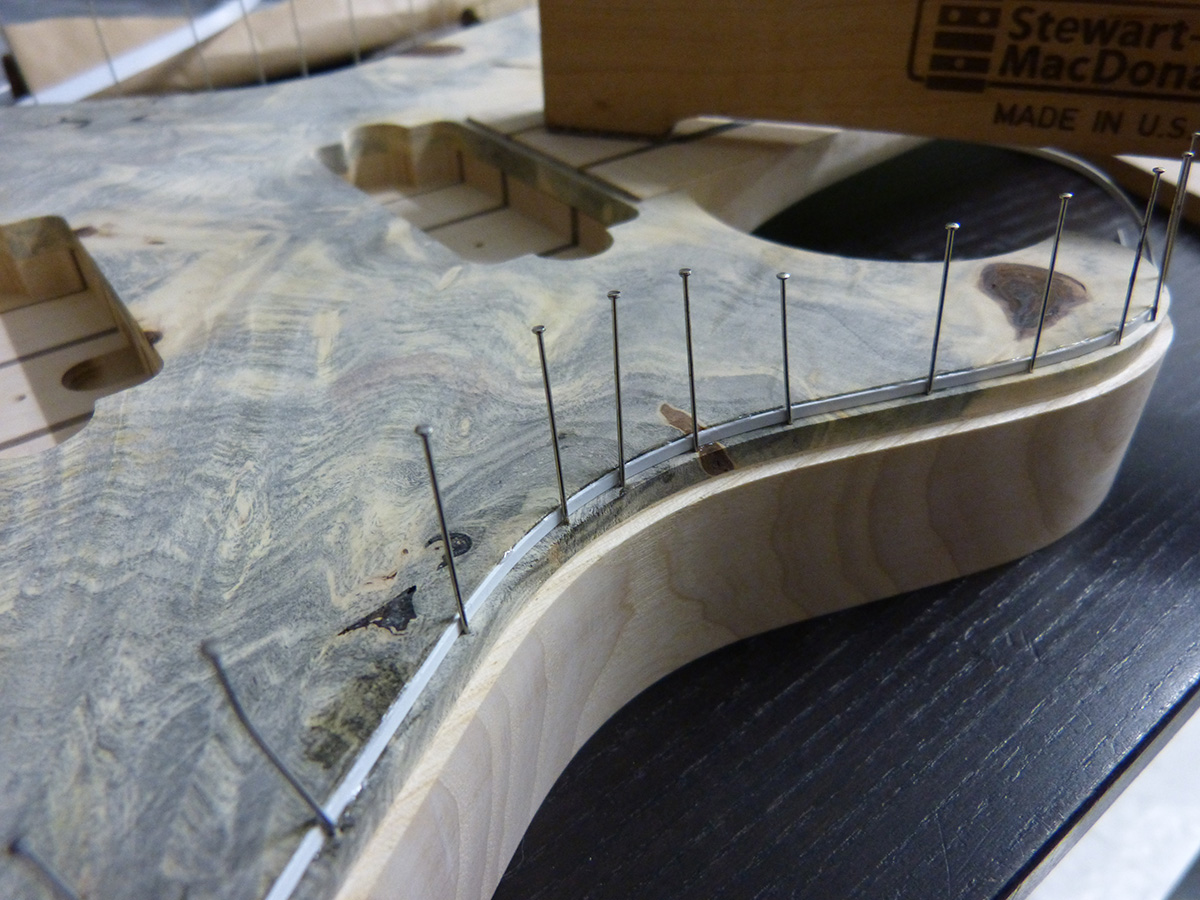
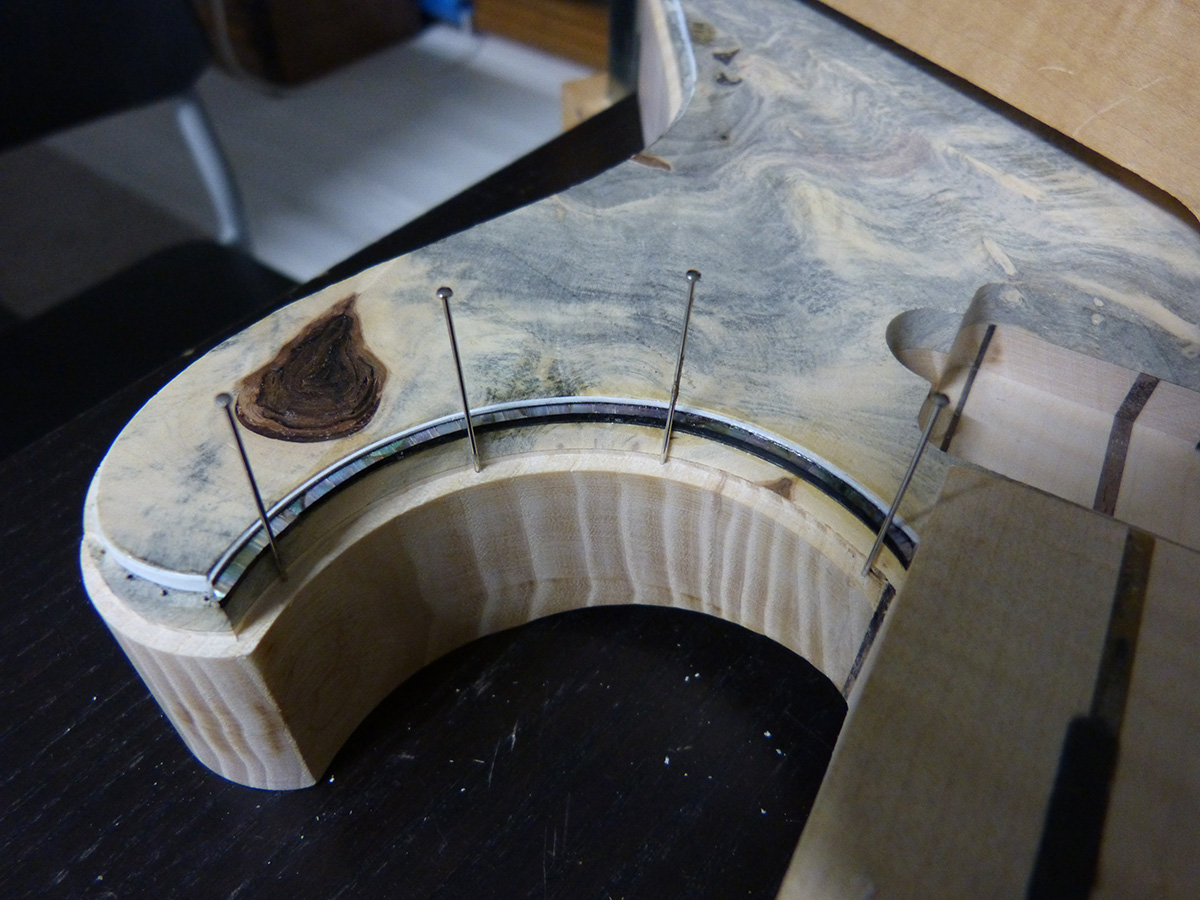
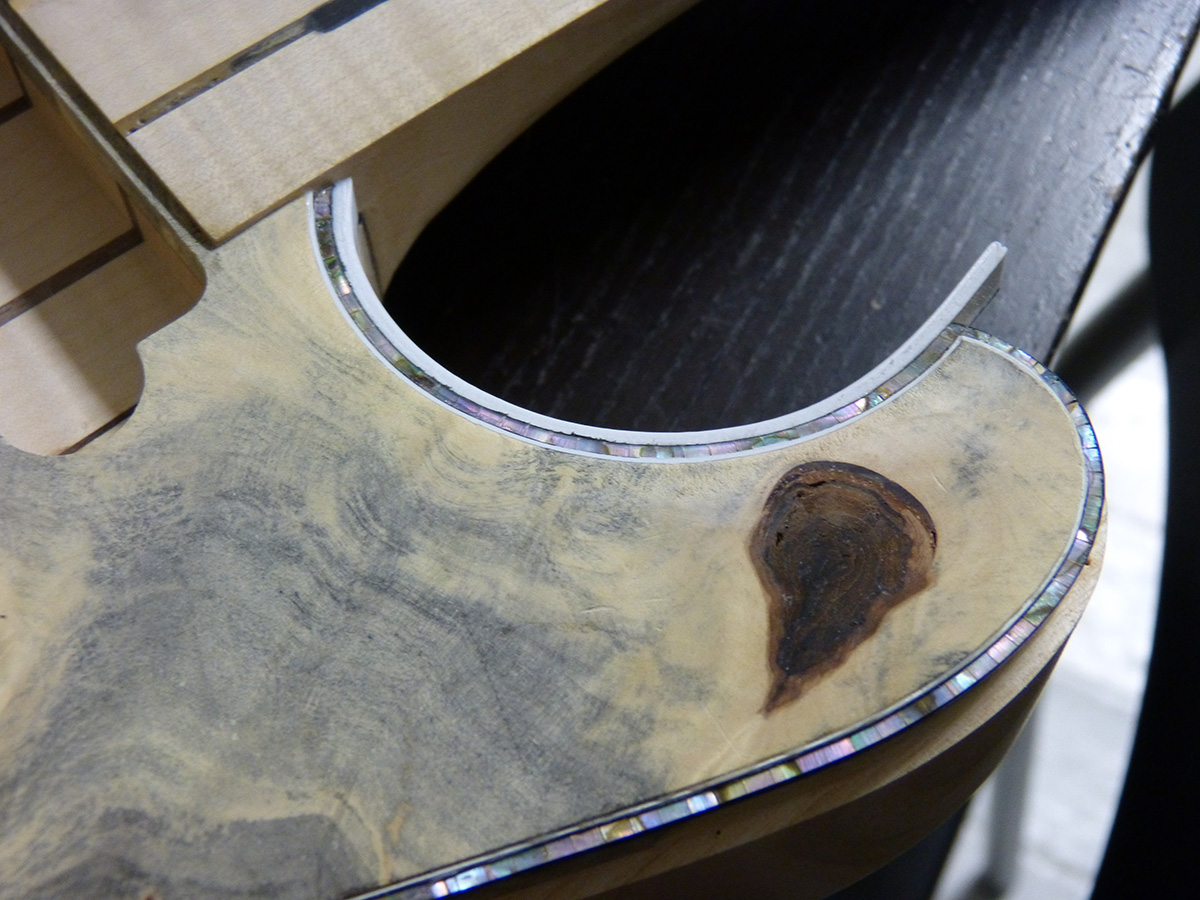
Routing the channels for plastic bindings and pearl
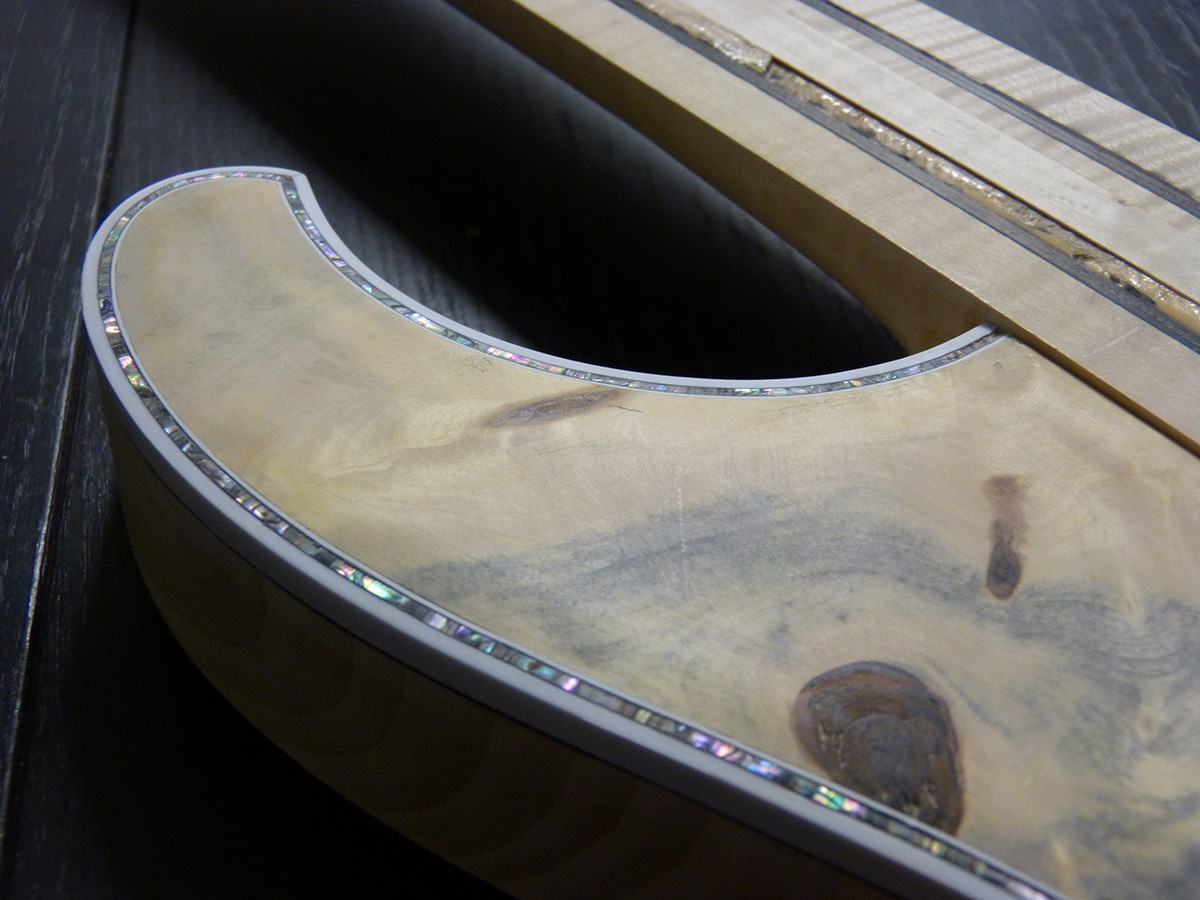
the strips of plastic and pearl. The pearl is zipflex, it's genuine abalone pearl lazer cut to small 3 mm lenght and taped on a rubber strip. That way it's really flexible but it's still pearl and the paterns are matching all along the strip. It's great!
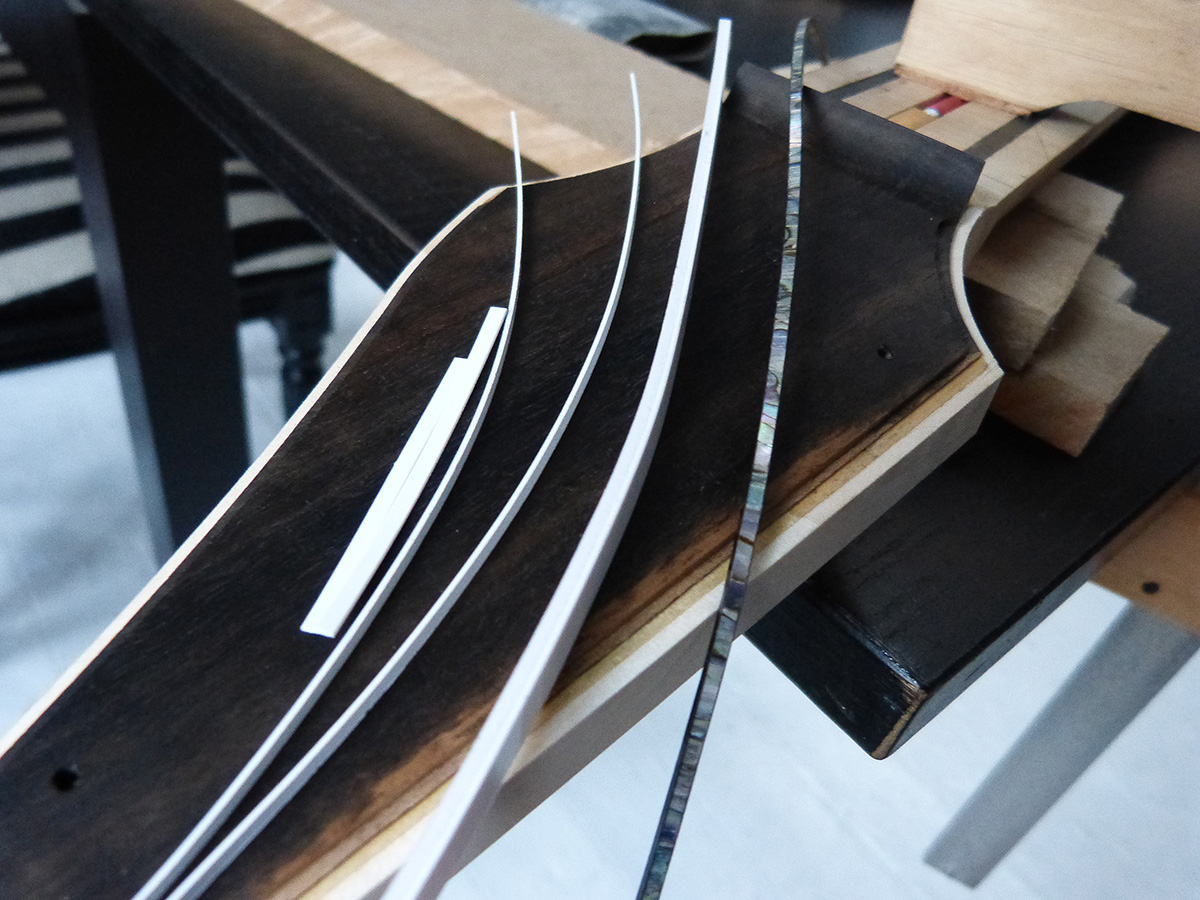
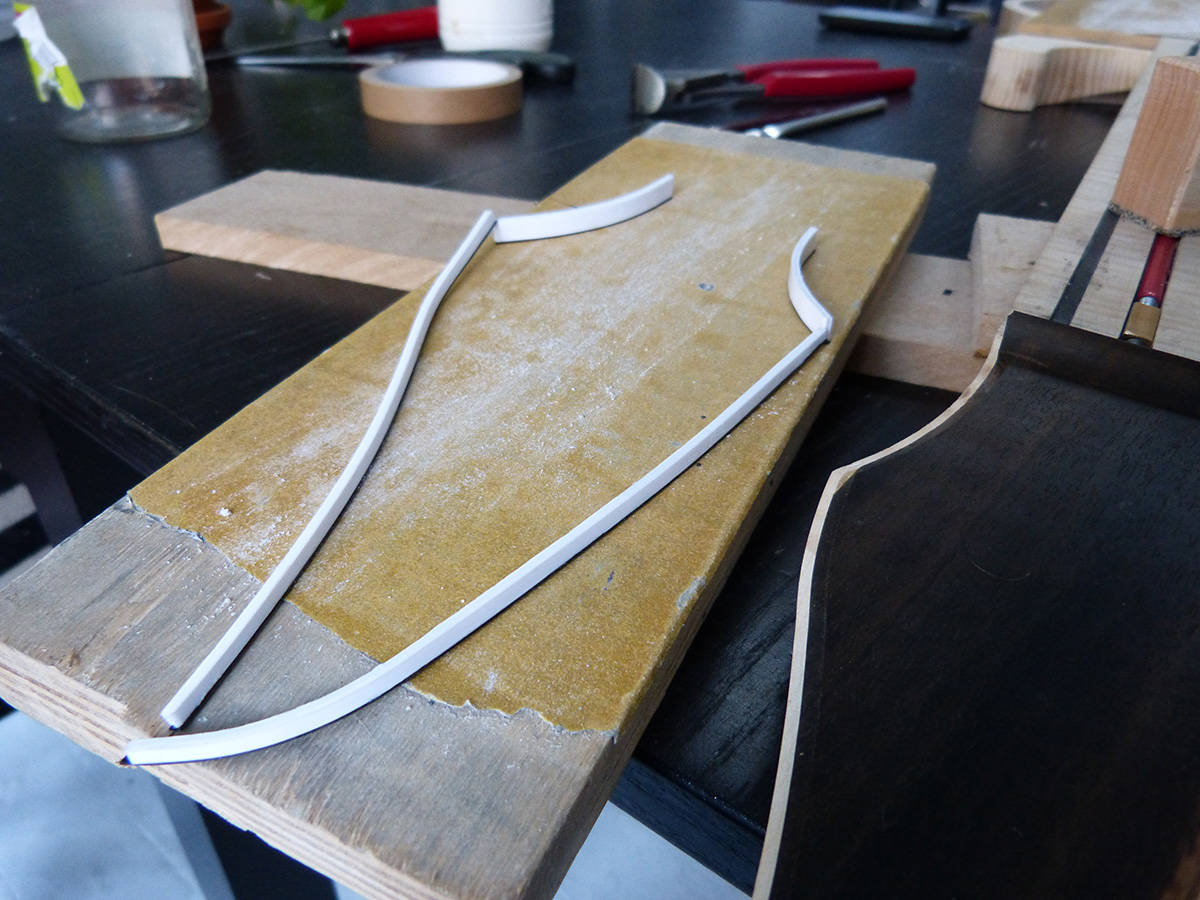
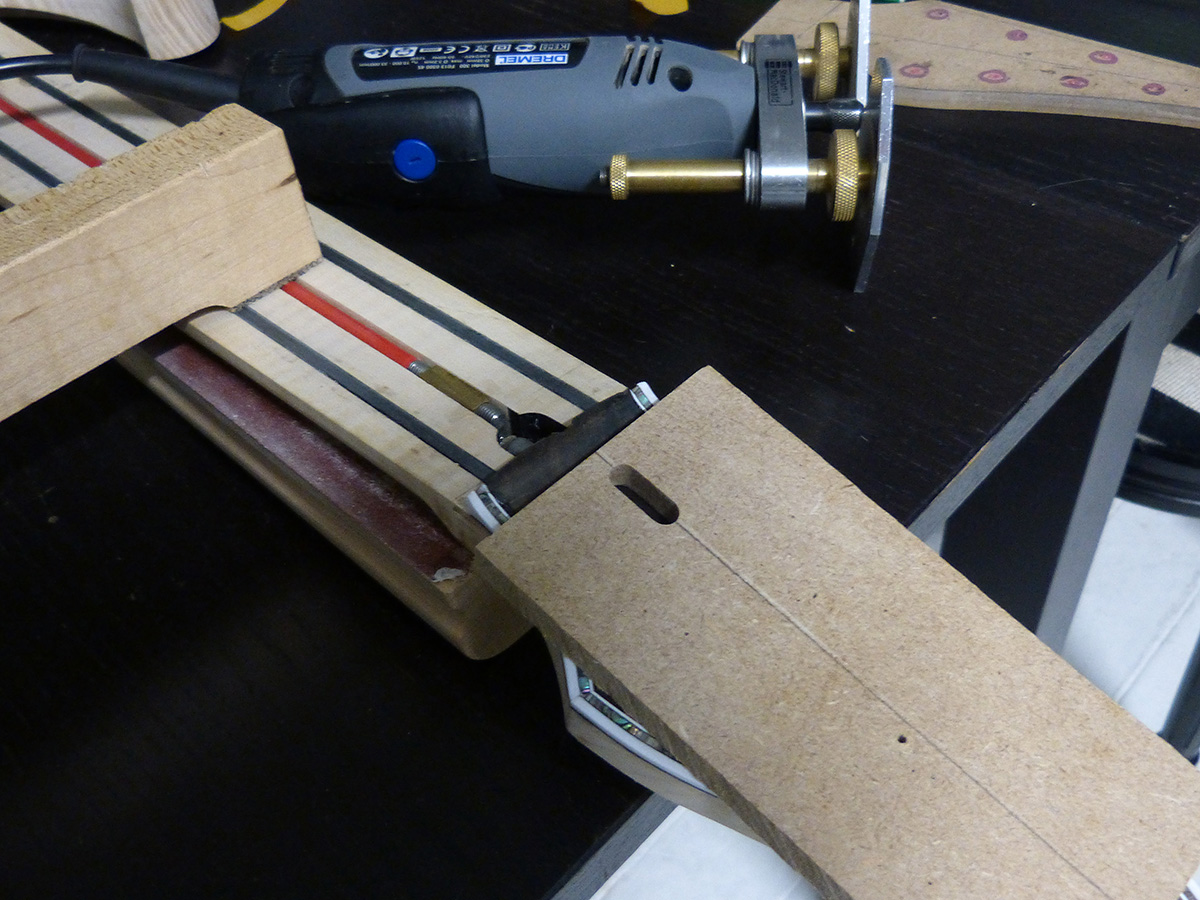
pre-curved plastic strips for ease of instalation
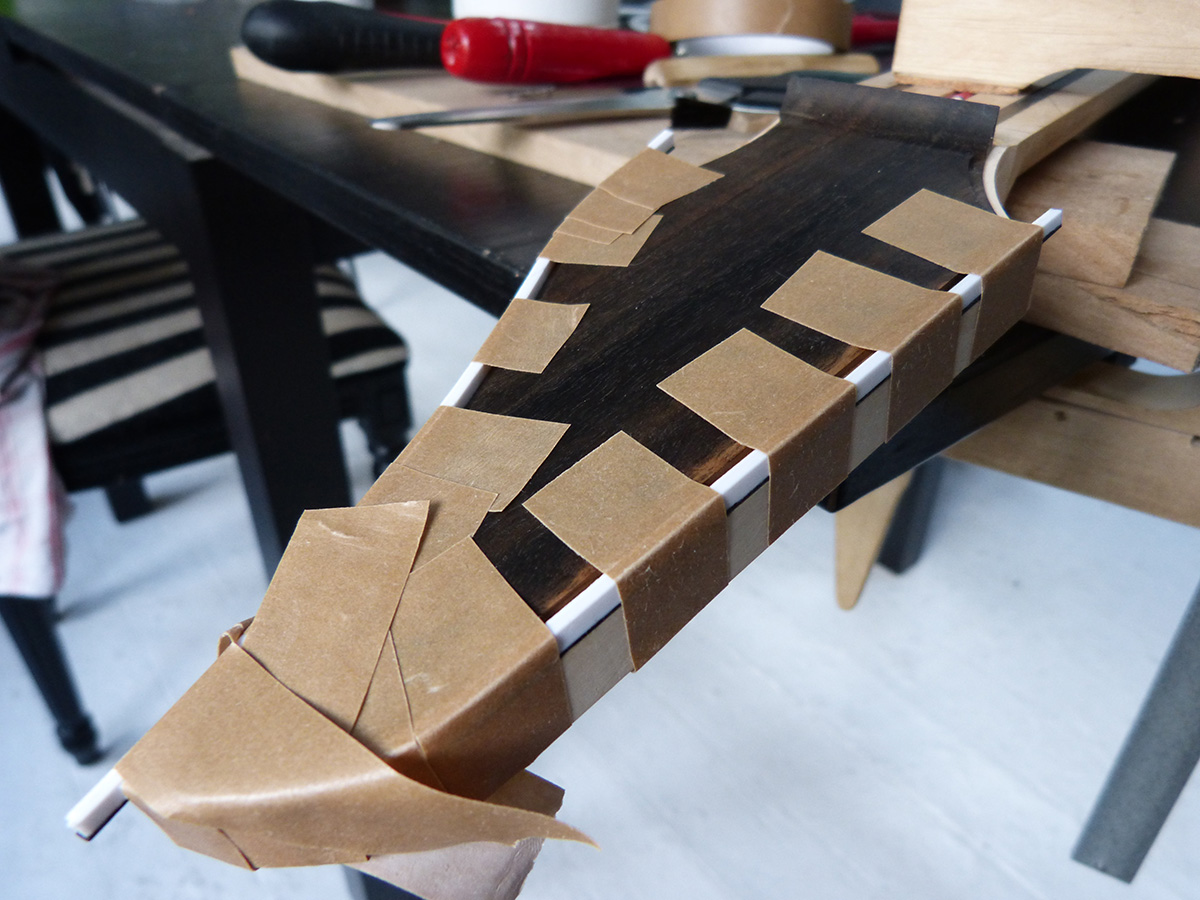
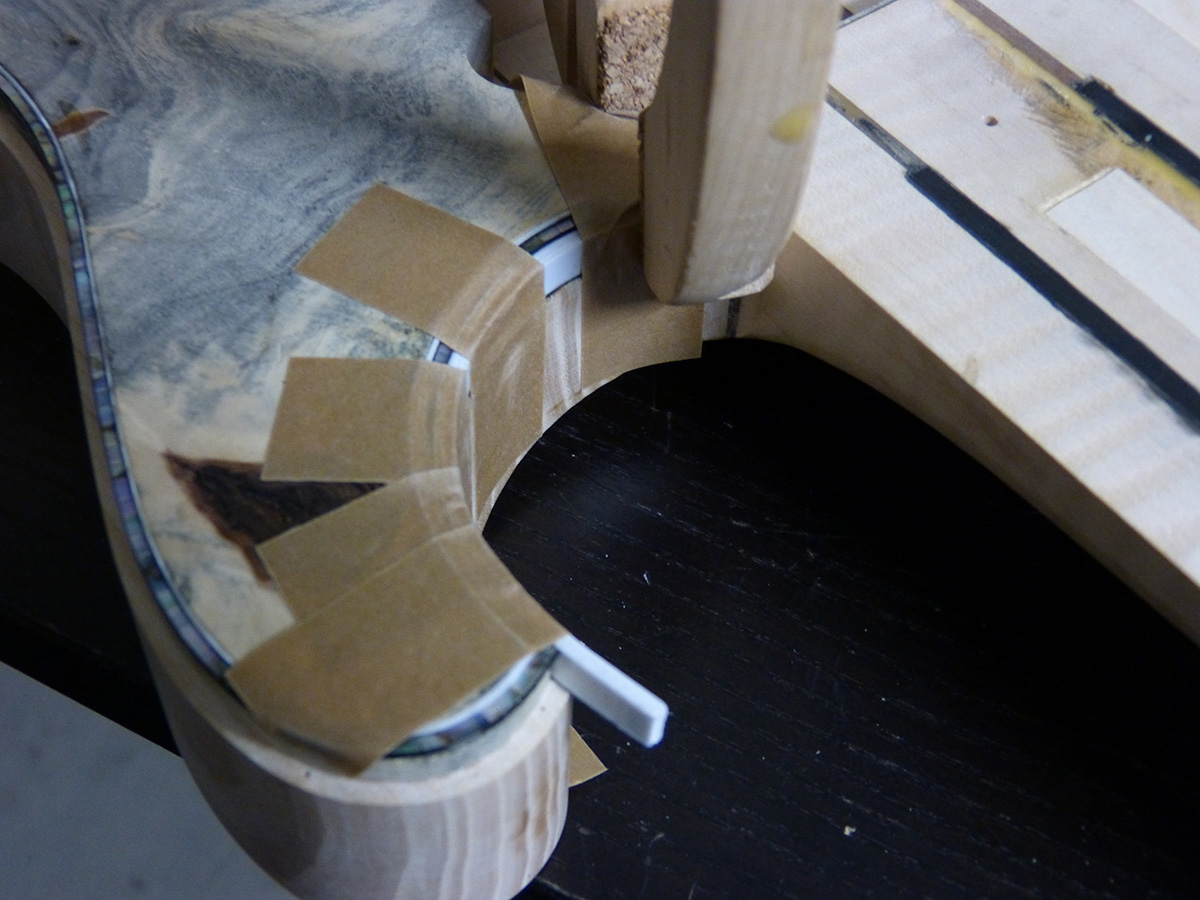
the usual post tape and super glue mess
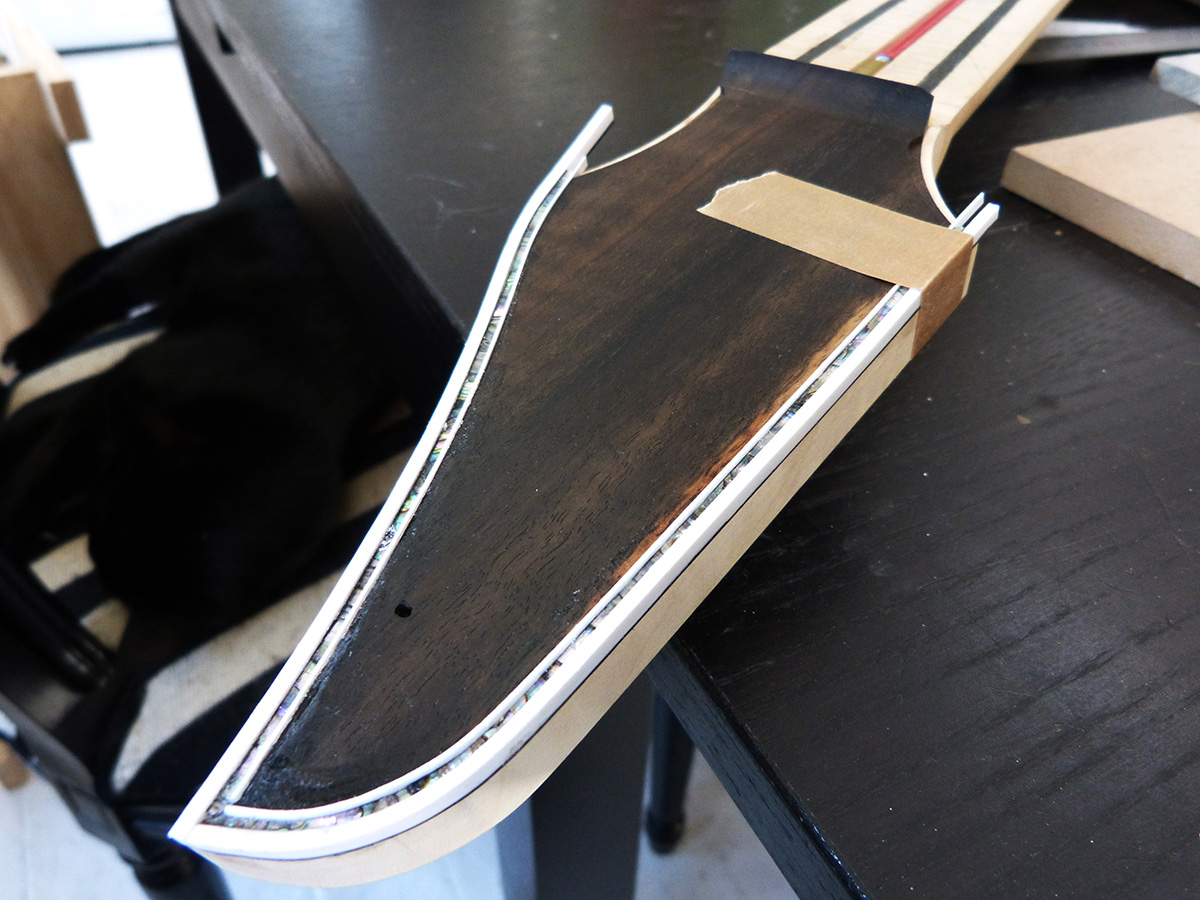
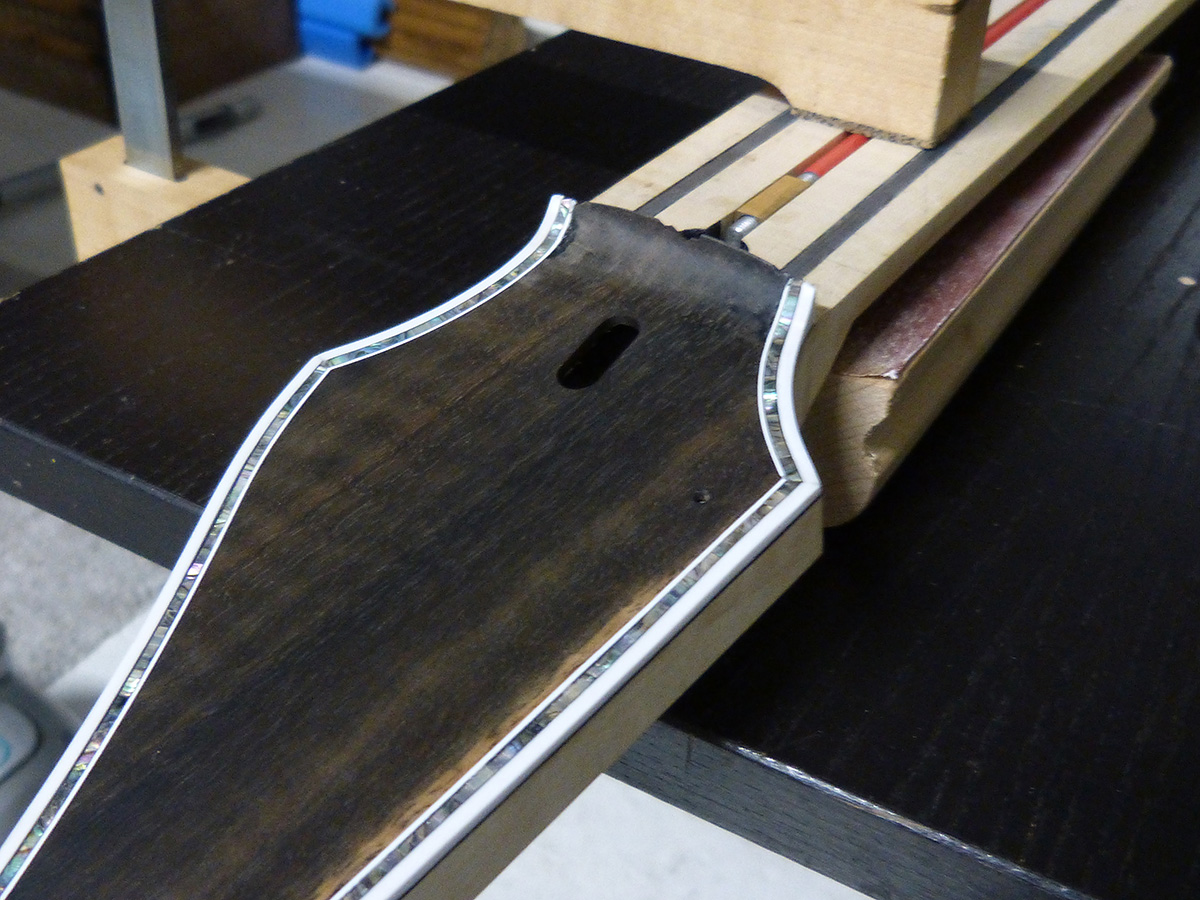
and the cleaned result

Hello there, sorry, long time no see...
all right, here is the explaination why it took so much time.
working on the two guitars tops, first roughly planing the joint with a... planer... yeah, it makes sense.
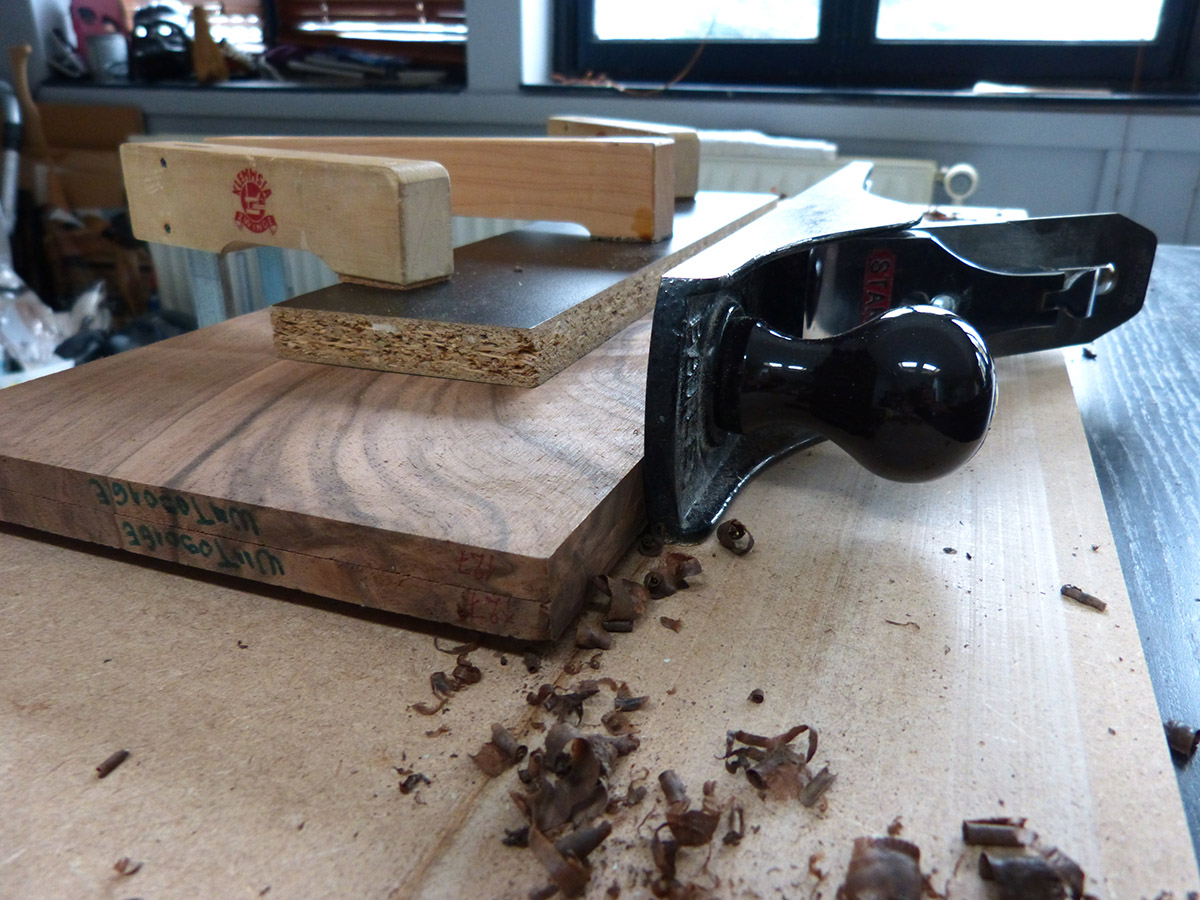
finishing the joint with sandpaper and checking at the window if we can see the light going through
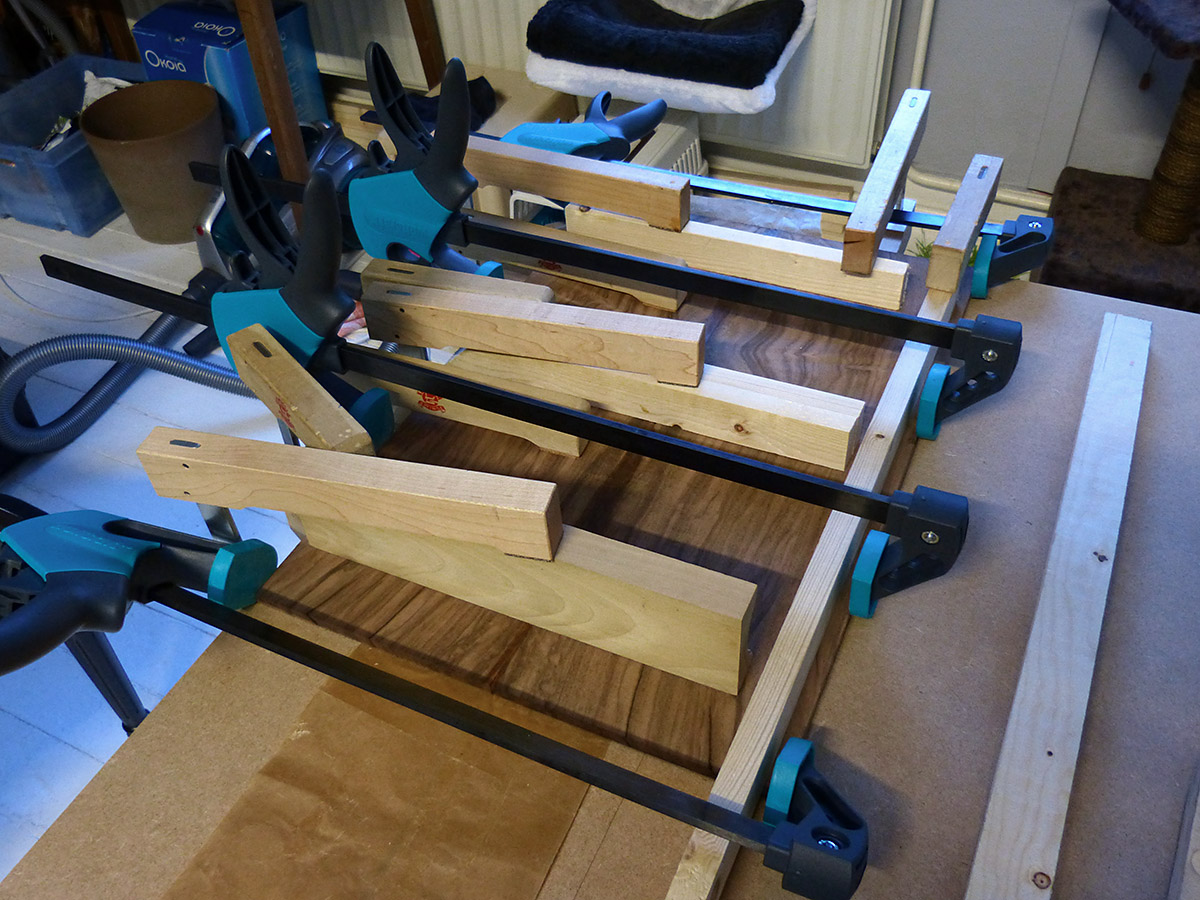
gluing the tops two parts together
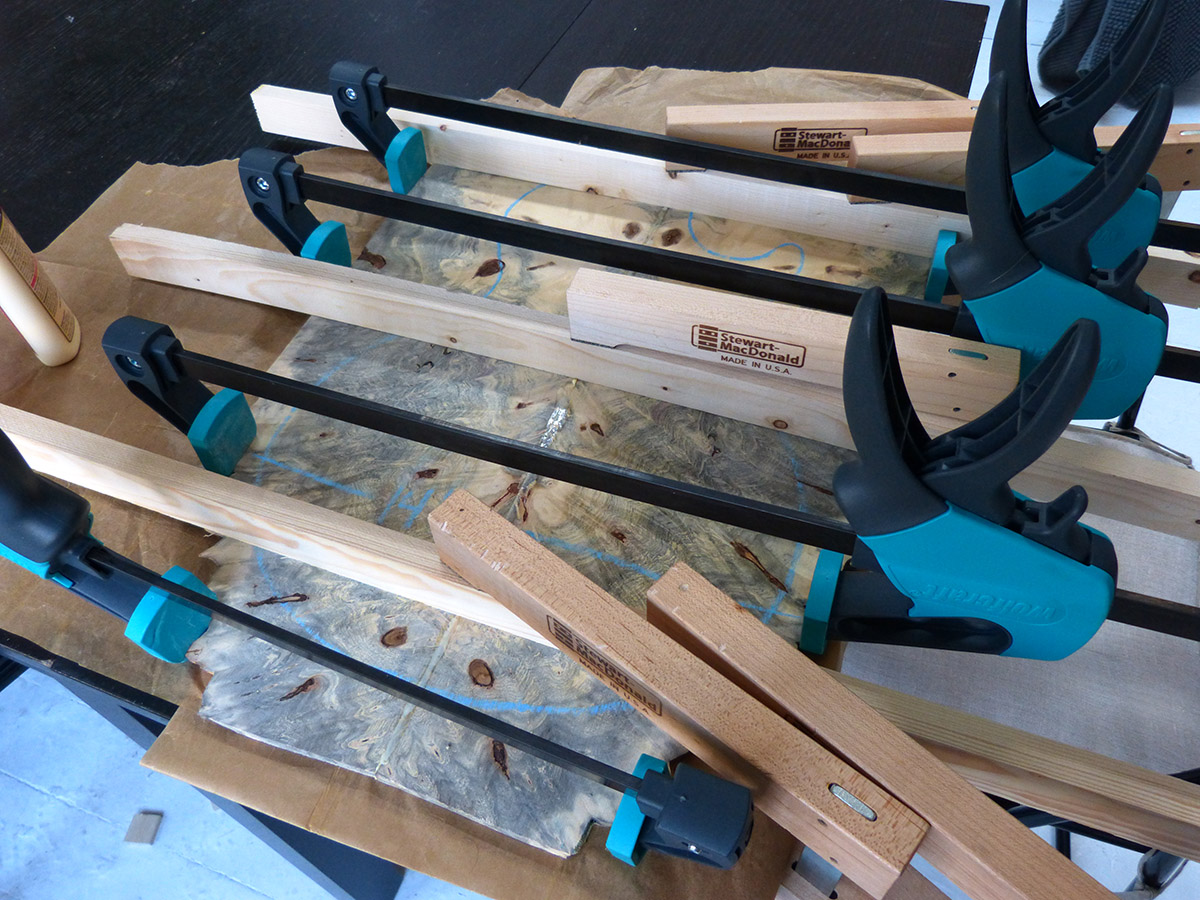
tracing the shape for reference
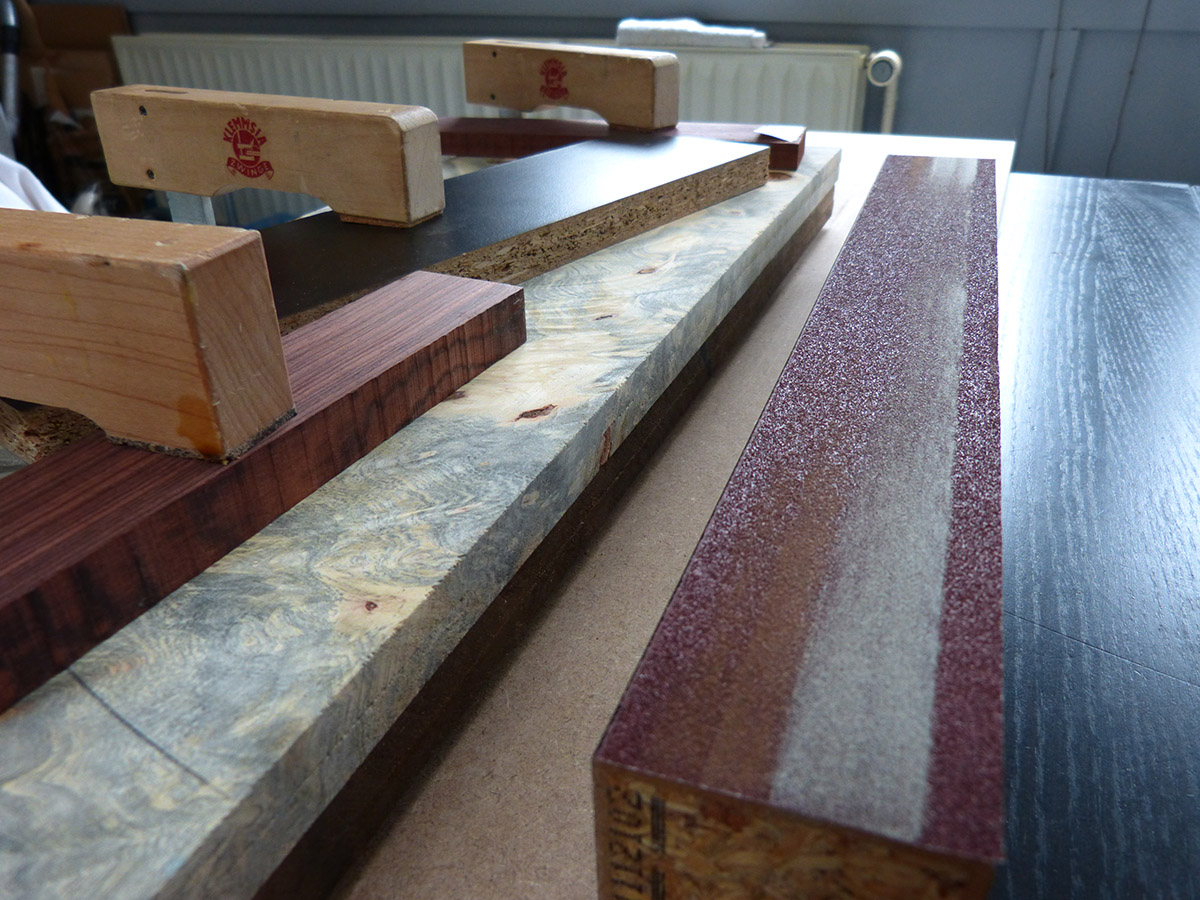
each top plank is then screwed to a medium plank to make sure it's straight and each side is sanded on the large 60 grit sandpaper disk
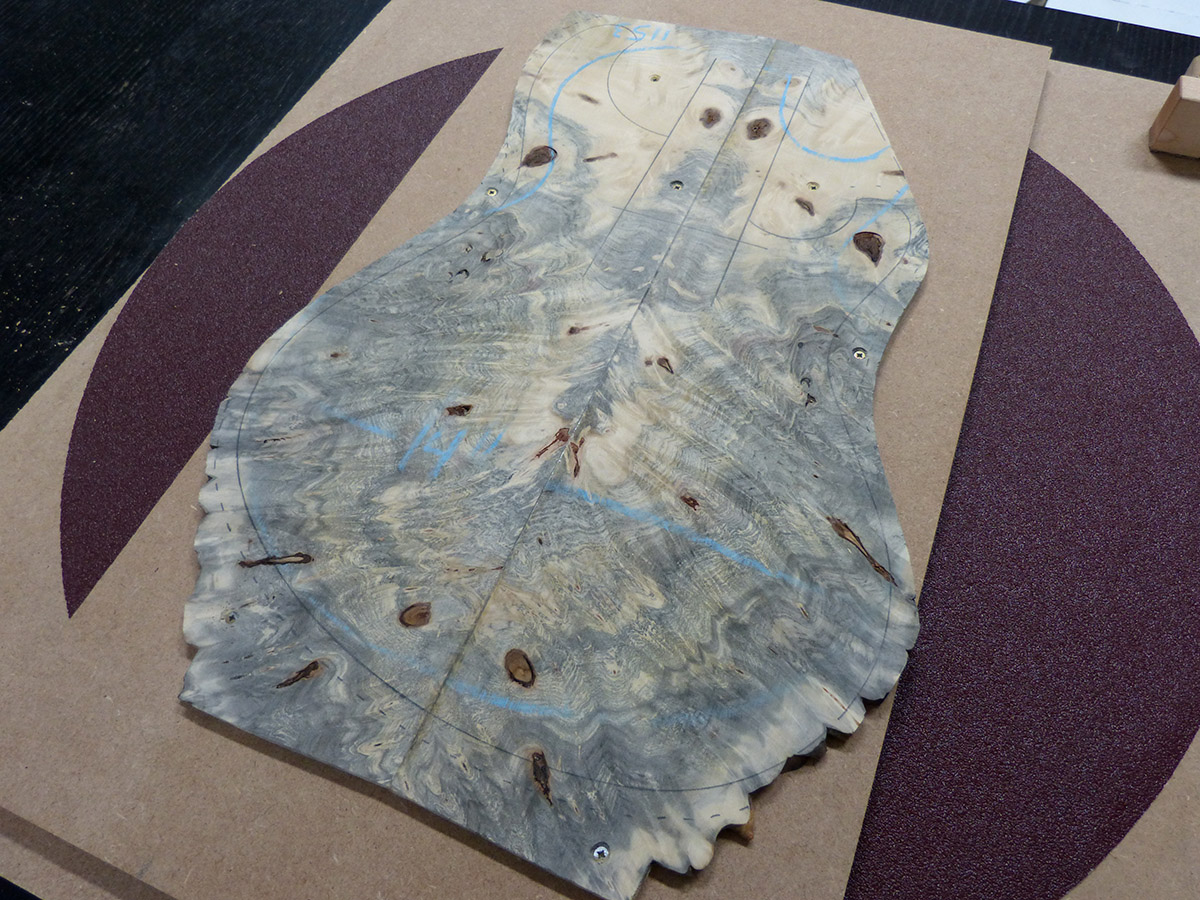
then same process but with 100, 150, 240 and 400 grit sandpaper. The backs stop at 100 because it needs to be glued. This is really slow, I have to sand slowly and check every 2 minutes each edge to make sure I'm not making an angle thinner than the rest
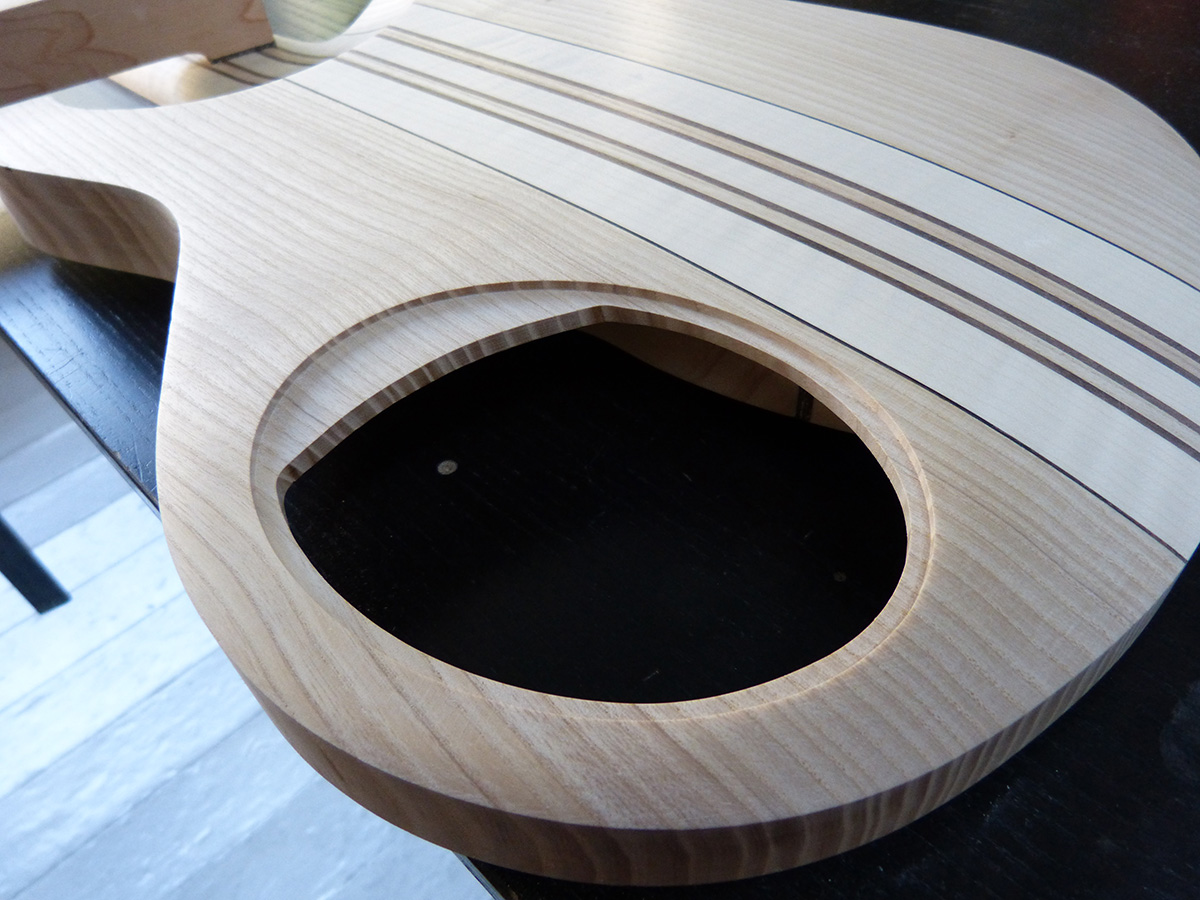
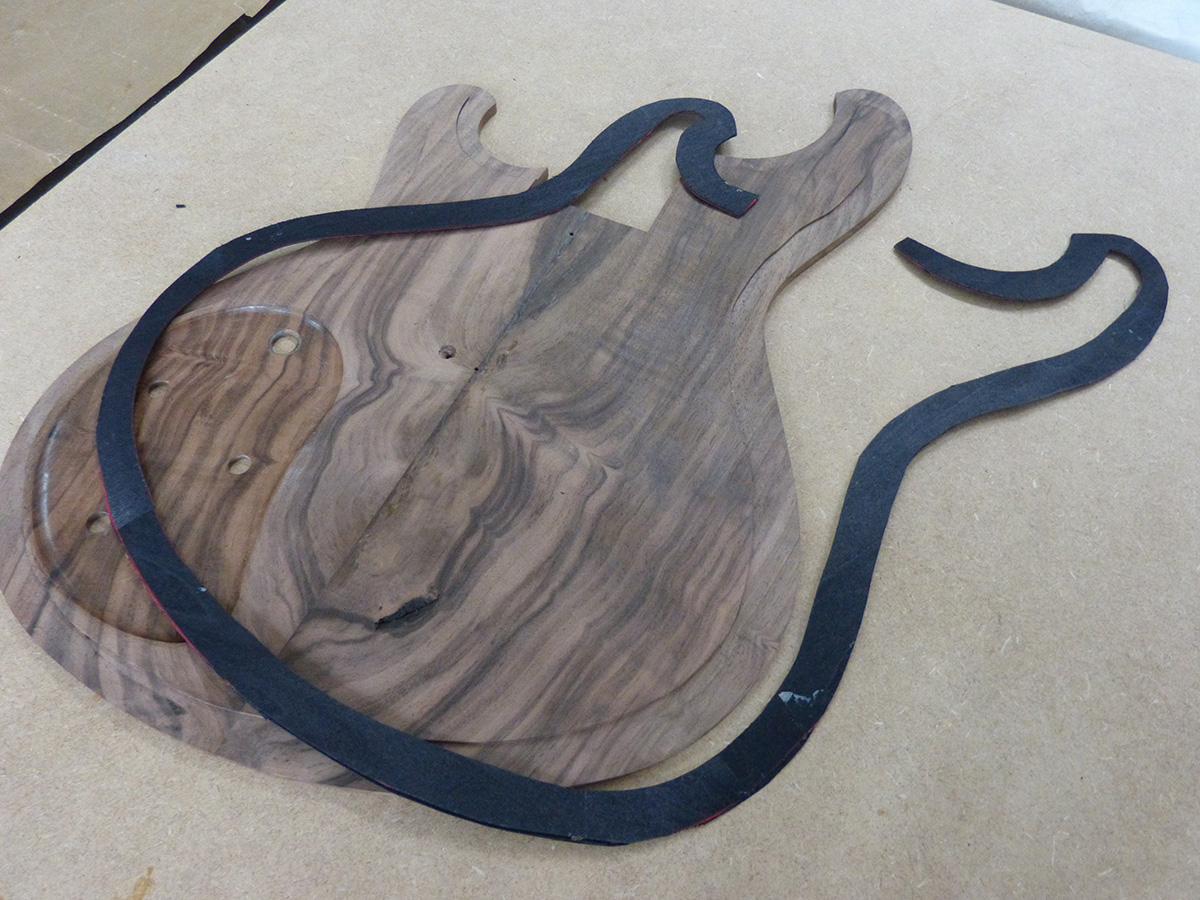
Ok, we are done with the thickness sanding, pffiou! Now, routing a recess for the electronics
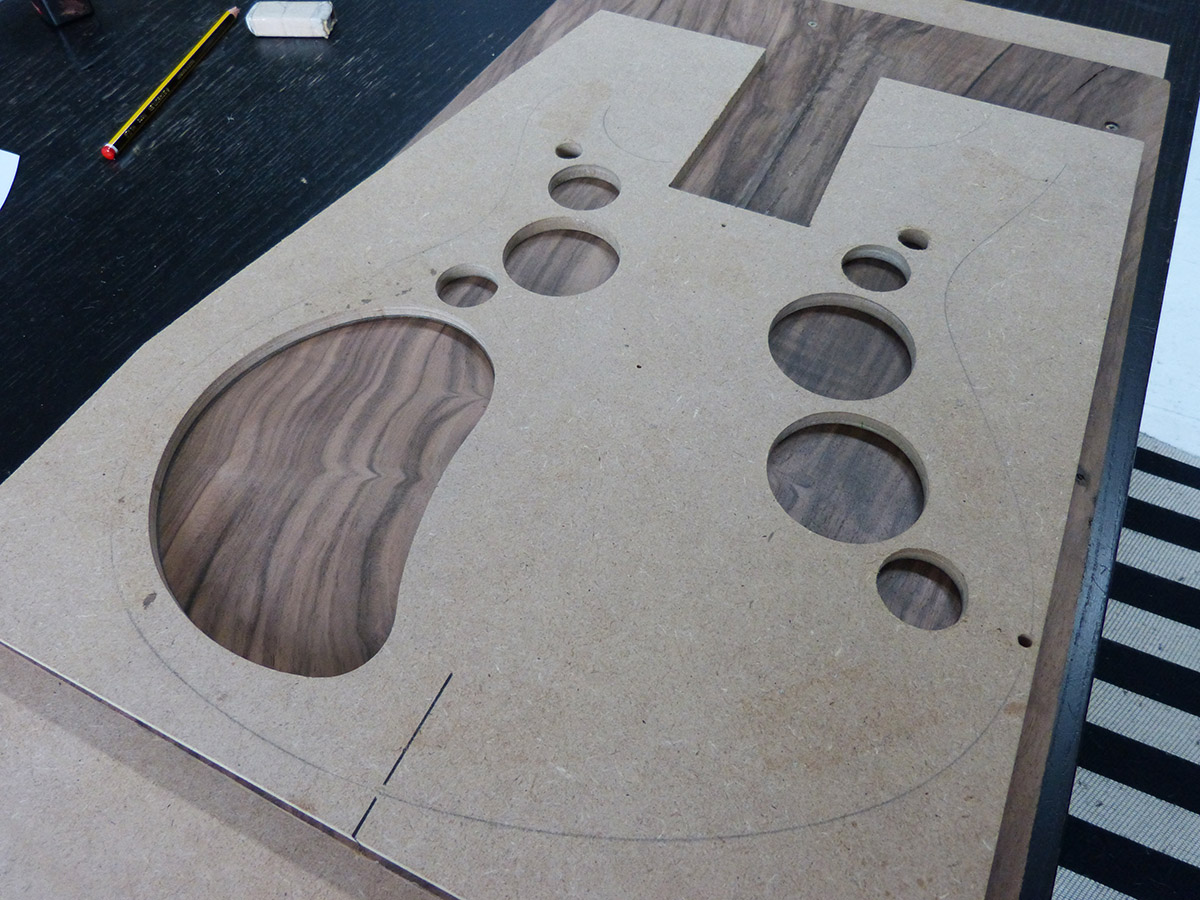
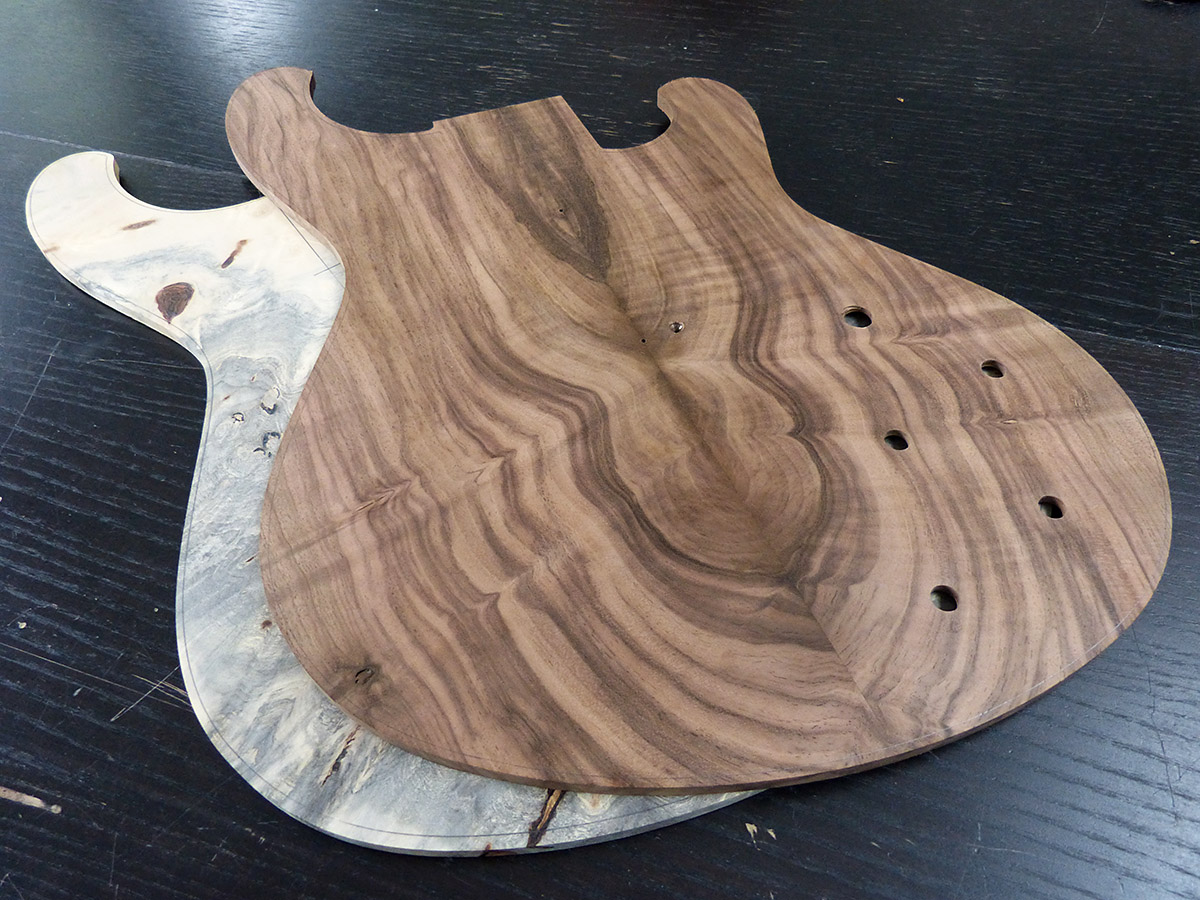
and the result after cutting the guitar shape oversized by 3mm and drilling the electronics holes.
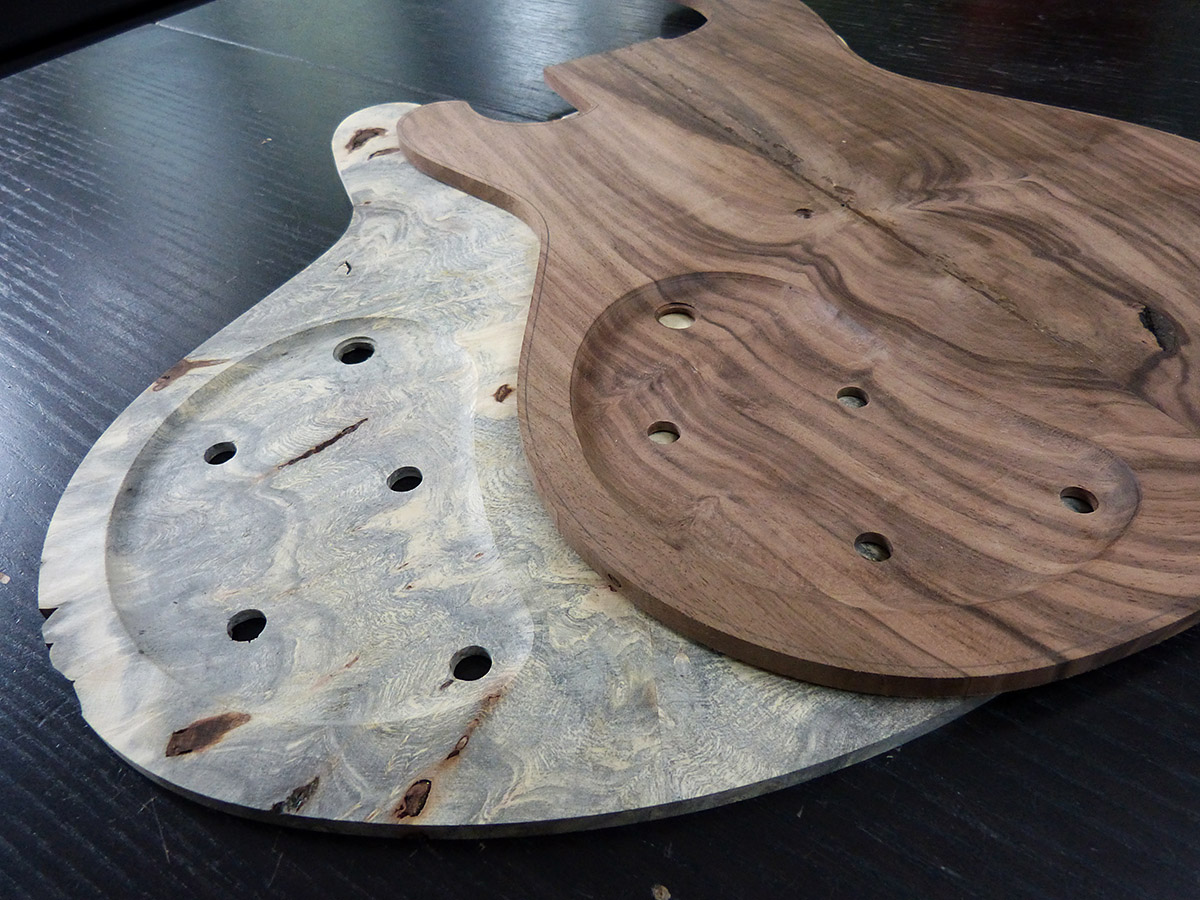
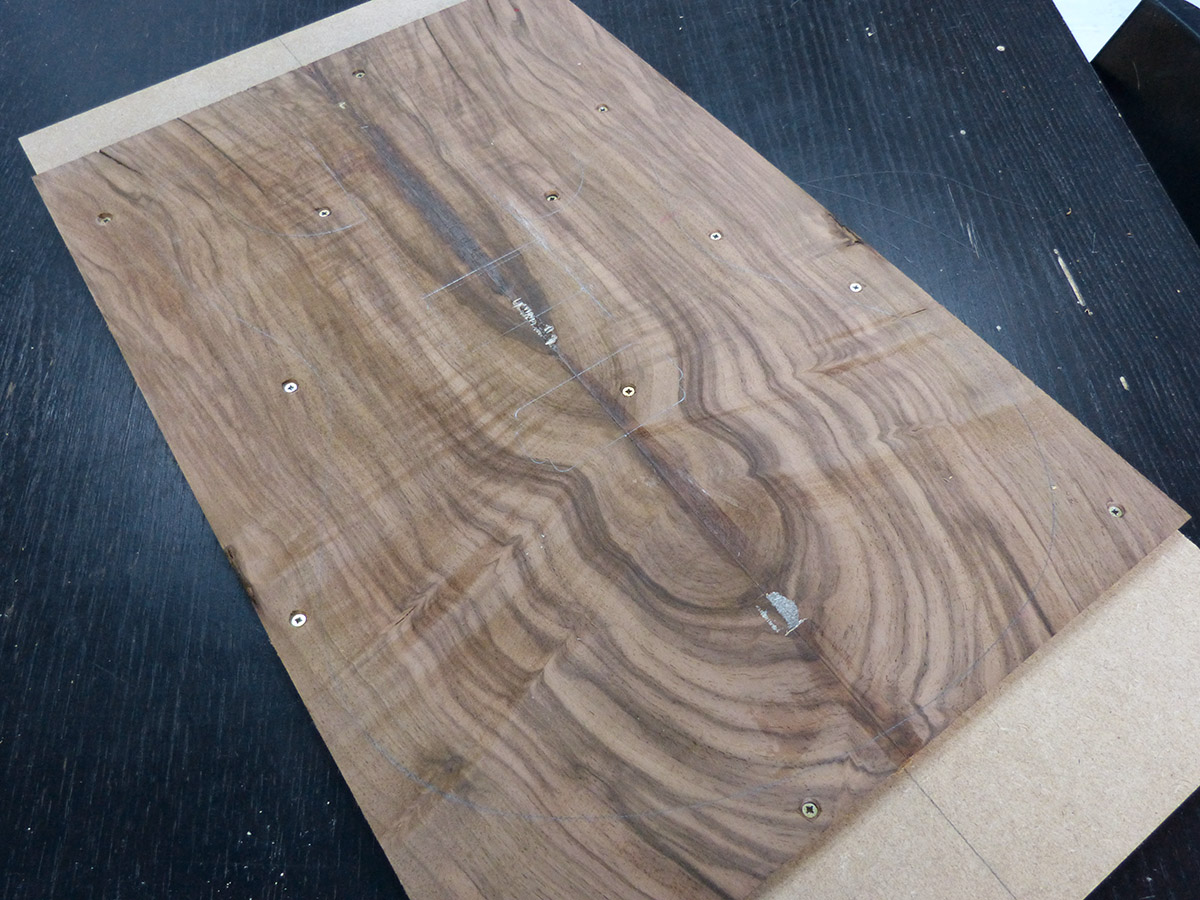
by the way, I don't know yet how the buckeye burl is going to look like, but that walnut is going to be absolutely gorgeous with a bit of wax. The picture is really not showing what it looks like here, you should see it in the sunlight, how the flames are shimmering and how much depth there is in the figure... it going to be aawwwsome!
So yeah, I know, it's taking...some time, but we will try to make it worth the wait... just a few more weeks!
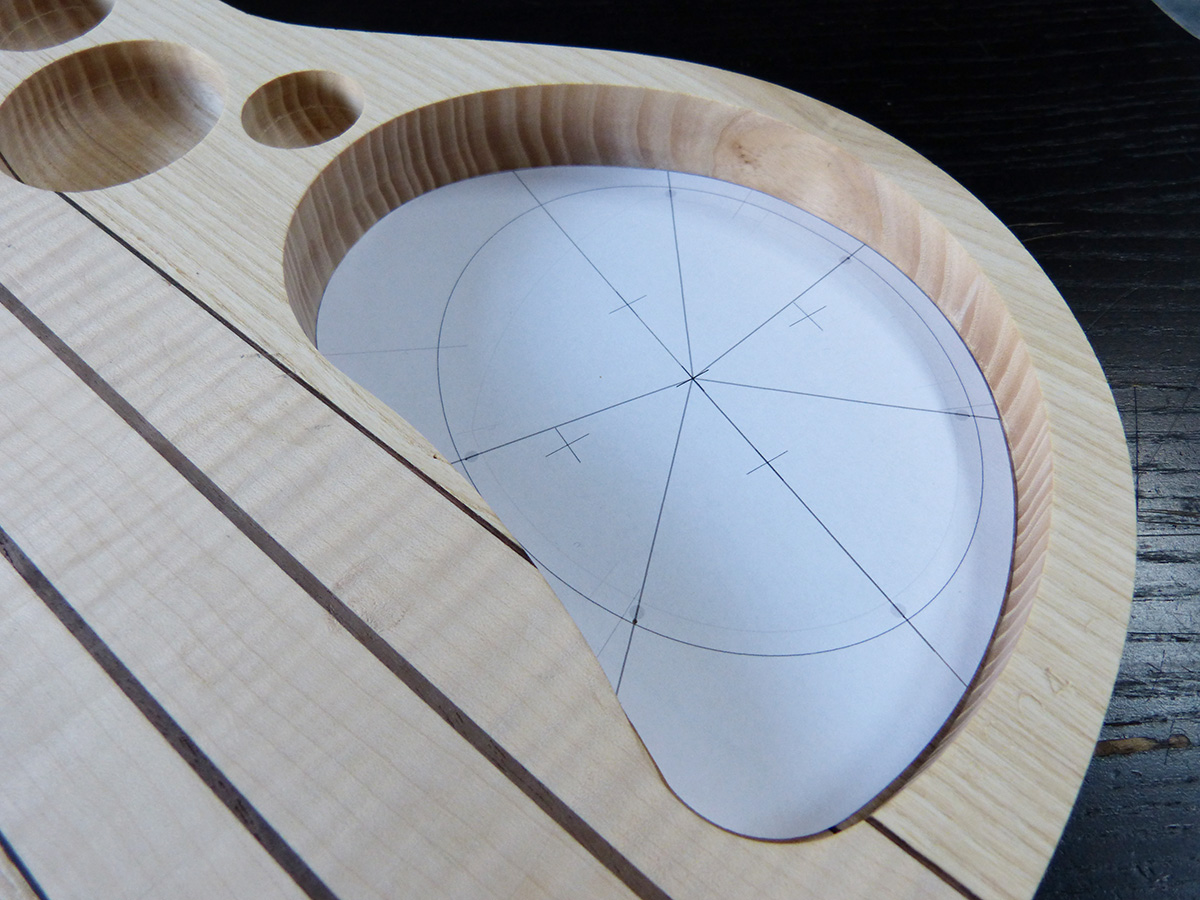
Hello, here is a small update,
Routing the cavity cover space:
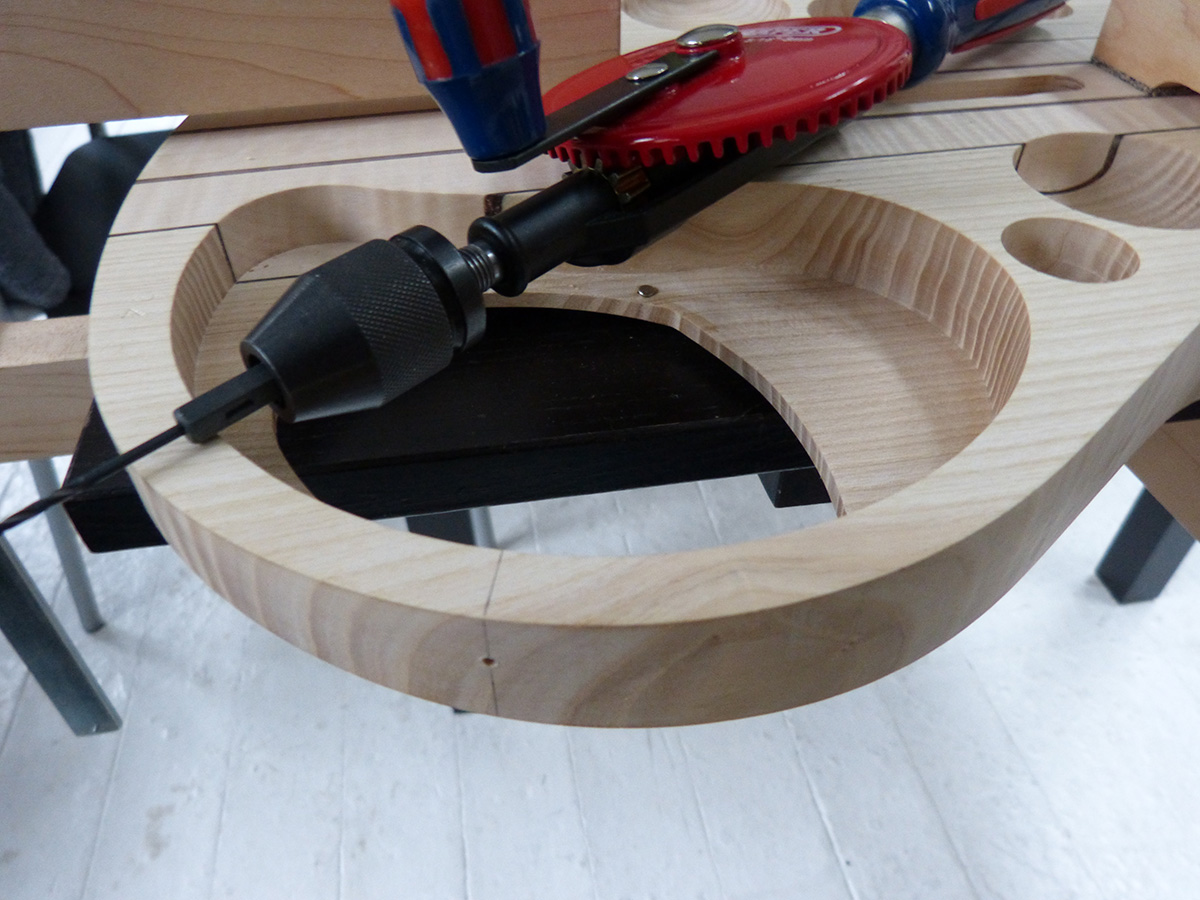
Inlaying magnets to hold the cover
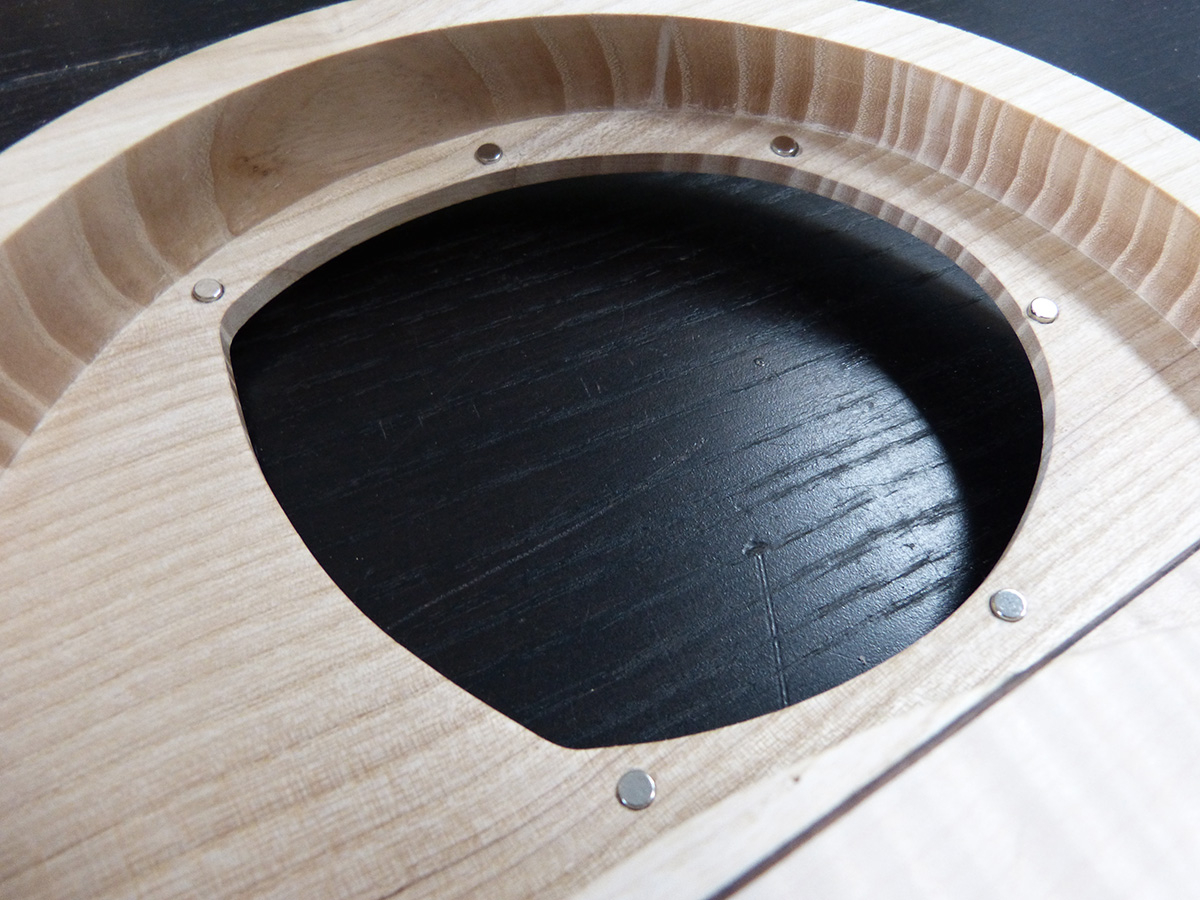
Drilling the jack hole and recess
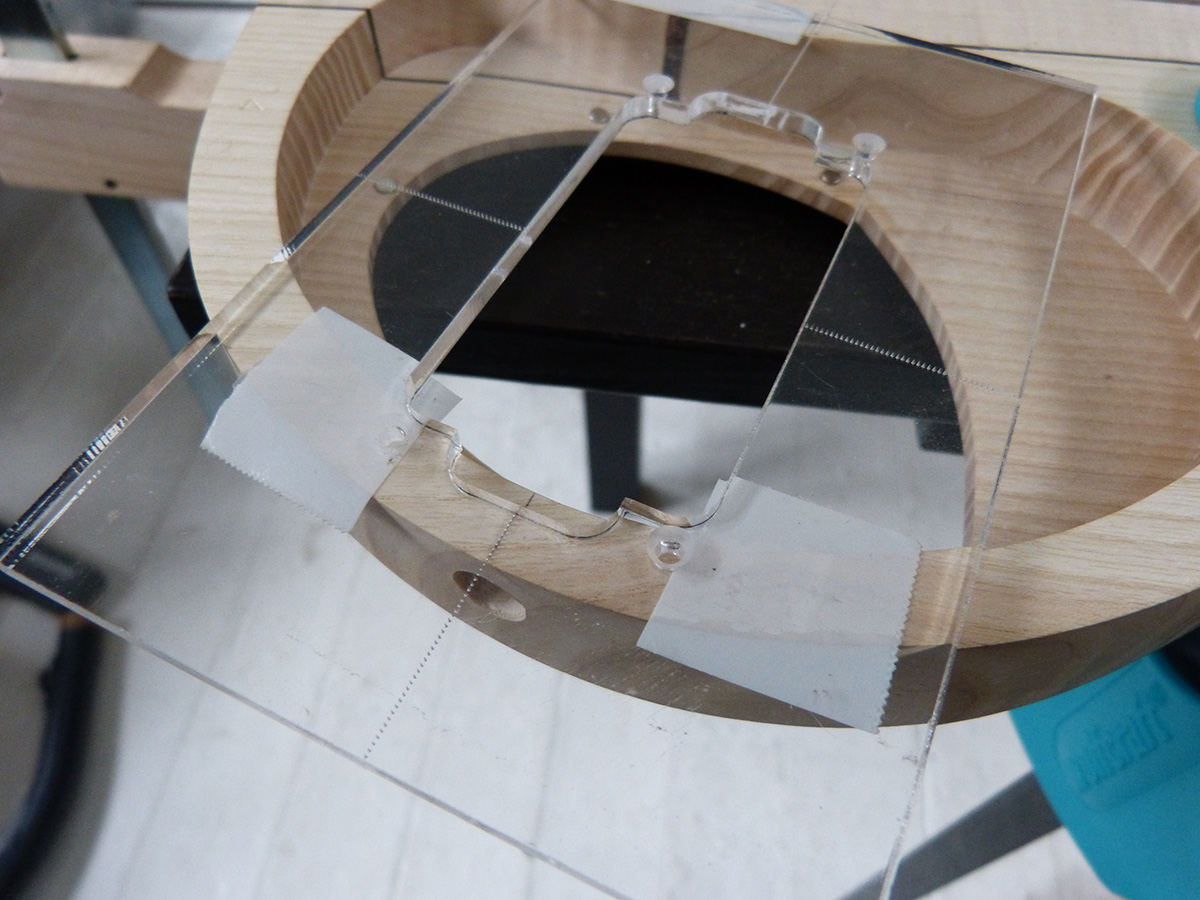

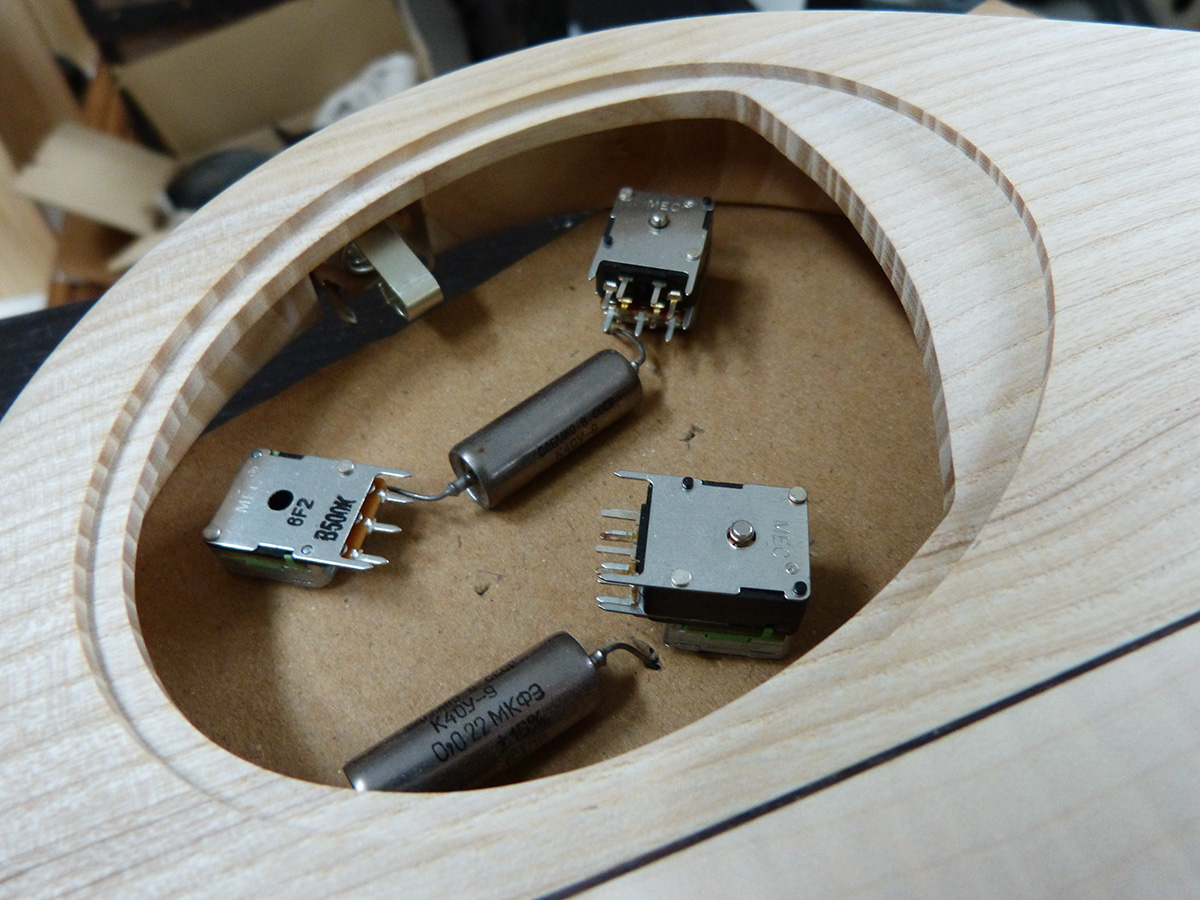
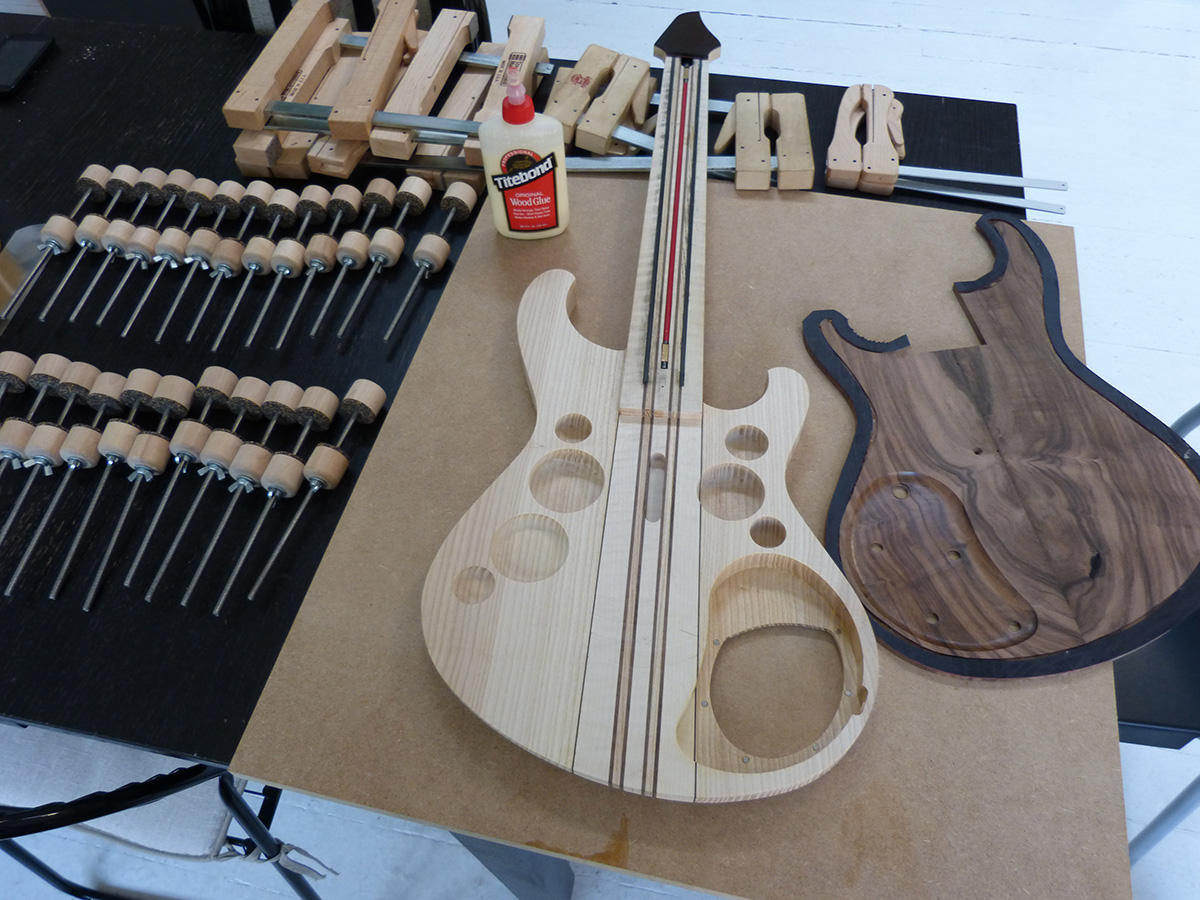
What it will kind of look like with the electronics installed
Routing the neck cavity on the tops and adjusting them until it perfectly fits
and just for fun, the pieces put together (the fretboard are 2cm too long for now so it looks a bit awkward)
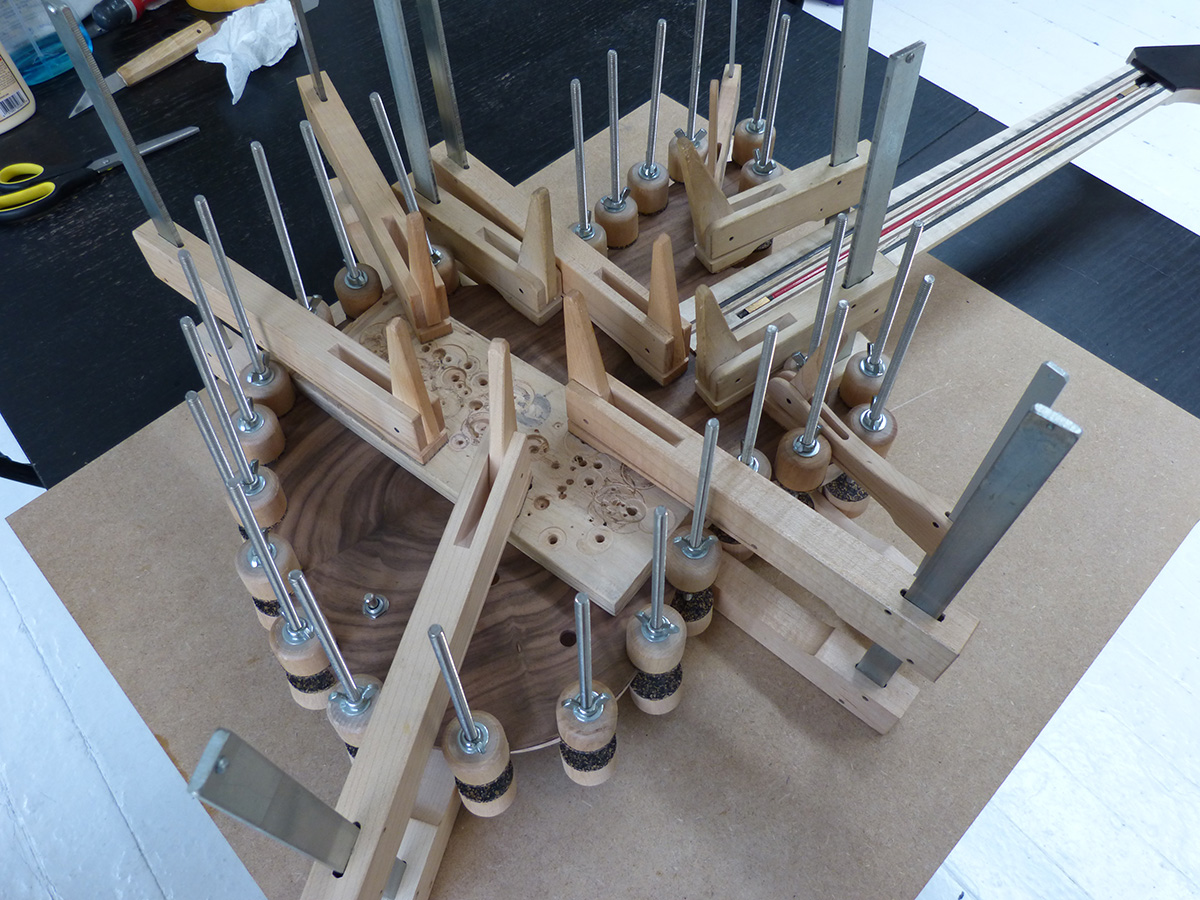
Gluing the tops:
Making a custom pickup template (for those amazing 7 strings black hawk!):
positioning on the body:
routing the cavities:
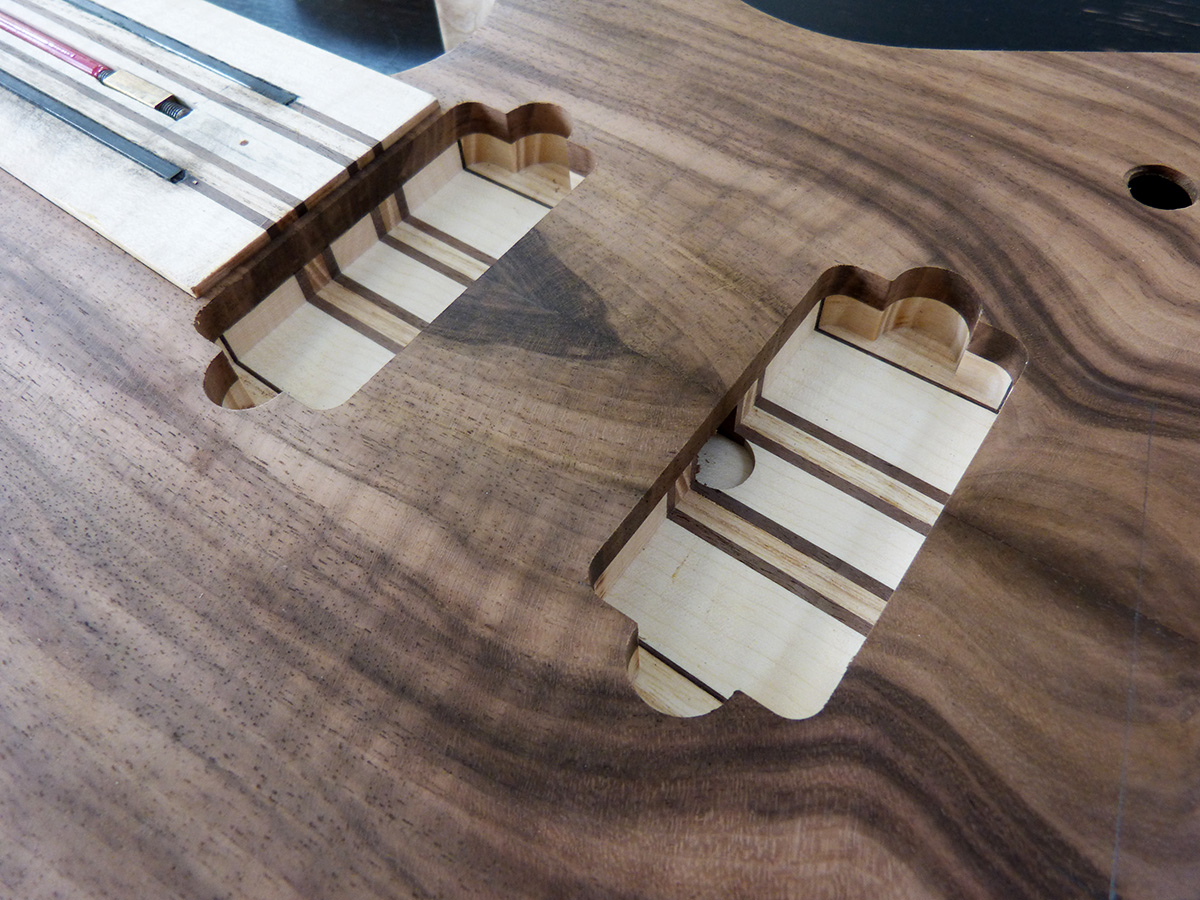
first pass of contour clean-up. Final sanding still not done:
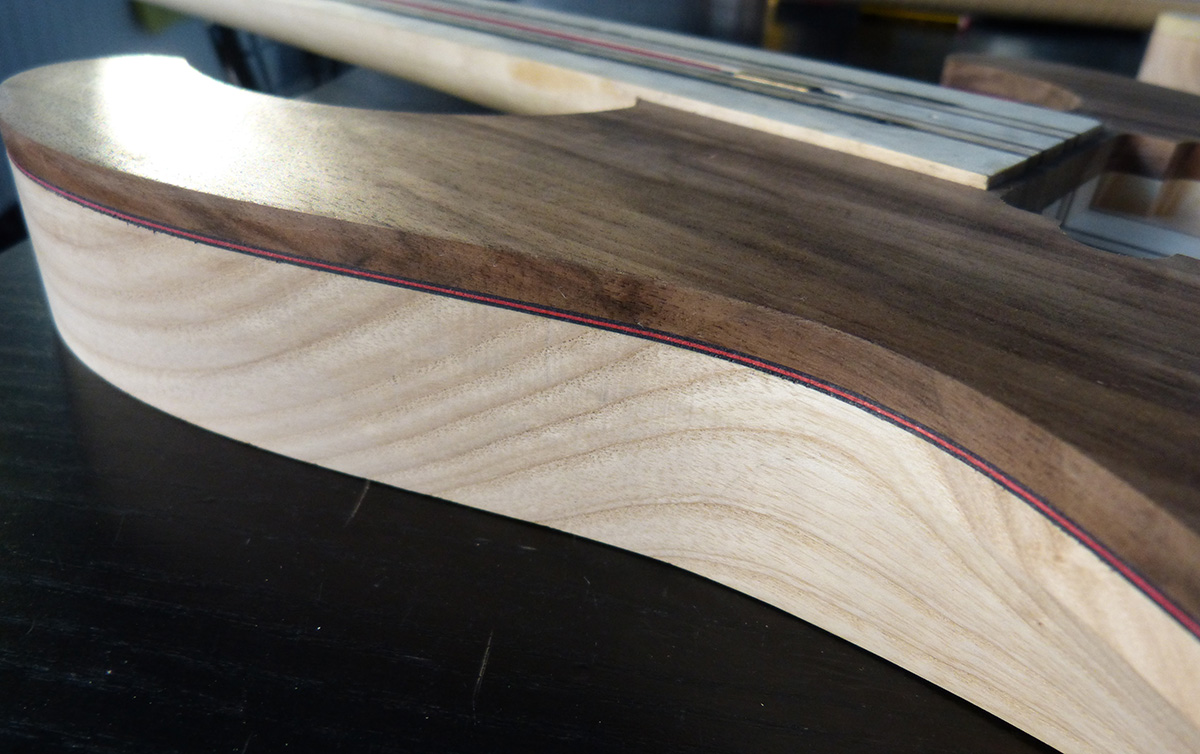
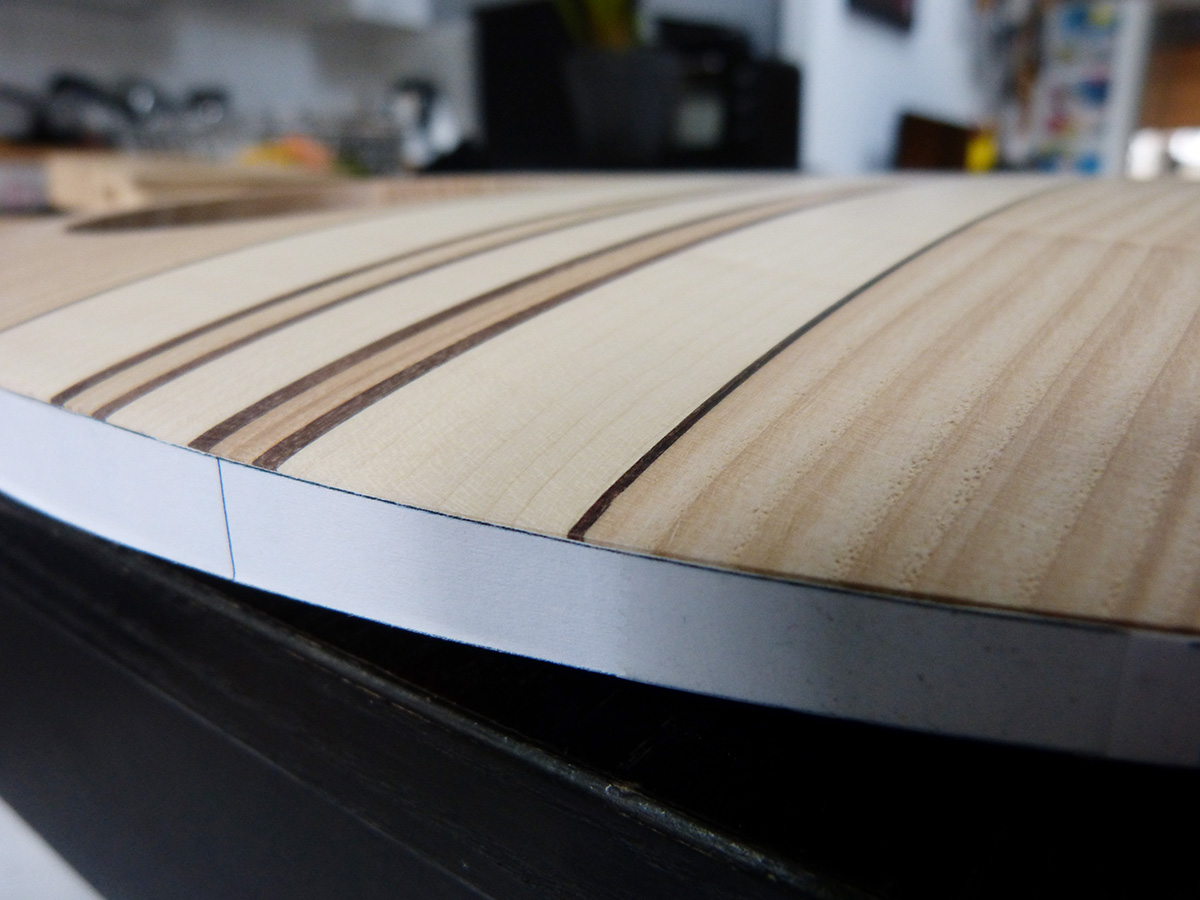
those freaking black/red/black purflings...
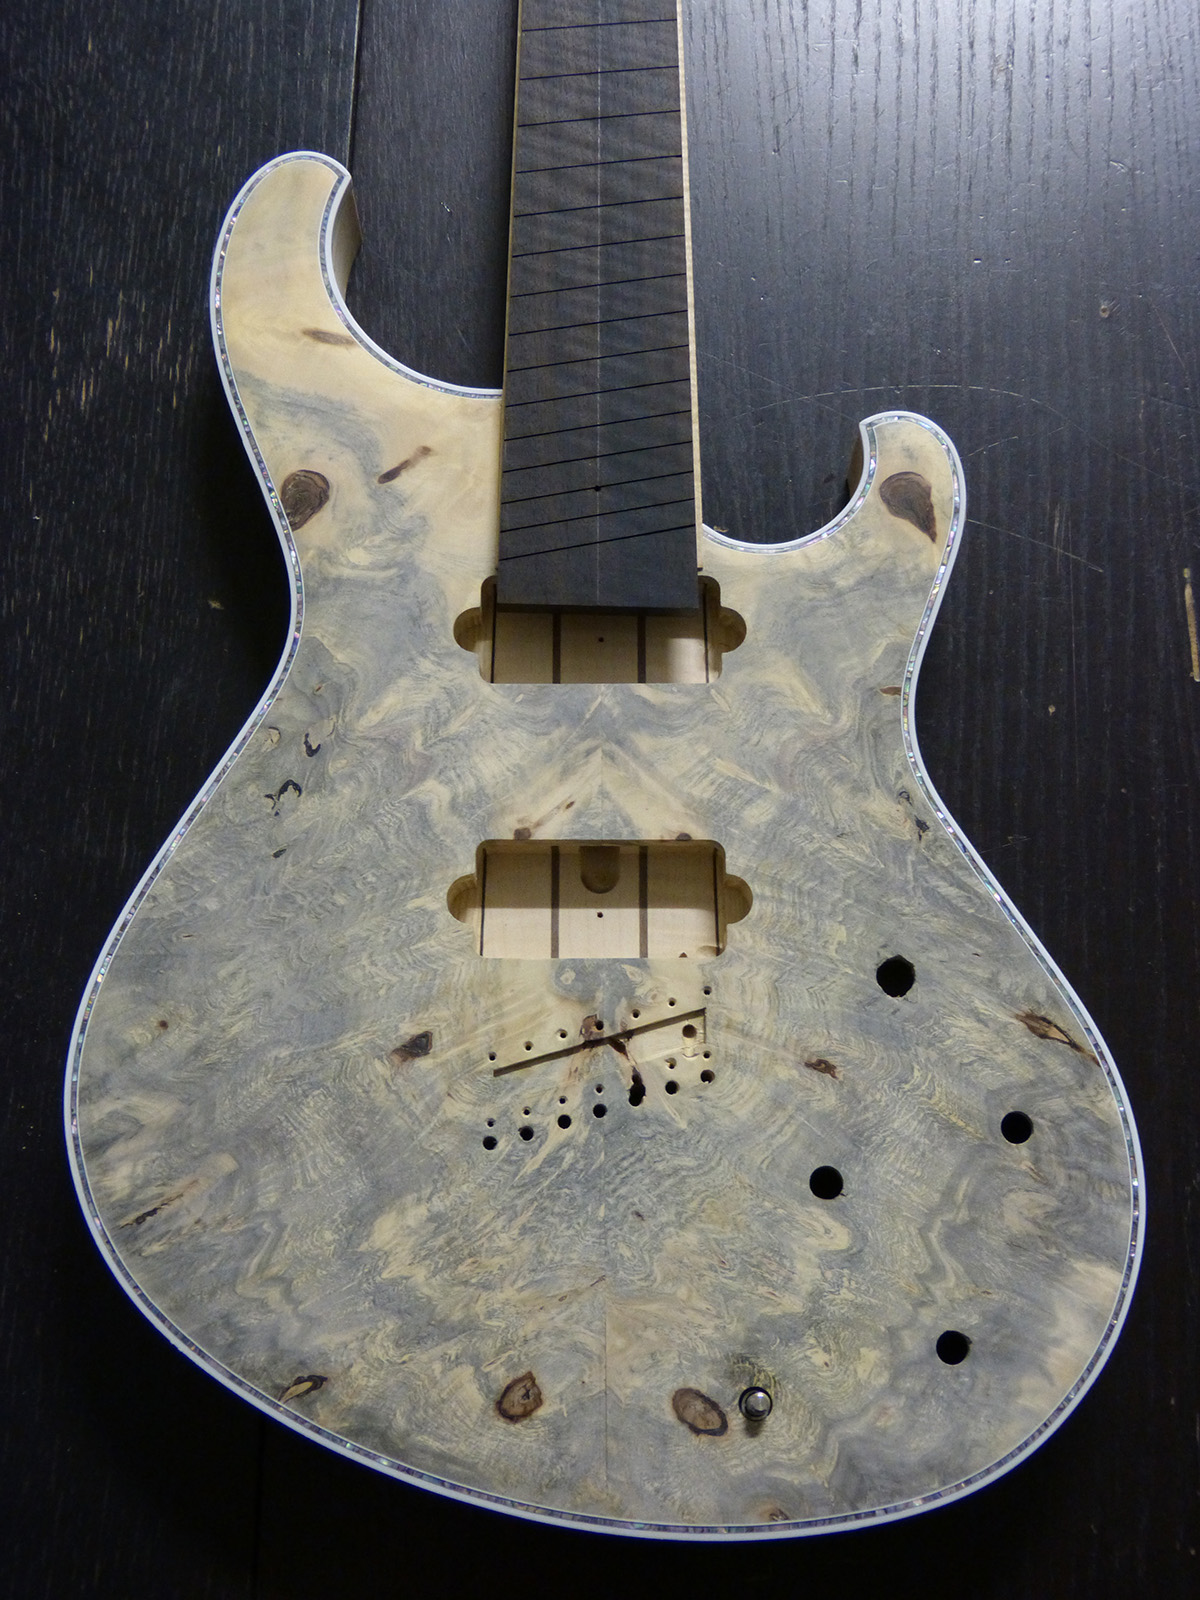
and a global view:
Yeah! almost done with the wood working!
Hello, here is a new update after a long while without any,
the neck heels as they where the last time I touched them:
and after a bit of carving and scraping:
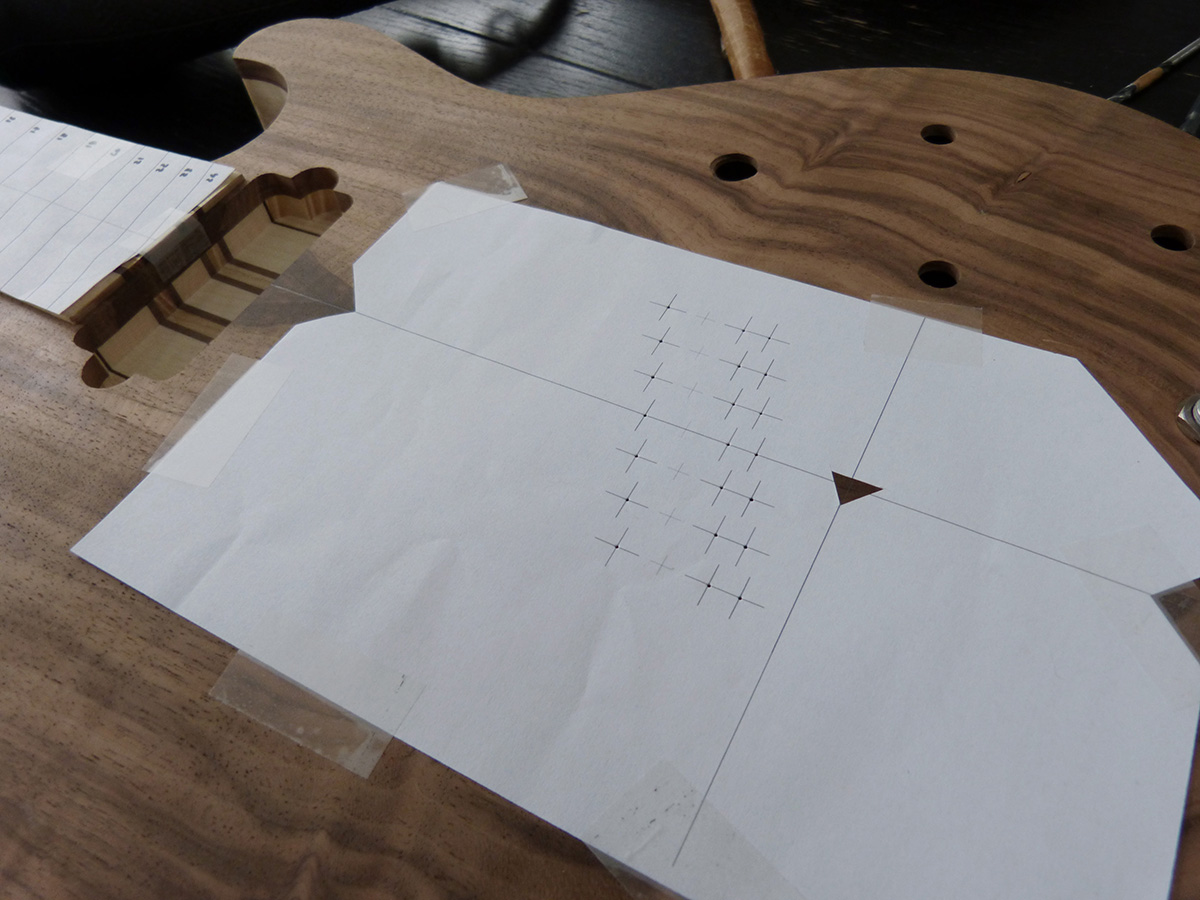
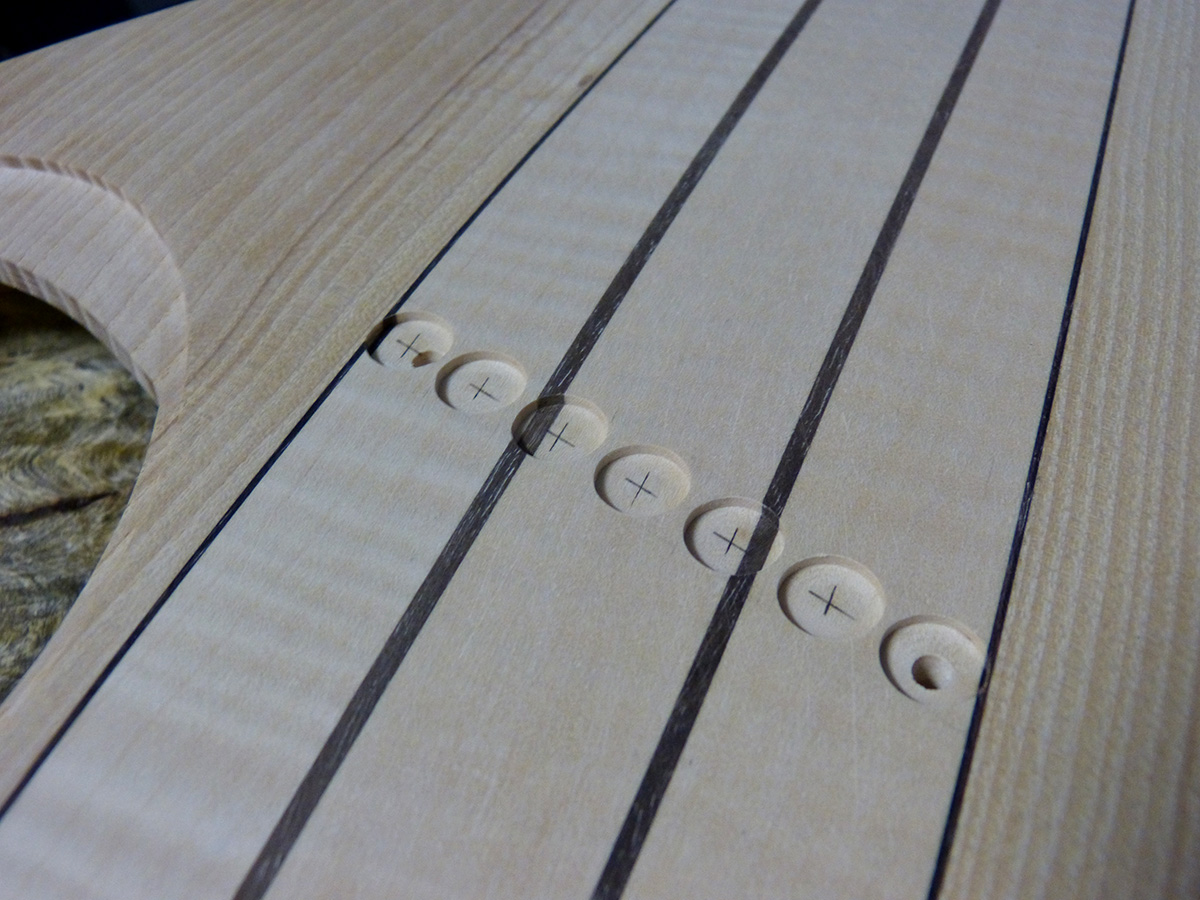
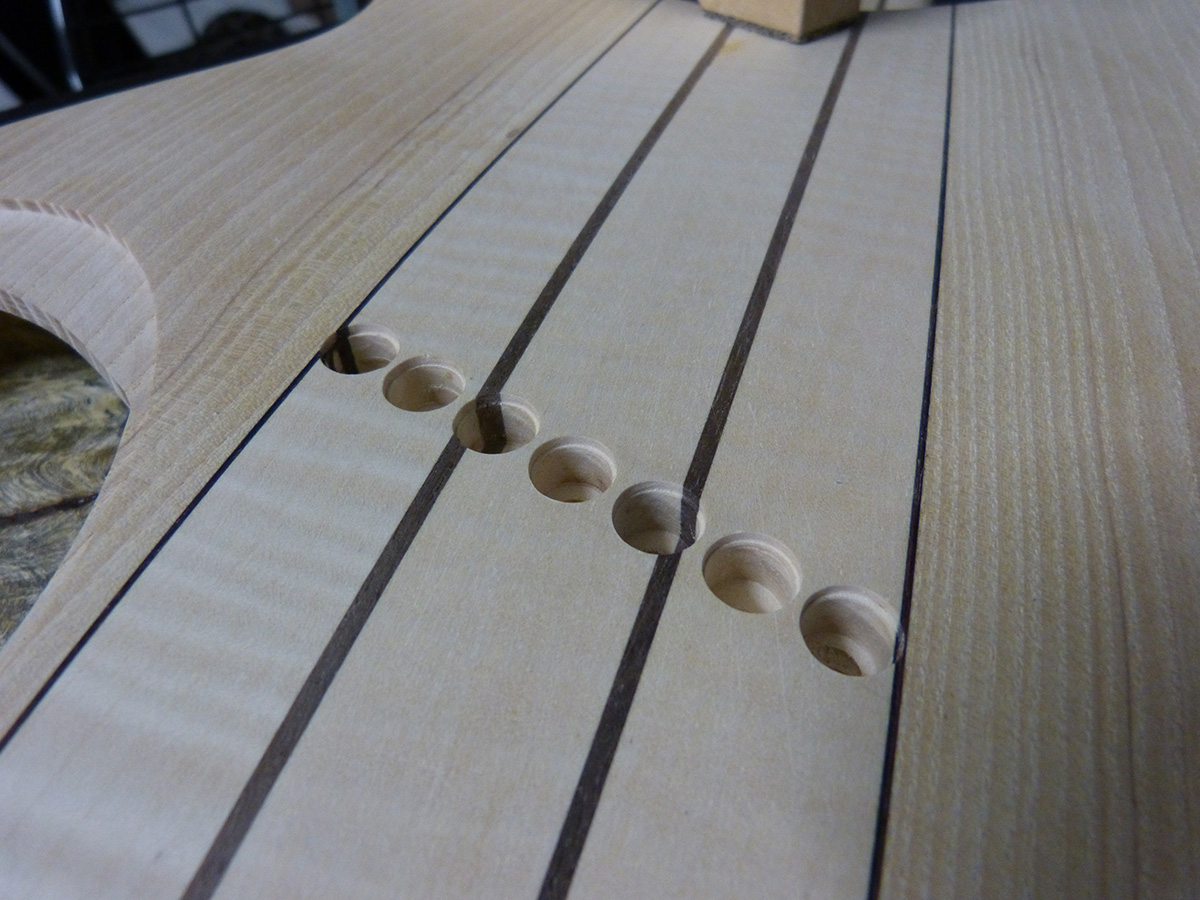
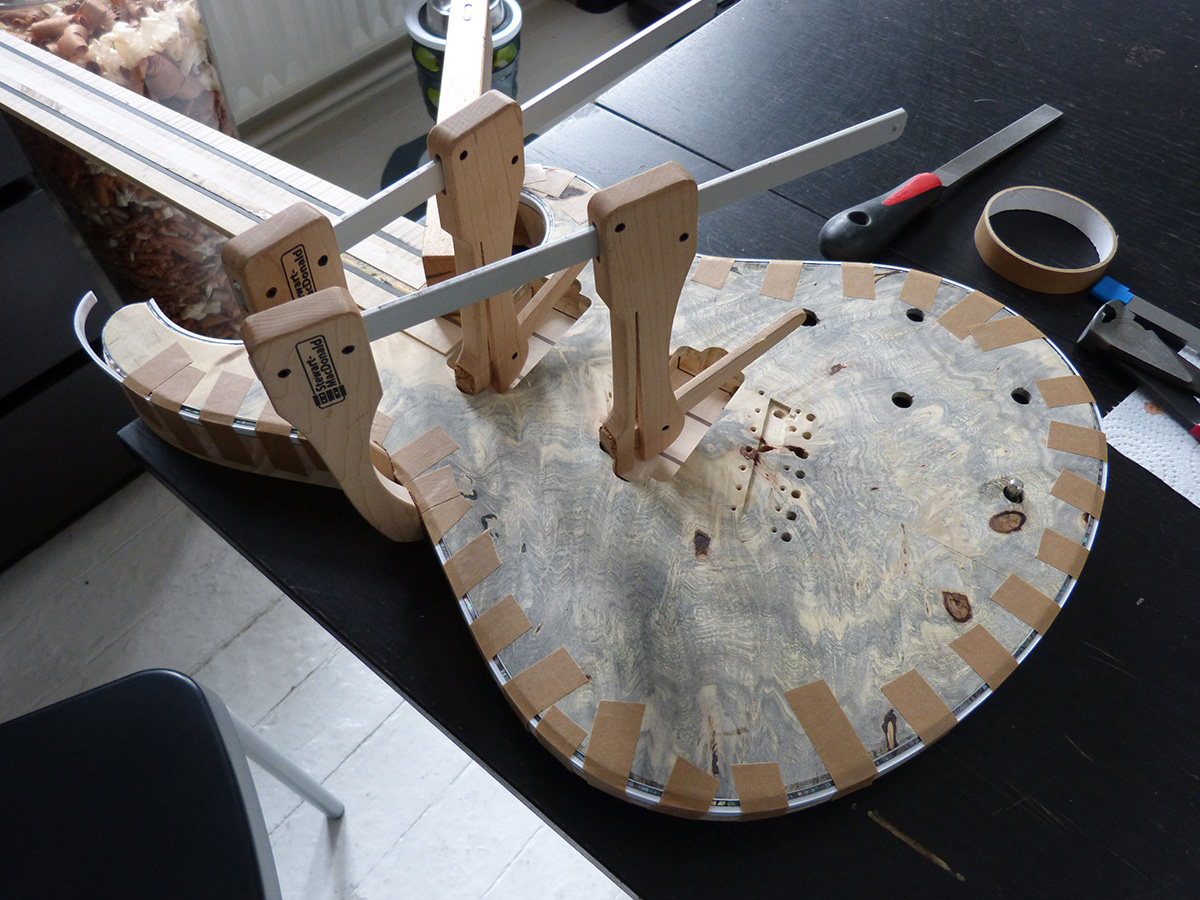
preparing for drilling the holes for the bridge
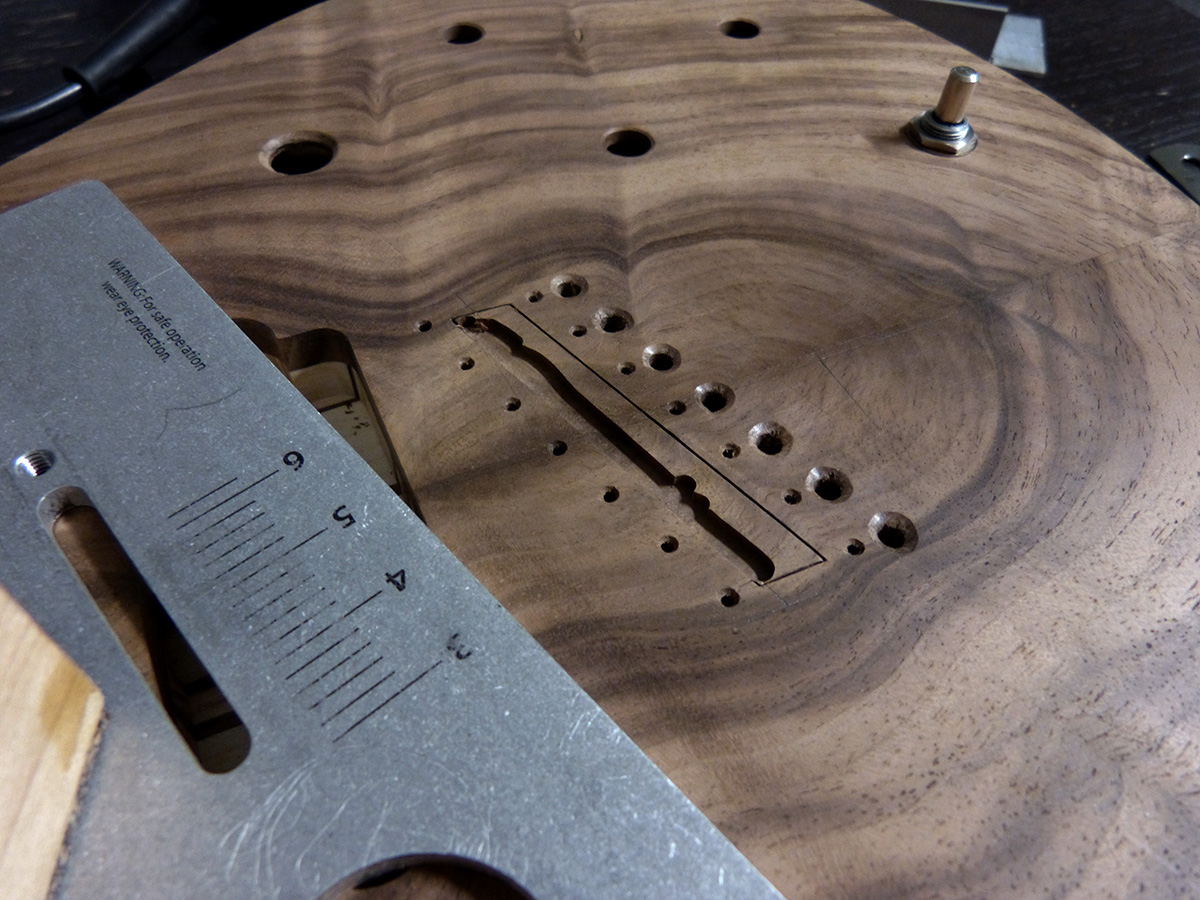
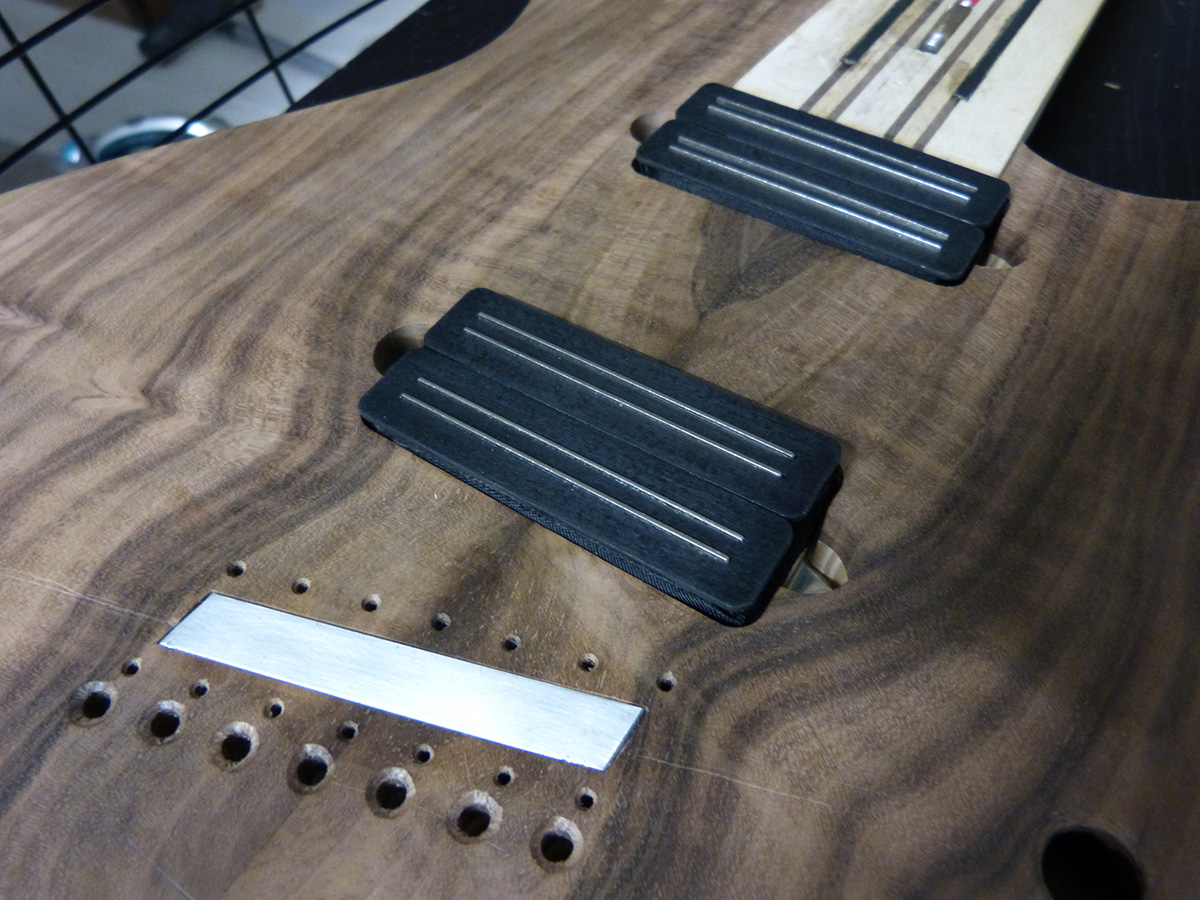
with an inlayed aluminum bar for the individual bridge saddles to be grounded
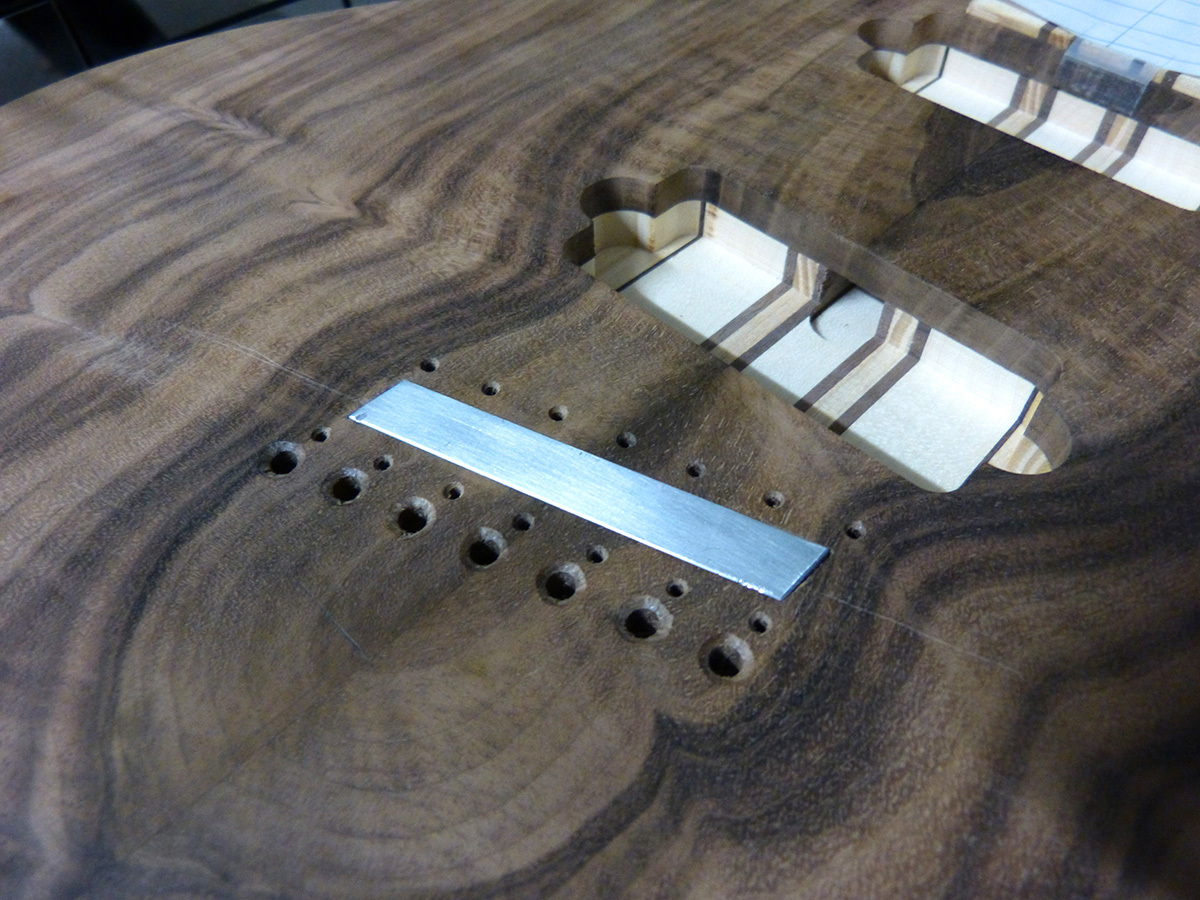
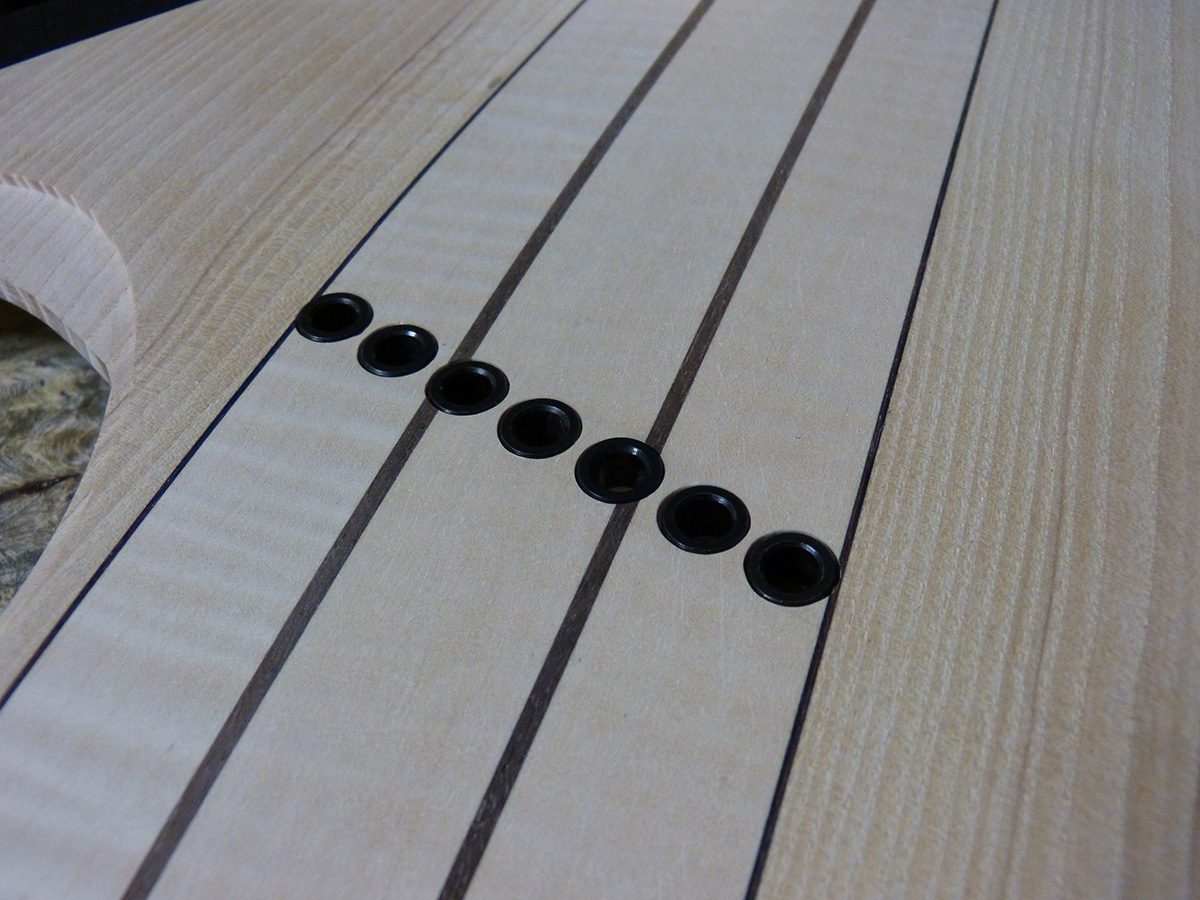
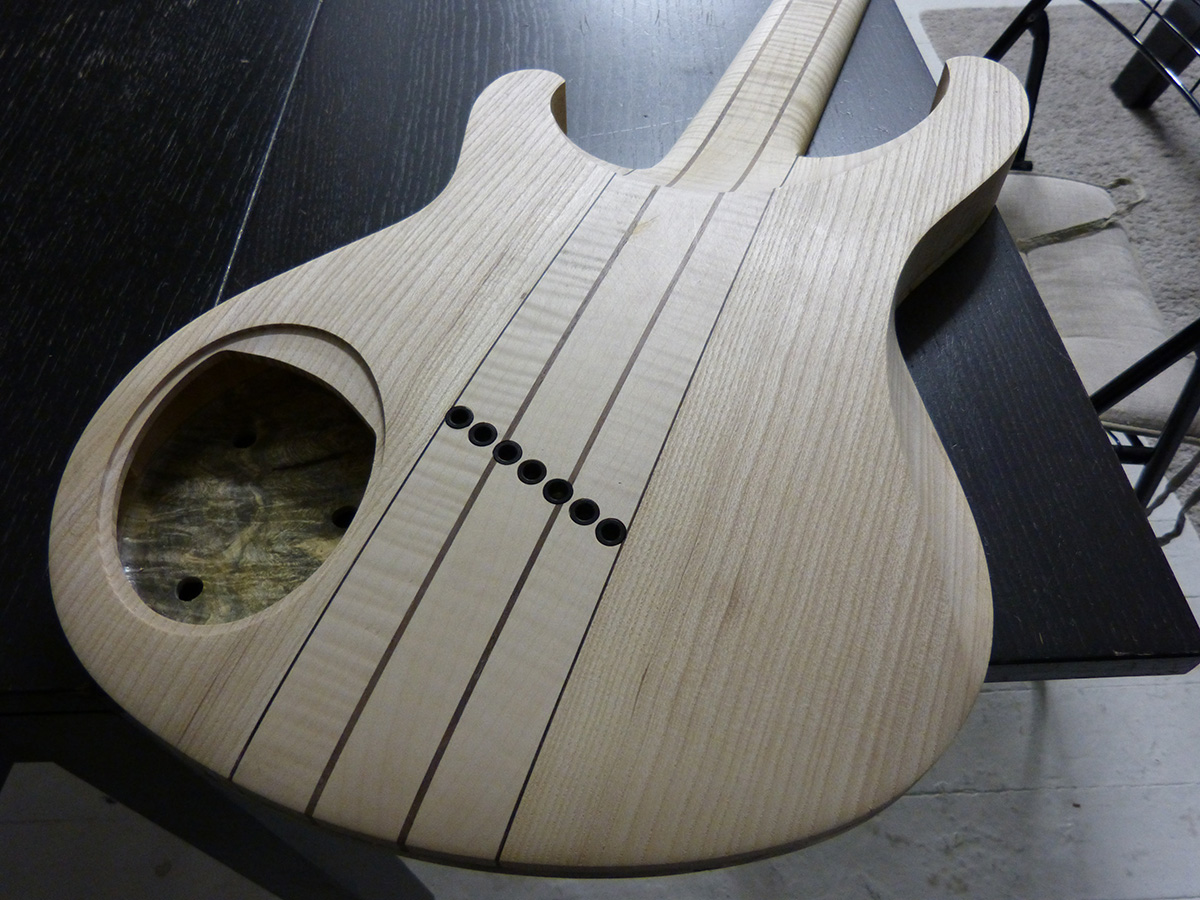
preparing for the ferules holes
and here it goes!
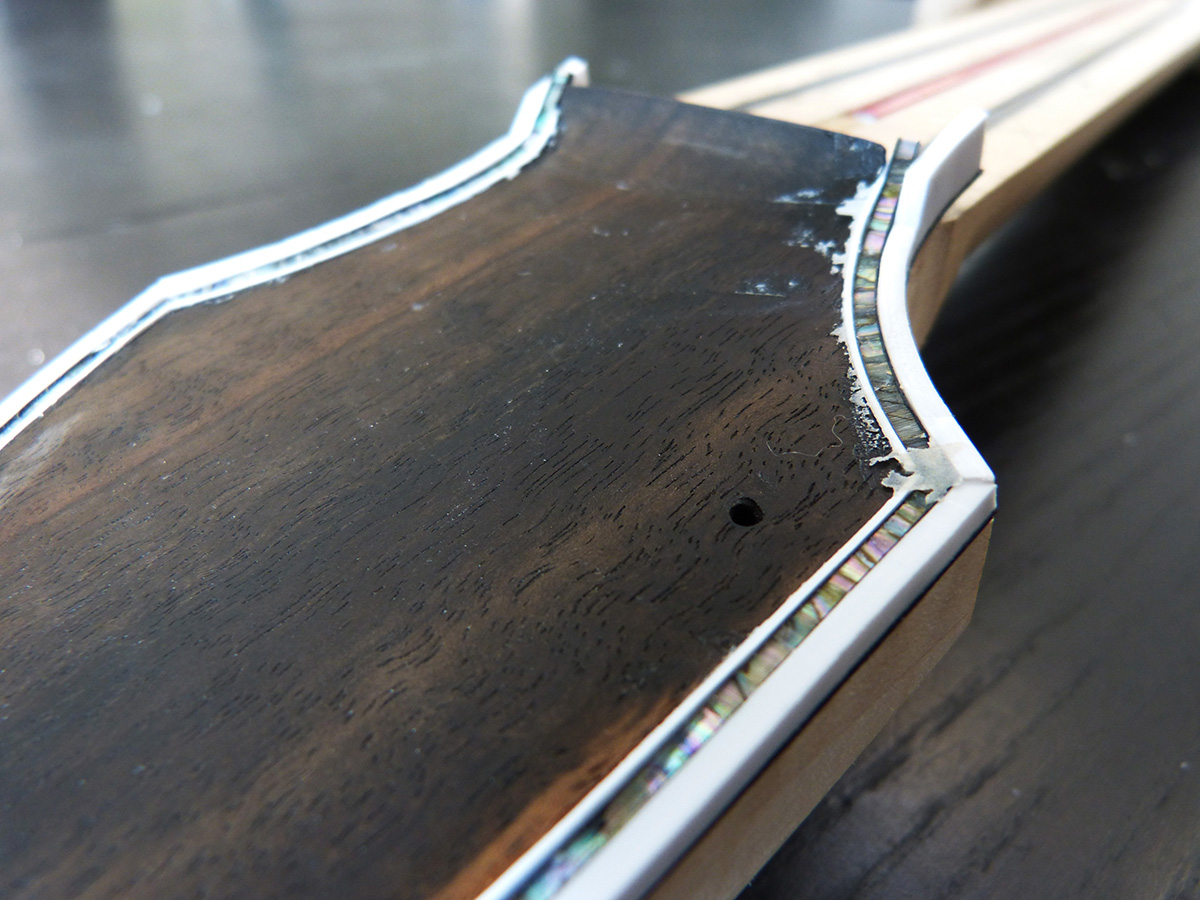
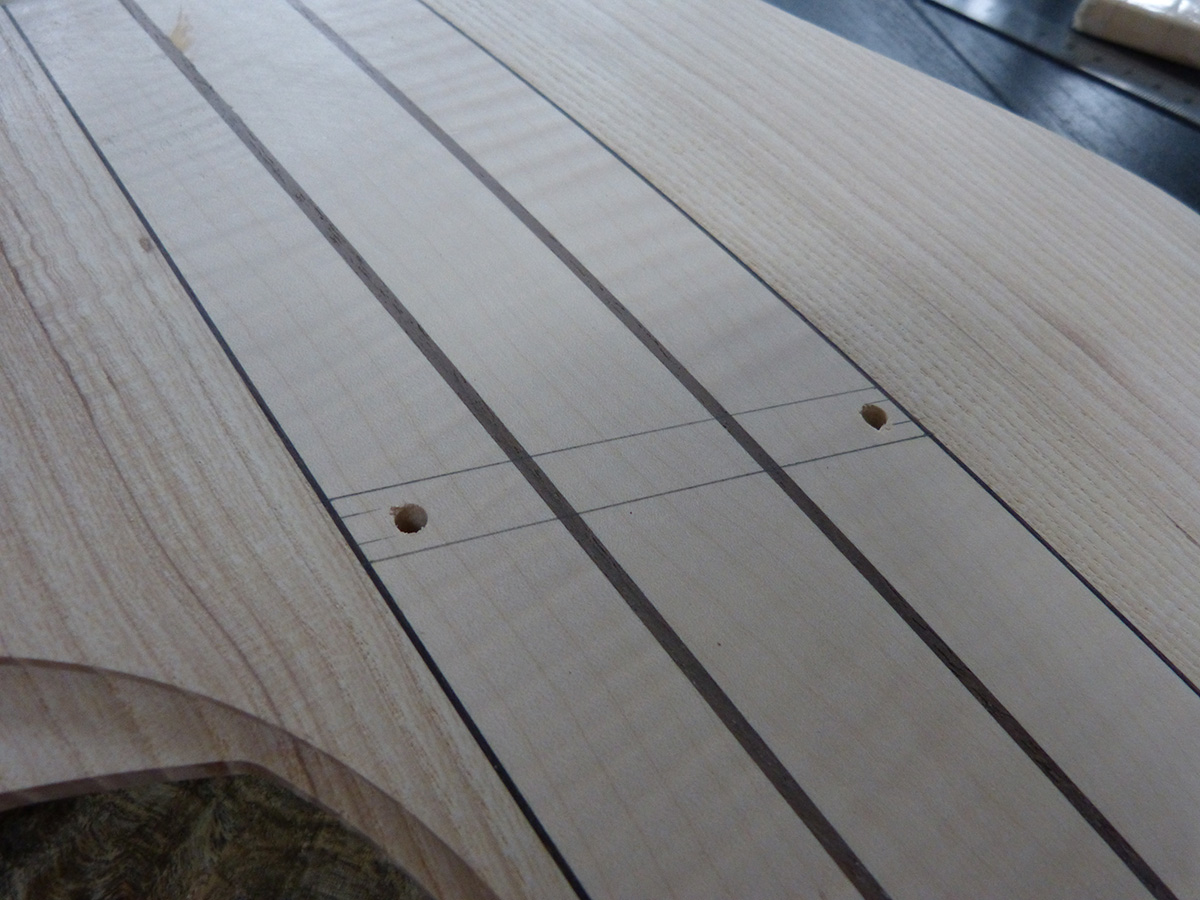
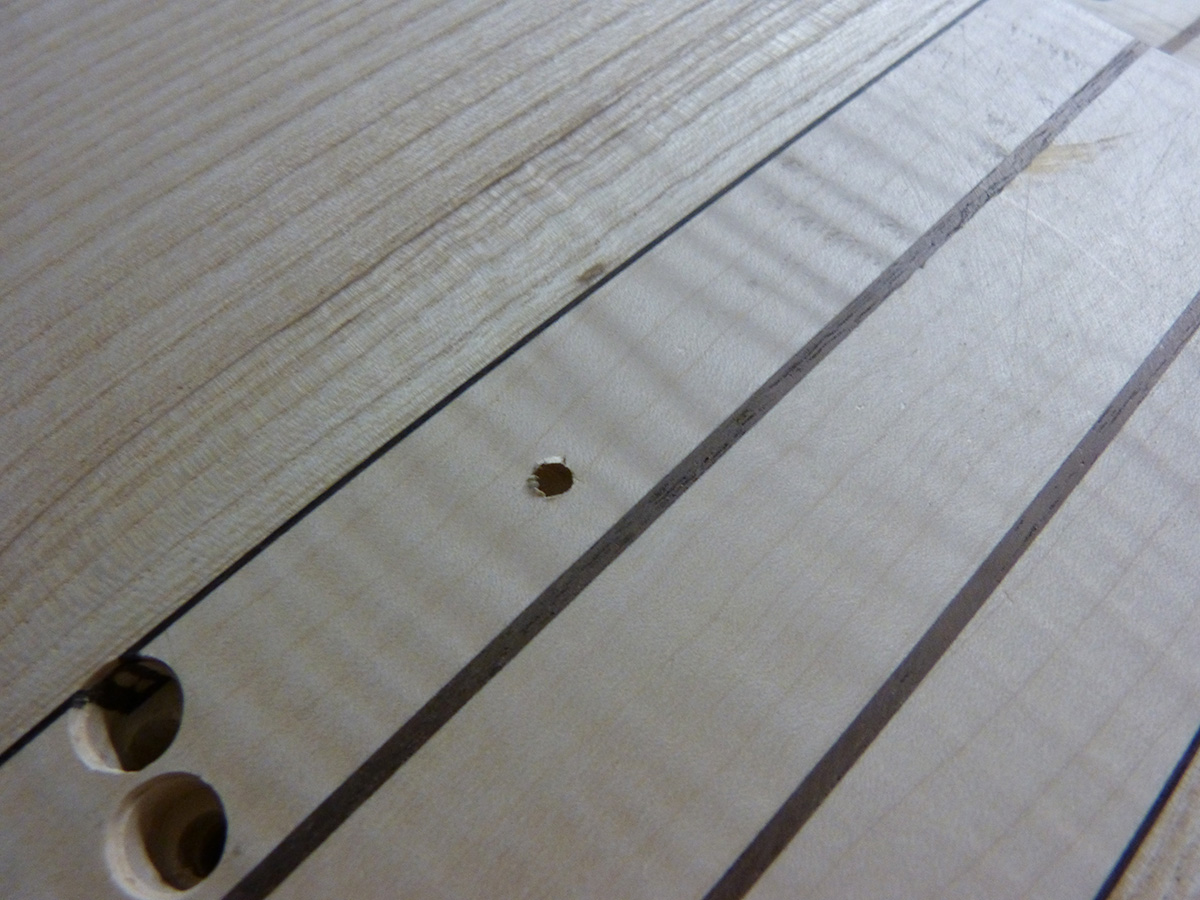
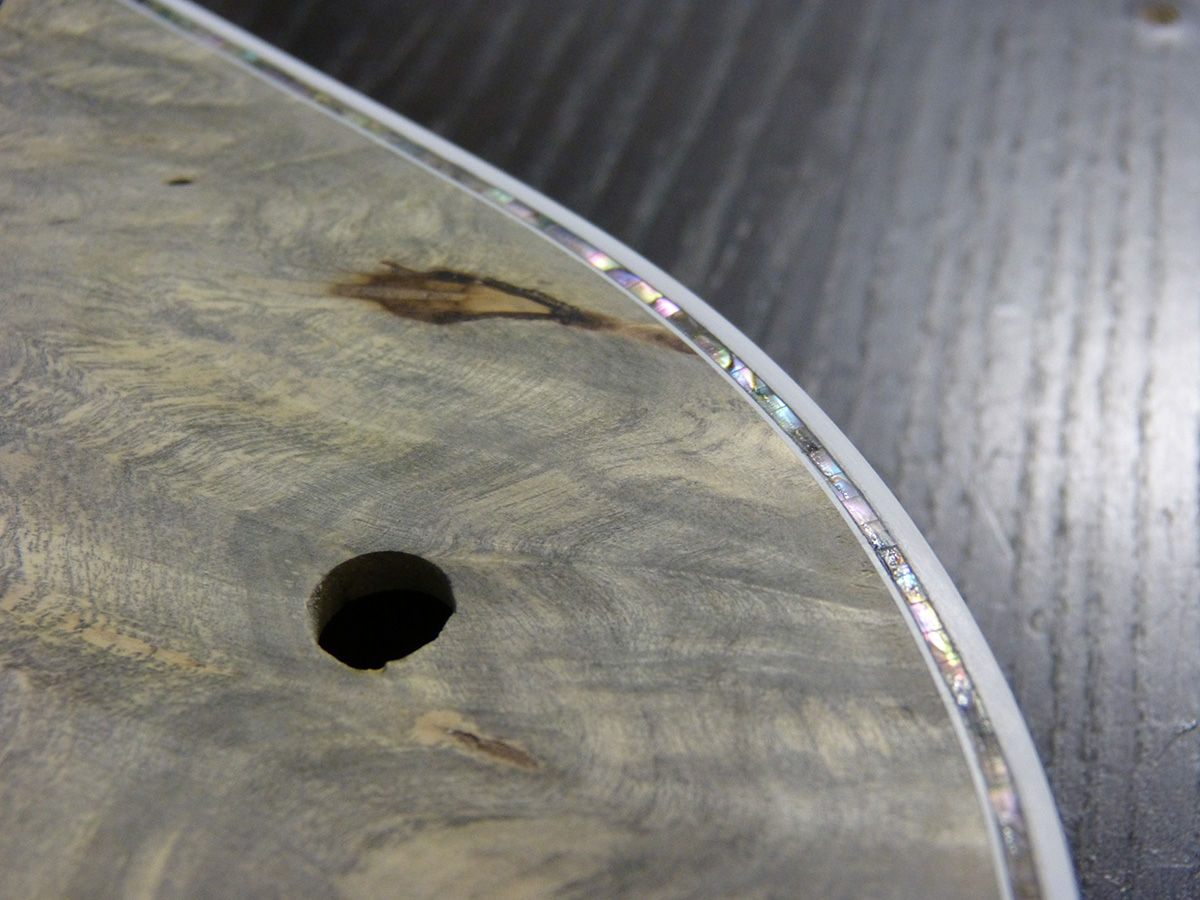
Hello, let's be honest for a minute and show how I destroyed one of the two guitars after working on it for almost a year and how I tried to fix it but couldn't hide it perfectly,
yep, that's a four millimeters hole right in the middle of that high grade flamed maple:
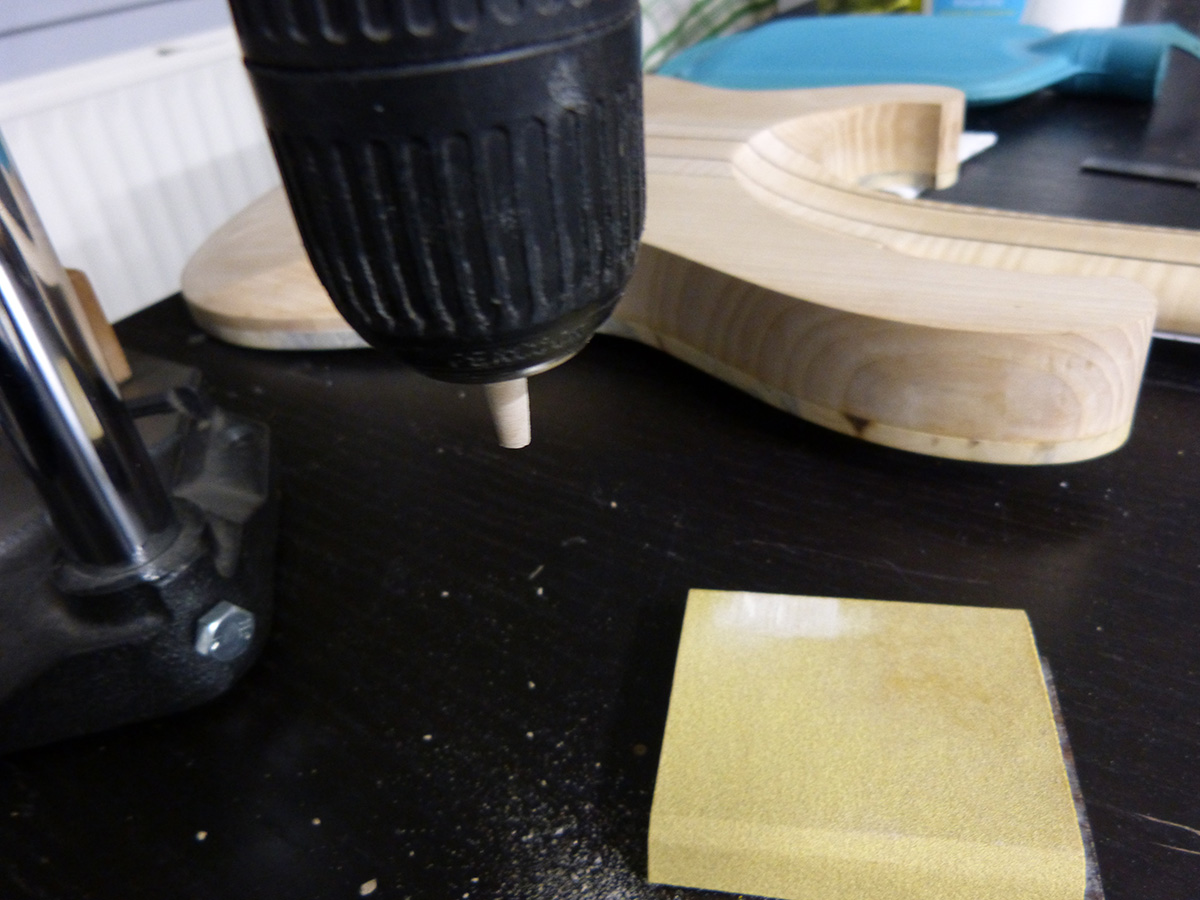
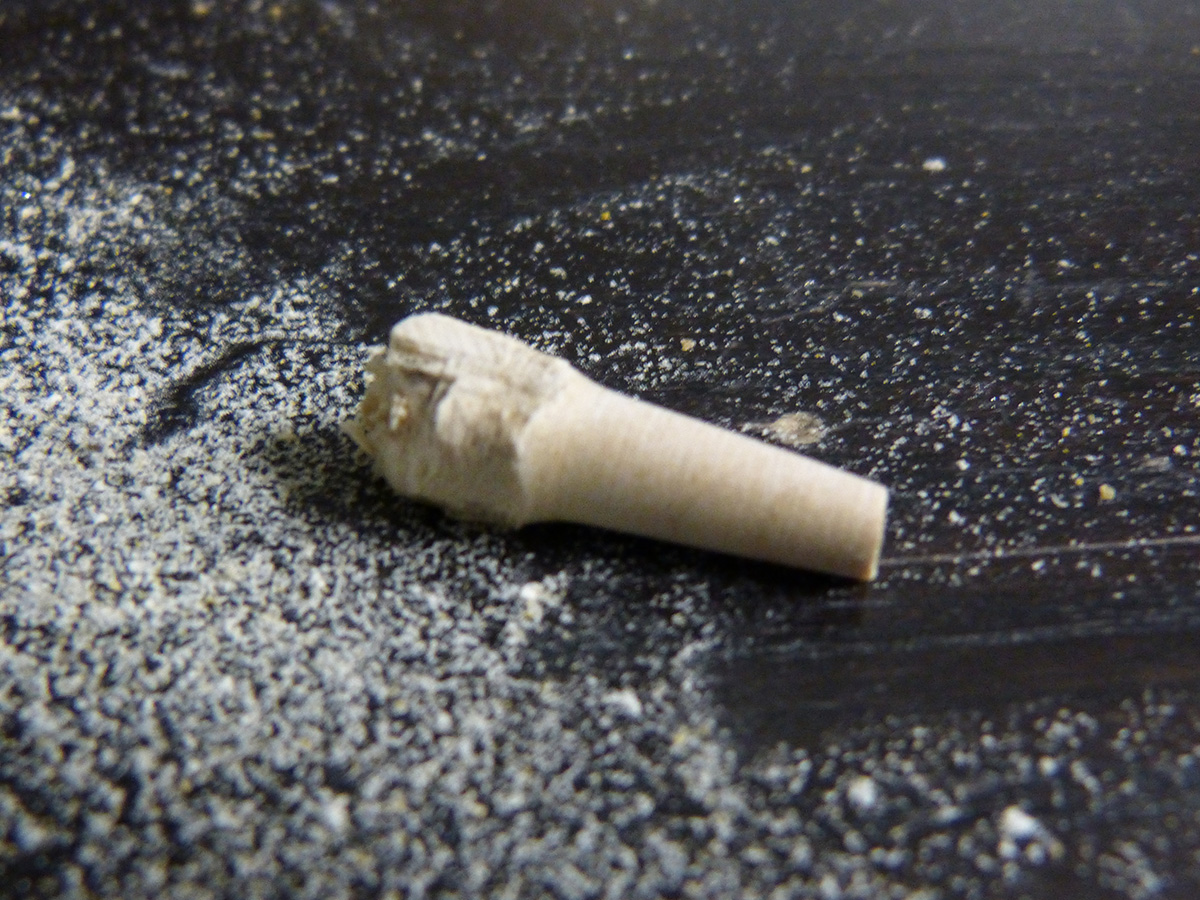
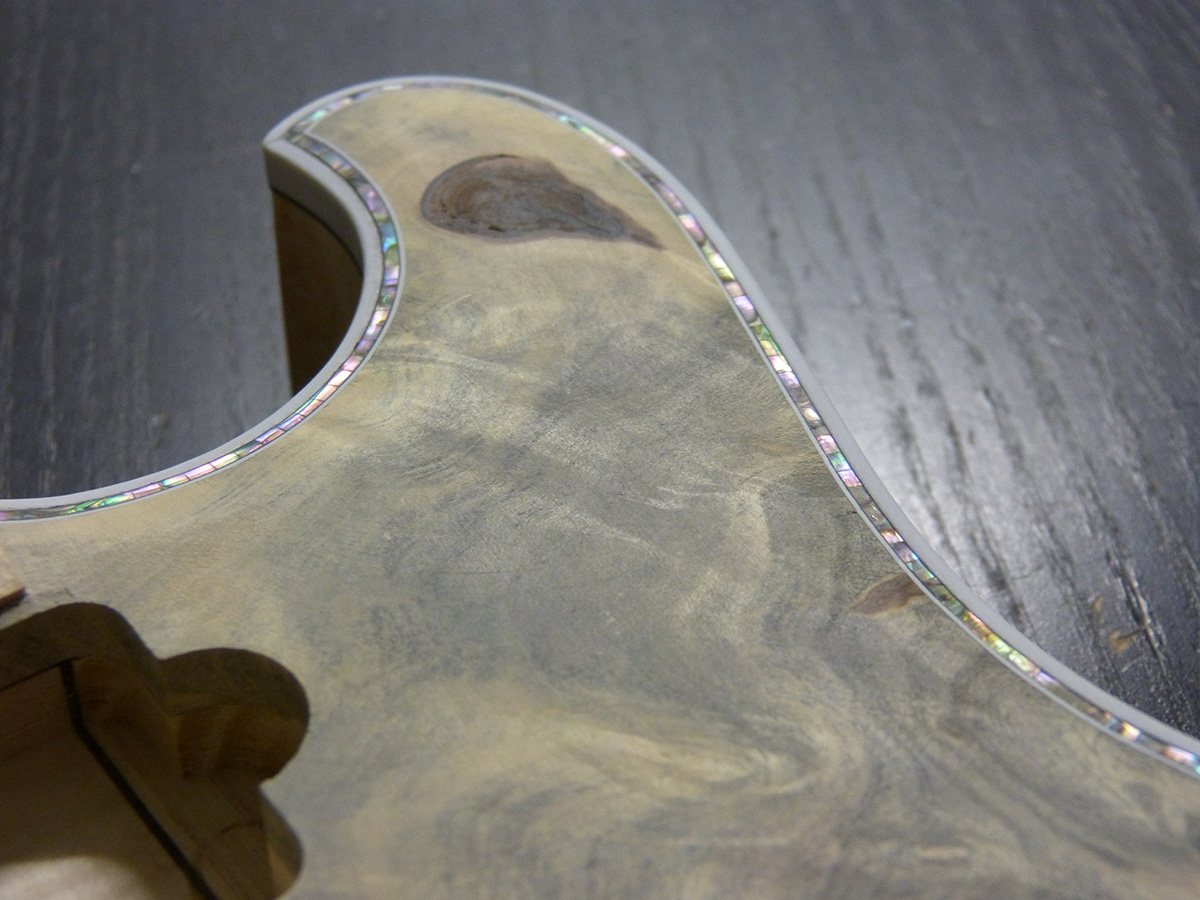
Making a conical plug out of the same maple using my drill "press"
Gluing and slightly hammering in the plug for a hopefully invisible seam
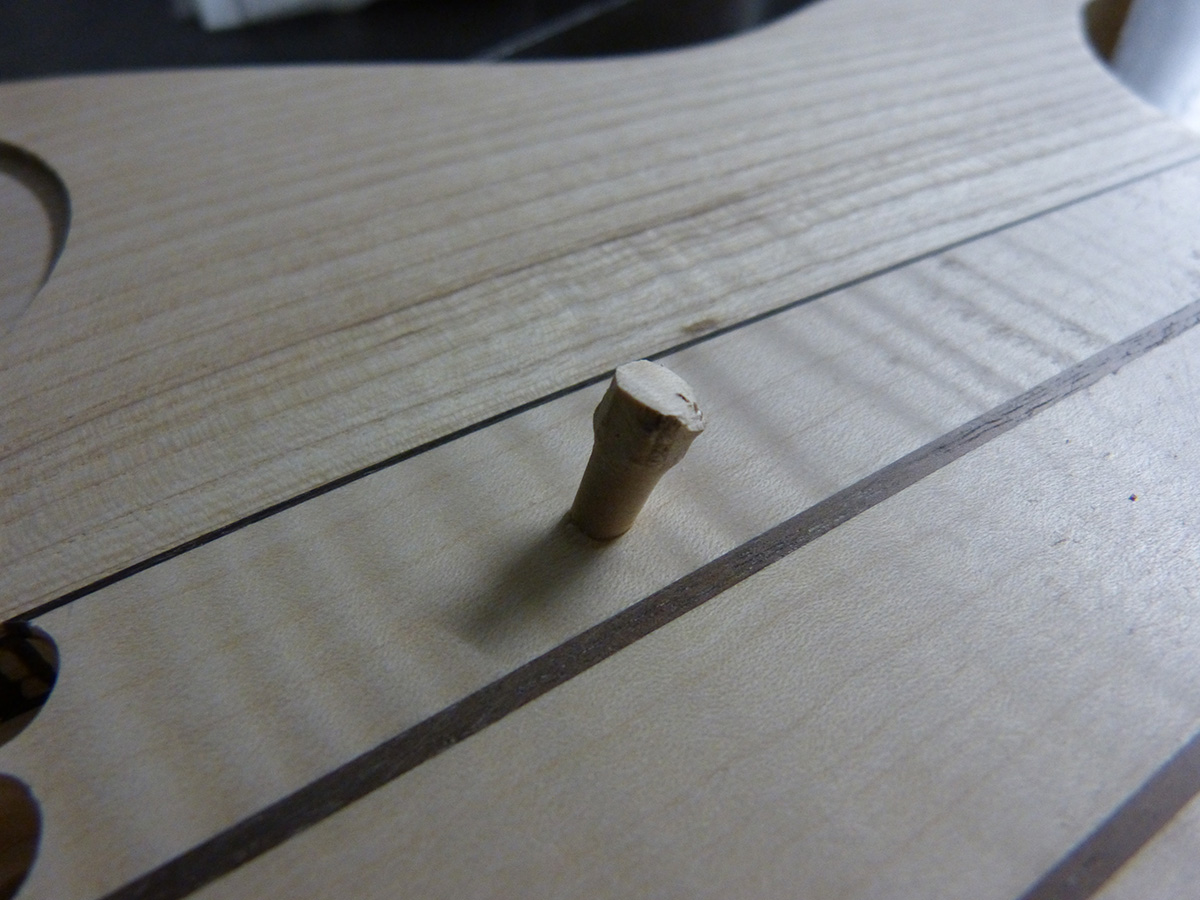
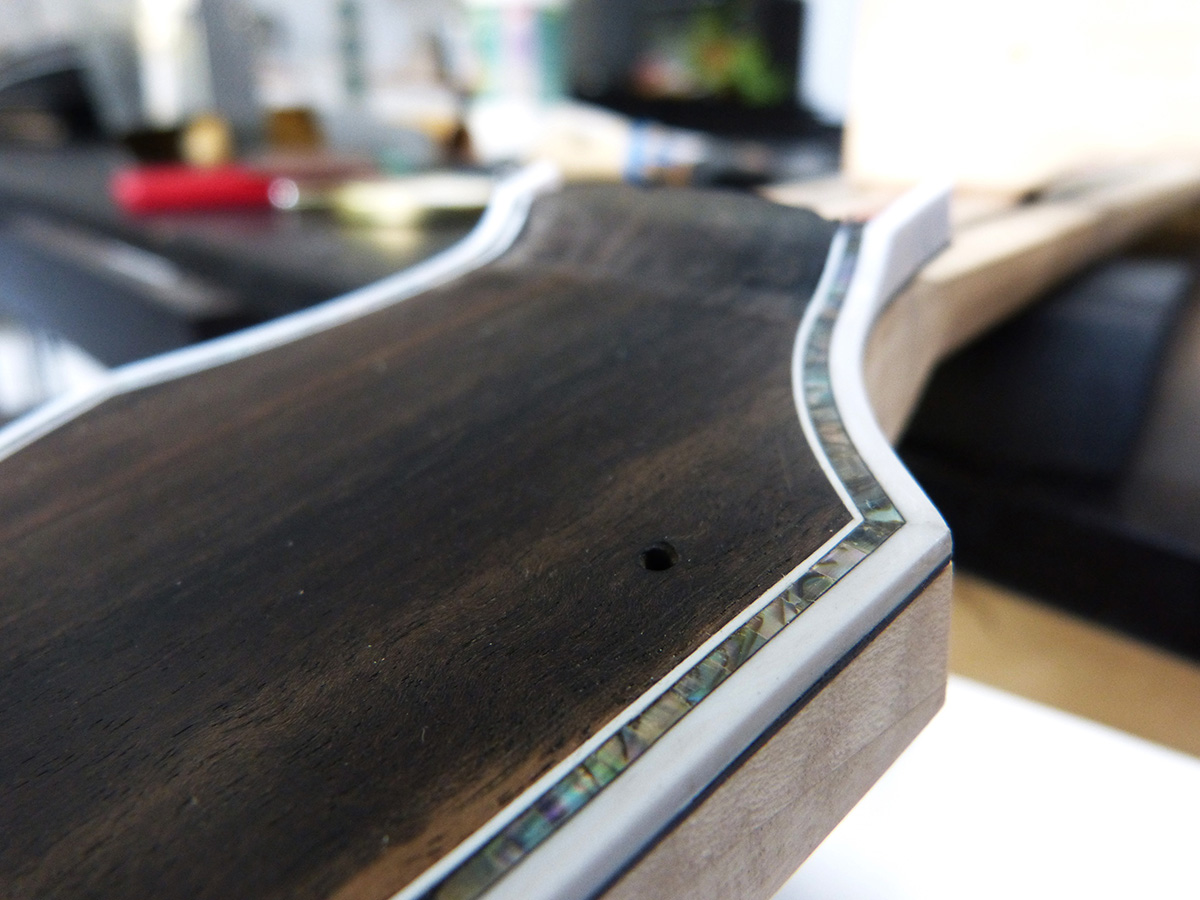
and... the visible seam anyway:
As a reminder, here is how it was before gluing the headstock veneers:
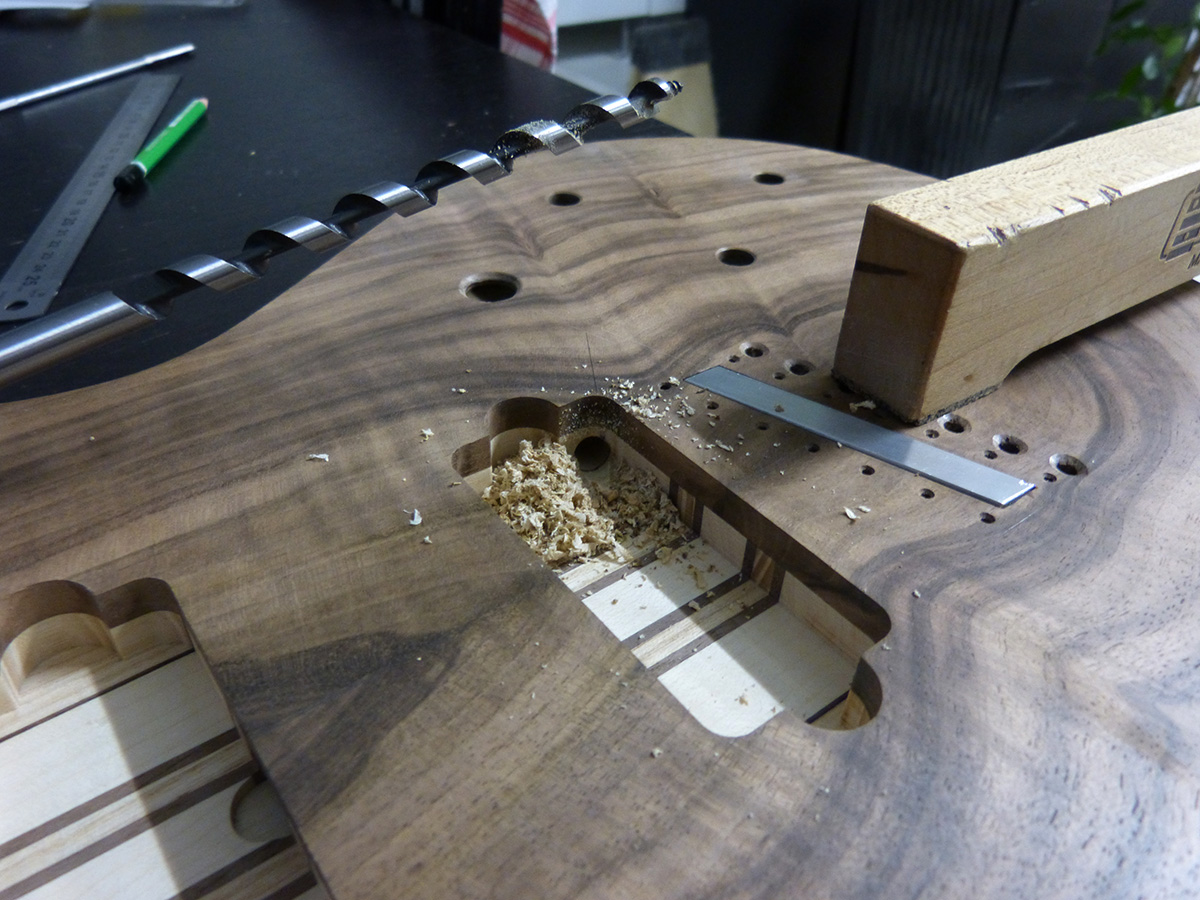
now, routing a really small and subtle cavity to adjust the truss rod.
testing if it works. yes it does!
and on the second guitar (with a nice blurred picture)
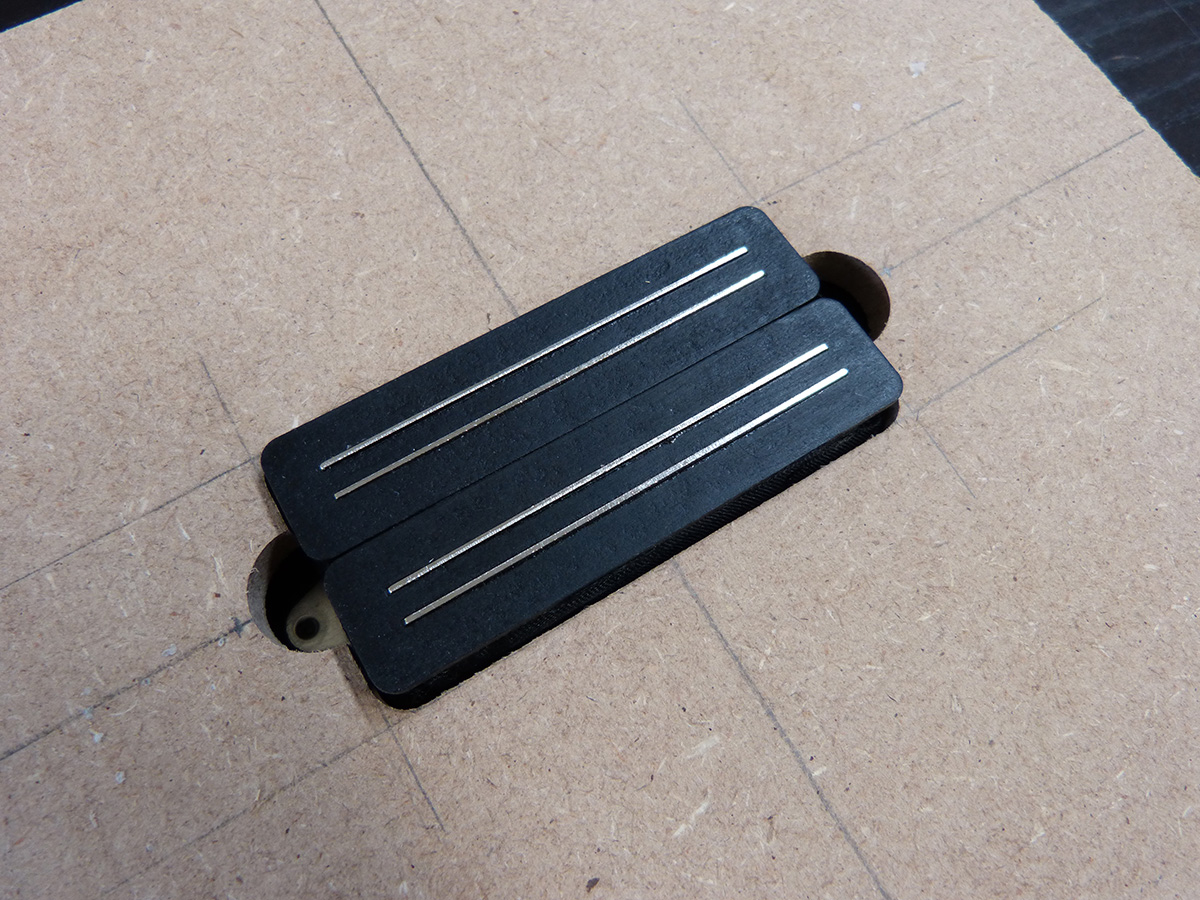
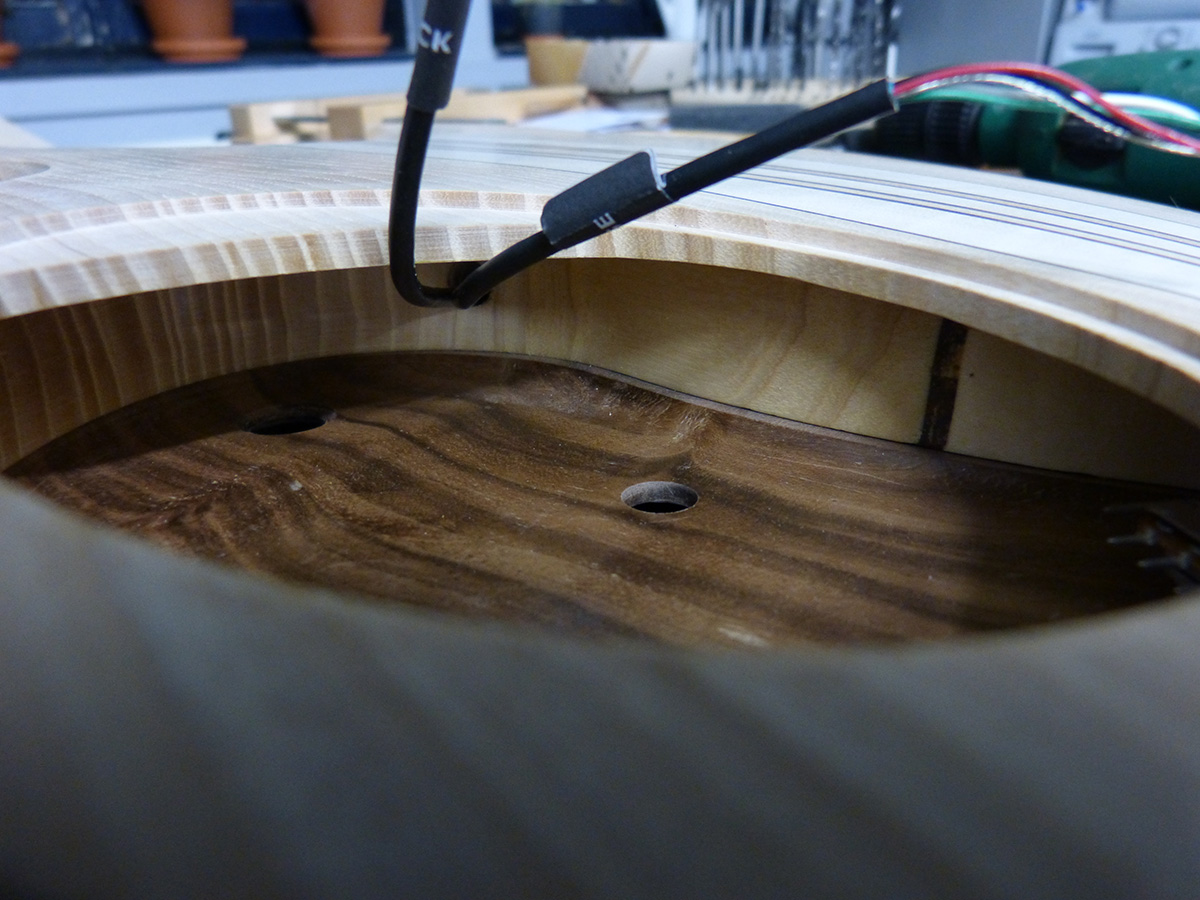
Drilling the pickups cable path from front to back of the body with the crazy long drill bit to avoid going through the body again
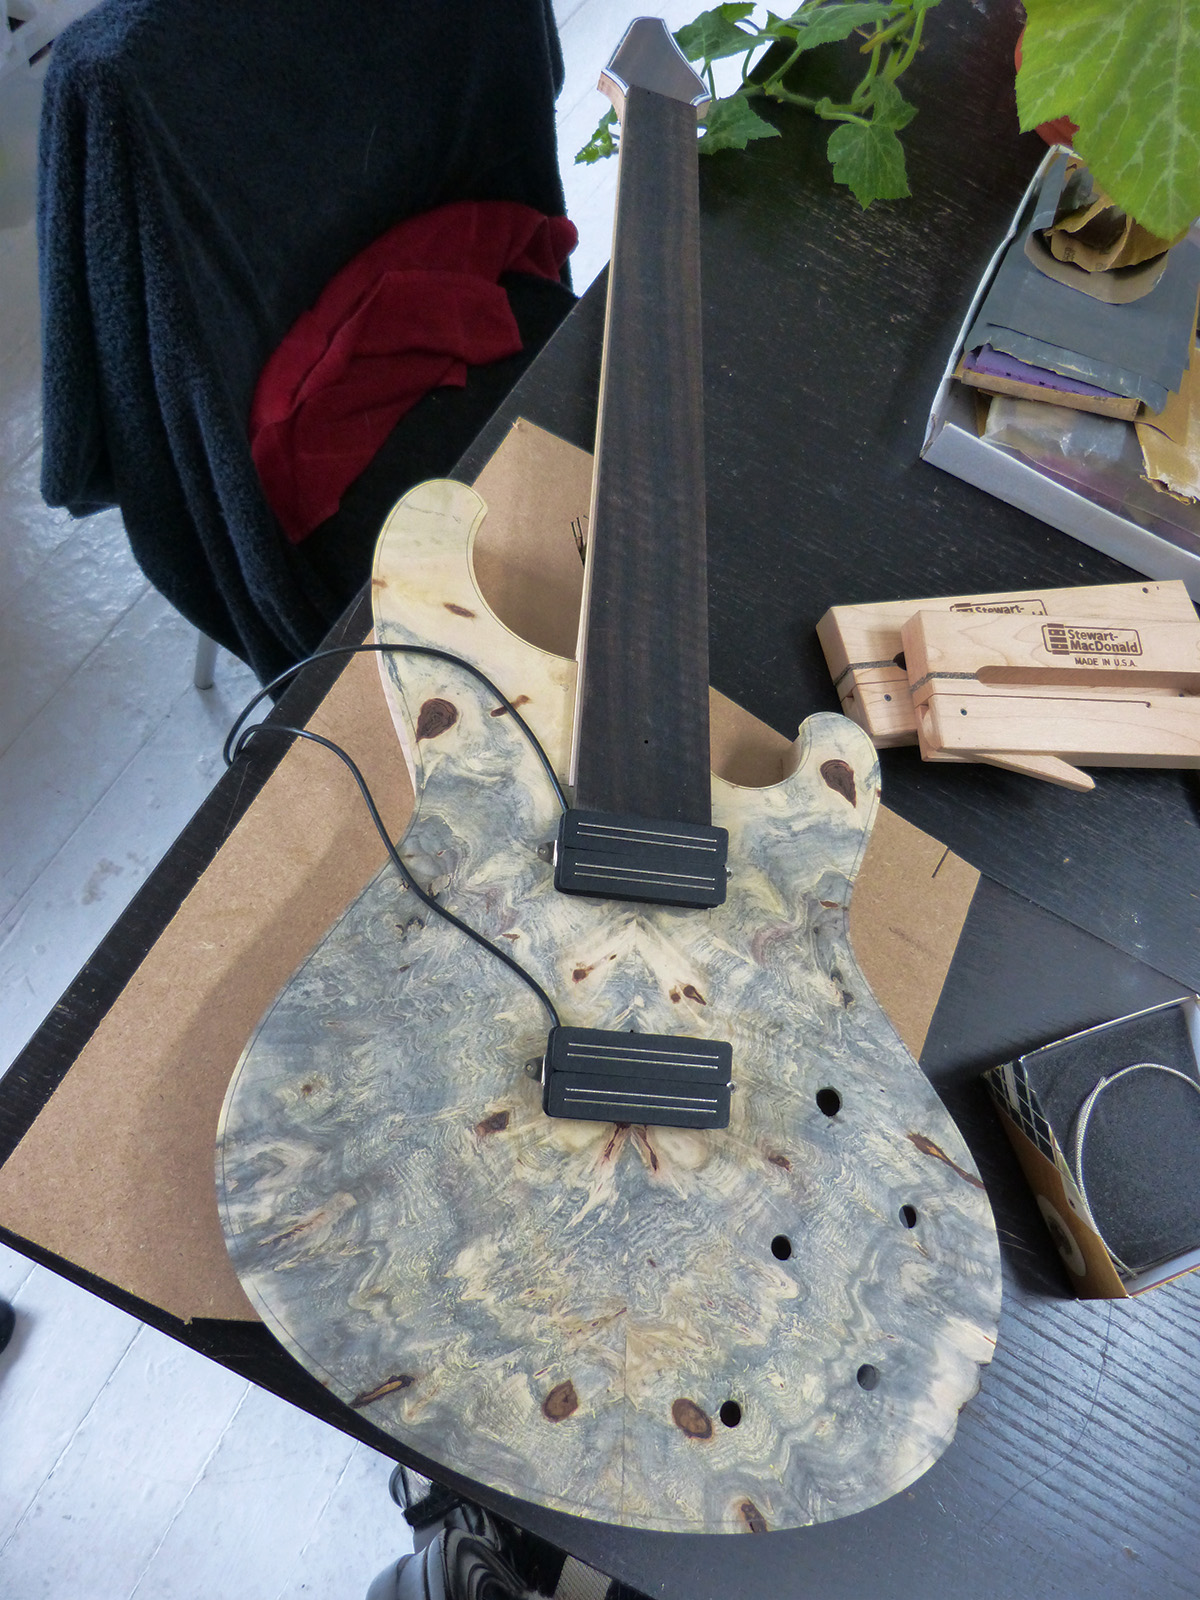
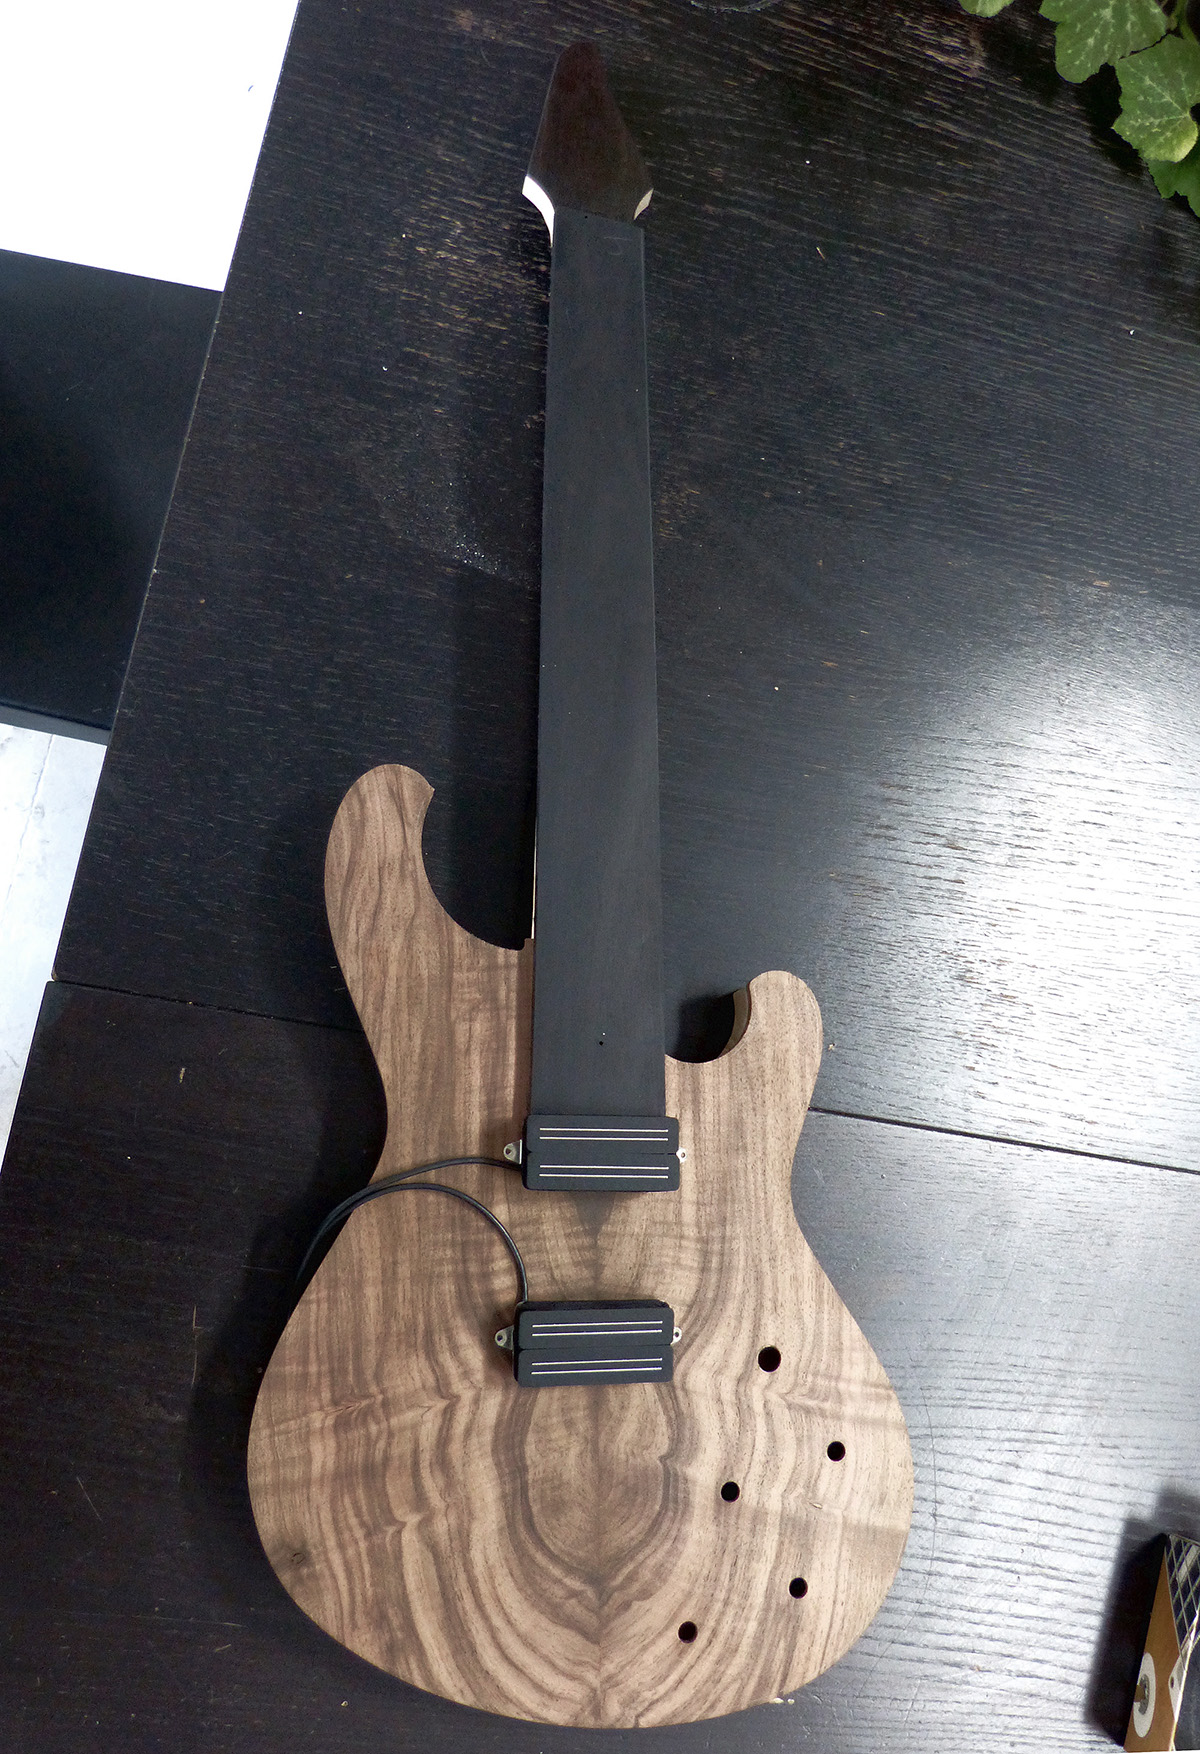
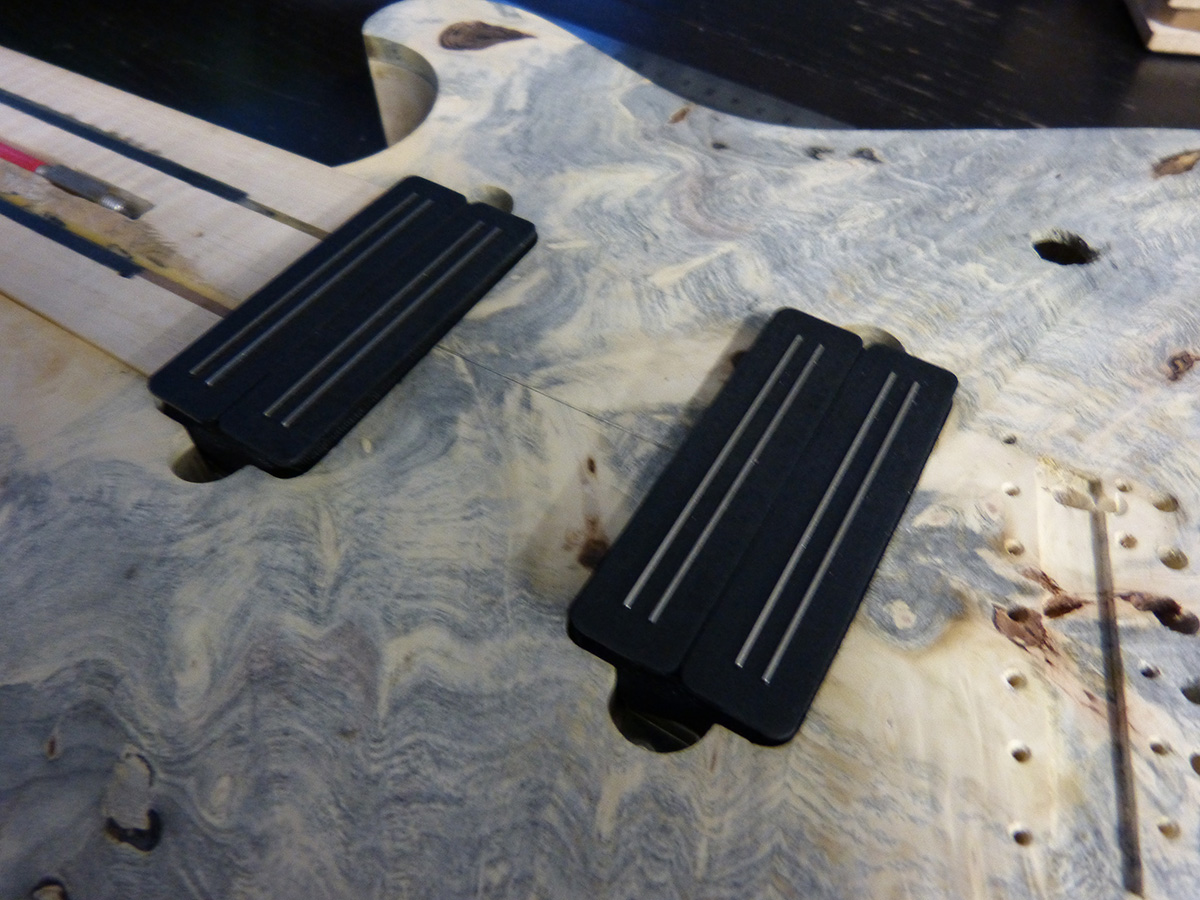
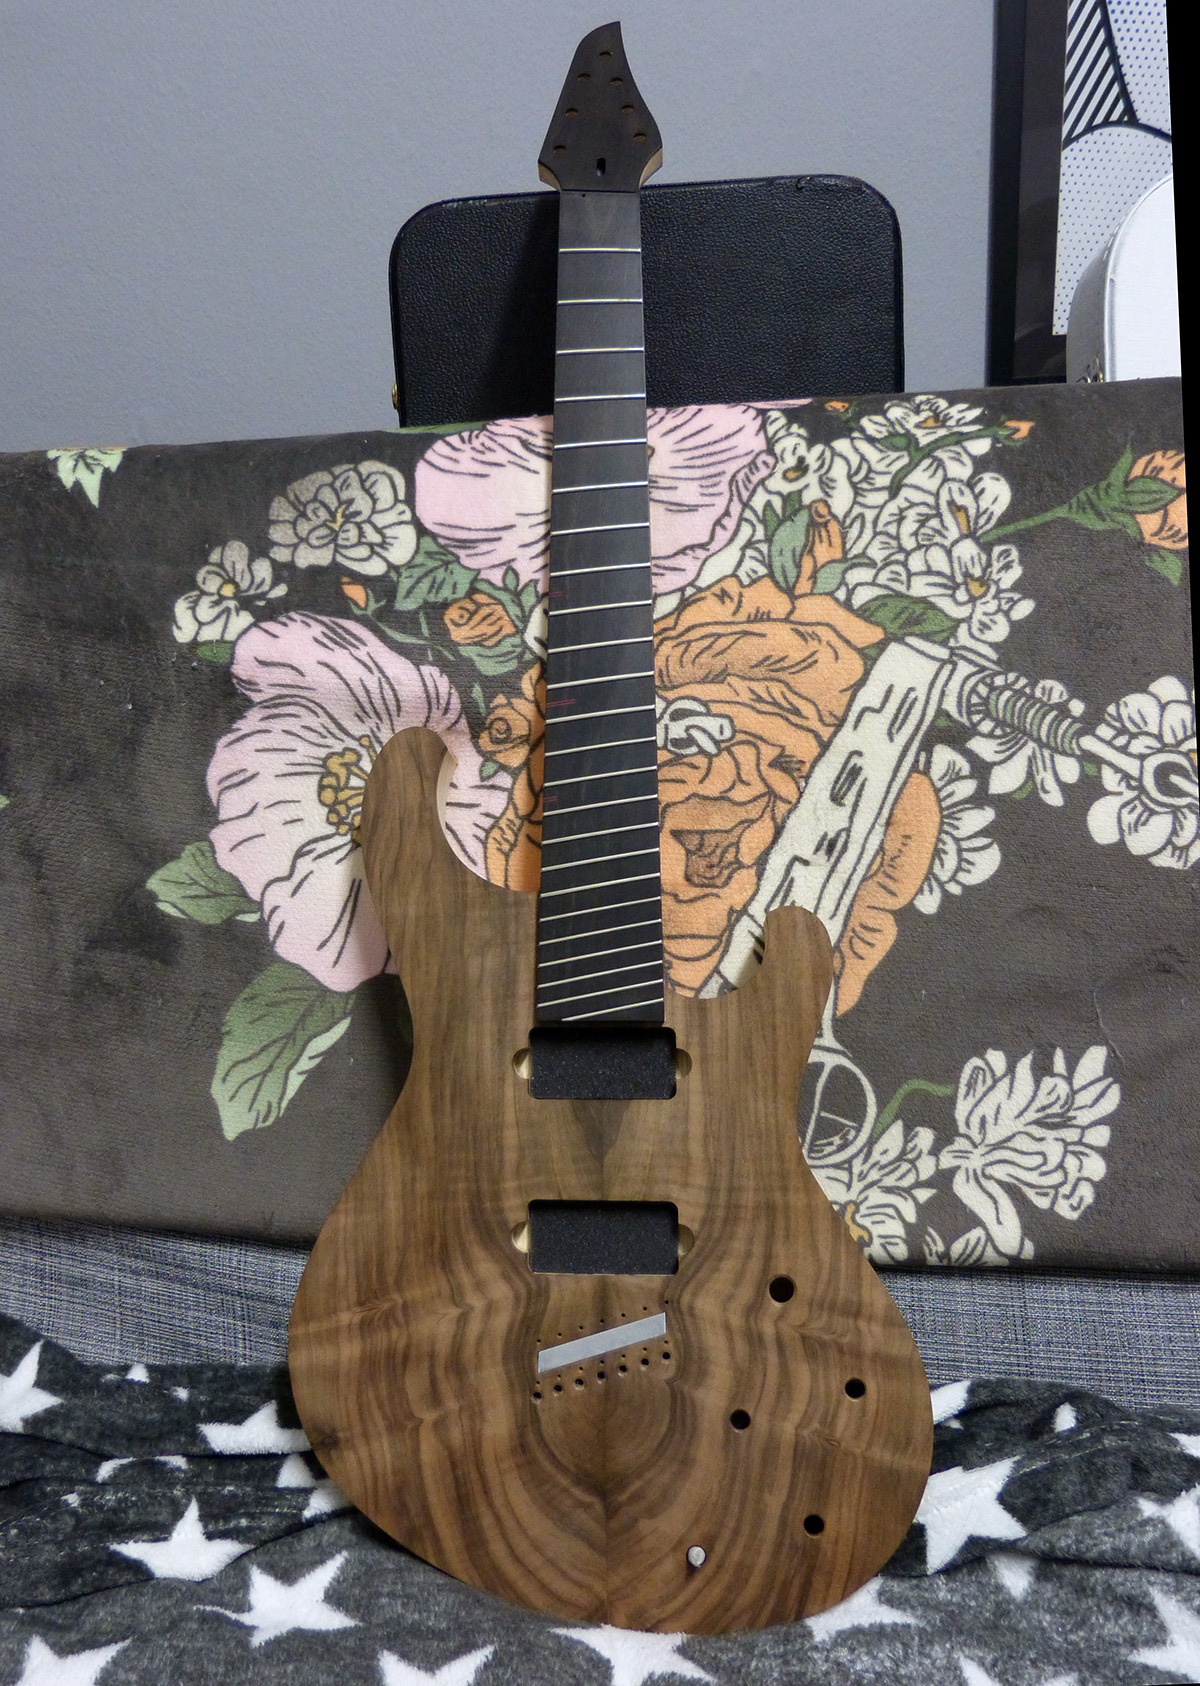
inserting the pickups for testing, oh yeah!
same with some burl and some blur
the cables on the other side
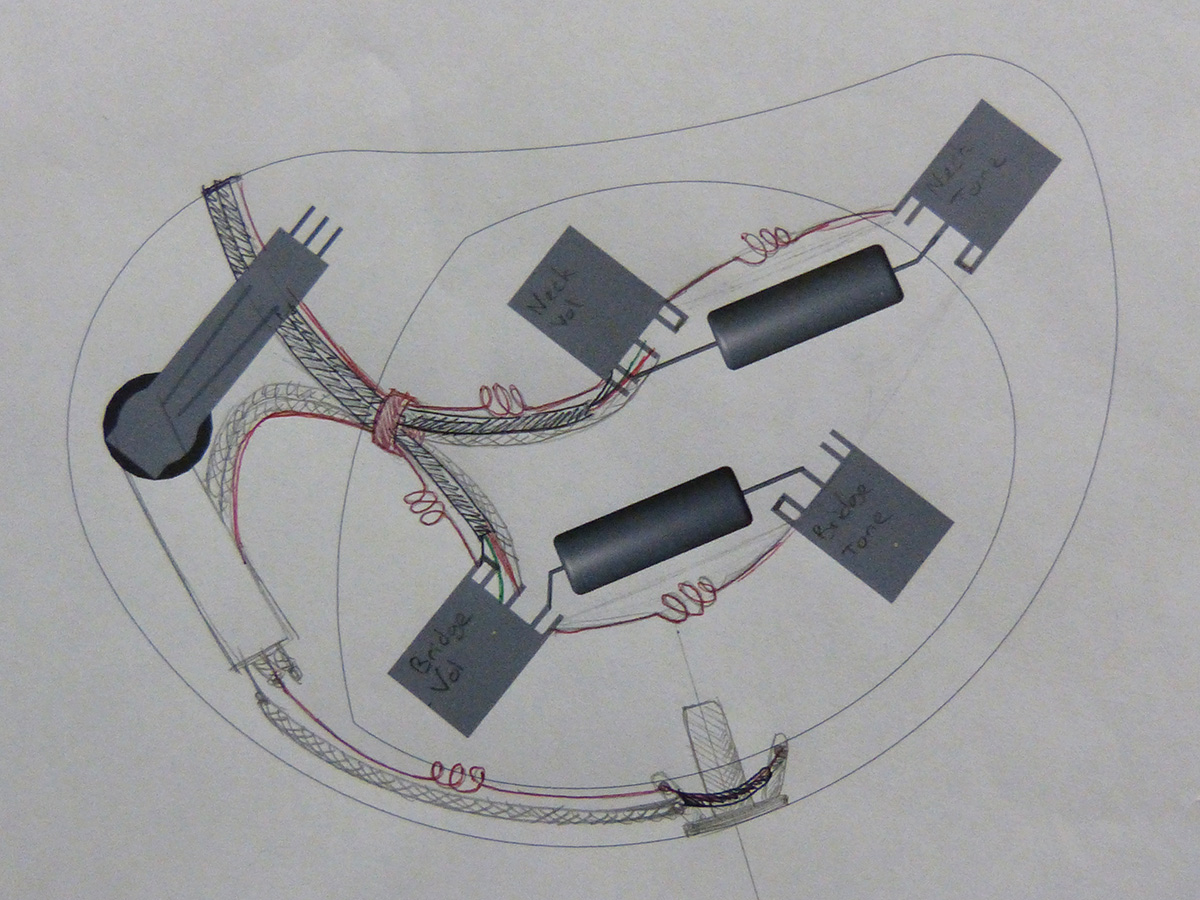
first concept for the electronics
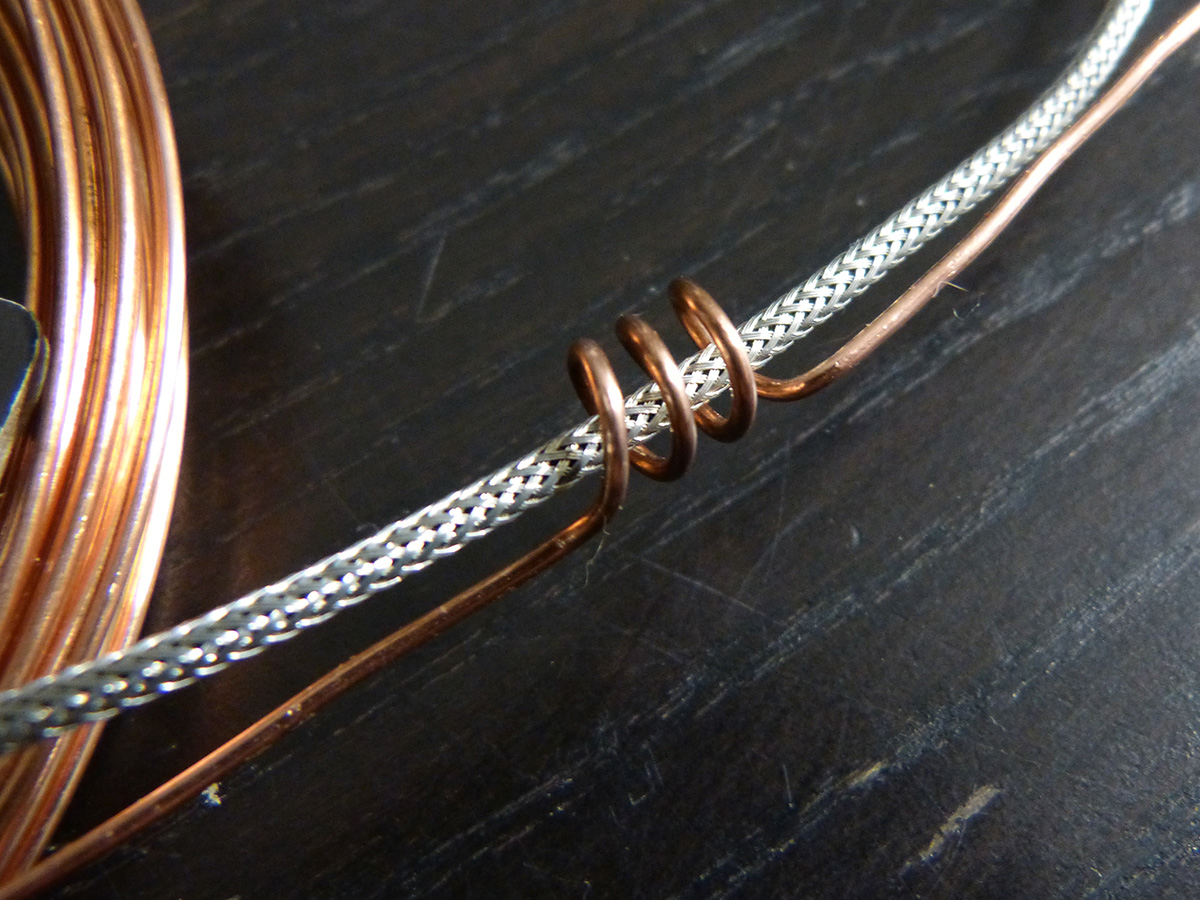
and an actual test for the cooper spiral and shielded vintage wire

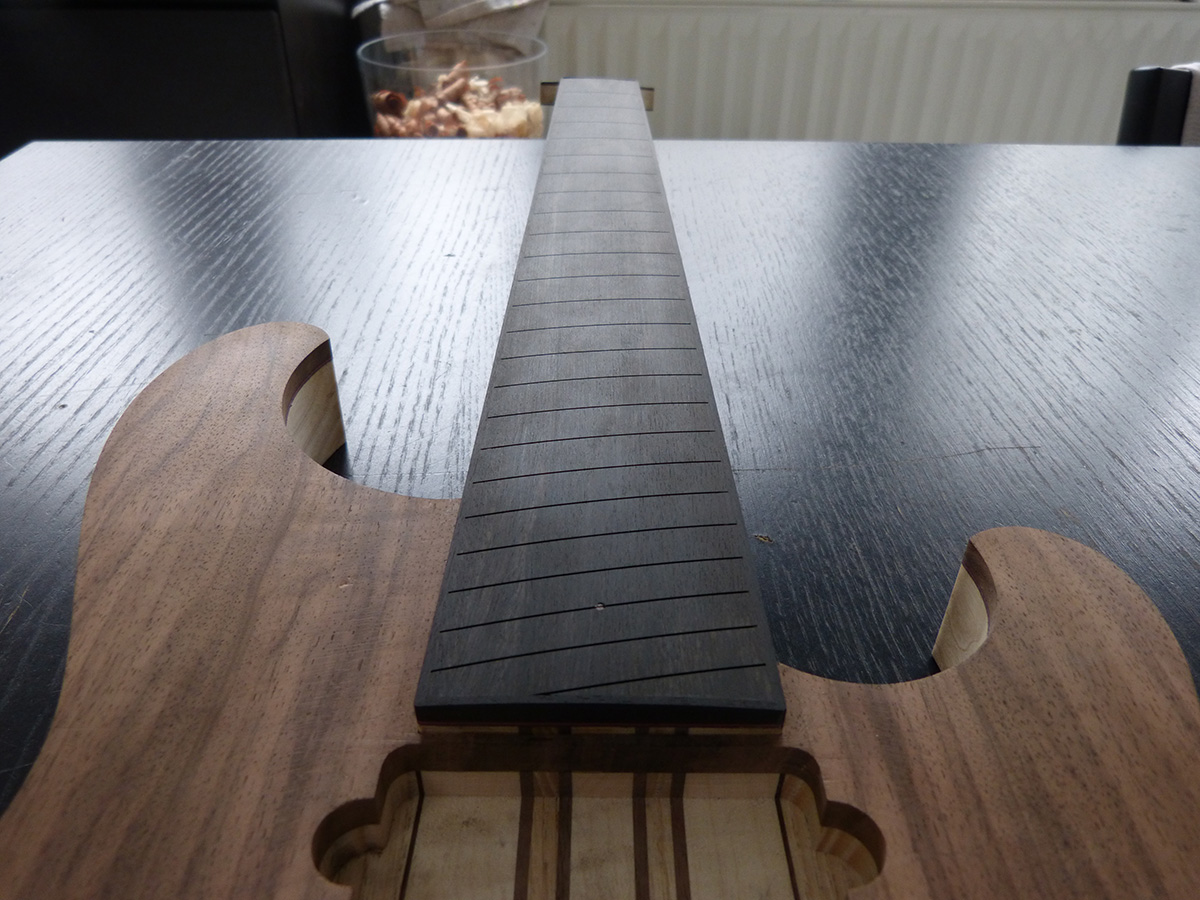
tracing the fingerboard tapper
cutting it the usual way: by hand
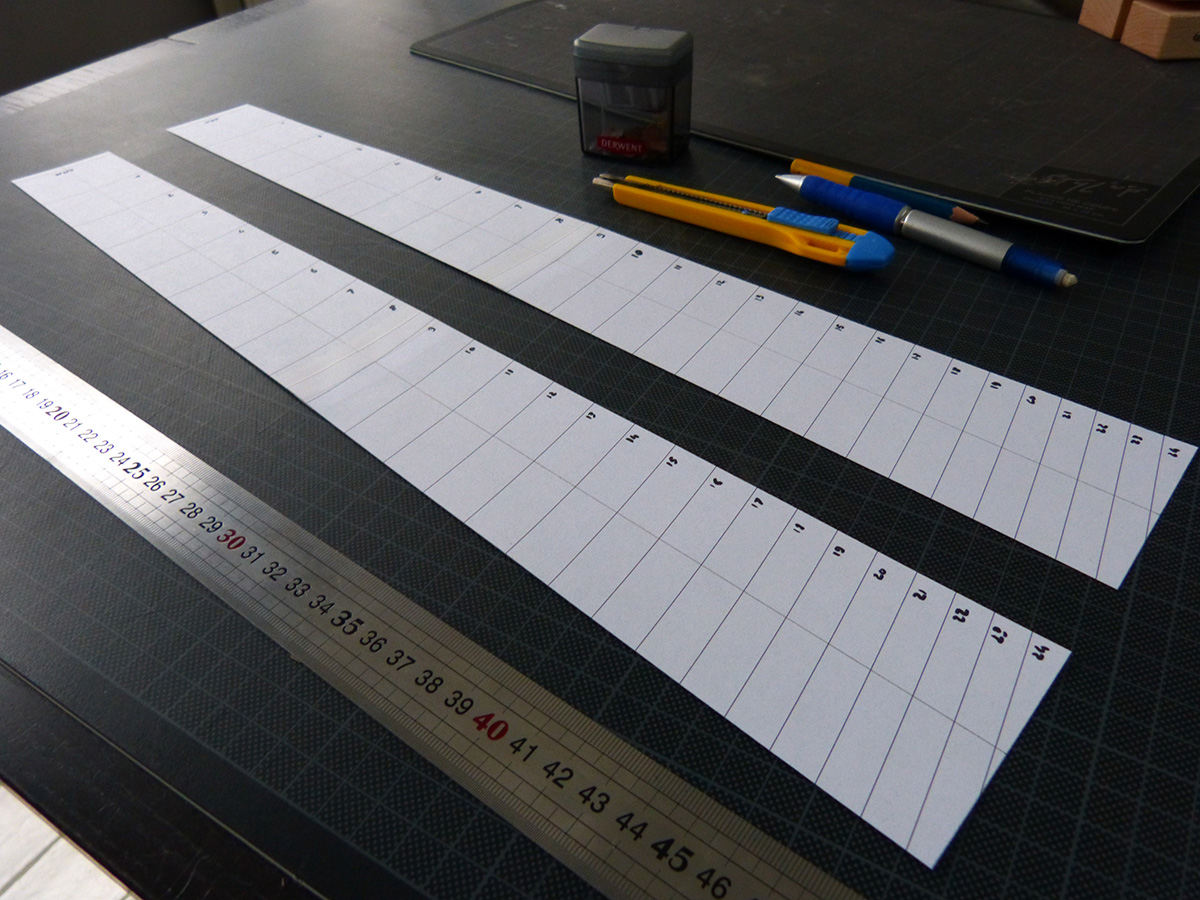
printing and cutting custom scale length paper guides
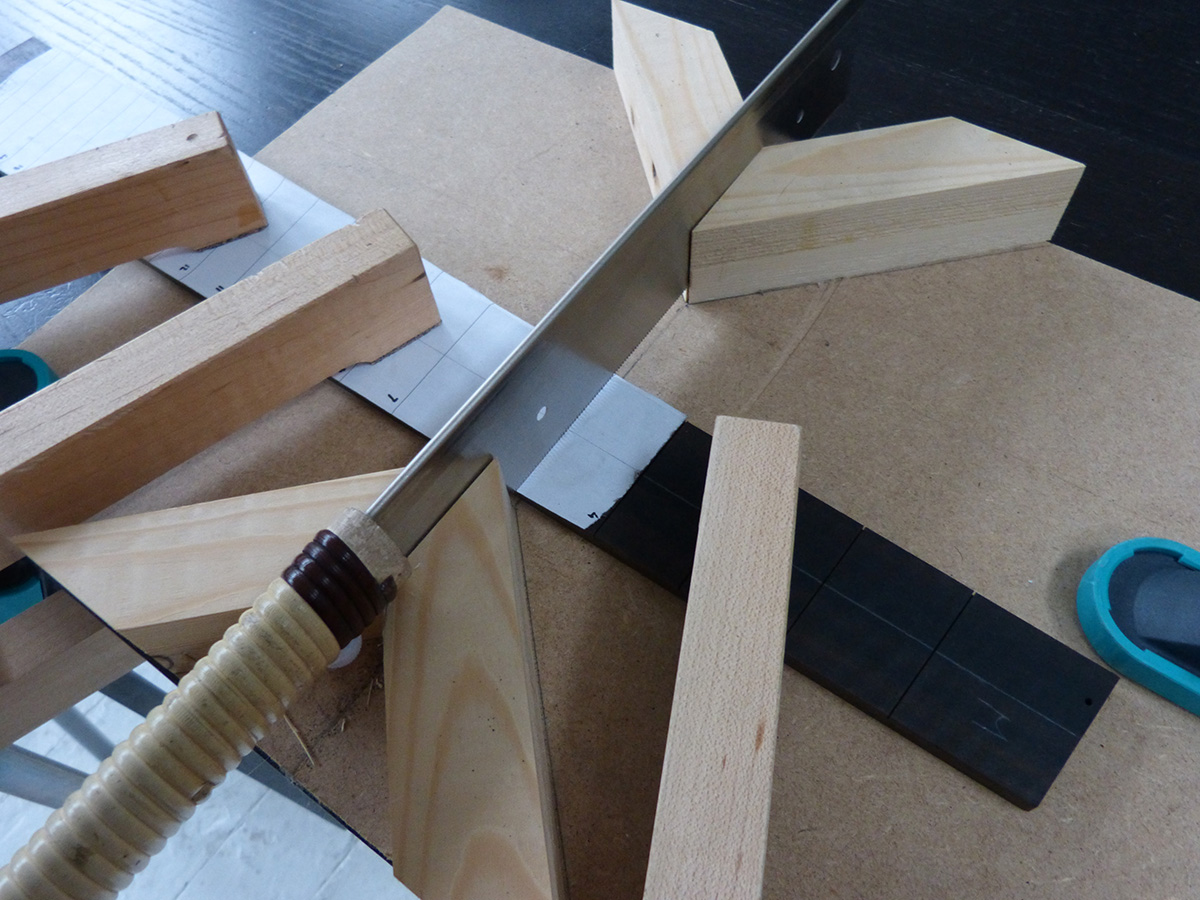
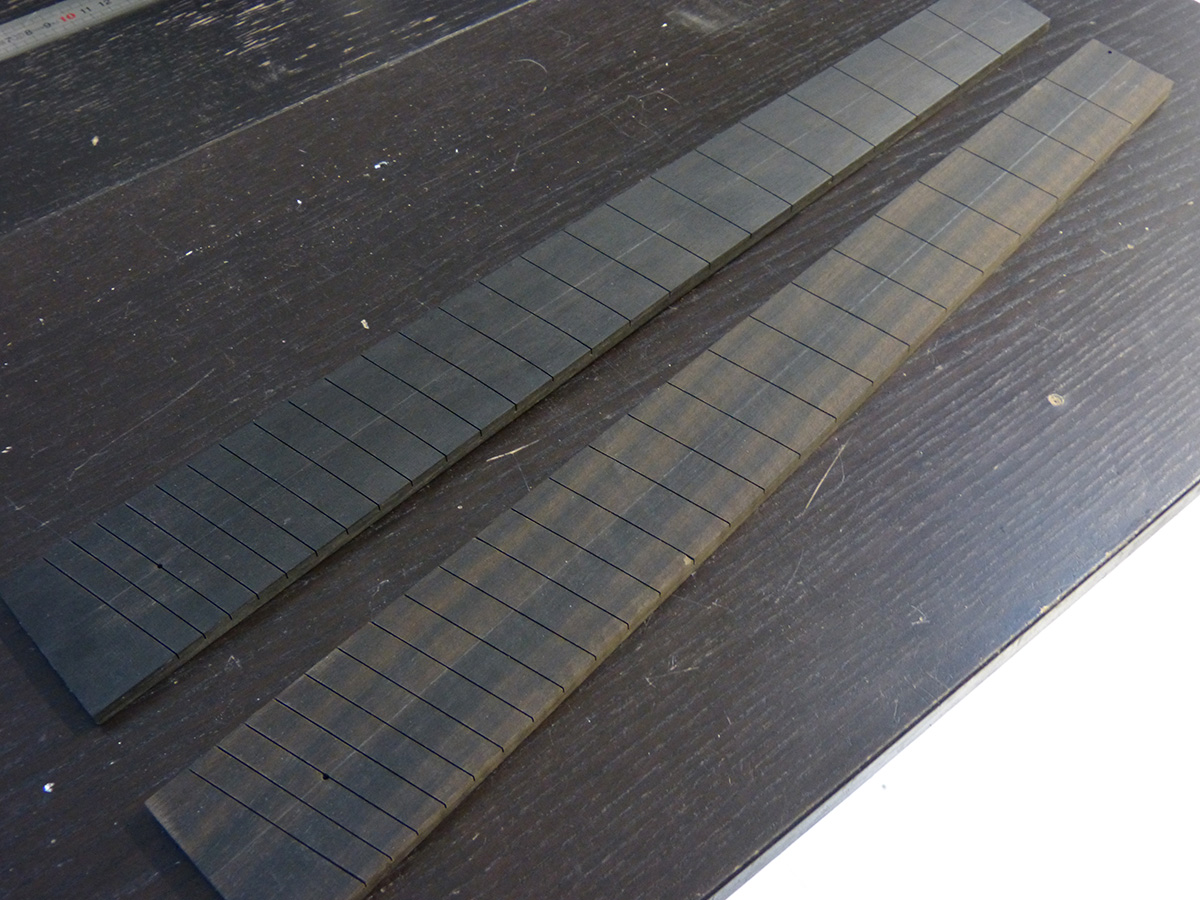
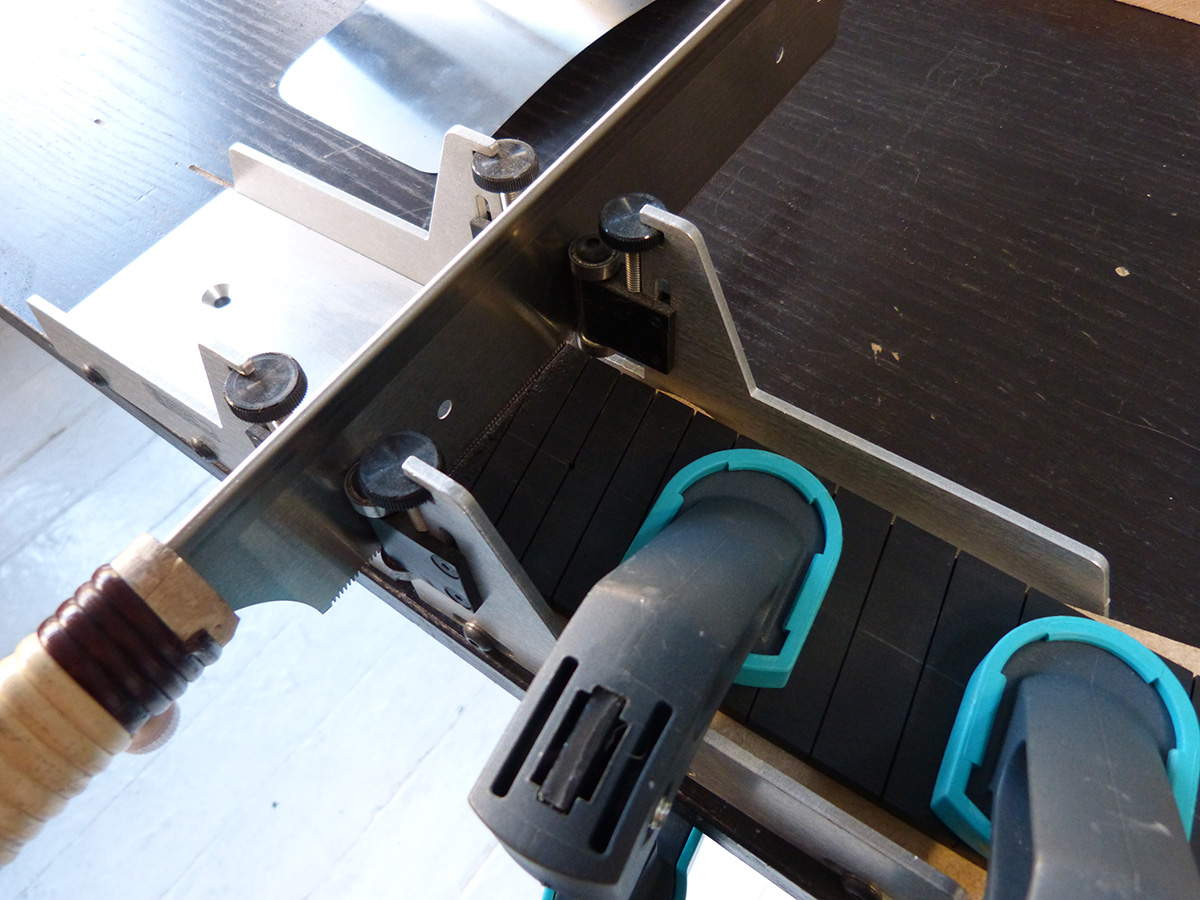
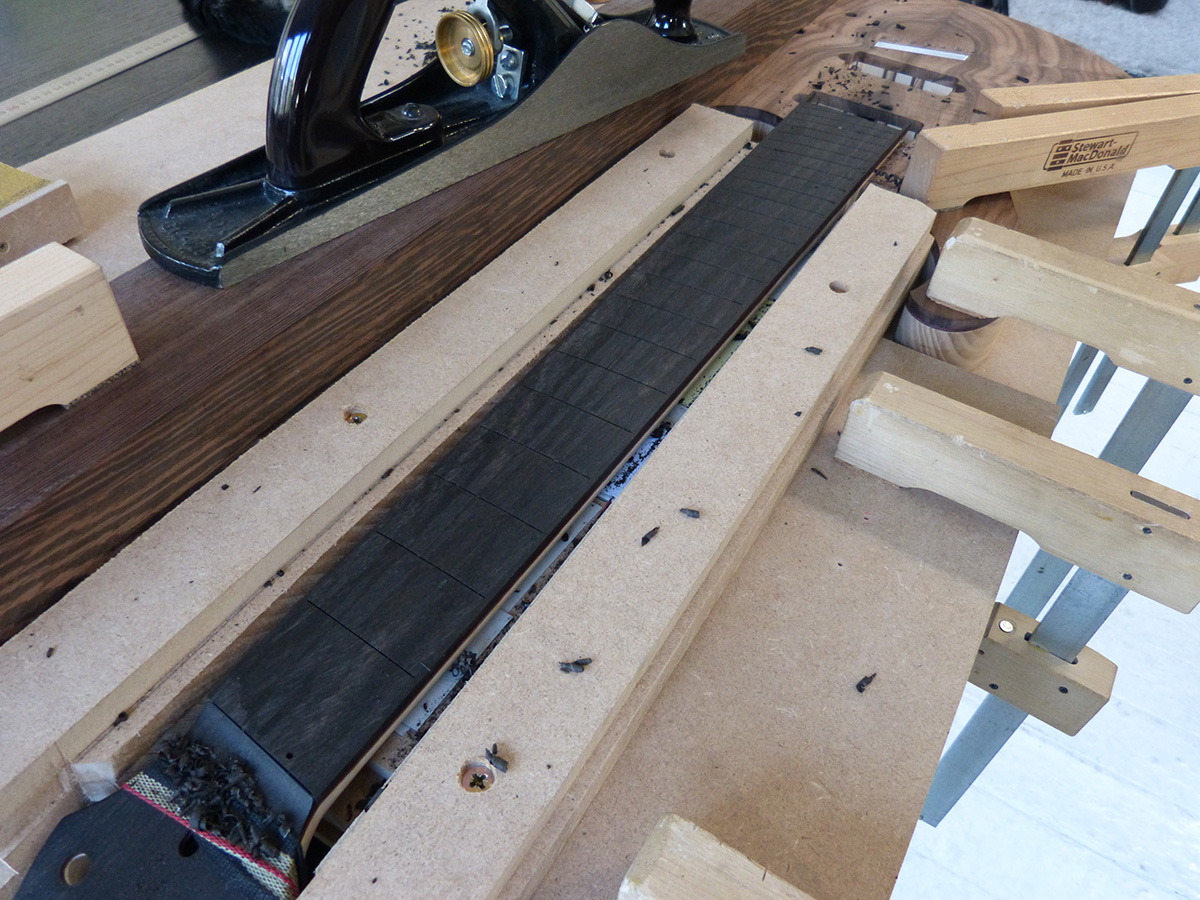
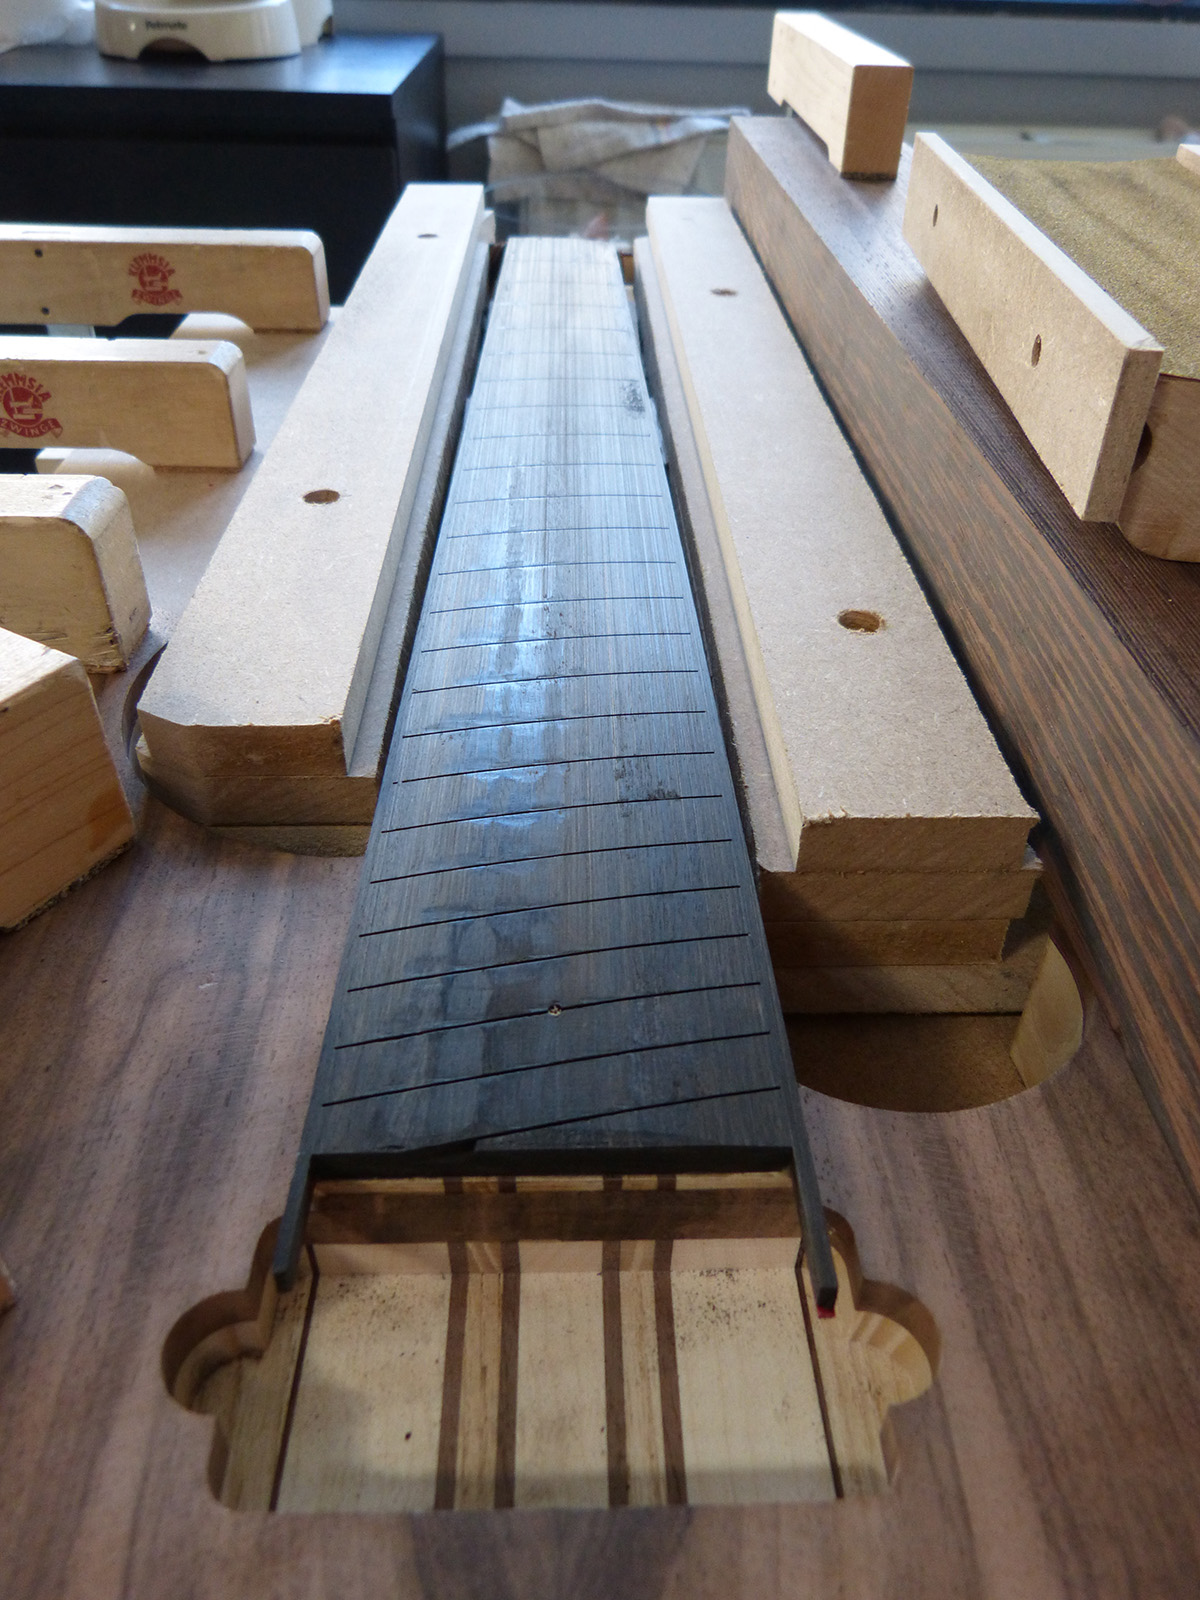
cutting the fret slots using a small jig I made for the fan fretted scale length
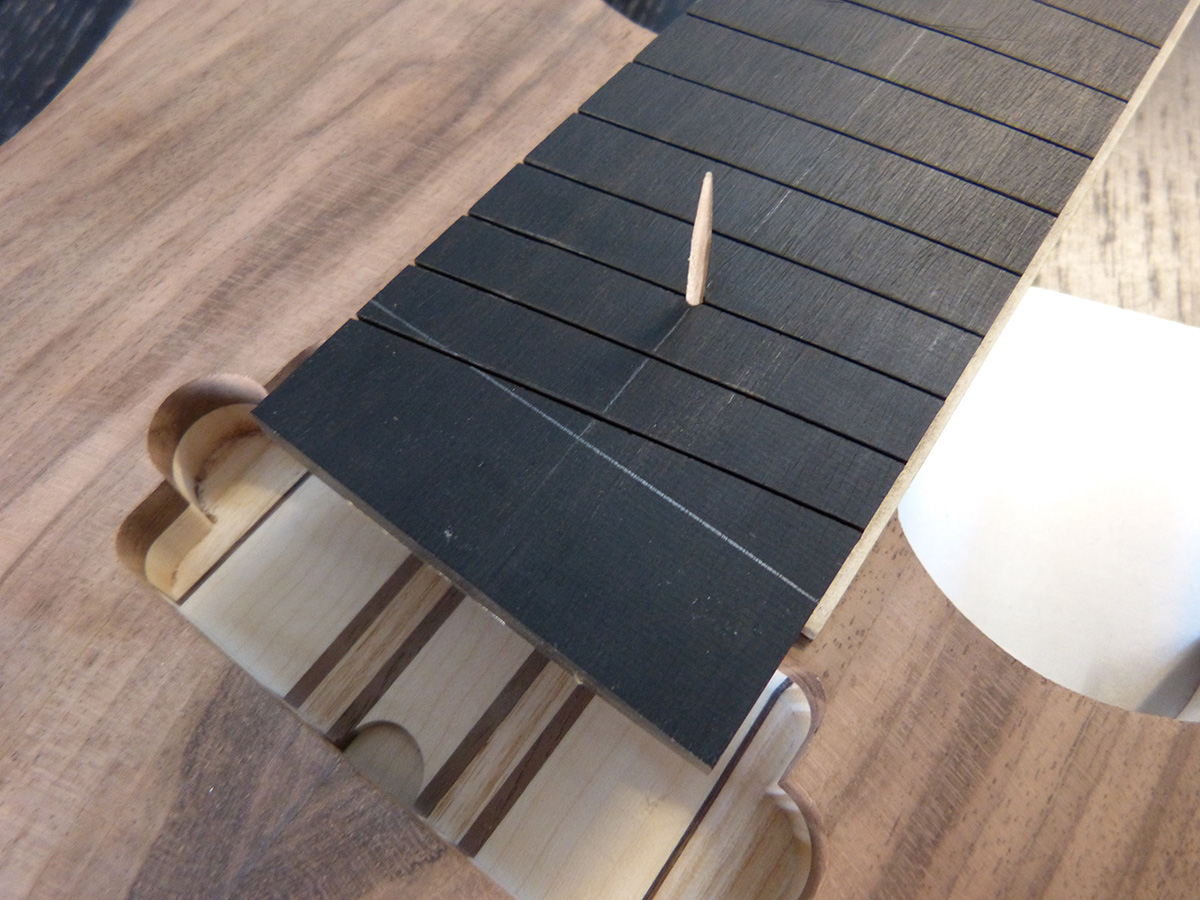
aligning on the neck using tooth picks and tracing the part to cut on the bottom
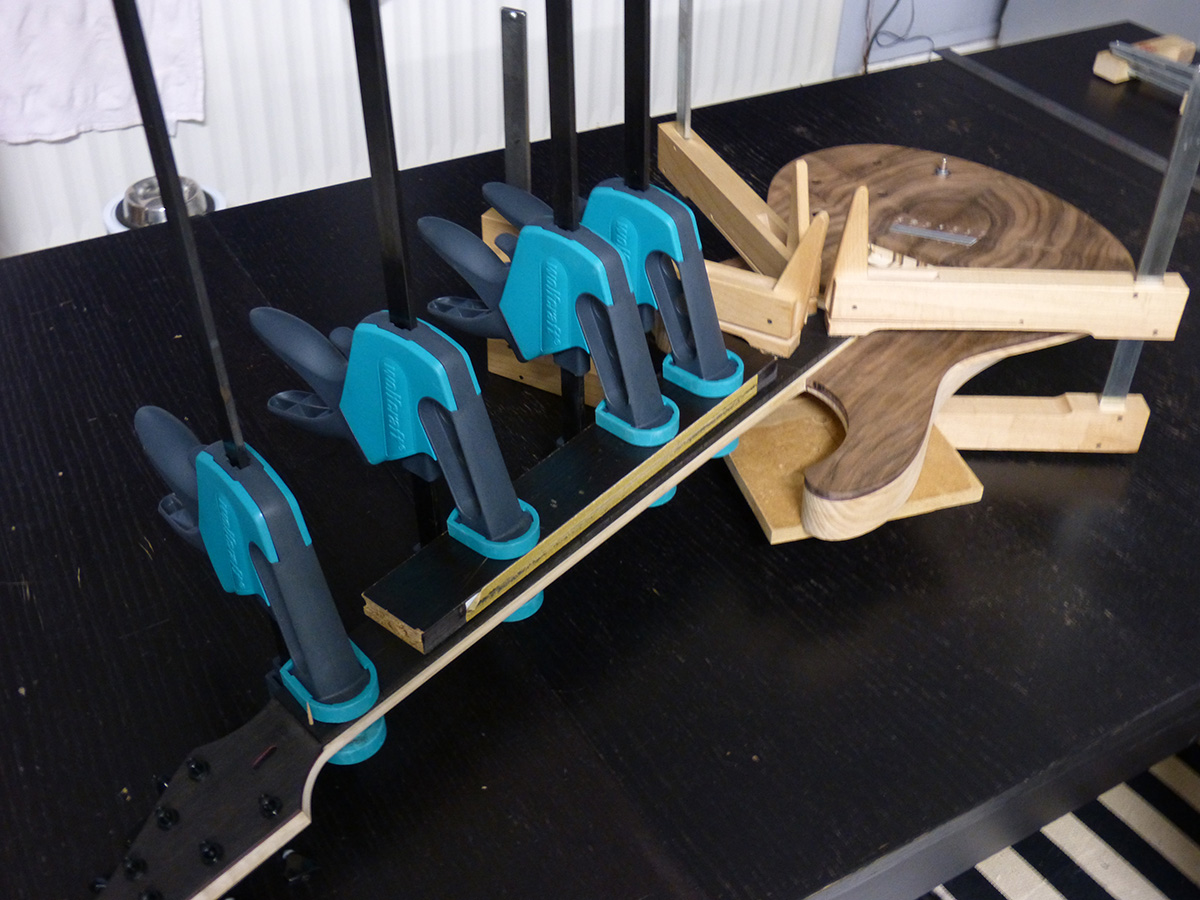
gluing on the guitar
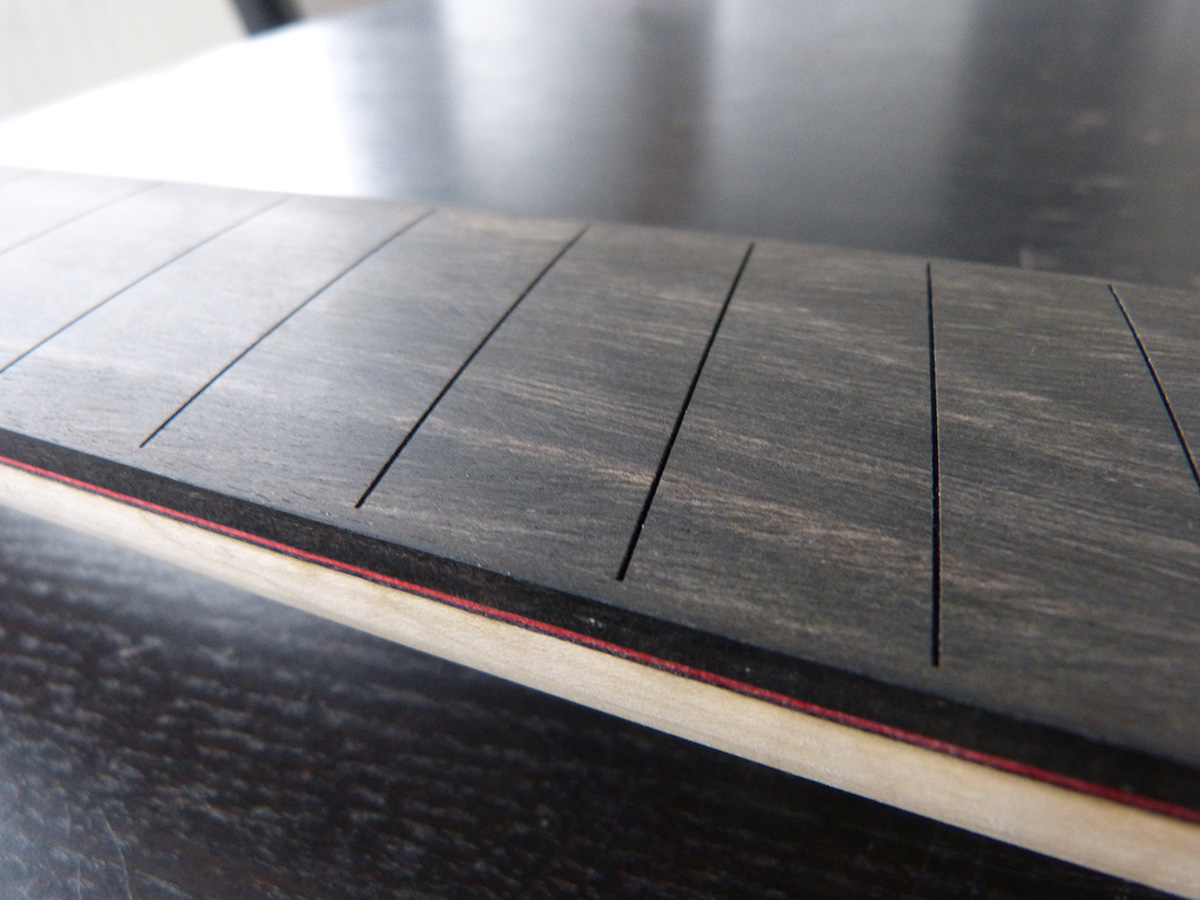
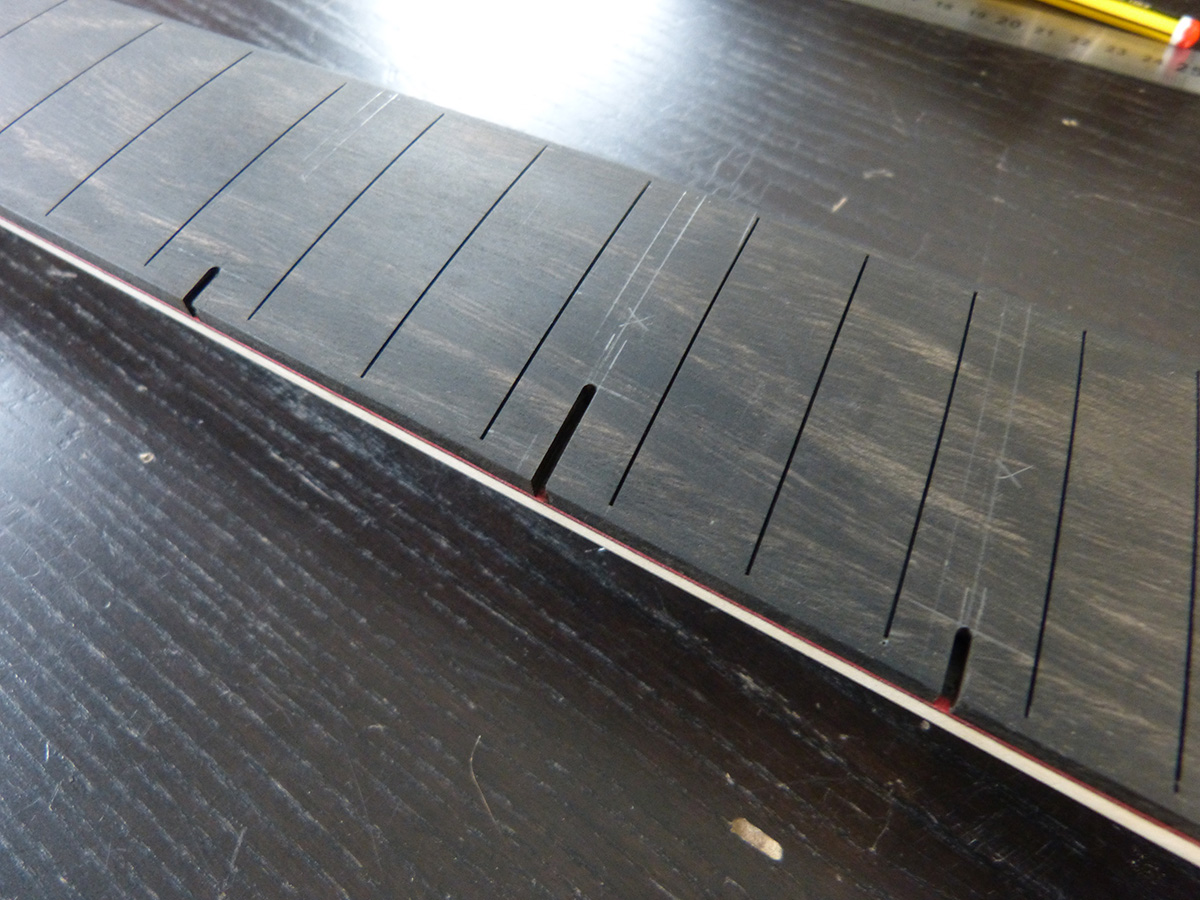
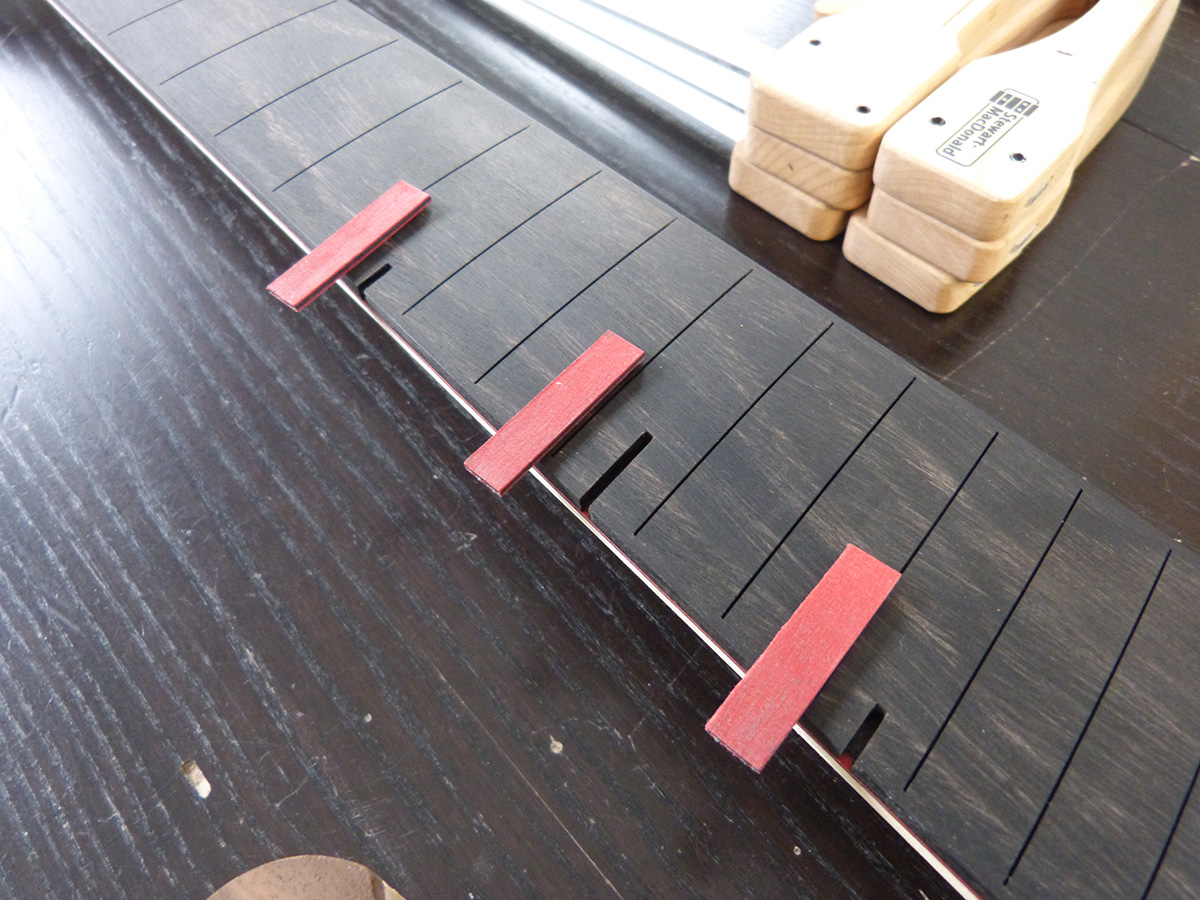
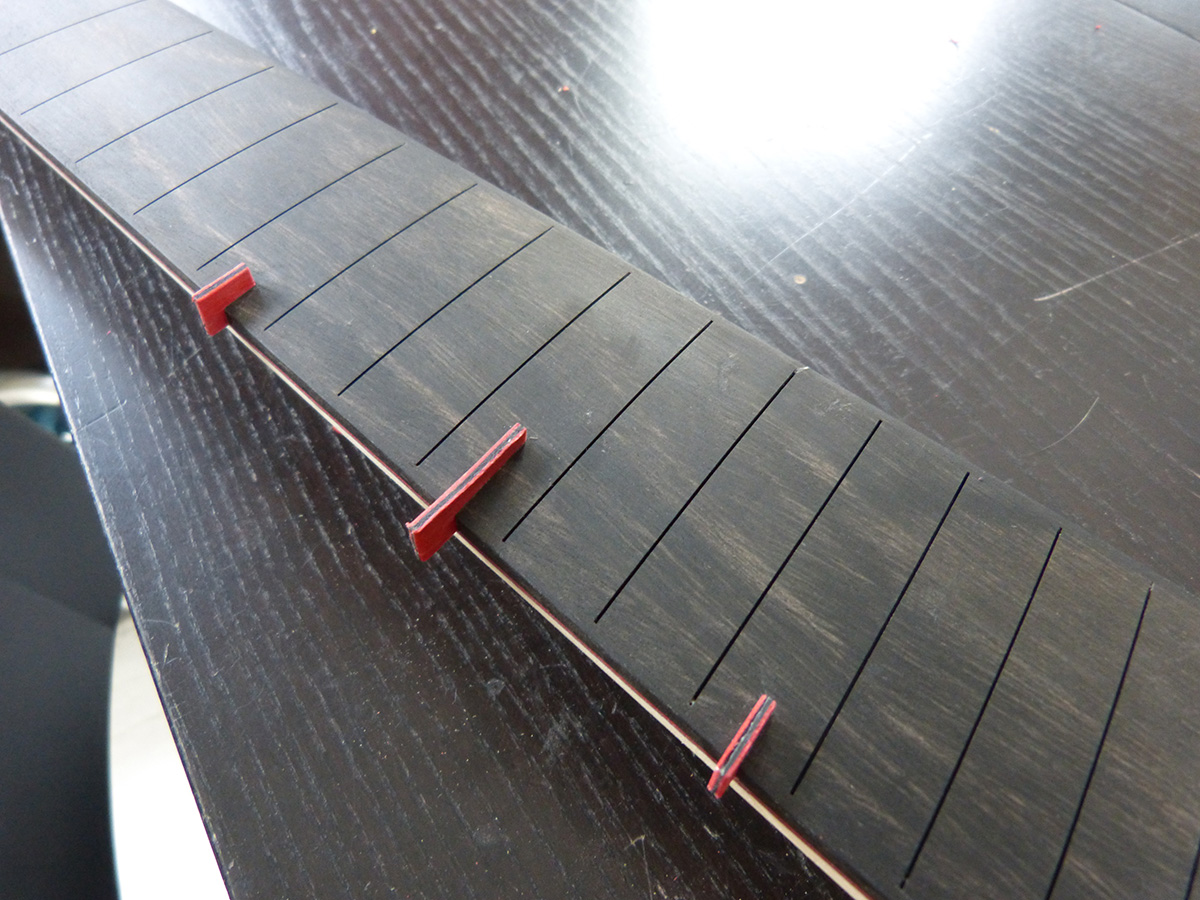
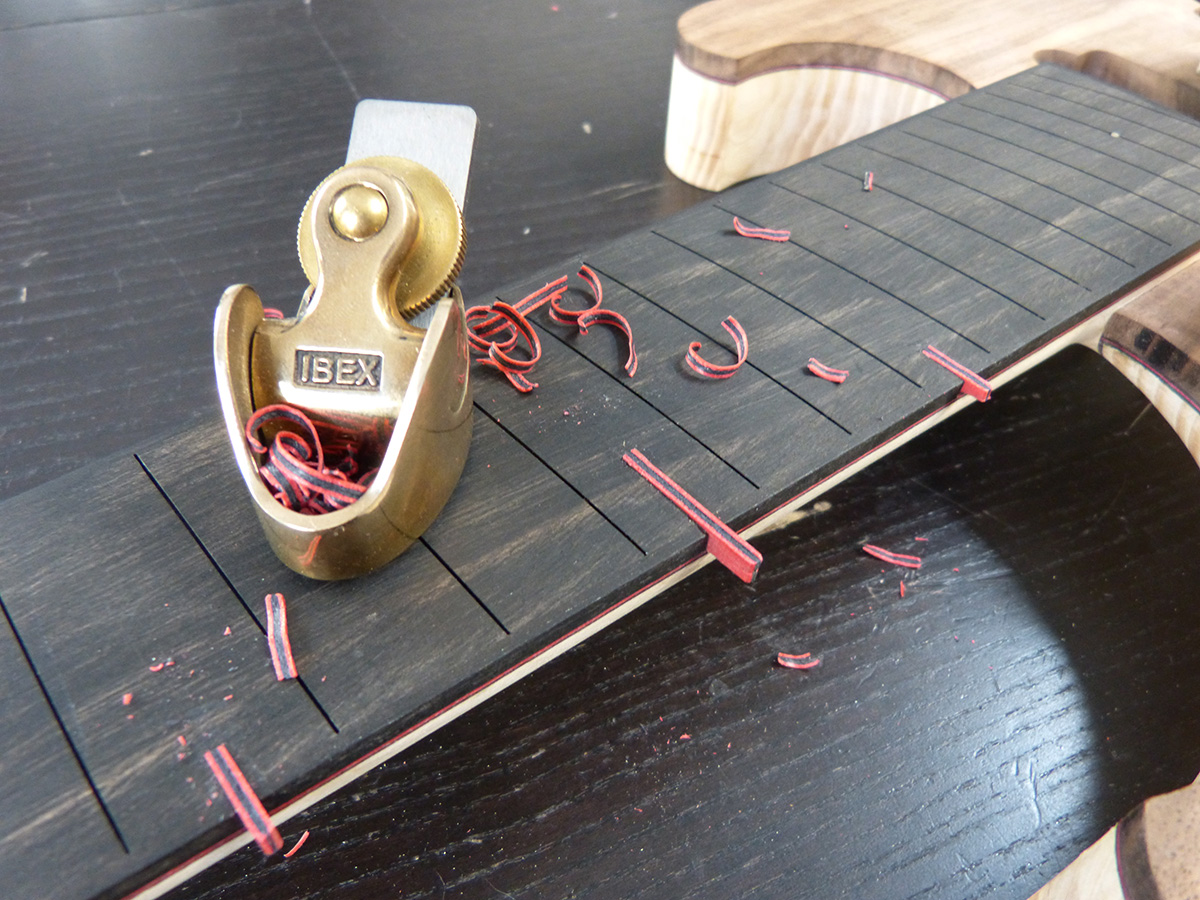
gluing the bindings
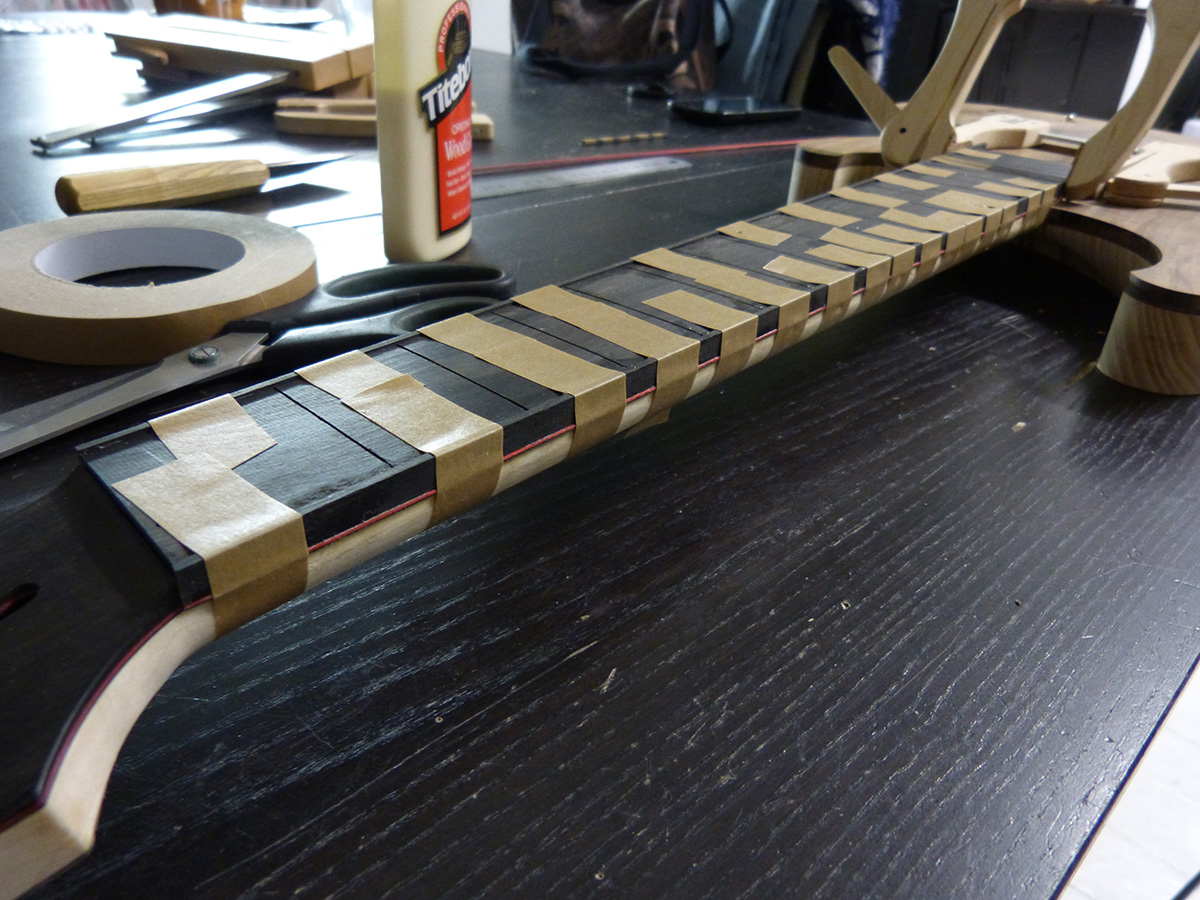
the pretty nice result
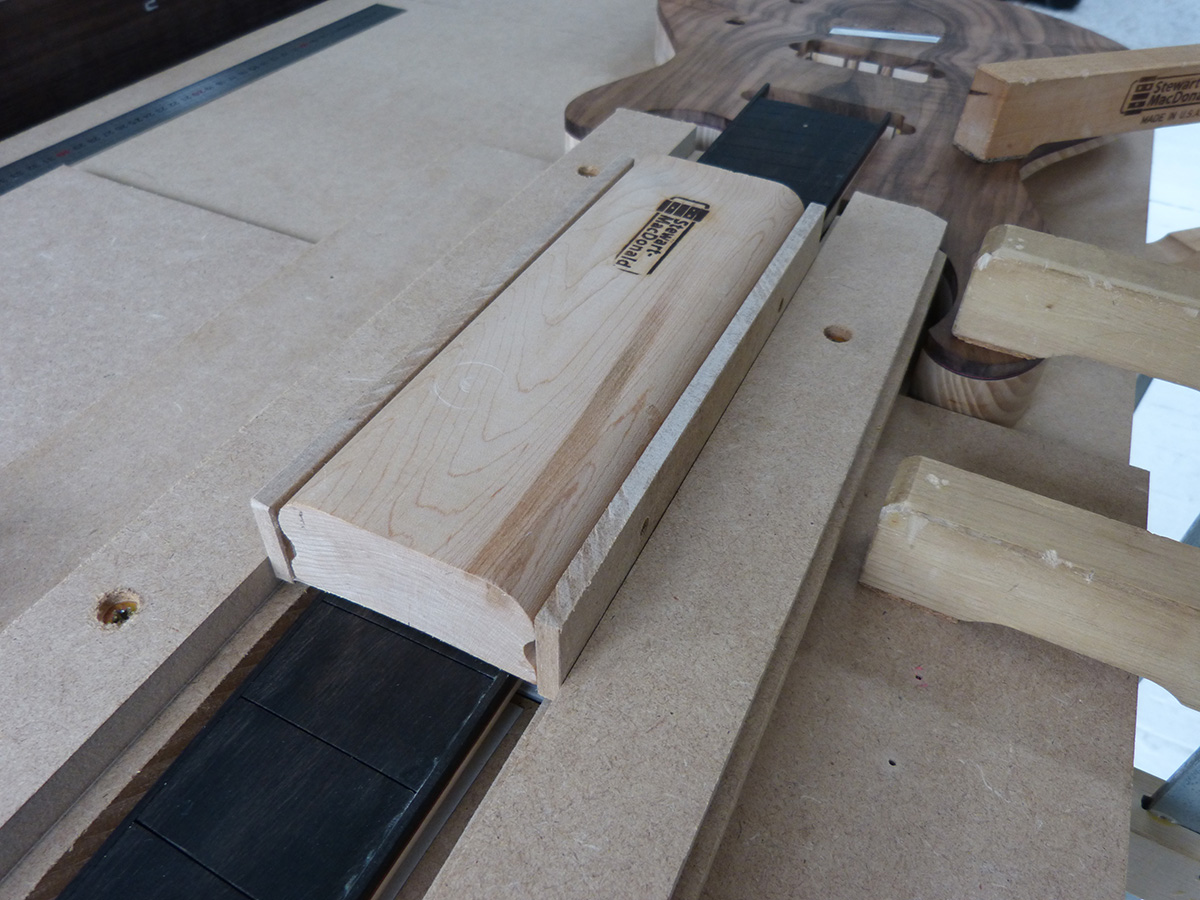
for the fingerboard radius, I built another small jig to have a uniform depth guide as well as a lateral guide
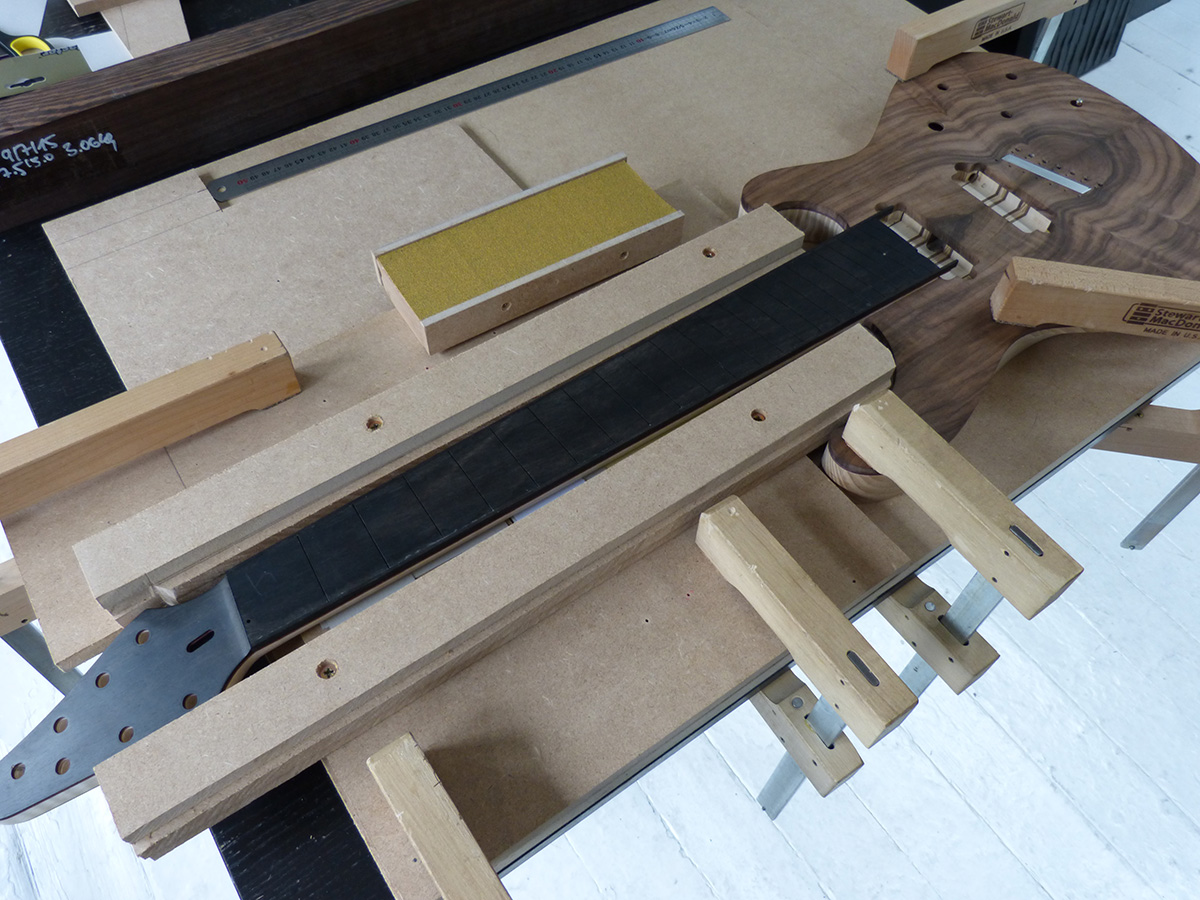
I also added guides on the radiusing caul to have the depth stop since the caul itself was not large enough
started radiusing with the hand plane as there was quite a bit of wood to remove
and then the fun began with the 80 grit sandpaper. despite the first pass with the plane, it still took 3 hours of sanding...
this is the result with 150grit sandpaper. I'll still go to something like 1200 before fretting.
inserting the fretboard markers:
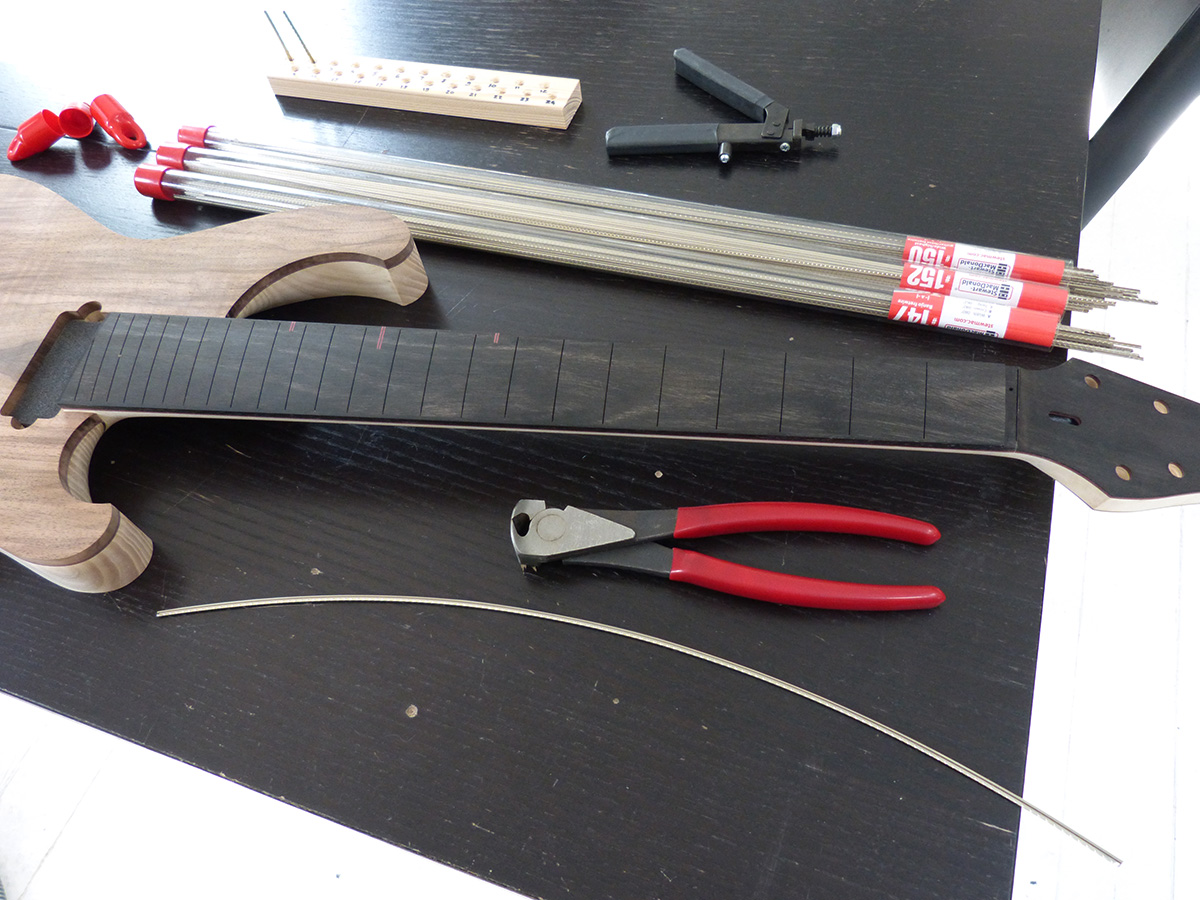
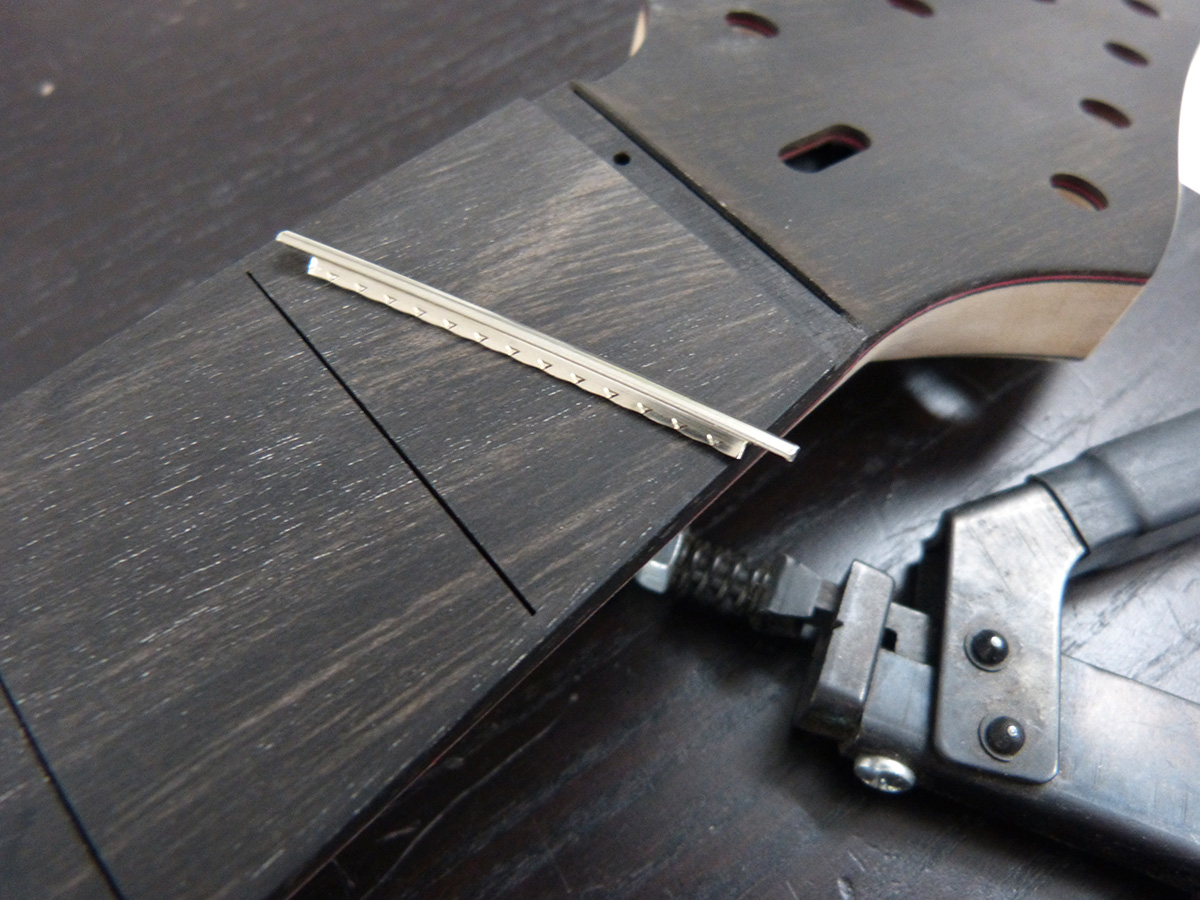
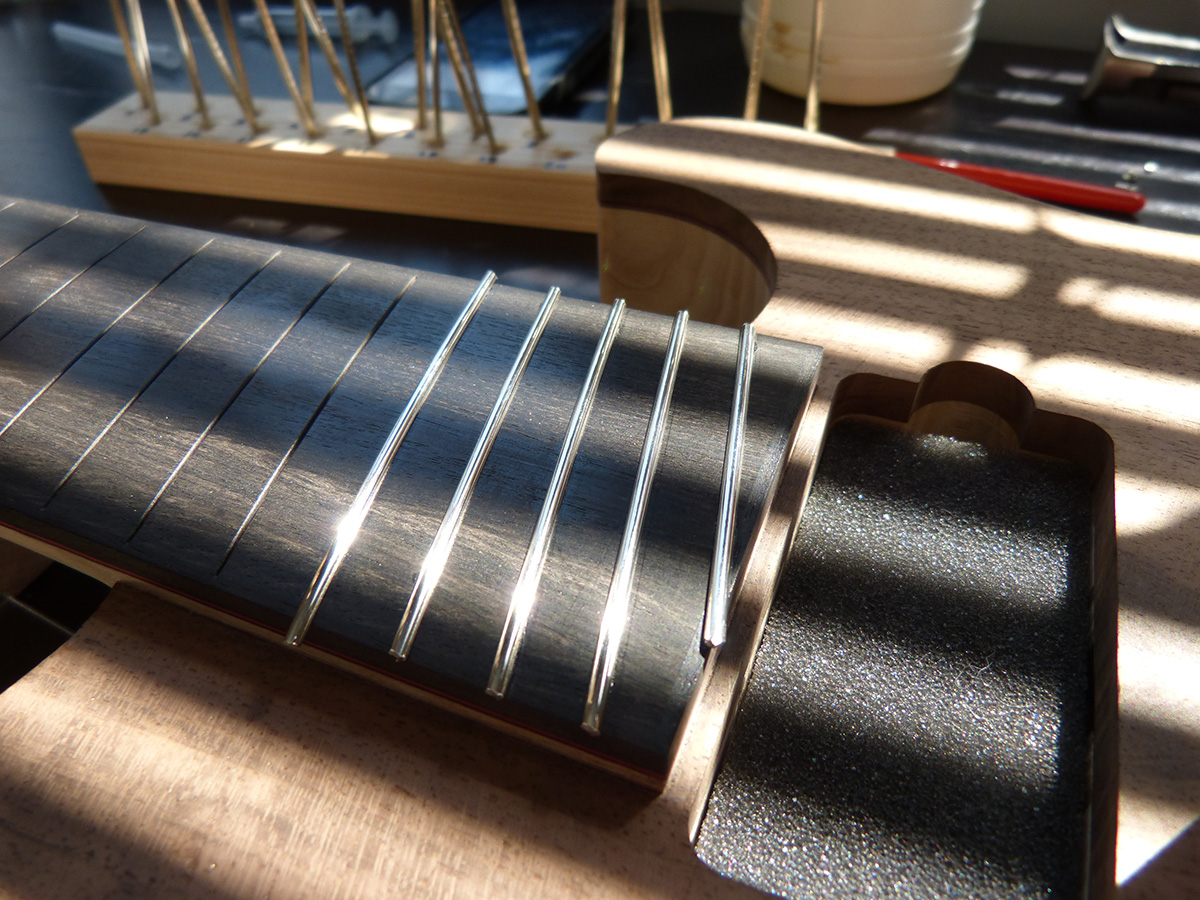
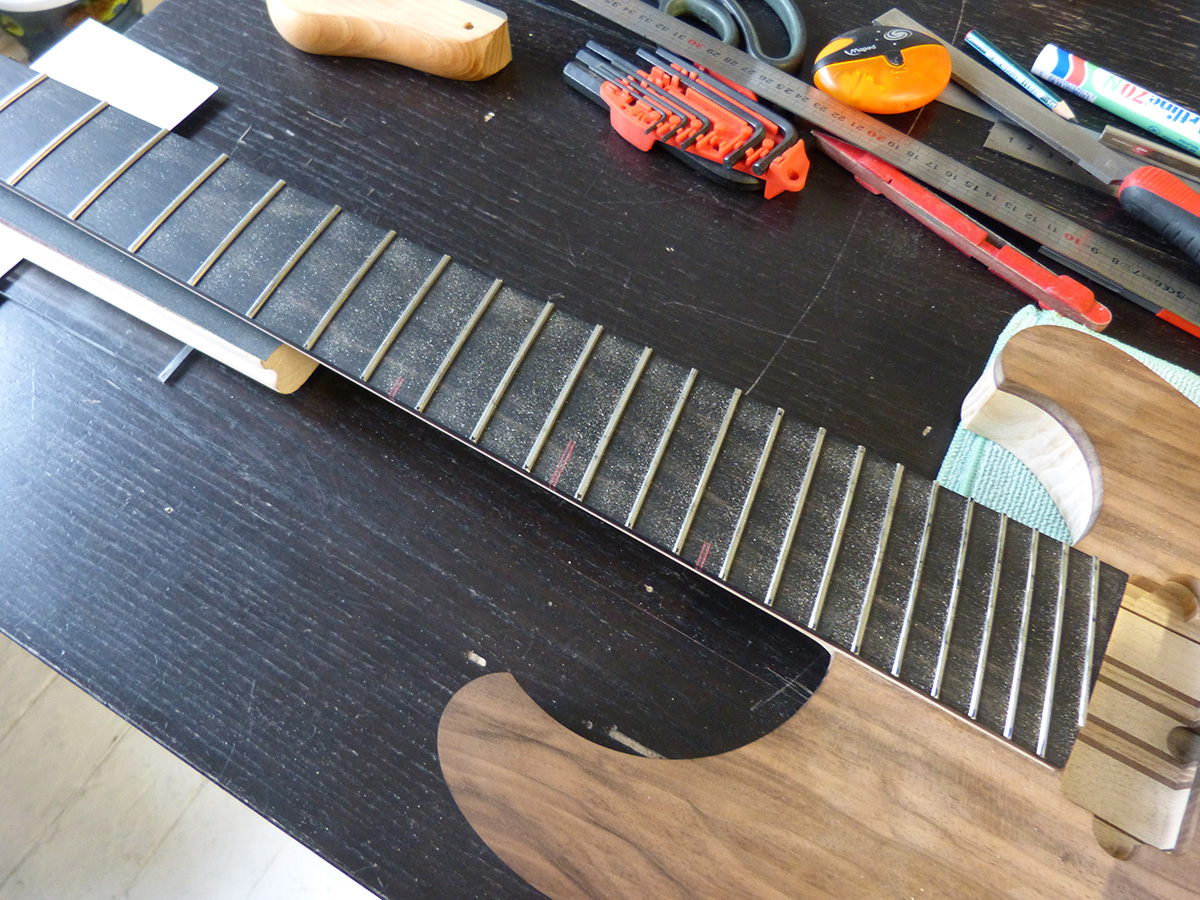
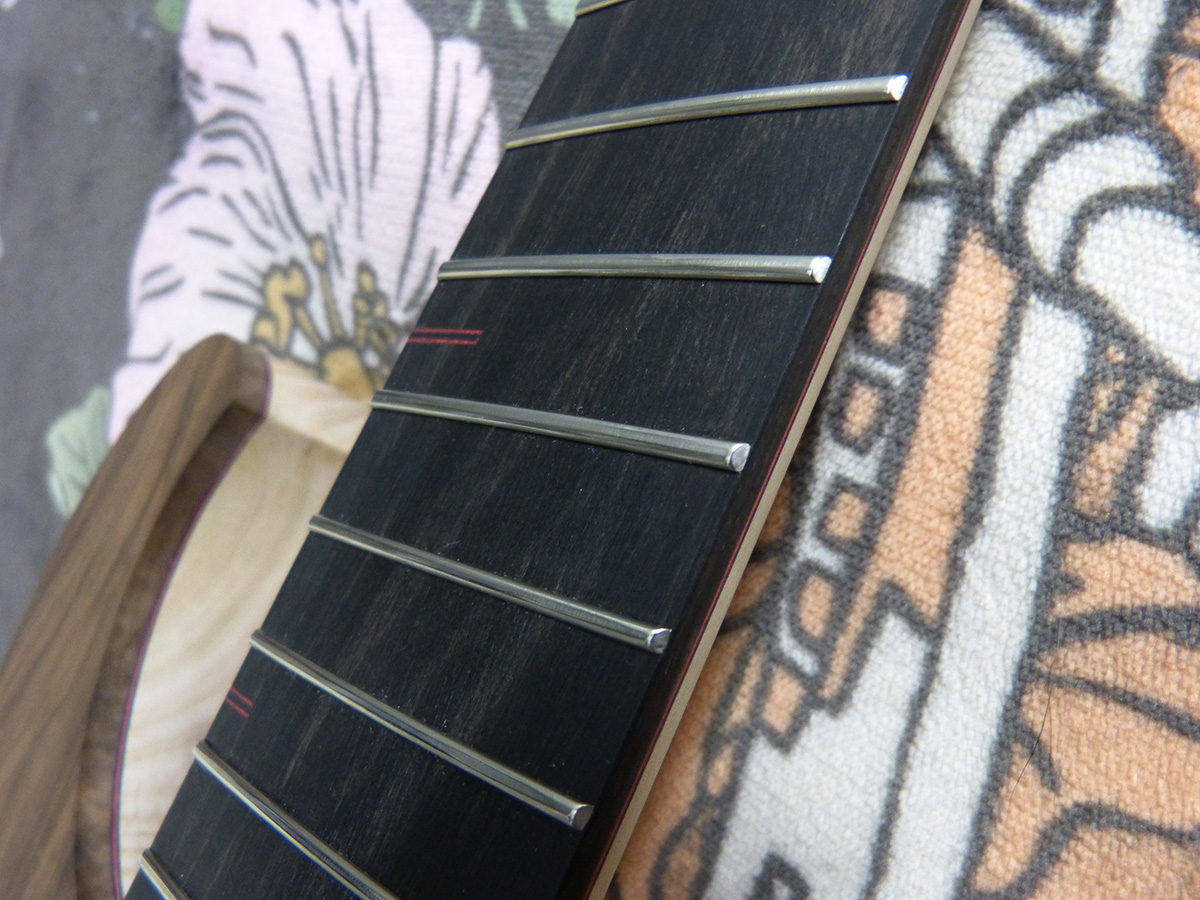
fretting:

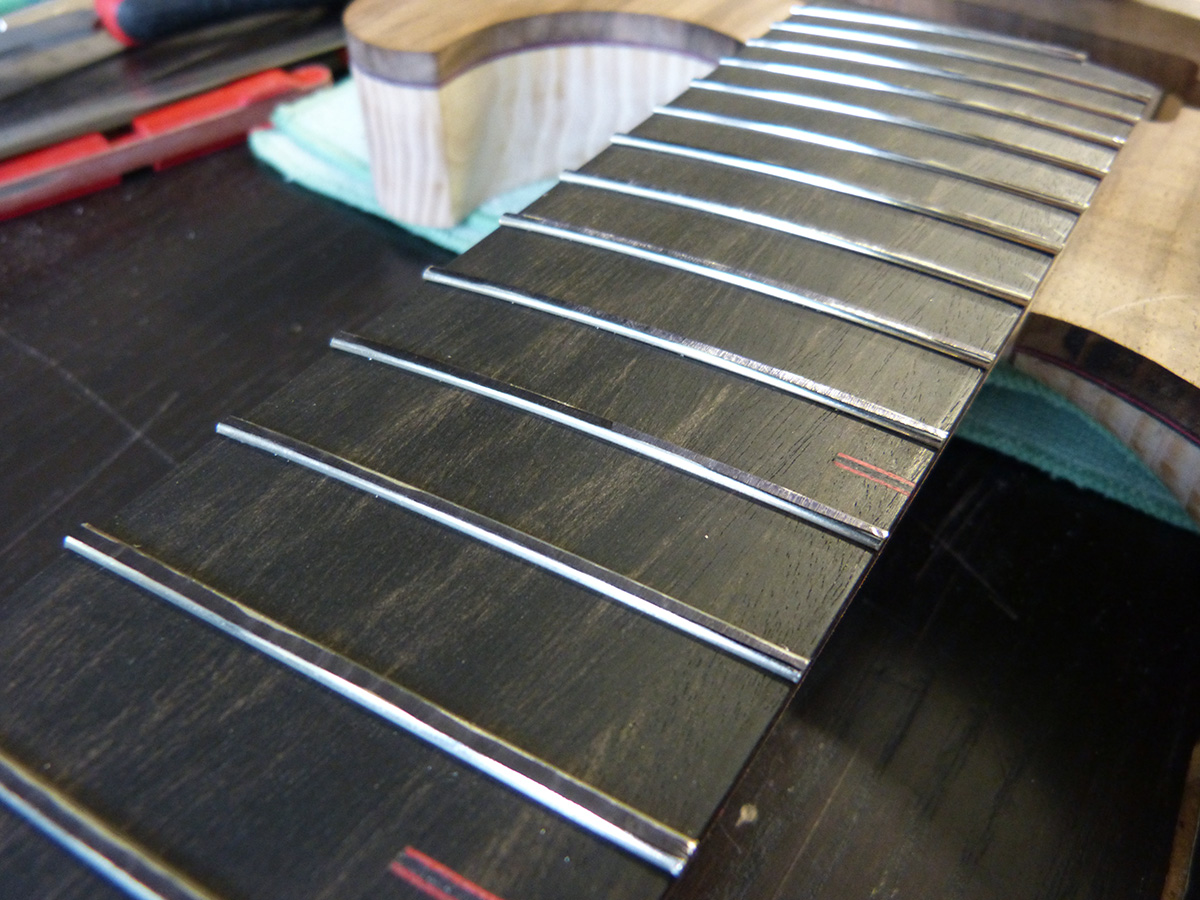
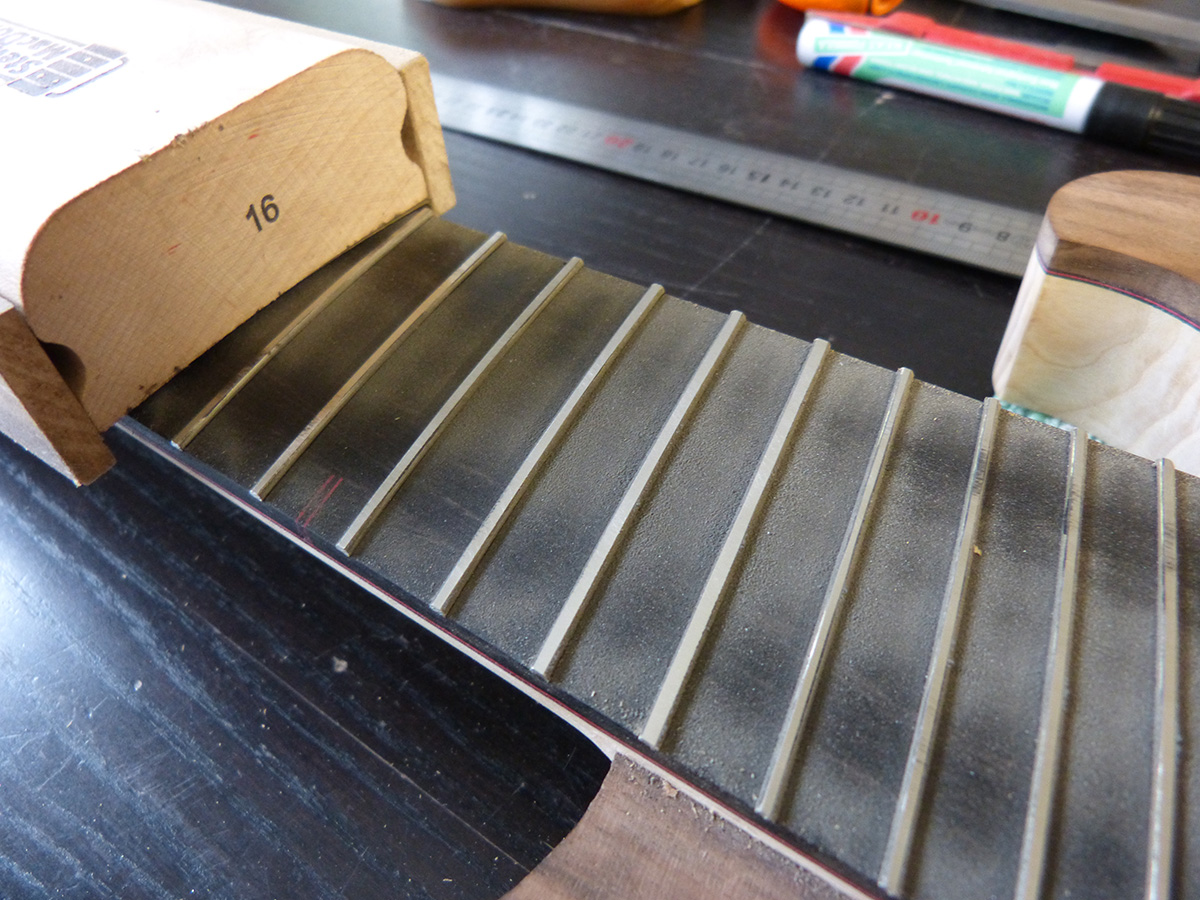
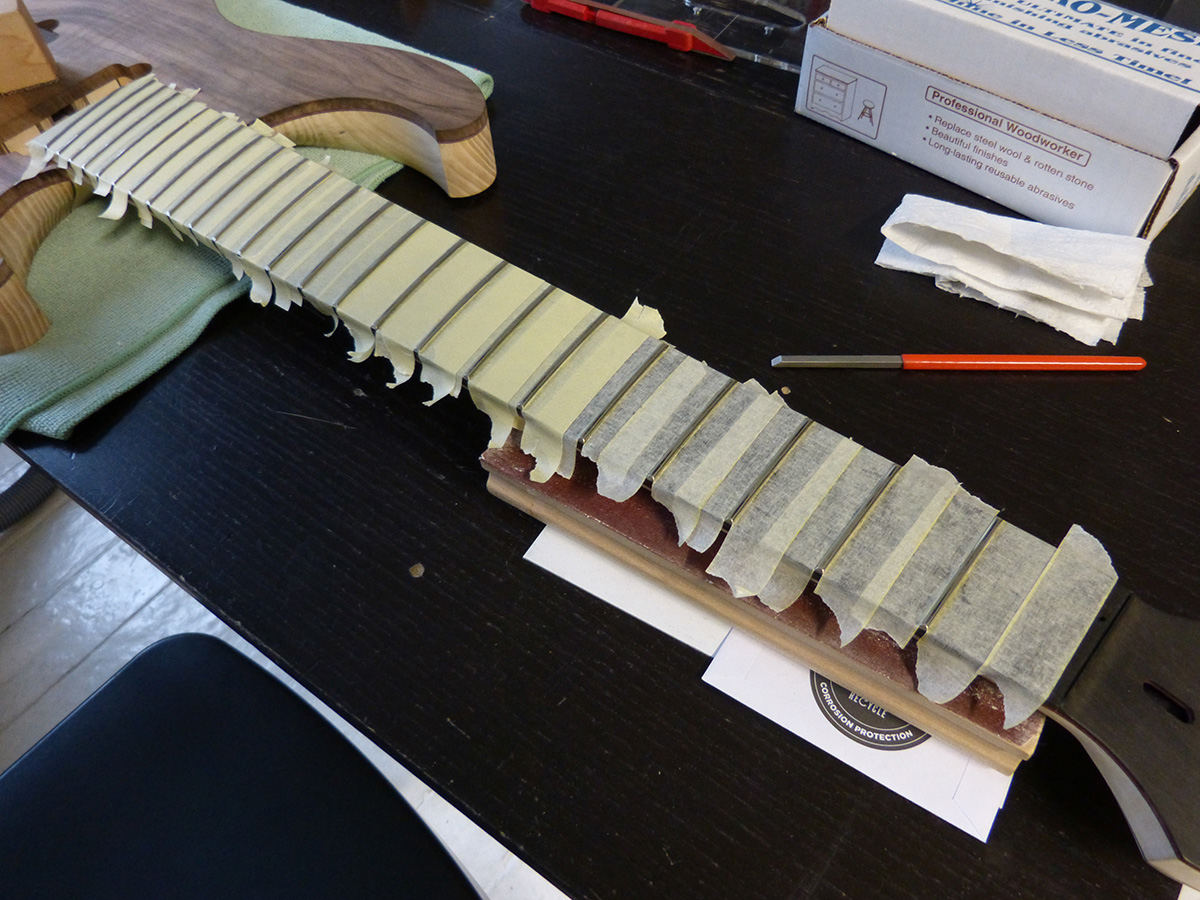
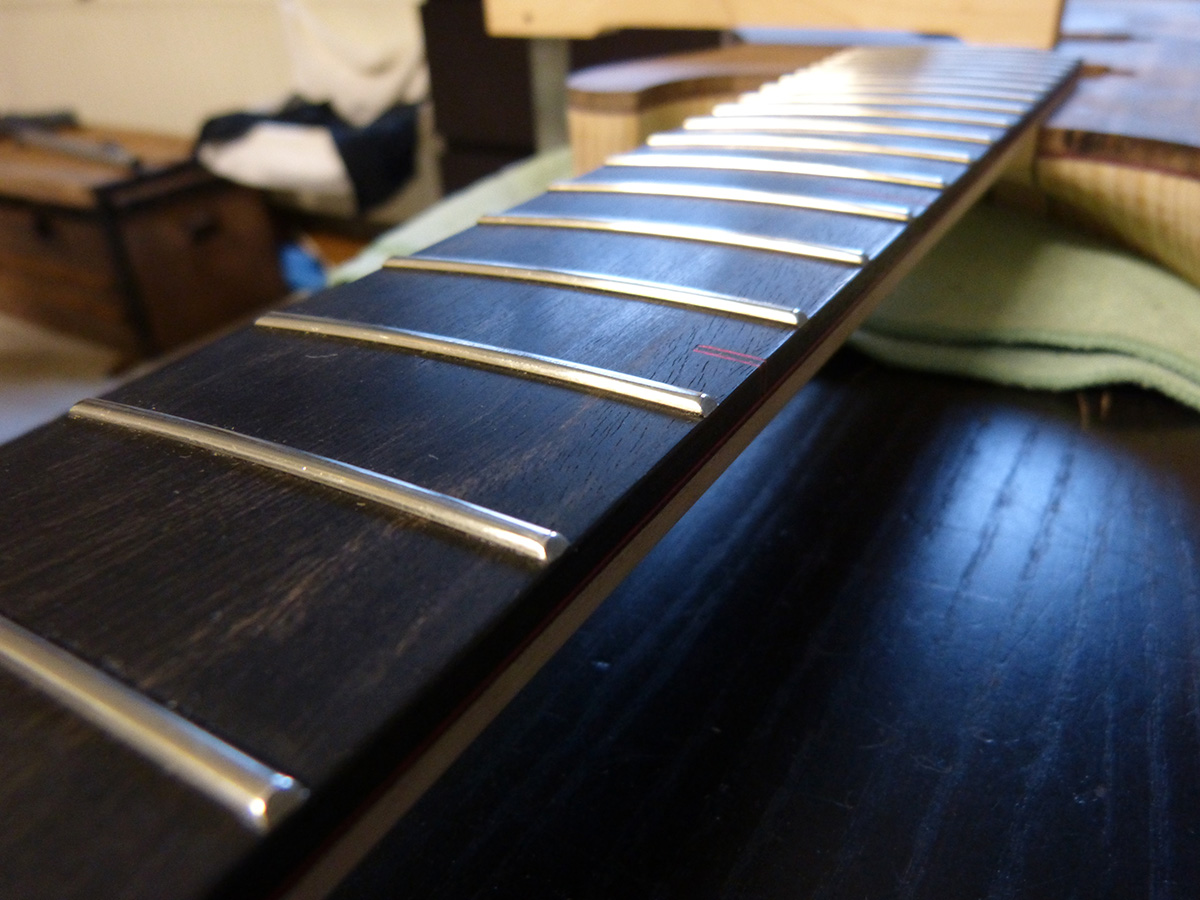
dressing, recrowning and polishing:
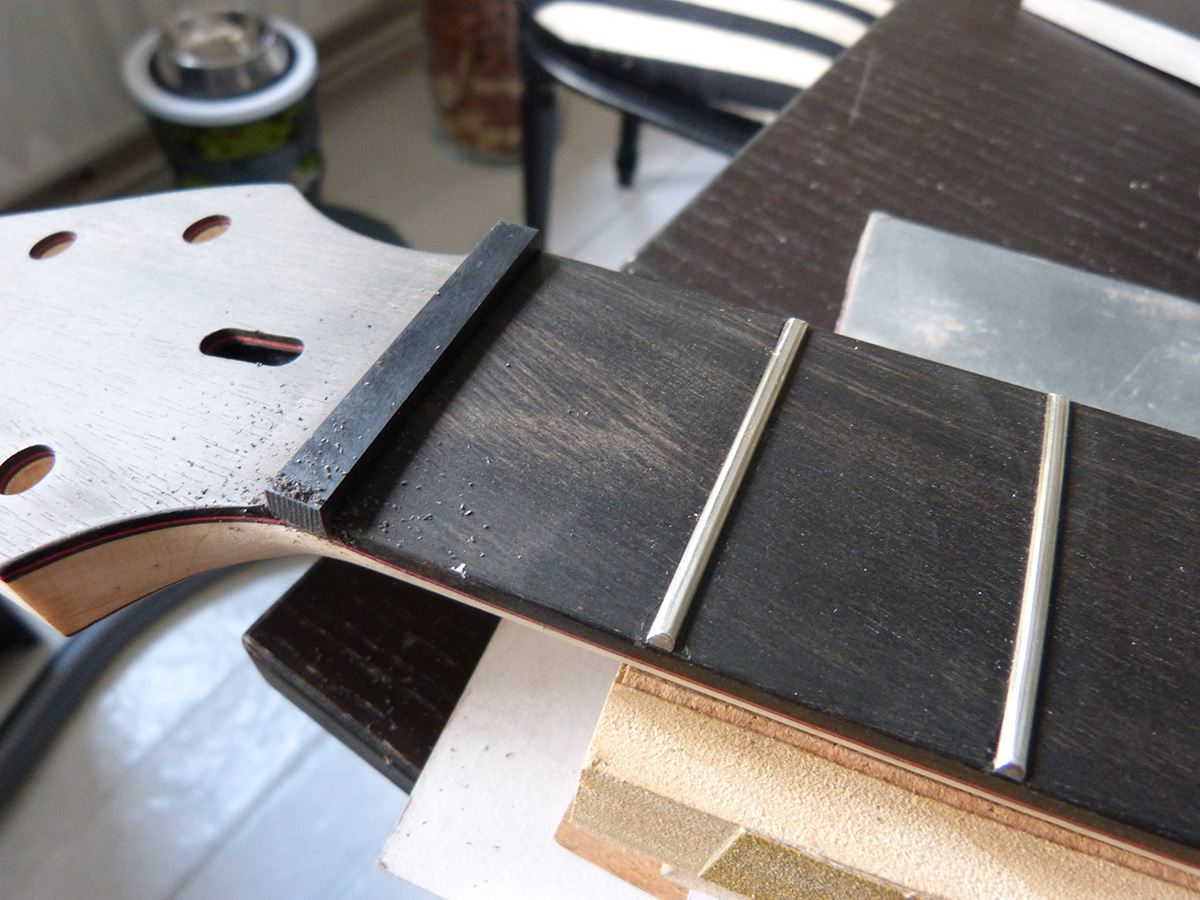
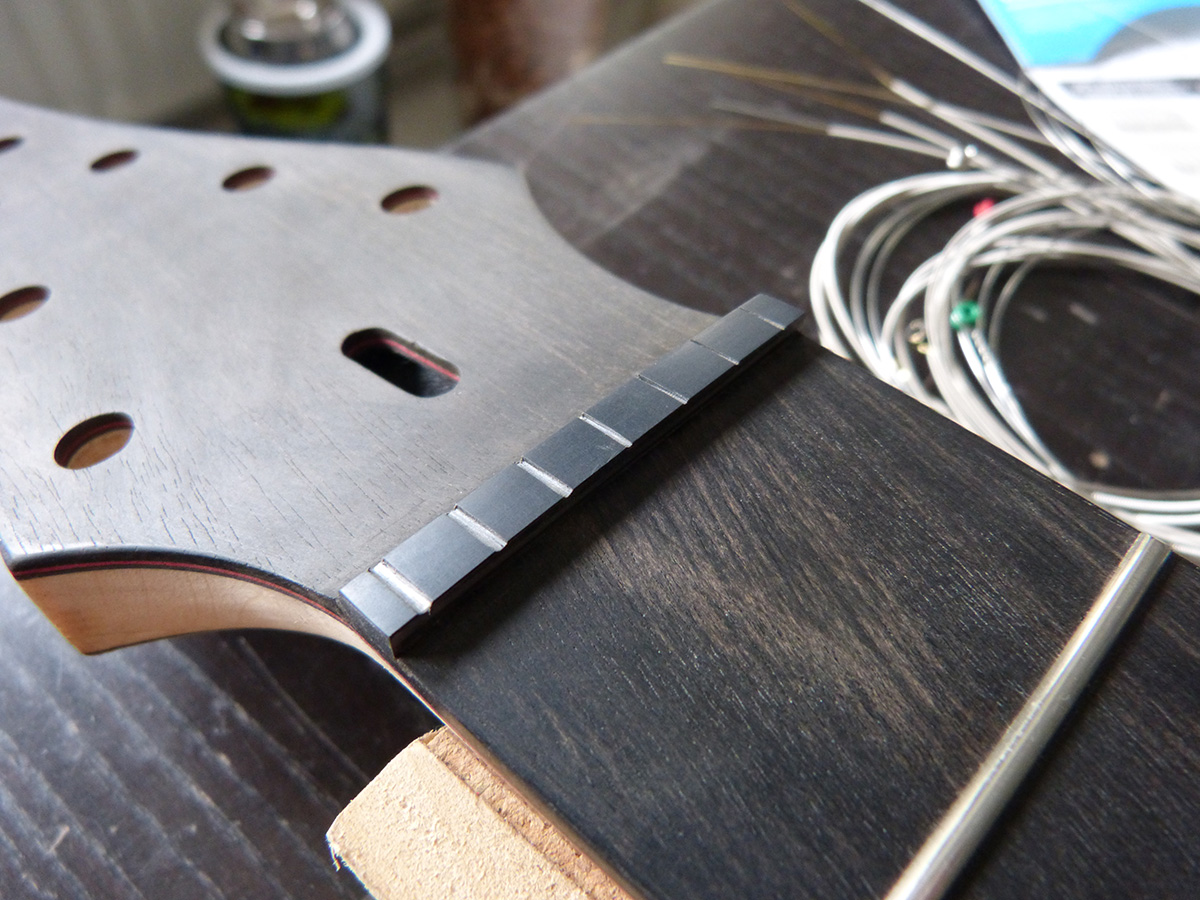
inserting the neck graphtech nut:
radiusing it
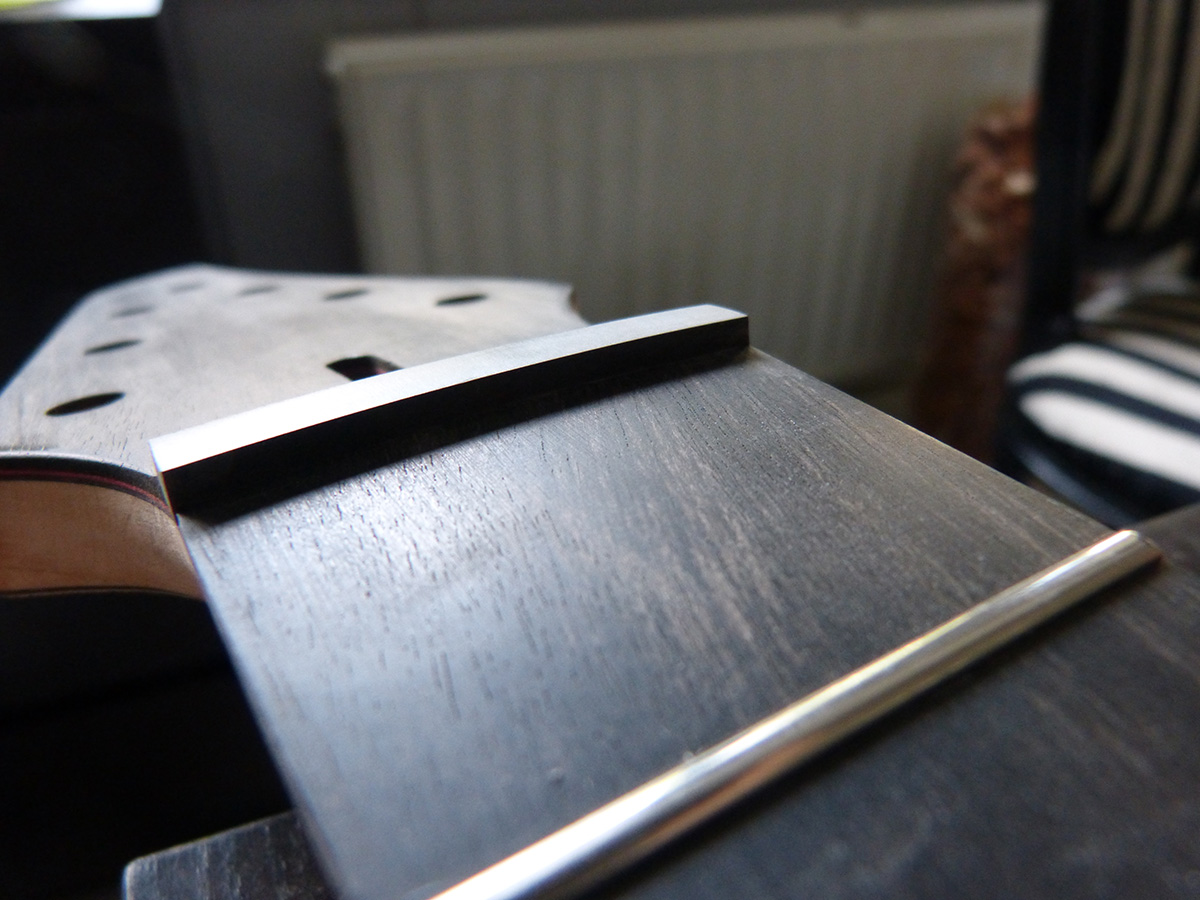
marking the slots
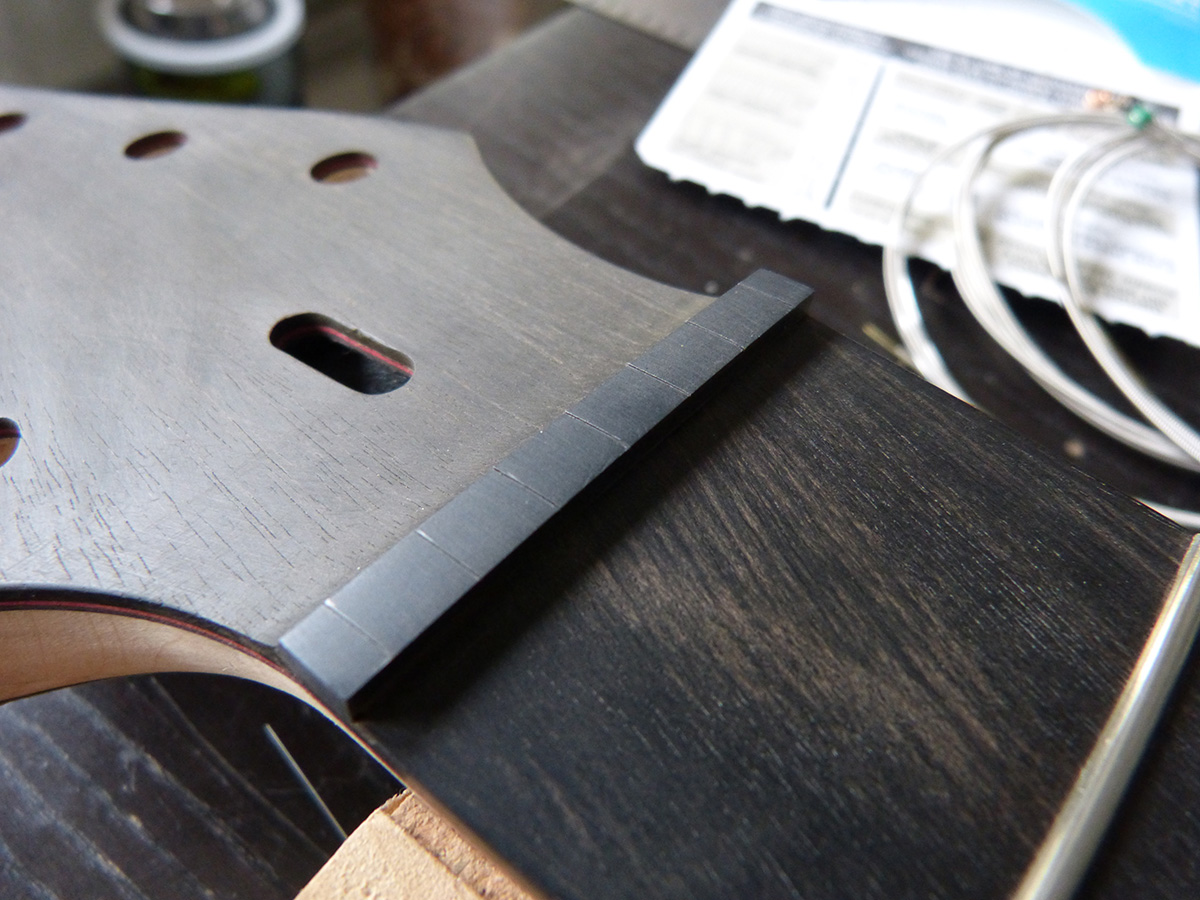
and done!
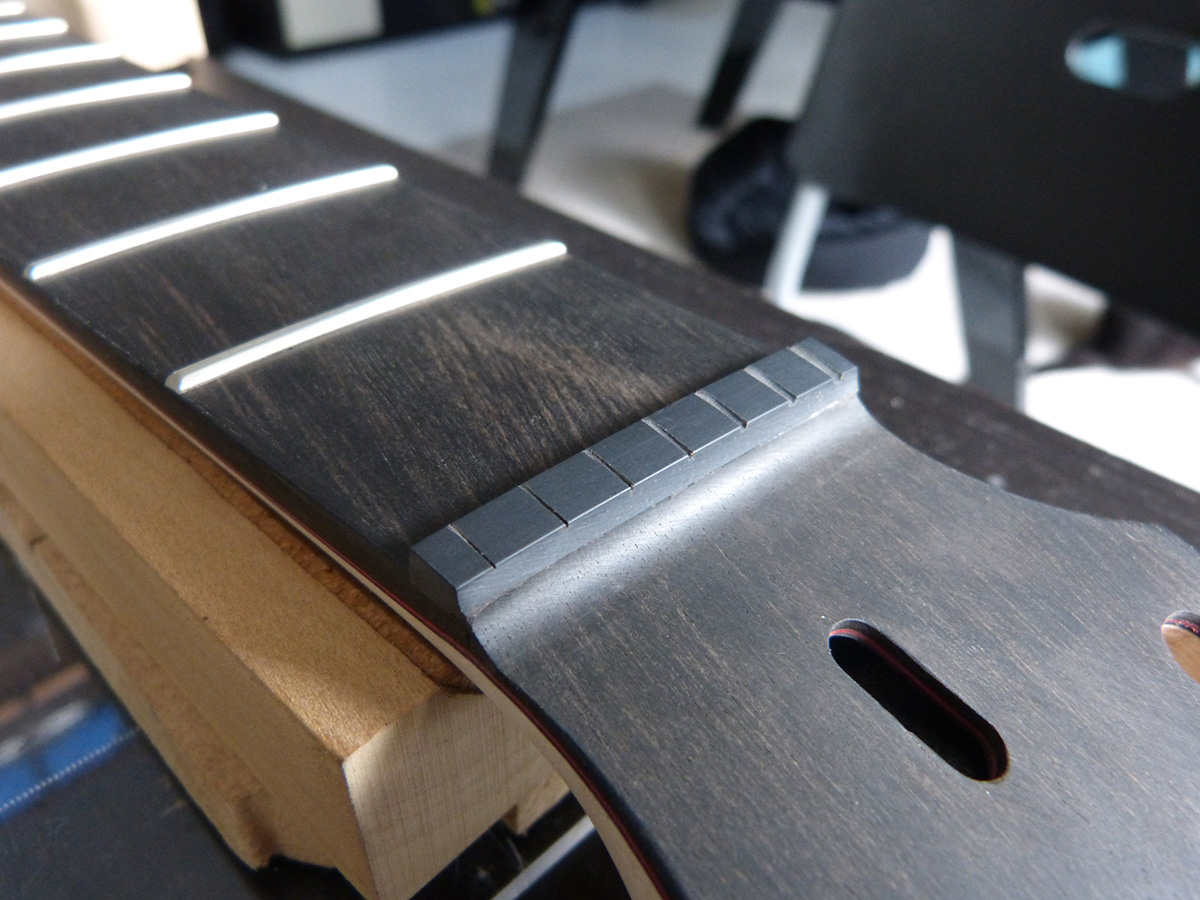
almost ready to test with strings!